Horses are the animal most beginners say they cannot draw, and the reason is usually the legs: they are long, they bend at joints that look backwards, and the body seems to need real muscle knowledge. It does not. Break a horse into an oval barrel, a small head, a wedge-shaped neck and four tapered legs, connect those shapes, erase the guides, and the drawing already reads as a horse.
This guide is how to draw a horse for beginners using that shape method, in six steps. A first-timed drawing takes about 30 minutes and needs a pencil, an eraser and a sheet of paper. Nothing else, no talent, no measuring tape.
Table of Contents
- 1What You Need
- 2Step-by-Step: How to Draw a Horse for Beginners
- 31. Sketch the horse’s basic body shapes
- 42. Add the legs and hooves
- 53. Connect the neck, head, and ears
- 64. Draw the mane and tail
- 75. Refine the outline and facial details
- 86. Add color and finish your horse drawing
- 9Common Mistakes
- 10Frequently Asked Questions
- 11What is the easiest way to draw a horse for beginners?
- 12Do I need to be good at drawing to make a horse?
- 13What paper should I use for a beginner horse drawing?
- 14How do I make the horse’s legs look right?
- 15Should I add color to my horse drawing?
- 16How can I practice drawing horses more easily?
- 17Conclusion
What You Need
The minimum kit is small enough that most of it is already in a school bag. Work in light pressure, because every line here is a guide you are allowed to erase.
- Paper – plain 80gsm printer or drawing paper works. Smooth paper shows pencil pressure better; rough paper is kinder to nervous scribblers.
- A graphite pencil – HB or 2B. HB keeps lines crisp for shapes, 2B gives you a darker final outline later.
- A soft eraser – a vinyl or kneaded eraser lifts construction lines without tearing the paper.
- Coloring tools, optional – colored pencils, crayons or markers. You can finish a perfectly good sketch in pencil alone.
- A scrap sheet, optional – for the two-minute warm-up sketches that make your hand looser before the real one starts.
Sketching paper or a light board underneath your page helps too, since you rest your drawing hand while you draw the other one. Skip all of it if you want to start right now. Pencil, paper, done.
Step-by-Step: How to Draw a Horse for Beginners
The order matters. Build the body first, then the legs, then the head, then hair, then details. If you draw the face first you will spend the rest of the lesson making the body match the head, and the body is what people look at.
1. Sketch the horse’s basic body shapes
Draw one long oval for the barrel, tilted very slightly so the chest end sits a little lower than the rump end. Add a second, smaller circle at the back of the oval for the rump. These two shapes are your whole body.
Let the shapes overlap rather than touch edge to edge. Overlapping is what stops the finished outline from looking broken, and it costs nothing. Do not try to make the oval pretty at this stage, just get its length and angle down.
A useful check: the barrel should measure roughly two and a half head-widths from chest to rump. Keep one finger-width of paper at the bottom for legs later, and you will not run out of space.
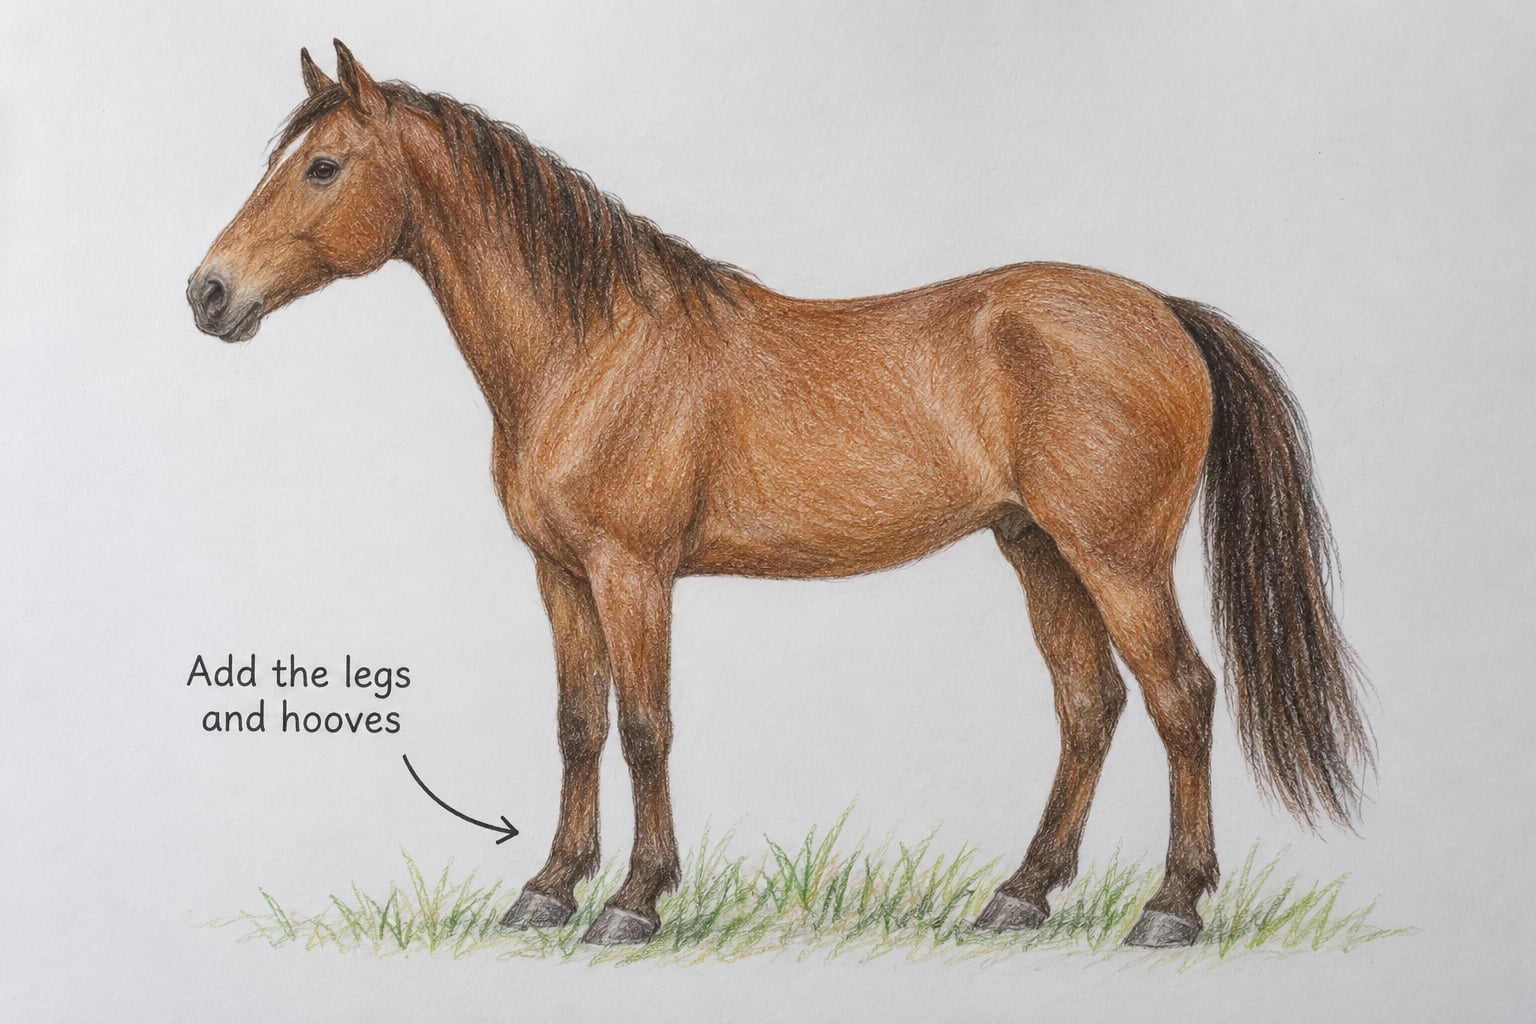
2. Add the legs and hooves
Draw four legs beneath the body as long, slightly tapered shapes. Front legs sit under the chest end of the barrel, back legs hang from the rump. Keep the front pair roughly vertical and let the back pair angle slightly behind the body.
Spacing is the whole trick. Leave a clear gap between each pair, and leave the gap between the two back legs wide enough that you can see through it. That visible sliver of background, the negative space, is what makes legs read as legs rather than as a block of dark pencil.
Finish each leg with a small wider block at the bottom for the hoof. Slightly wider than the leg, never longer.
3. Connect the neck, head, and ears
Draw the neck as a wedge running from the front of the barrel up and forward, thicker at the shoulder and narrower at the top. Now add a small oval for the head at the end of it, and pull the front of that oval forward into a muzzle. A slight dip under the jaw is enough to suggest the cheek.
Two pointed ears go on top, close together, tilted very slightly outward. Leave them as simple triangles with rounded tips if you are drawing for a child.
Here is the proportion check that trips up most first attempts, and it is the number people ask about most on r/learntodraw: the head should measure about two and a half head-widths tall including the ears, and the whole horse should stand about four head-widths at the withers, which is the top of the shoulder. If your horse is only two head-widths tall, the head is oversized. If it is six, the head has vanished. Measure before you draw the face.
4. Draw the mane and tail
The mane is a row of curved strokes falling down one side of the neck, from between the ears to the withers. Give each one the same direction and roughly the same length, and it will look intentional. For a neat show pony, keep it short and close to the neck.
For the fuller look, draw a single wavy outline down the far side of the neck instead of separate strands. Same idea for the tail: a wavy shape hanging from the top of the rump and tapering to a point. Both styles are beginner-friendly because neither asks you to draw individual hairs.
5. Refine the outline and facial details
Now go over the shapes with a firmer line and skip the internal guide marks. The head details come last: a small dark eye set high and forward, a nostril near the tip of the muzzle, and a short mouth line below it. Add a few separations in the mane and a line across each hoof.
These small marks are what make a how to draw a horse for beginners sketch stop looking like a collection of ovals and start looking like an animal. One eye, one nostril, one mouth. More than that is optional at this stage.
Erase the construction lines before you add the details, not after. Working over a dirty page is what makes beginner drawings look muddy.
6. Add color and finish your horse drawing
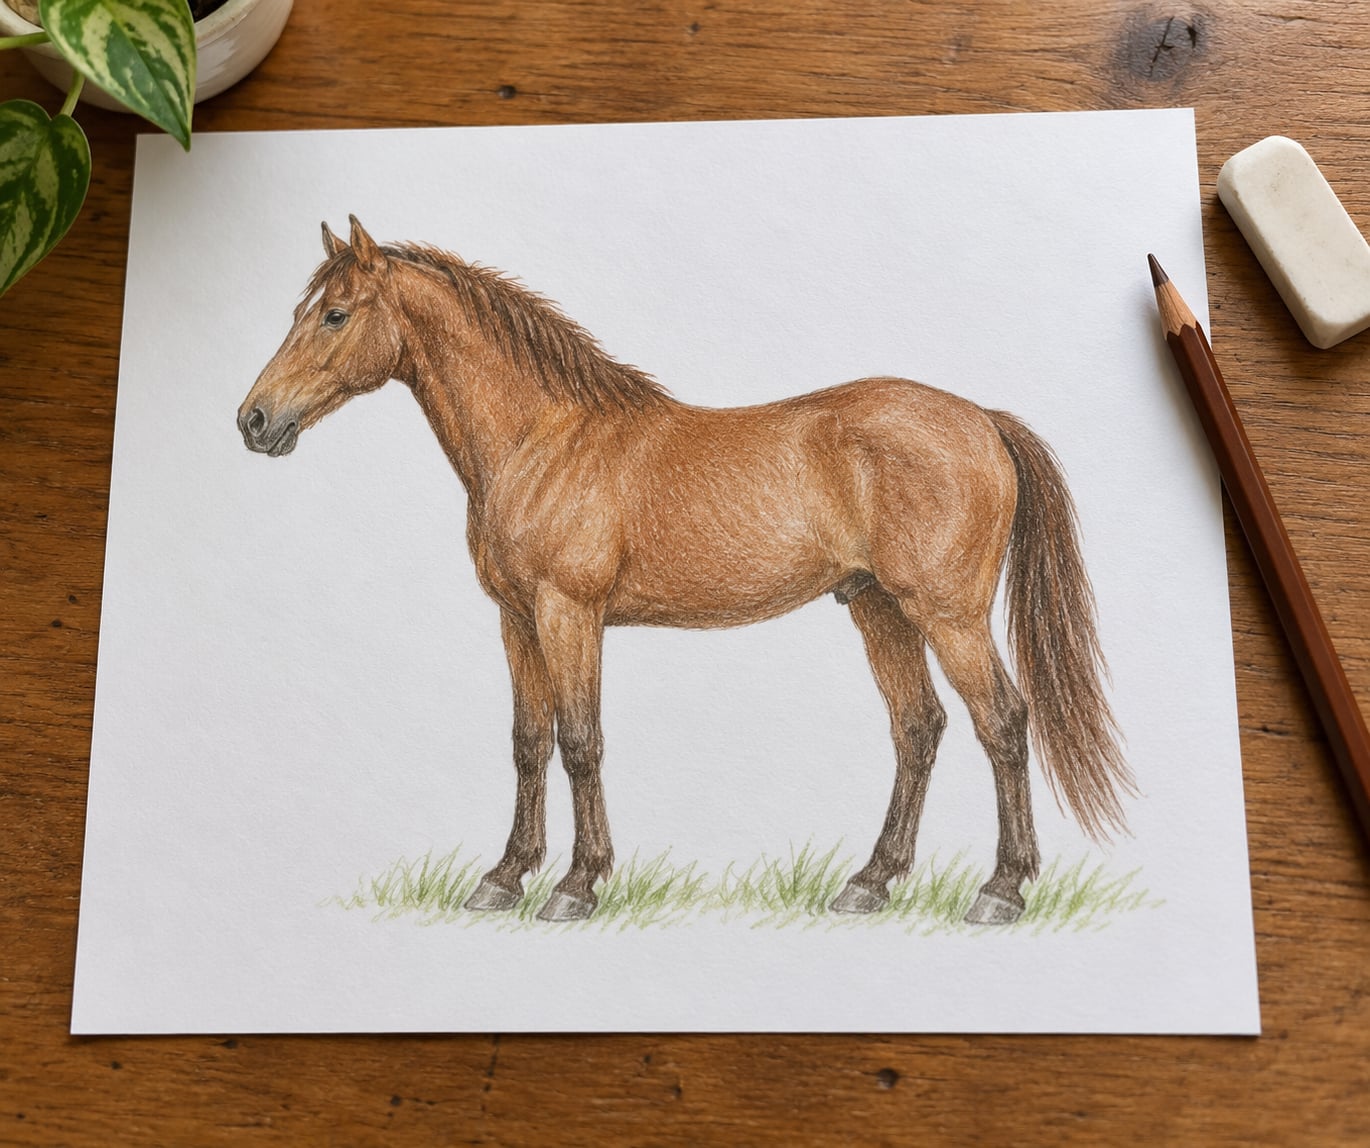
Real coat colours are easier than they look: chestnut is reddish brown with a slightly darker mane and tail, palomino is golden with a pale mane, a black horse is dark grey-brown rather than flat black, and a pinto is any of those broken up with large white patches. Pick one base colour, then a darker version of the same colour for the mane, tail and hooves, and one lighter version for the highlights.
Keep the background simple. A few green grass strokes near the hooves and a horizon line behind the horse are enough. A busy background competes with your subject, especially on a first attempt.
Sign it, date it, and put it somewhere you will see it. That is the honest next step toward the harder stuff: movement, muscle and shading.
Common Mistakes
Almost every beginner horse drawing fails in the same five ways, and every one of them has a simple fix. These are the problems that come up again and again in critique threads on r/learntodraw and r/arthelp, where people post their attempt and ask what is off.
The head is too large. Almost every first attempt. Measure it: the head including the ears should be about two and a half head-widths tall, and the horse should stand about four head-widths at the withers. If the head is bigger than that, shrink it before adding anything else to it.
The legs are too thin or unevenly spaced. Legs look thin because they were drawn as two parallel lines that never met. Make each leg a single tapered shape, wide at the top and narrow at the hoof. Uneven spacing is the other half of the problem, so check the gap between each pair before you ink anything.
The body looks like a bean. A bean happens when the barrel oval is too round and the rump circle is the same width as the chest. Widen the rear third of the oval slightly and drop the chest end a little. That angle is what turns an oval into a horse’s body.
The knees and hocks bend the wrong way. This is the most common horse-specific complaint in beginner art forums, and it is why horses look backwards. The front leg’s knee bends backward, and the hind leg’s hock bends forward. Flip the hind legs around and check them against a photo before you go further.
The back leg is in the wrong place. It should sit lower and further back than the front leg, tucked under the rump rather than under the belly. Beginners tend to draw it directly behind the front leg, which makes the horse look stretched out and stiff.
The mane is stiff or oversized. A helmet-shaped mane usually means the strokes are too long, too even, or too far from the neck. Shorten them, vary the lengths a little, and let them start right behind the ears.
Two habits help more than any single fix. First, check the proportions before you check the details, because proportions are what people notice first and what they rarely forgive. Second, draw a relaxed standing pose rather than a running one for your first attempt; movement adds overlapping legs, foreshortening and a whole extra layer of difficulty on top of everything else.
Frequently Asked Questions
What is the easiest way to draw a horse for beginners?
Build the horse from three shapes before you add anything else: a long oval for the barrel, a small oval for the head, and four tapered legs. Connect them with a wedge-shaped neck, add two triangle ears, then erase your guide lines and trace a darker outline on top. Mane, tail and facial details come after the outline, not before.
Do I need to be good at drawing to make a horse?
No. This method depends on circles, ovals and straight-ish lines, not on hand control. The parts that make horses look hard, the long legs and curved muscles, come later once the shape block is on the page and the proportions are right. Plenty of people who cannot draw a straight line get a recognisable horse this way on the first try.
What paper should I use for a beginner horse drawing?
Any plain paper works, and a printer sheet is fine. Smooth paper shows light pencil guides better and takes color more cleanly. Slightly rougher paper is easier on anyone who presses hard, since it hides stray construction lines. A sketchbook with a light board underneath is the most comfortable option for longer practice sessions.
How do I make the horse’s legs look right?
Draw each leg as one tapered shape, wide at the top and narrow at the bottom, rather than two separate lines. Space the front pair under the chest and the hind pair further back under the rump. Remember the front knee bends backward and the hind hock bends forward. Leave clear gaps between the legs so you can see background through them.
Should I add color to my horse drawing?
Color is optional but it does help you check your outlines. Pick one base coat colour, then a darker shade of the same colour for the mane, tail and hooves, and a lighter one for highlights. Keep the background simple, such as a few grass strokes near the hooves, so the horse stays the focus of the page.
How can I practice drawing horses more easily?
Warm up on a scrap sheet first with two-minute loose sketches of any animal, without erasing anything. Then repeat the same standing horse several times rather than moving on to a new pose each time. Practising one shape in a small sketchbook builds proportion faster than a single careful drawing, and warm-up sketches train your hand to move before you ask it to be precise.
Conclusion
Start by drawing the body, head and legs as simple shapes in very light pencil, and stop there for a minute to check the proportions before adding a single detail. Everything after that, mane, tail, hooves, colour, is decoration on a structure you have already got right.
Then do it again with a different pose, a different coat colour and a fuller mane. Three drawings in a row beat one finished piece every time, and the third one usually surprises you.