How to make a Thanksgiving placemat with kids takes about 30 minutes and needs only three basics: a sturdy paper base, something to cut shapes from, and a glue stick. Children decorate their own mat, write one thing they are thankful for on it, and set it at their place at the table.
It works as a craft and as table decor at the same time, which is why families keep it in the rotation year after year. Updated for 2026, the method below scales from a two-year-old stamping thumbprints to an eight-year-old cutting a paper mosaic.
The part that makes it stick is that each child builds their own mat rather than sitting through a shared version. Everyone at the table gets something different, and nothing gets bought new each November.
Table of Contents
- 1What You Need
- 2Step-by-Step
- 3Step 1: Choose and Measure the Paper
- 4Step 2: Create the Background
- 5Step 3: Cut and Arrange the Shapes
- 6Step 4: Decorate the Placemat
- 7Step 5: Add Finishing Details
- 8Common Mistakes
- 9Tips for Different Ages
- 10Ways to Make It More Thanksgiving-Themed
- 11Frequently Asked Questions
- 12What supplies do I need for a kids’ placemat craft?
- 13How long does it take to make a Thanksgiving placemat?
- 14Can I laminate a printable placemat?
- 15How do you make circular placemats?
- 16What can I use instead of store-bought placemats?
- 17Conclusion
What You Need
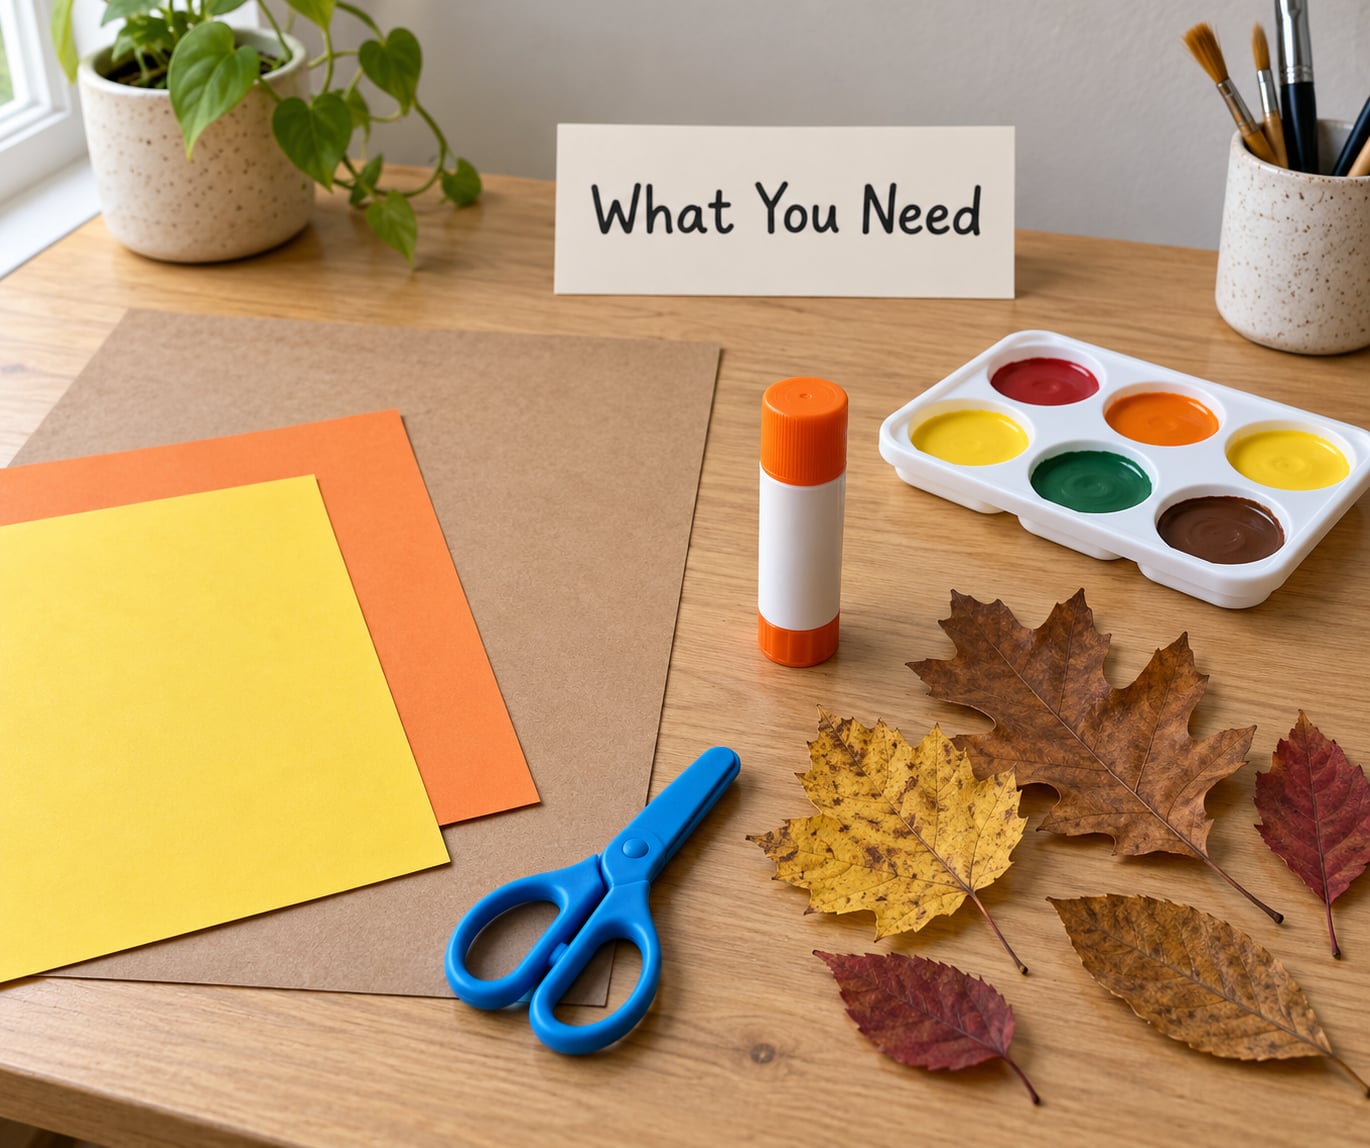
Almost everything you need is already in a kitchen drawer or a recycling bin. Pull it all out before the kids come to the table, because hunting for a missing supply mid-craft is where things stall.
- Paper base — one sheet of cardstock, brown kraft paper, or a flattened paper grocery bag per child. A standard dinner plate is about 12 inches across, so a 12 by 16 inch sheet gives you a rectangle with room for a plate, glass and utensils.
- Shapes — construction paper, old magazine pages, or scraps of gift wrap in autumn colors.
- Adhesive — a glue stick works best for small hands. Tape runners are fine too; liquid glue gets sticky fast and needs a wipe after.
- Tools — child-safe scissors and a pencil with an eraser.
- Color — crayons, colored pencils, or washable markers. Washable matters, since these mats sit next to a meal.
- Optional — a dinner plate to trace around, a laminating pouch the size of the finished mat, and a few real leaves gathered outside.
Skip anything sharp or small enough to swallow. For children under three, tear paper by hand instead of cutting, and use chunky crayons rather than markers they might put in their mouth.
Step-by-Step
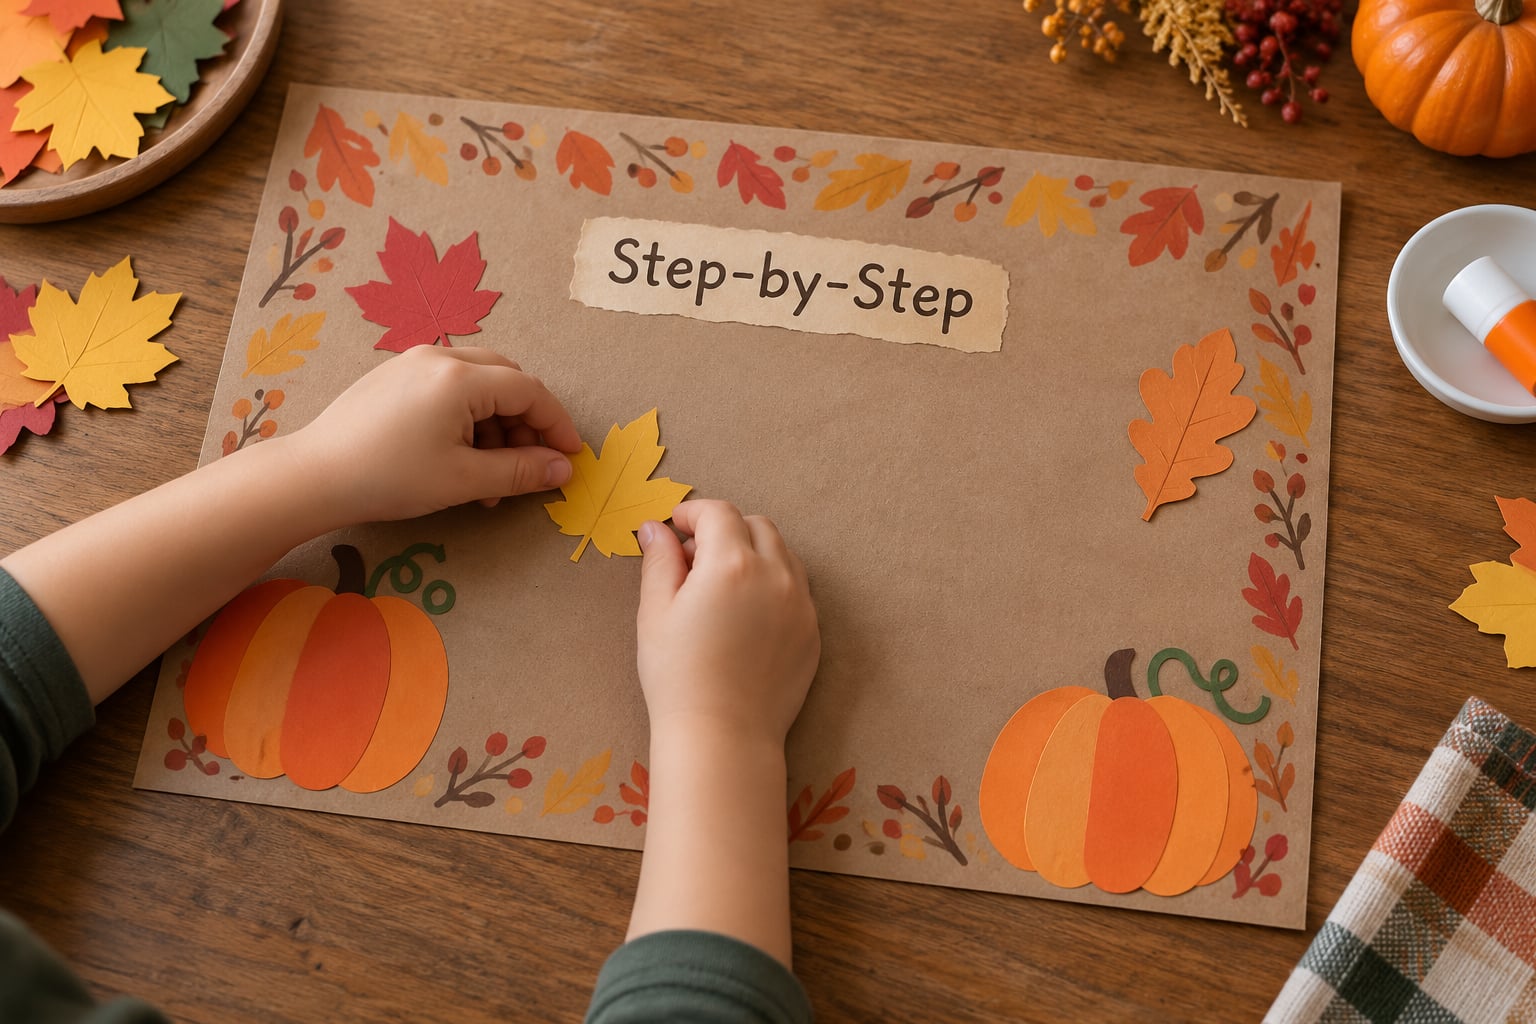
Work in one direction from left to right, cutting as you go. Kids stay focused much longer when each stage ends with something visible on the mat.
Step 1: Choose and Measure the Paper
Set the paper on the table and measure it against a dinner plate. If the mat is smaller than the plate, it will look cramped and crumbs will land on the tablecloth instead of the paper. Cut two sheets together at once if you need a wider mat for a long bench.
Step 2: Create the Background
Give the paper a base layer. Crayons rubbed lightly across the sheet make a soft mottled background; a diluted wash of washable paint gives a sturdier one but needs ten minutes to dry. Cardstock needs no paint at all, and for a toddler version that ends in the bin, kraft paper with nothing on it works just as well.
Step 3: Cut and Arrange the Shapes
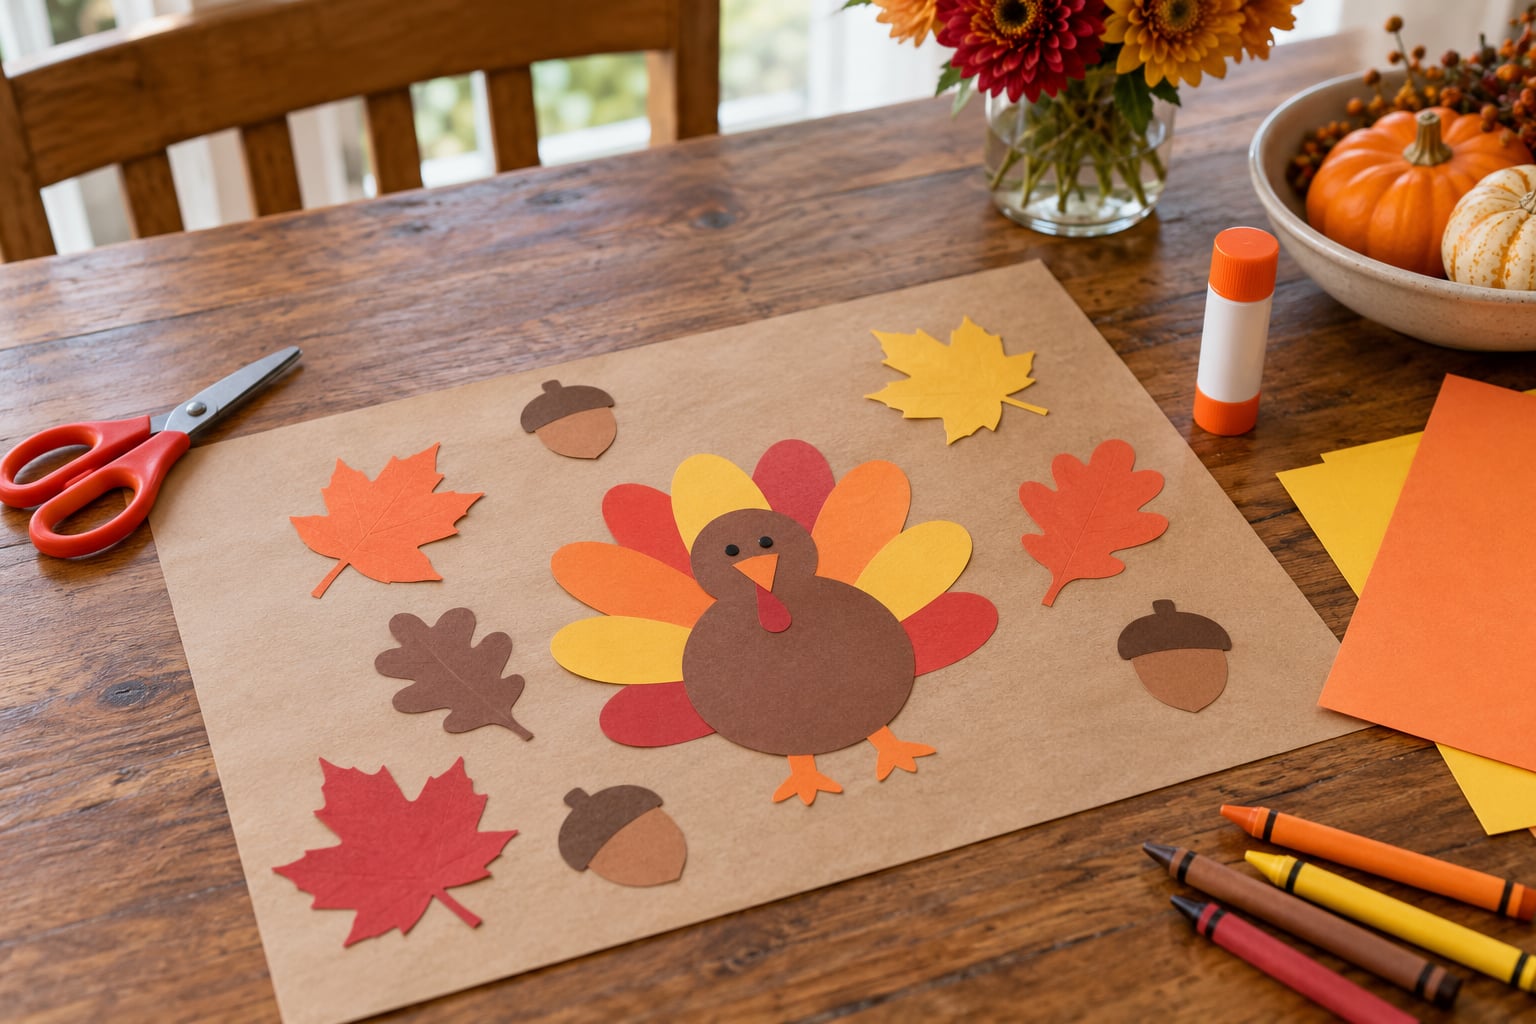
Cut leaves, acorns, pumpkins or corn husks from colored paper and lay them out before any glue goes down. Moving shapes around while they are still loose is the only easy way to fix a lopsided design. Once glued, they are stuck.
Step 4: Decorate the Placemat
Glue the shapes down, then color around them, or paint first and glue after so nothing smudges. Three difficulty levels work here: toddlers stamp or thumbprint, preschoolers glue pre-cut shapes, and older kids draw their own cornucopia and fill it with small scraps.
Step 5: Add Finishing Details
Across the top edge, write one thing each child is thankful for and add their name so the mat doubles as a place card. Tape on a border strip of washi or paper, then let everything dry flat for at least an hour before it goes near a plate.
Common Mistakes
The design ends up crooked. Lay every shape out first and take a photo from above before gluing. Children tend to crowd one corner and leave the rest bare; nudging the pile toward the center early fixes it.
Too much glue. A glue stick needs three or four short passes, not a spiral of stick. Excess glue soaks through thin paper and makes the mat buckle as it dries.
Marker bleeds through. Test on a scrap corner first, and give marker work a few minutes before anything is placed on top. Crayons and colored pencils never bleed and are the safer pick for small hands.
The paper tears while cutting. Paper grocery bags tear along their seam, so cut around the seam rather than across it. If a corner is starting to separate, lay a strip of tape behind it before cutting again.
The mat is too small for the setting. Measure first, then cut. If the paper is already cut too small, fold a narrow strip of the extra paper along the bottom edge to extend it, and let it dry under a heavy book.
Tips for Different Ages
Preschoolers, ages 3 to 5. Hand them pre-cut shapes and a glue stick. Expect the placemat to look like a pile of leaves, and that is the right outcome. Supervise the whole thing.
Elementary ages, 6 to 10. Let them cut their own shapes and add a written gratitude line. This is the age where the craft holds attention for the full half hour.
Teens. Skip the glue and use a printed sheet they can color or annotate. A detailed drawing of a cornucopia or a house they are thankful for takes as long as the rest of the meal preparation.
Two-year-olds. Tear paper instead of cutting, and let them stamp one color across the whole mat. An adult handles the scissors and the writing.
Adults working alongside a child. Prep the base ahead of time. The adult writes the gratitude line while the child decorates, which keeps the project moving without anyone waiting.
Because there is one mat per child, the craft pulls adults into it too. Hand everyone a sheet and set a timer for the writing portion, and the table stays busy in a good way instead of everyone hovering.
Ways to Make It More Thanksgiving-Themed
A turkey made from a circle of handprints, with each finger as a feather, gives a personal centerpiece for the mat. A torn-paper cornucopia curving along one corner works well on a kraft paper base. Real leaves pressed and dried onto glue dots add texture that paper cannot copy, and cutting them into repeating bands turns the mat into something closer to traditional Indigenous crinkle art, which is a nice thing to point out as the kids work.
For a conversation starter, write a question along the bottom edge that children answer under the table. What made you laugh today, or who did something kind for you this week, keeps the mat useful after dinner is over.
To make the placemat reusable, slip it into a laminating pouch cut a quarter inch larger on each side and run it through a laminator on the cool setting if the machine has one. Wipe it with a damp cloth afterwards and it survives to 2026 and beyond.
Frequently Asked Questions
What supplies do I need for a kids’ placemat craft?
You need a paper base the size of a dinner setting, colored paper or magazines for shapes, a glue stick, child-safe scissors, and crayons or washable markers. A paper grocery bag works as a free base. Laminating pouches are optional and only needed if you want the placemat to be reusable.
How long does it take to make a Thanksgiving placemat?
Allow about 30 minutes of active crafting per child, plus drying time. Prepping the base beforehand shortens the session. Setting the craft out on a tray or in a cardstock lap folder keeps glue and paper off the floor while you are cooking.
Can I laminate a printable placemat?
Yes, and it makes the mat wipe clean and reusable for several years. Print on cardstock rather than plain paper, leave a quarter inch of clearance on each side, and use the cool setting if your laminator has one. Cool the sheet flat before bending it.
How do you make circular placemats?
Place a dinner plate on the paper, trace around it with a pencil, then cut along the line. A 10 inch plate leaves about an inch of margin inside the circle. Circles suit younger children because there are no corners to cut neatly.
What can I use instead of store-bought placemats?
A sheet of kraft paper, a flattened paper grocery bag, or a brown paper bag cut open works. Other free options include newspaper with a sheet of clear contact paper over it, a sheet of fabric you already own, or a printable sheet taped to the table. Kids can then decorate whatever surface you choose.
Conclusion
Start by cutting the base paper to fit a dinner plate, then let your child take it from there. The version that lasts is the one they design themselves, even if it is mostly orange paper and one very confident pumpkin. Set it at the kids’ table, let them write what they are thankful for, and the mat becomes part of the meal instead of something thrown out the next morning.