Yes — you can carve a pumpkin without a kit. A small kitchen knife, a large metal spoon, and a washable marker are genuinely enough to turn a grocery-store pumpkin into a jack-o’-lantern, and most people who try it never go back to the plastic saw-and-poke set. The whole job takes about 45 to 75 minutes of active time, is beginner-friendly, and the messier part (the seeds) has a second life as roasted snacks.
The reason people search for this is usually frustration. Store-bought kits feel flimsy, the little saw bends, and the plastic poker snaps on the second pumpkin. What follows is the method I use: pick the right gourd, hollow it out until the walls are clean, draw one simple face, score before you cut, and taper every opening so light gets through.
One safety note up front, because this article gets read by a lot of parents and teachers: an adult should handle the knife for every child in the room. Kids can trace the design, pull the seeds, hold the light and clean up. That split keeps the activity fun without putting small hands on a wet, round surface that a blade can skate straight off.
Table of Contents
- 1What You Need
- 2Step-by-Step: How to Carve a Pumpkin Without a Kit
- 3How to carve a pumpkin without a kit safely
- 4Draw a simple face or design
- 5Score the outline and cut the openings
- 6Clean the cuts and light the pumpkin
- 7How to make a carved pumpkin last longer
- 8Common Mistakes
- 9Frequently Asked Questions
- 10Do I need a pumpkin-carving kit to make a jack-o’-lantern?
- 11Can children carve a pumpkin without a commercial kit?
- 12What is the safest household tool for carving a pumpkin?
- 13How do I stop a pumpkin from cracking while I carve it?
- 14How long will a pumpkin carved without a kit last?
- 15Can I use a real candle inside a carved pumpkin?
- 16Conclusion
What You Need
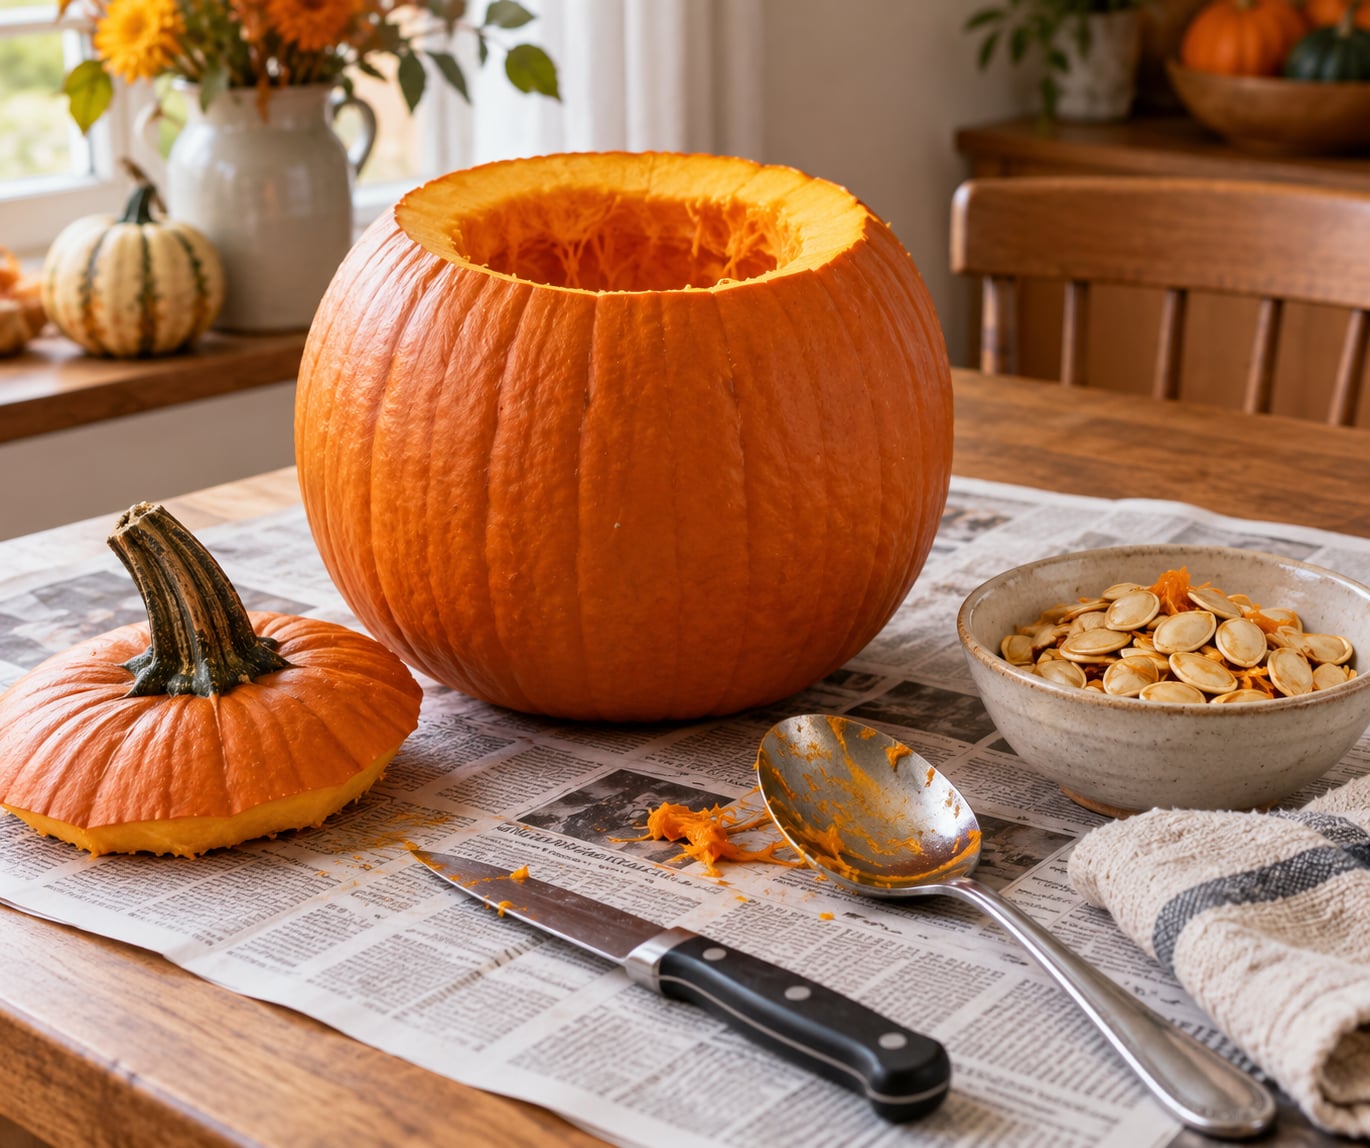
The core list is short: one pumpkin, one small knife, one spoon, one marker, and a newspaper-covered table. Everything below that is a swap, not a requirement.
| What a carving kit gives you | What to use instead | Why it works |
|---|---|---|
| Plastic saw | Keyhole saw or small serrated hacksaw blade | The pointed tip pierces the thick wall first and the teeth do the rest. Safer than a knife because the blade moves away from your hand. |
| Thin detail knife | Craft knife with a fresh blade, or linoleum cutter | Thin blade follows a traced line closely and won’t chip the skin around an eye or mouth. |
| Large scoop | Ice cream scoop, serving spoon, or melon baller | Follows the curve of the wall, so you scrape the flesh instead of gouging it. |
| Pattern punch | Cordless drill with Forstner bits, or a nail and hammer | Makes clean round holes and dotted patterns fast. Forstner bits are reported as the easiest route to round eyes. |
| Poke tool | Serrated knife or a grapefruit knife | A double-edge grapefruit knife curves nicely around a nose or a smile. |
| Marker | Water-based dry-erase marker or washable marker | Erases with a damp cloth if a line lands crooked, which permanent marker will not. |
A few substitutions are not safe swaps. Skip the serrated knife for small hands — it catches and jumps. Skip power tools entirely for anyone under 12 with adult help nearby. And if your pumpkin has a soft spot, mold, or a stem that snaps off in your hand, put it in the compost pile and pick another.
Have a damp towel and a bowl for scraps nearby. Newspaper on the table protects the surface, and a plastic bag in a bucket catches the seeds so you can rinse and roast them later.
Step-by-Step: How to Carve a Pumpkin Without a Kit
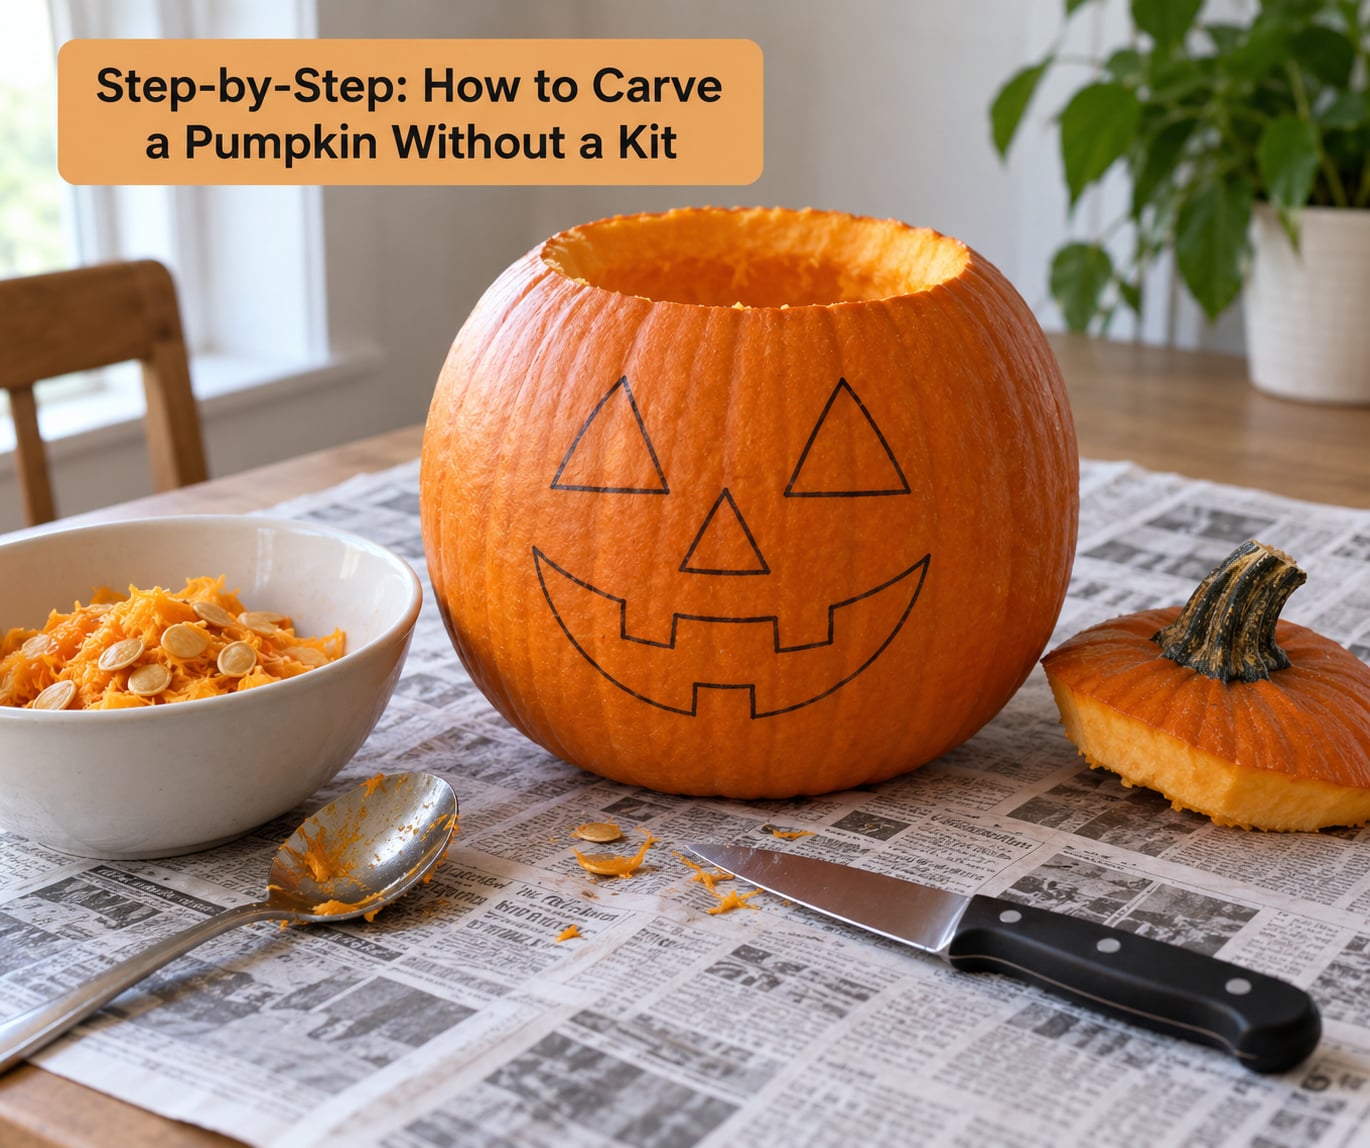
Set your work area up before you touch the pumpkin. A damp towel under the pumpkin kills the slipping that ruins so many first attempts — the back of a wet pumpkin is round and slick, and a small blade on a slick round surface is exactly the combination that produces the ER visit.
How to carve a pumpkin without a kit safely
Wash the pumpkin first, then dry it completely. Dirt under a marker line is grit under a blade, and water on the skin turns into a slipping hazard the moment you start cutting.
Cut around the stem with the knife held in a pinch grip, working the blade tip in and drawing it around. Angle the cut so the top edge of the opening is lower than the bottom edge — a bevelled cut. The lid then wedges itself in instead of sliding off or dropping back into the pumpkin.
Lift the lid and set it aside. Now scoop. Work the spoon around the inside wall with the blade of the spoon scraping, not stabbing, and let the pulp fall into your bucket.
Checkpoint: hold the pumpkin up to a window. You should see no stringy pulp hanging in the cavity and no pale flesh clinging to the wall. If the inside still looks patchy, scrape more. That light also confirms you have not accidentally pierced the far side while pushing chunks out from behind.
Keep digging until the walls are clean, then wipe the outside dry. If you want the lid to stay off for a month of porch sitting, cut the access hole in the bottom or the back instead of the top — you keep the stem and the whole silhouette intact.
Draw a simple face or design
Two triangle eyes and a jagged mouth work for beginners every single time. So does one big round eye, a mustache, or a dotted pattern you punch with a drill. Beginners do best with four to six large shapes, not a detailed scene.
Draw freehand with a washable marker directly on the skin, or tape a paper pattern on with a few staples and trace over it. If you staple the pattern, place staples between the areas you intend to cut so the paper never sits where the blade needs to travel.
Checkpoint: step back an arm’s length and squint. If the features blur together or sit too close to the stem or the base, wipe it off with a damp cloth and redraw. A marker line costs nothing to redo; a cut line costs the wall.
Score the outline and cut the openings
Score first, cut second. Run the tip of the knife along your traced line to cut the skin only, then follow that same line deeper. The scoring line stops the blade wandering and dramatically reduces chipping.
Push the knife into the wall at an angle, away from your body and away from your supporting hand. Let the pumpkin’s own curvature guide the blade — as the wall curves away, the tip follows naturally.
For a tight curve, drill a line of pilot holes just inside your outline and connect them with the knife. Closer holes mean smoother curves and less chipping, and it is much easier than forcing a blade through a tight radius.
Leave the cut pieces sitting in the openings until the main cuts are done. They brace the wall and stop thin sections around eyes and mouths from snapping inward.
Checkpoint: a freehand chunk that will not budge means the blade is not reaching the far side. Stop, go around, and finish from the other direction rather than levering until you punch a hole in the back.
Clean the cuts and light the pumpkin
Pull out every loose piece of pulp and scrape the cut edges clean with the spoon, then rinse or wipe the pumpkin dry. Wet flesh under a flame-free light still goes soft faster than dry flesh.
Now the step people skip, and the reason so many jack-o’-lanterns glow like nothing. Tap each opening from the inside so the cut-out is wider on the inside than on the outside. A slice of pumpkin wall acts like a funnel, and light passing through a narrowing funnel never gets out.
Use a battery-powered tealight or LED light. I would not put an open flame inside a hollow gourd — it is dry plant material with a wick sitting in the middle of it, and the vent hole a candle needs is another hole to cut into a wall you spent time on.
How to make a carved pumpkin last longer
A carved pumpkin lasts a few days to about a week on a porch in ordinary October weather. You can stretch that considerably with a few cheap tricks.
Rub a thin coat of petroleum jelly into all the cut surfaces the evening you carve. It seals the exposed cells and slows the drying and molding that turns a jack-o’-lantern to mush. Thin coat — a heavy one just smears.
For mold, a diluted bleach soak works: a few tablespoons of bleach in a bucket of water, submerge for several hours, rinse well. Skip the bleach if the pumpkin will be composted or fed to wildlife. A soak in a diluted baking soda solution is the gentler option, though it does less.
Many people ask about WD-40 on a carved pumpkin. It is sometimes used to slick the knife and stop the blade catching as it enters the wall, and it can give cut surfaces a temporary water-resistant film. It is not a preservation treatment and it is not food safe, so keep it away from anything you might eat and off the inside surface.
On vinegar: soak before carving if you want the pumpkin firmer and easier to cut. Soak after carving is far less useful because the damage has already started — the cut surfaces are already exposed. Vinegar after carving is basically an expensive way of doing nothing.
If you must carve early, refrigerate the pumpkin wrapped in plastic and set it out a day or two before Halloween.
Common Mistakes
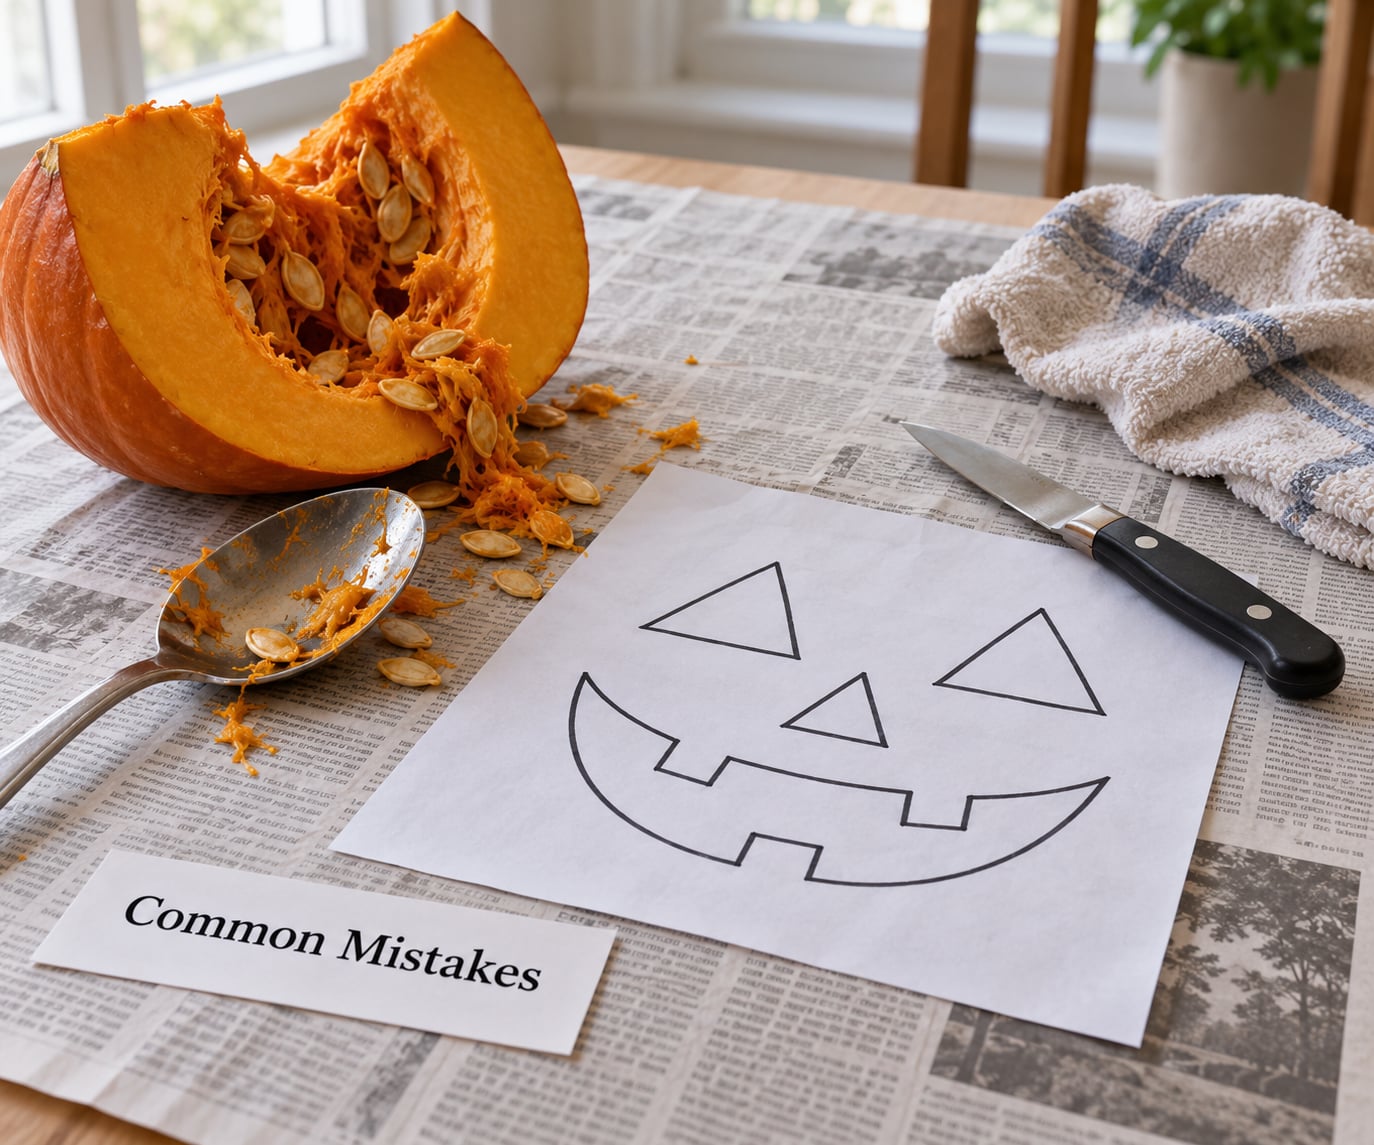
Almost every bad first carve comes down to one of six things. Here is what went wrong, why, and what to do differently.
| Problem | Why it happened | The fix |
|---|---|---|
| The knife slipped or you nicked your hand | The back of a wet pumpkin is round and slick, and the support hand was in the blade’s path | Dry the pumpkin, put a damp towel under it, and keep your support hand behind the cutting line, not beside it. |
| A hole punched through the far wall | You levered a stuck chunk from behind until the blade found the other side | Stop levering. Finish the cut from the opposite direction in shallow passes. |
| Light barely shows through the face | The cut-out is the same width inside and out, so the wall blocks it | Tap each opening from the inside so the inside edge is wider. Angle the cuts outward. |
| The face chipped and cracked around the eyes | You cut straight down through the skin with no guide line, and the design was too small and too crowded | Score the skin first, use fewer and larger shapes, and drill pilot holes on tight curves. |
| The lid won’t stay on | The cut was horizontal, so the lid slides | Bevel it — cut down toward the stem on the far side so the lid wedges. |
| The pumpkin collapsed two days later | Too much flesh left inside, or the shell was never dried off | Hold it up to the light before drawing, scrape to bare wall, and wipe the surface dry. |
A few prevention habits cover most of those: choose a pumpkin with a flat base so it will not rock, even color with no soft patches, and a stem that is firm and green. Press your thumbnail into the skin — if it dents easily, put it back and pick another.
Keep the work area dry and uncluttered. The single most common safety complaint from people who carve is a knife skating across wet pulp, and the fix costs nothing.
Frequently Asked Questions
Do I need a pumpkin-carving kit to make a jack-o’-lantern?
No. A small kitchen or paring knife, a large metal spoon or ice cream scoop, and a washable marker will do everything a basic kit does, and the household tools are usually sturdier. A serrated saw or keyhole saw is a safer substitute for the plastic saw most kits include.
Can children carve a pumpkin without a commercial kit?
Yes, with adult supervision doing the knife work. Children can trace the design with a washable marker, pull out seeds and stringy pulp, choose the light, and clean up afterwards. An adult should handle cutting the lid and the face, since the pumpkin skin is wet and round and small knives skate badly on it.
What is the safest household tool for carving a pumpkin?
A serrated metal saw is the safest option because it moves away from your hand and cannot skate like a smooth blade. If you use a knife, a small paring knife is safer than a large chef’s knife, because you cut near the tip where control is best. Always cut away from your body and stabilize the pumpkin with a damp towel underneath.
How do I stop a pumpkin from cracking while I carve it?
Score the traced lines with the knife tip before cutting through the full wall, keep your shapes large and few, and drill pilot holes along tight curves instead of forcing the blade around them. Cracking usually happens where a design is small and crowded, or where you cut straight down with no guide line.
How long will a pumpkin carved without a kit last?
A carved pumpkin normally lasts a few days to about a week outdoors. Rubbing petroleum jelly into the cut surfaces the same evening, keeping the inside scraped clean and the shell dry, and using a cool LED light instead of a candle can stretch that considerably. Refrigerating a wrapped pumpkin lets you carve several days ahead.
Can I use a real candle inside a carved pumpkin?
You can, but I would not. A hollow gourd is dry plant material, and a real flame needs a vent hole to prevent soot and pressure. An electric tealight gives the same warm glow with no fire, no soot on the ceiling, and no risk if the pumpkin dries out and a stray spark lands in the pulp.
Conclusion
To carve a pumpkin without a kit, pick a gourd with a flat base and hard skin, hollow it until the wall is clean to the light, draw one simple face in a washable marker, score every line before cutting deep, and taper the openings wider on the inside so the light actually gets through. Have an adult handle the sharpest work, set the pumpkin on a damp towel, and light it with an LED tealight. It takes under an hour and it will still look like you meant it to.