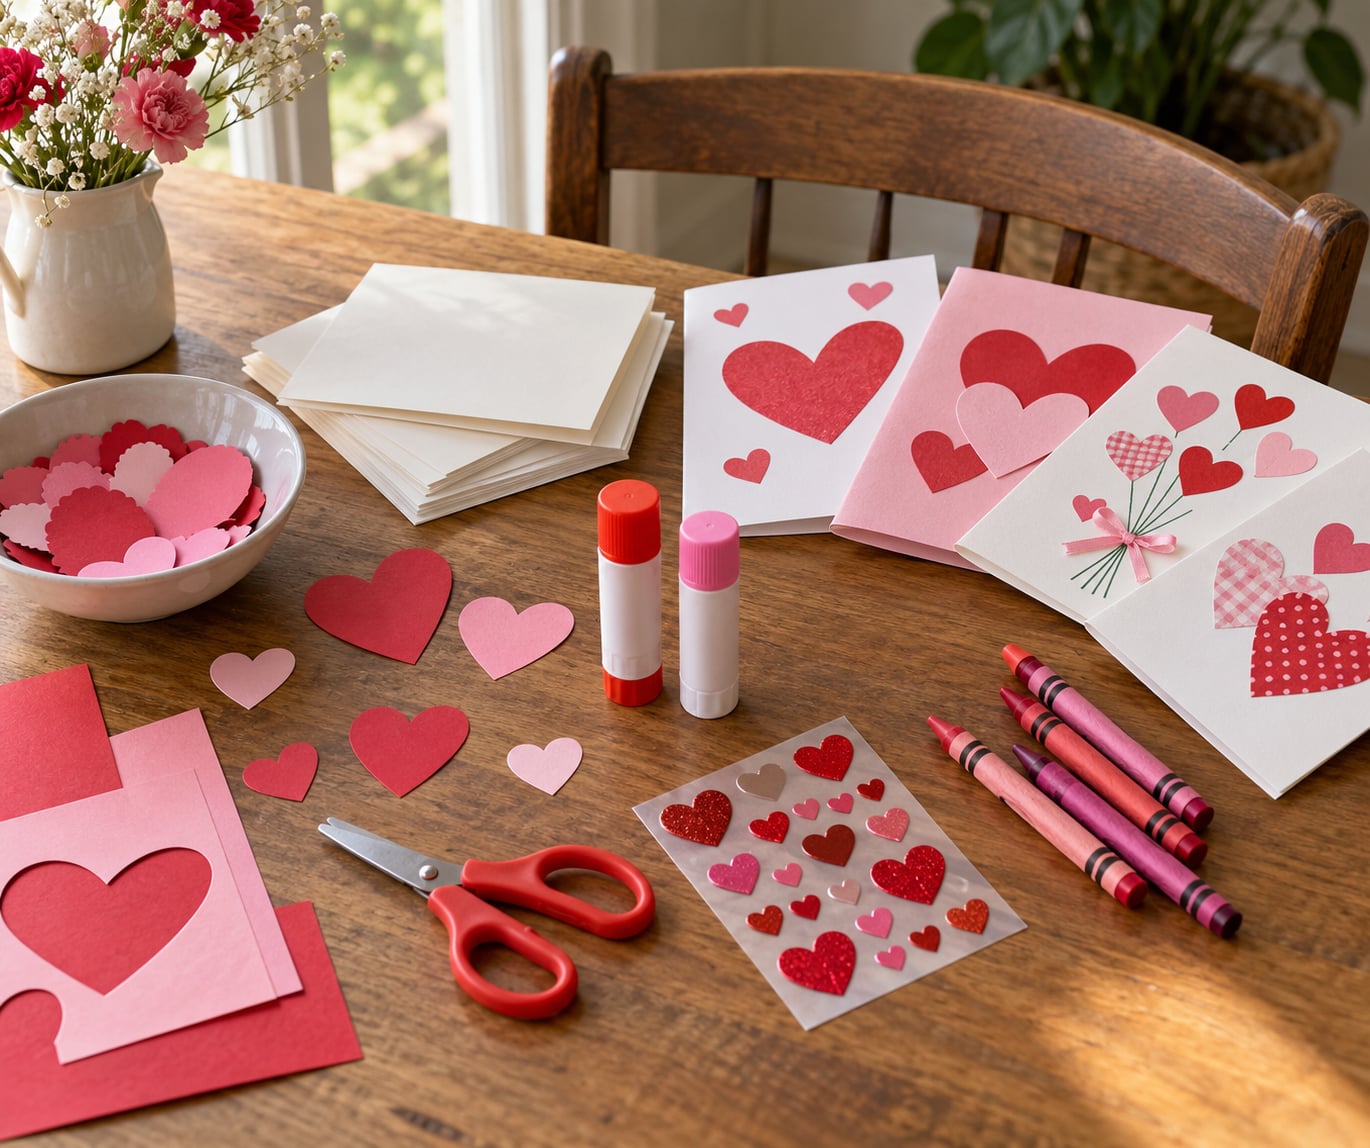
Making valentine cards for a class party comes down to a count and a method: your child needs one card for every classmate plus one for the teacher, and each card is just a folded piece of paper with a decorated front and a short message inside. A batch of twenty-five takes about half an hour of setup and fifteen minutes of actual making.
The part that catches parents out is not the crafting. It is turning up on the Friday before with the wrong number of cards, the wrong kind of treats, or cards that look nothing like the child made them. Read this guide once and you will have the counts, the supplies and the classroom rules sorted before the panic starts.
Table of Contents
- 1What You Need
- 2Step-by-Step: How to Make Valentine Cards for a Class Party
- 3Choose the Card Design Before You Cut Anything
- 4Cut and Fold the Card Bases
- 5Make the Valentine Message
- 6Decorate the Front
- 7Add a Small Finishing Detail
- 8Check, Display or Package the Cards
- 9Common Mistakes
- 10Tips for Making a Class Batch
- 11Frequently Asked Questions
- 12How many Valentine cards should each child make for a class party?
- 13What is the easiest Valentine card design for young children?
- 14Can I use printable Valentine templates for a classroom party?
- 15How can teachers manage a large group of children making cards?
- 16What materials are best for Valentine cards made by preschoolers?
- 17How do I make cards without using glitter or messy paint?
- 18Conclusion
What You Need
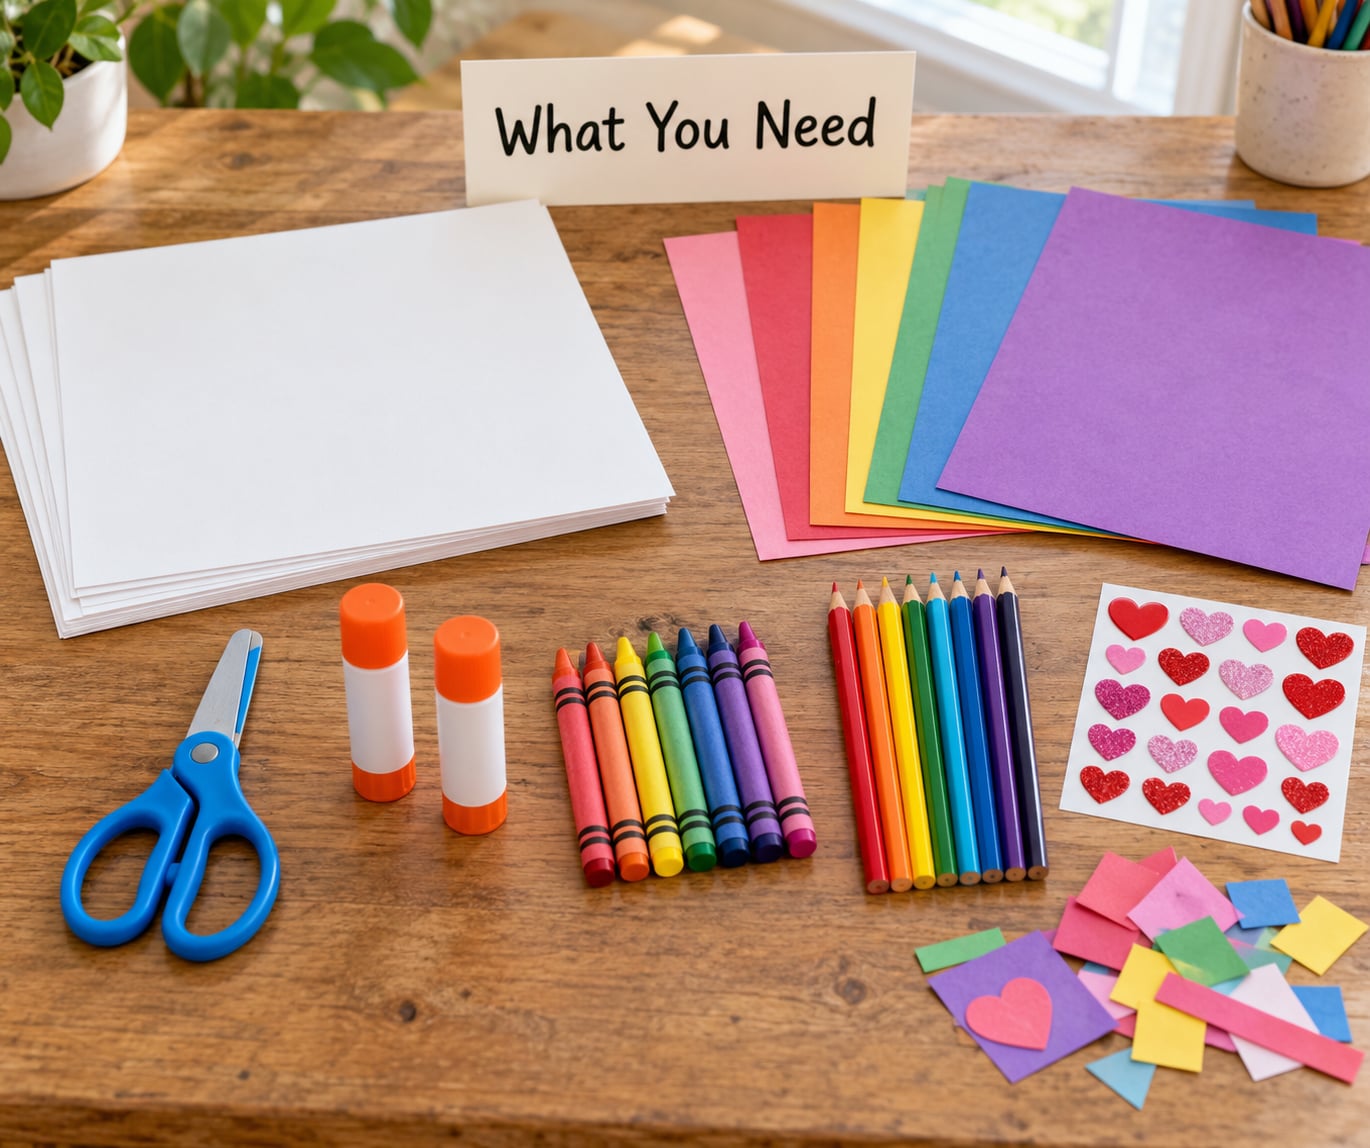
You need four categories of supplies: a paper base, decoration materials, glue and tools. Beyond that, everything is optional. Here is the list I would actually put on the table, plus what to use when you do not have the real thing.
The basics
- Cardstock or heavy construction paper. One 8.5×11 sheet yields four card bases, so a class of 24 plus extras needs about seven sheets.
- Glue sticks. They hold paper shapes better than school glue and there is nothing to wash out of a sleeve.
- Child-safe scissors, and adult scissors for you. Cut the bases and any small pieces yourself before the session starts.
- Crayons, colored pencils or washable markers for the message and the front.
- A pencil for names inside the card.
Decoration options
- Paper shapes from a craft punch: hearts, flowers, stars, scalloped circles.
- Heart stickers, foam shapes, googly eyes and pom-poms, kept small enough not to be a choking risk for younger children.
- White and colored paper scraps, which are usually the most-used supply in my experience.
- Doilies, tissue paper, tissue foil and patterned scrapbooking paper for collage.
- Washable glue dots or double-sided tape for children who cannot manage a glue stick.
Low-cost substitutions
Cereal boxes flattened and cut into squares make sturdier cards than paper. Brown paper bags from the grocery store iron flat on a hot setting and cut into hearts surprisingly well. Painted jar lids, bottle caps and cardboard circles turn into embellishments for free. If you have a library card, most libraries print pages for a few cents a sheet.
Skip glitter, beads and small loose sequins if the party is for children under six. They end up on the floor, in shoes and in the carpet for months.
Step-by-Step: How to Make Valentine Cards for a Class Party
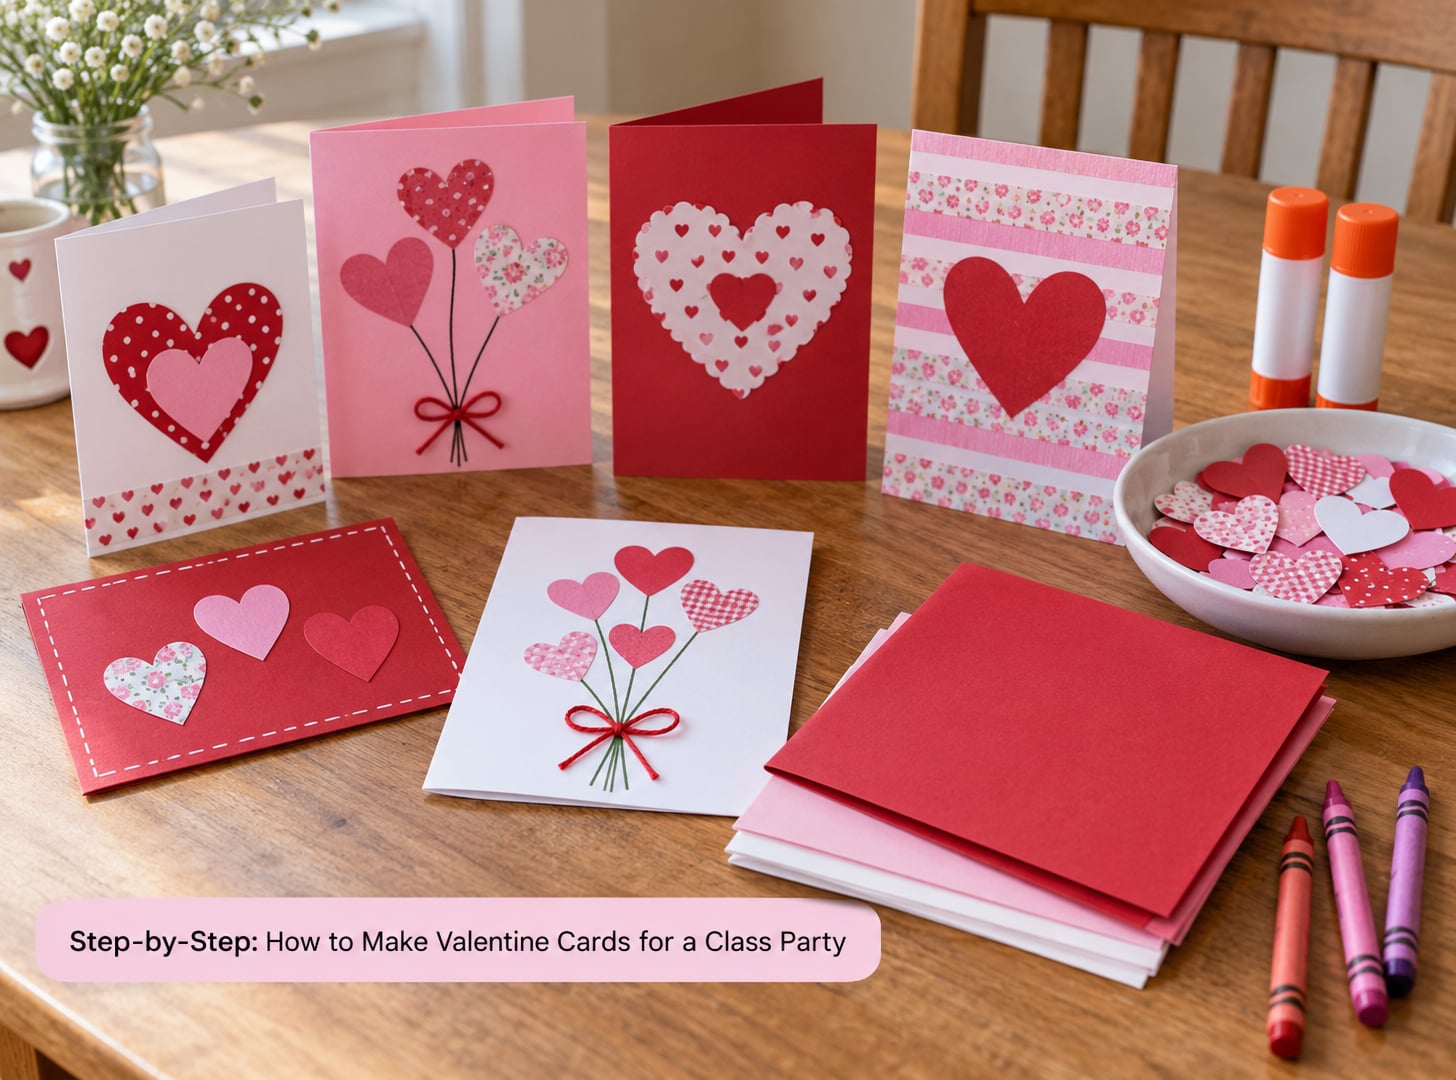
Six steps cover the whole process, and you can do the first two yourself before handing the project over. Plan for five to eight minutes per card when a child is doing the decorating, or two minutes per card when you are batch-making at home.
Choose the Card Design Before You Cut Anything
Pick one design for the whole group, then offer two or three variations of it. A single design means you cut one set of pieces and every card looks intentional. Three variations mean siblings and classmates see something a little different from their neighbor without you prepping three projects.
Match the design to the age and the clock. Fold-and-glue cards suit preschool through second grade. Collage with punched shapes works for kindergarten and up. Pop-up tabs, woven paper and anything requiring a steady cutting line belong to third grade and older. Fifteen minutes per card fits a simple heart collage; a pop-up mechanism needs closer to half an hour.
Here is how to make valentine cards for a class party with almost no setup: fold one sheet in half, hand each child three large paper hearts and one strip of patterned paper, and let them place them. That single instruction covers a full class.
Cut and Fold the Card Bases
Cut the bases to one uniform size before the children start, because mismatched cards are the most visible mistake in a class exchange. Fold each one in half with the blank side inward, press the crease with the edge of a ruler, and set them in a stack.
Check that the writing space is usable when the card is open. A card covered edge to edge with decoration inside leaves nowhere to write, which is the second most common problem I see. Reserve a clear panel about half the inside for the message and name.
Make the Valentine Message
Ask for one or two short sentences, signed with the child’s name. Younger writers can trace dotted lines you have drawn lightly in pencil, and multilingual learners can write their message in whichever language feels most natural while the rest of the card stays in English.
Check the wording for age. Romance-themed messages make fourth and fifth graders self-conscious, so friendship messages work far better up there. Keep puns for the kindergarten crowd, where they get a round of applause every time.
- Preschool: “Happy Valentine’s Day. I like you.”
- Kindergarten: “You are a great friend. Happy Valentine’s Day!”
- Upper elementary: “Thanks for being a good friend this year. Have a great day!”
- Teacher card: “Thank you for a fun year. Happy Valentine’s Day!”
Decorate the Front
Give children one technique rather than the whole craft bin. Drawing directly on the cover takes nothing but crayons and cannot go wrong. Tearing paper for a collage builds fine motor skills and needs no accuracy. Stamping with a heart or star shape produces a consistent look in about thirty seconds.
Handprints work well for preschool classes and make a meaningful keepsake for families. Use washable tempera, one colour per child, and press the palm once on plain cardstock so the print sits on the cover rather than across the fold.
Melted crayon hearts are the classic version of this project. Melted wax on waxed paper, then press the hardened heart onto the card. They take about twenty minutes to set flat, so plan them a day ahead rather than the morning of the party.
Add a Small Finishing Detail
One finishing touch makes handmade cards look finished: a strip of washi tape along the edge, a punched scalloped border, a small paper doily in a corner, or a ribbon bow on a pocket card. One detail, not five.
Watch what the detail does to the inside. A ribbon tied tight across the fold stops the card lying flat, and a thick glued-on shape makes it hard to write on. If the card needs to be handled twenty times on the way to the trash can, keep it flexible.
Check, Display or Package the Cards
Before the cards go into a bag, flip through them. Confirm every card has a name and a readable message, and that nothing important has come loose. Any glue still wet needs a few more minutes, and any card with a tear can be swapped for a spare, which is why cutting a few extras costs nothing.
Then decide how they travel. Piled on a table for a display exchange, unopened until the signal. Handed out across a desk, they go into small paper bags or envelopes so designs survive the trip. Either way, name the cards inside because that is how children match them up.
Common Mistakes
Almost every problem in a class exchange traces back to one of six things, and all of them are fixable before the party rather than on the morning.
- Uneven folds. Score the crease with a ruler and the card folds straight. A wobbly fold is the difference between handmade and sloppy.
- Over-decoration. When the front is busy, the message inside gets squeezed into a corner. One technique per card is plenty.
- Weak glue. Glue sticks need pressure and about thirty seconds of holding. Press each piece down with a thumb rather than letting go straight away, and avoid liquid glue with younger children.
- Missing names. It is common for a class to require only the child’s own name on at least some cards, so ask the teacher first. When in doubt, name every one; it costs ten seconds each.
- Illegible messages. Offer tracing for early writers and a printed strip to glue in for anyone whose writing is not yet readable.
- Crumpled writing space. Keep decorations off the inside panels, especially where a hand rests to write.
- Tools that are too hard to use. Standard full-size scissors frustrate four-year-olds. If cutting is part of the plan, cut the shapes yourself in advance.
The other mistake is doing the whole project yourself. A lot of schools and programs ask for kid-made cards, which is why the cutting, folding and message prep happen with an adult while the decorating belongs to the child.
Tips for Making a Class Batch
A smooth exchange is mostly a scheduling problem, and the schedule is short. Here is the countdown I use.
- One week out: ask the teacher for the exact count, whether cards include a teacher card, whether treats are allowed, and whether anyone in the class has a food allergy you need to design around.
- Three days out: cut all card bases and shapes, stack them in baggies by design, and pre-write nothing except teacher names.
- Day before: do paint or melt projects so they have overnight to dry flat under a sheet of scrap paper.
- Party morning: set out one tray per group, name the finish line, and reserve the last ten minutes for writing names inside.
Working in small groups of six or seven is calmer than one large session. Set a visible timer, and collect finished cards onto a tray rather than passing them around, which stops the pile getting crushed.
For a class of 25 or more, save yourself an evening by batching: fold and decorate ten cards in one sitting, then start the next ten before motivation fades. Kids can still write their own messages and add their names on the day.
Budget tip: a paper-only card costs a few cents in materials, and every scrap from cutting shapes becomes an extra card for the child who forgot to count. Keep the offcuts in a jar by the door until the party week, then make the extras together.
If your school discourages Valentine’s Day entirely or asks for an alternative, a kindness card works just as well: a note for the teacher, a card for a staff member, or a “you are a good friend” card the children hand out that is not holiday-branded. Ask what the teacher wants before you make anything.
Frequently Asked Questions
How many Valentine cards should each child make for a class party?
One per classmate, plus one for the teacher. For a class of 24 children that is 25 cards, so buy or cut enough paper for 27 to be safe. Ask the teacher whether every card needs your child’s name or whether one signed card is enough, and whether classroom helpers or absent students need a separate card. Two extra blanks take one sheet of paper and remove the most common morning-of problem.
What is the easiest Valentine card design for young children?
Cut-and-paste with large shapes is the easiest. Fold a half sheet of construction paper, let the child glue three or four big paper hearts and a strip of patterned paper across the front, then write the message inside. Nothing is small enough to lose, nothing has to line up, and the only cutting is done by an adult beforehand.
Can I use printable Valentine templates for a classroom party?
Yes. Print the card front at home or on a library printer, cut around the border, and let your child add the message and sign inside. The printable handles the fiddly design work while the child still contributes, which satisfies programs that ask for kid-made cards. Print a few spares so a smudge or a paper jam does not cost you a card.
How can teachers manage a large group of children making cards?
Stage the activity instead of running it as one block. Demo fold, decorate, write and hand out in about five minutes, then let the class pick between two or three designs built from the same supplies so setup stays simple. Work in groups of six or seven with a visible timer, and have children place finished cards on a tray rather than passing them around the room.
What materials are best for Valentine cards made by preschoolers?
Use cardstock or heavy construction paper for the base, washable glue sticks, chunky kid scissors, large crayons or washable markers, and paper shapes big enough to pick up easily. Avoid small beads, thin paper, liquid glue and glitter, since those need adult hands and create real cleanup problems. Glue dots or double-sided tape work well for children who cannot yet manage a glue stick.
How do I make cards without using glitter or messy paint?
Stickers, punched paper shapes, rubber stamps, doilies, tissue paper and torn-paper collage give you color, texture and shine without anything that sheds. If you want paint, use washable tempera on a tray with a sponge dabber and keep it off the writing side of the card. Metallic paper and foil sheets add sparkle with no residue at all.
Conclusion
Start with the count, not the craft: one card per classmate, one for the teacher, and two spares. Cut and fold the bases ahead of time, pick one simple design the whole class can manage, and let the decorating belong to the children.
If you only have an hour, make the cards in two batches of ten and leave the writing and names for the party morning. Done that way, the craft stops being the hard part of the week.