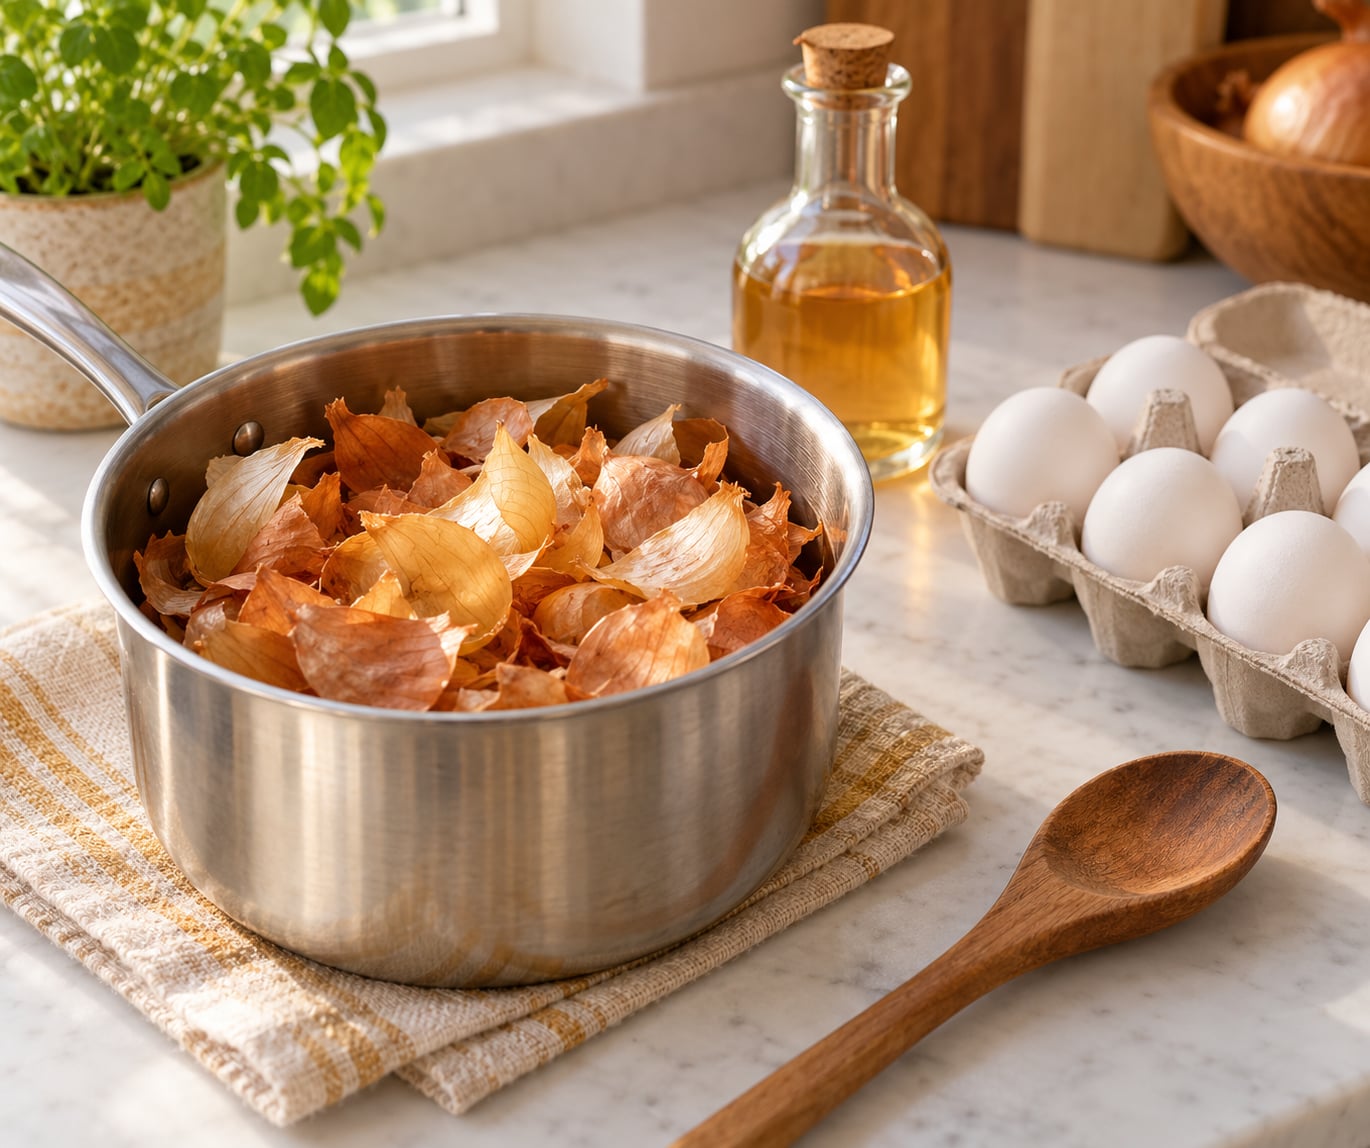
To dye Easter eggs with onion skins, pack 3 cups of onion peels into a pot with 2 quarts of water and 2 tablespoons of vinegar, simmer the eggs in that liquid for 10 minutes, then kill the heat and let them sit in the dye until it cools. That off-heat rest, not the simmering, is where most of the color comes from. The whole batch takes about an hour, start to finish, and there is no dye kit to buy.
Yellow and red onion skins release a gold pigment called quercetin into hot water, and the shells drink it up as they cook. Yellow skins give you gold, amber and copper; red skins push further, toward orange-red and mahogany. Nobody dyes a store-bought blue or green with this method, and that is the point.
It is also the cheapest Easter activity I know. A bag of skins costs nothing, the pigments are food-grade by nature, and the eggs do not taste like onion once they are rinsed and peeled. Red-dyed eggs are part of Greek Orthodox Pascha tradition, which is where the deep red version comes from.
Table of Contents
- 1What You Need to Dye Easter Eggs with Onion Skins
- 2Step-by-Step: How to Dye Easter Eggs with Onion Skins
- 3Prepare the Onion-Skin Dye
- 4Add the Eggs and Cook
- 5Create Marbled Effects
- 6Cool, Rinse, and Dry
- 7Get a Glossy Finish and Store Them Right
- 8Common Mistakes and How to Fix Them
- 9The eggs came out pale
- 10The eggs cracked in the pot
- 11The color is blotchy or muddy
- 12The dye does not cover the eggs
- 13The pot is a nightmare to clean
- 14Soak Time vs Color Depth
- 15Frequently Asked Questions
- 16How long should I soak Easter eggs in onion-skin dye?
- 17Do I need vinegar to dye eggs with onion skins?
- 18Can I eat eggs dyed with onion skins?
- 19How can I get brighter colors from onion skins?
- 20Can I peel the eggs after dyeing them with onion skins?
- 21How do I stop the eggs from cracking while they simmer?
- 22Conclusion
What You Need to Dye Easter Eggs with Onion Skins
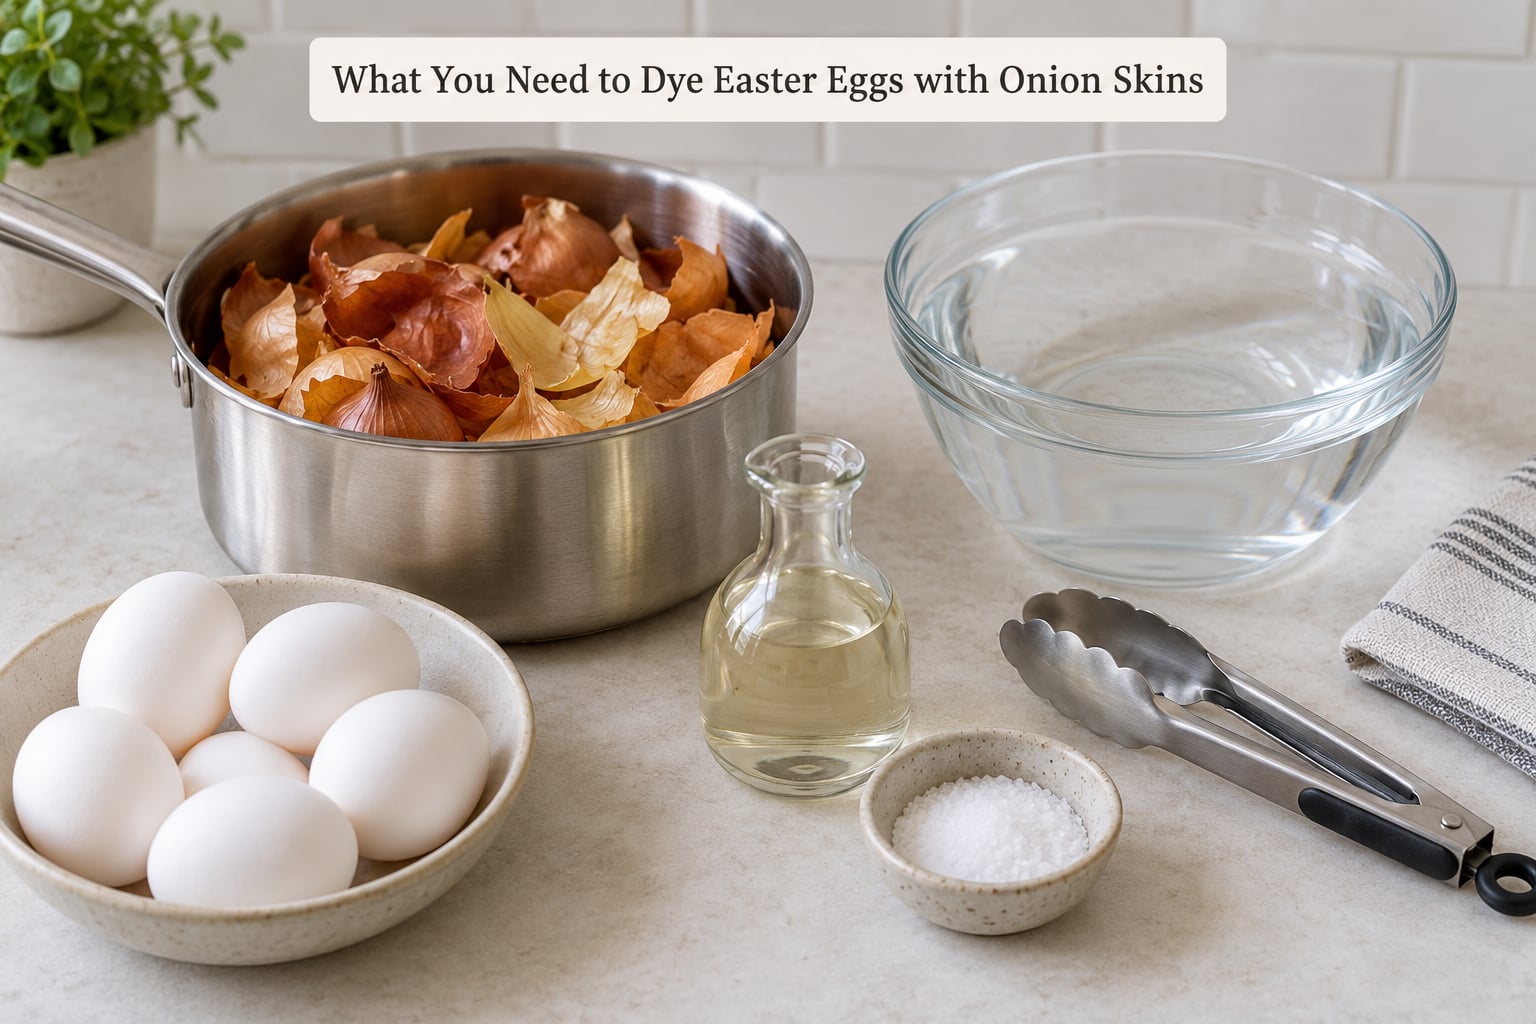
The table below covers one dozen eggs. Double everything for two dozen and use the biggest pot you own, because the eggs need to sit fully under the liquid.
| Item | Amount for 12 eggs | Notes |
|---|---|---|
| Eggs | 12 large | White or unbleached take color most evenly |
| Onion skins | About 3 cups loosely packed | Roughly 8 to 10 onions worth of peels |
| Water | 2 quarts | Enough to cover the eggs by an inch |
| White vinegar | 2 tablespoons | Apple cider vinegar works too |
| Salt | 1 tablespoon | Optional, helps the color settle |
| Optional | Olive oil, herbs, twine | For shine and leaf prints |
Vinegar is the ingredient people skip and then wonder about. It is an acid, and acid opens the shell’s surface slightly so the pigment grips instead of sliding off. Without it you still get color, just paler and blotchier. Two tablespoons is enough; more does not help.
On eggs, white or farm-fresh unbleached both work. White shells give the cleanest, most even copper, which is why most dye kits and most photos use them. Brown shells skip the pale middle stage and go straight to a mottled russet, so a speckled farm egg looks great if you are not chasing a uniform finish.
The one thing nobody plans ahead is the skins themselves. Save them every time you cook onions: pile the peels in a bag in the freezer and label the date. A bag of dried skins keeps for months and needs no reheating before you use it. If Easter is more than three weeks out, start collecting now, because peeling a dozen onions the day before feels wasteful in exactly the way this method is trying to avoid.
Step-by-Step: How to Dye Easter Eggs with Onion Skins
Prepare the Onion-Skin Dye
Rinse the onion skins and drop them in your largest pot. Add the water and vinegar, bring to a boil, then turn the heat down to a steady simmer for 20 to 30 minutes.
You will know the dye is ready when the liquid turns a deep amber or rusty brown and the skins themselves fade to pale beige. Skim off any foam. A longer simmer pulls more pigment out, and that is the single easiest way to strengthen weak dye.
Strain the liquid into a second pot if you want a clearer bath, or just fish the soggy skins out with a spoon and leave them in the bottom, out of the way. Keep the heat low.
Add the Eggs and Cook
Lower the eggs into the hot dye with a spoon or slotted spoon, one at a time. Gently does it; drop them from any height and enough crack to let dye stain the white underneath.
Simmer for 10 minutes if you want the egg set hard, 8 minutes for a slightly soft center, 6 minutes if the yolks will be soft-soft and you plan to eat them straight away. Ten minutes is the sweet spot for both doneness and color, which settles one of the most confusing things about this method: the cook time is about the egg, and the steep time after is about the color.
Keep the liquid at a lazy bubble. A rolling boil makes the shells bounce against the pot and crack.
Create Marbled Effects
Marbling is just dye moving at different rates across the shell. If you want it, stir gently once or twice with a spoon as the eggs sit in the bath, or roll a single egg in the liquid for 30 seconds right after you add it.
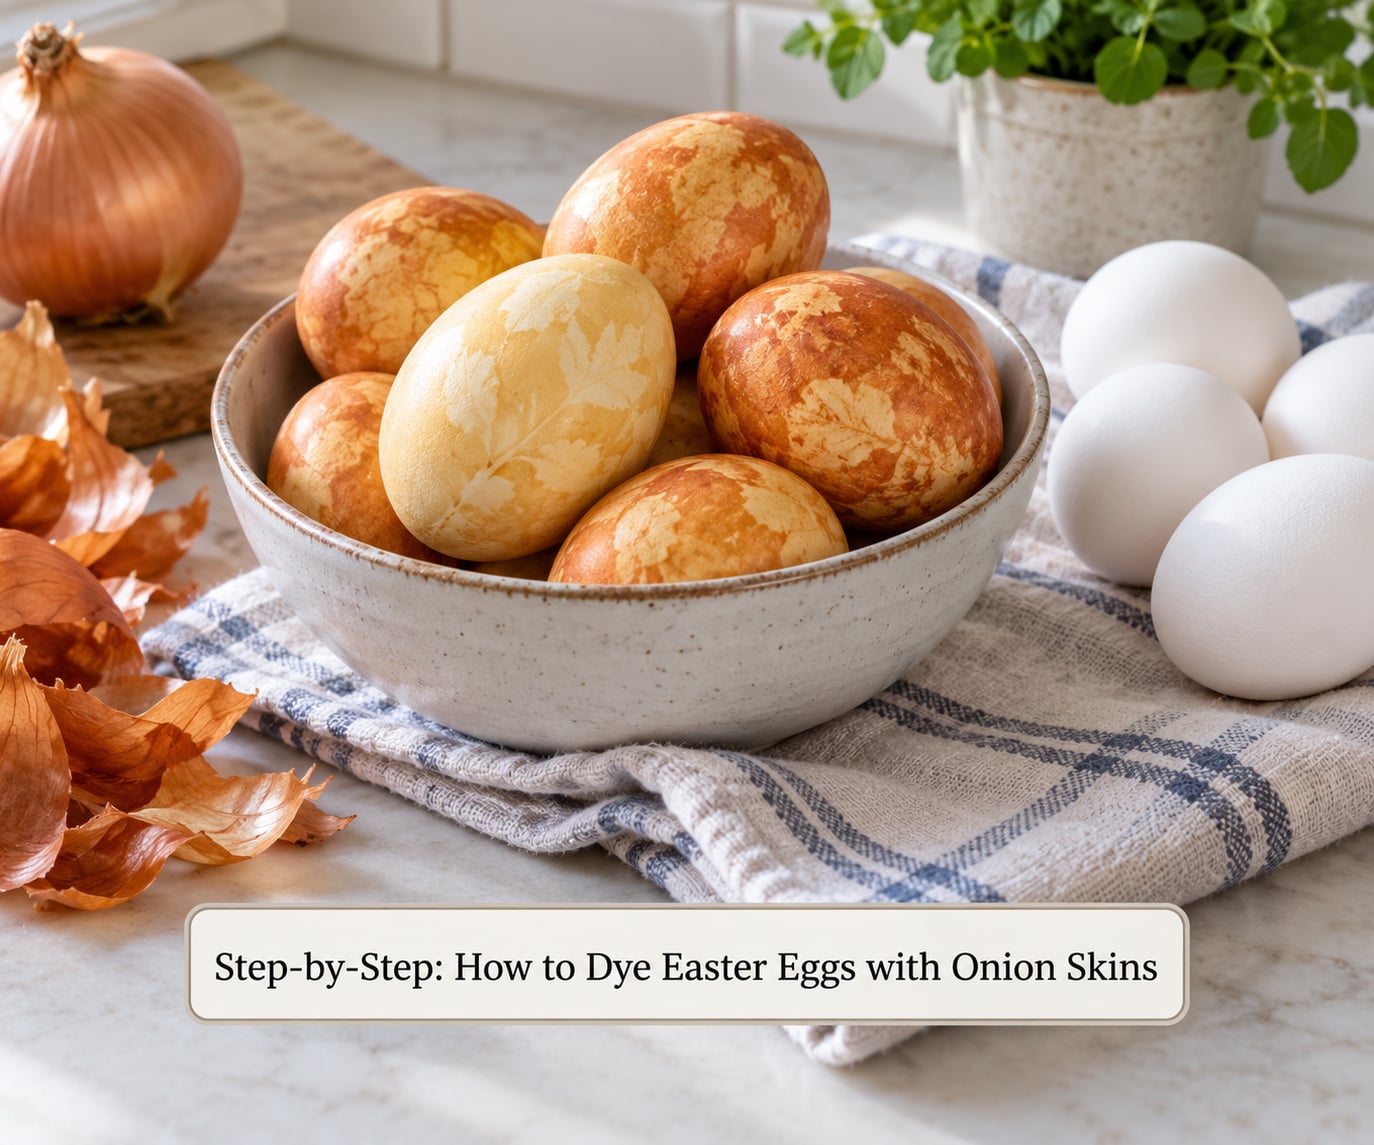
The wrap method gives the boldest pattern and the one people ask about most. Press damp onion skins and small herbs or flowers flat against a hard-boiled egg, wrap it in a square of nylon stocking or cheesecloth, and tie it with kitchen twine. Drop the bundle into the dye, simmer 10 minutes, then steep 30 minutes. When you unwrap it, the skins and leaves have blocked the dye and left a print.
Flat leaves with strong veins show up best. Parsley, sage, cilantro and strawberry leaves all read clearly. Tie loosely. A tight knot is the number one cause of cracked shells in this method.
For a two-tone basket, run a second pot of dye at the same time. Red cabbage gives blue, beetroot gives pink, turmeric gives yellow, and black tea gives tan. Dye half the eggs onion, half the eggs cabbage, and the two colors sit side by side on the table.
Cool, Rinse, and Dry
Turn off the heat, cover the pot, and leave the eggs in the dye for 30 minutes to an hour. This is the step that separates a copper egg from a deep mahogany one, and it is free.
Then move the eggs to a bowl of cool or iced water. The cold shock stops the cooking, sets the color, and makes peeling easier later. Peel away any loose onion fibers under cool running water, then pat the eggs dry.
Dry them fully before you decorate or store them. Surface moisture is what turns a pretty shell patchy over the next day.
Get a Glossy Finish and Store Them Right
Rub a little olive oil into each shell while the eggs are still warm. The oil deepens the color noticeably and leaves a shine that food coloring never gives you. Wipe off the excess.
Refrigerate the eggs in their carton or a covered container, and use them within a week. Do not freeze them; the whites go rubbery and watery when they thaw. Keep them separate from raw meat in the fridge, and never leave dyed eggs sitting out at room temperature for more than two hours.
Common Mistakes and How to Fix Them
The eggs came out pale
This is the number one complaint, and it is almost always a timing problem rather than a recipe problem. Most people pull the eggs the moment the simmer ends.
Fix: leave them in the dye with the heat off for a full hour. If you want to try again with the same bath, warm it back to a gentle simmer, add more fresh skins, and steep again for another 30 minutes. Dye strength builds every time you add skins, so a second round on the same eggs usually lands where you wanted it the first time.
The eggs cracked in the pot
Cracks come from three places: dropping the egg in from height, boiling hard enough to rattle the shells against the metal, and tying twine or nylon too tight. Use a spoon to lower eggs, keep the simmer lazy, and tie wraps loose enough that you can slide a finger under the string.
If an egg cracks, pull it out right away. The dye is food-safe, but a cracked shell lets dye and bacteria reach the white.
Another quiet cause: eggs straight from the fridge hitting boiling dye. Let them sit on the counter for 20 minutes first.
The color is blotchy or muddy
Blotches mean the dye reached some parts of the shell longer than others, usually because the eggs were piled on each other. Use one layer if you can, or space them out, and skip stirring if you want a solid color. Stirring is what makes marbling, so pick one.
Very dark baths on brown eggs will always look mottled. That is the shell, not the dye.
The dye does not cover the eggs
As eggs cook they rise, and once part of the shell is above the liquid it stays a different color. Keep the liquid at least an inch over the top of the eggs, and if the level drops, spoon in hot water from a kettle.
A smaller pot helps here, but only if the eggs fit in one layer with water above them. Crowding is the trade-off.
The pot is a nightmare to clean
That brown film on the pot and the counter is tannin, and it comes off faster than most people expect. While the dye is still hot, pour it down the sink and run very hot water over the pot for a few minutes, then scrub with a brush and a drop of dish soap.
If a ring remains, fill the pot with water, add a tablespoon of baking soda, and simmer it for ten minutes before scrubbing. A dedicated pot is easier, but a pot you can still use is fine once it has boiled a few batches.
Soak Time vs Color Depth
This is the mapping almost every recipe online leaves out, and it takes about 30 seconds of reading to save you a second batch.
| Time in the dye after the heat is off | Color you get | Best for |
|---|---|---|
| 0 to 5 minutes | Pale gold, faint copper | A light, springy look |
| 10 to 15 minutes | Warm amber to light copper | Even pastel-looking tones |
| 30 minutes | Rich copper to orange-red | Most families’ sweet spot |
| 60 minutes or until cool | Deep red-brown, near mahogany | Pascha red, solid color |
| 4 hours or overnight, refrigerated | Very deep russet | Bolder displays, shells left on |
Time and pigment are the same lever. Red onion skins at 60 minutes will get you to a deep mahogany that yellow skins never reach at any soak time.
Three methods, three results:
| Method | How it works | Result |
|---|---|---|
| Loose dye bath | Eggs simmered directly in strained skin water | Even solid color, easiest for beginners |
| Whole-egg wrap | Skins and herbs pressed on, tied with twine | Bold marbling plus leaf prints |
| Nylon stocking mesh | Thin mesh pins the skins flat for a sharper outline | Finer botanical prints, less mottling |
If you only try one, use the loose bath. Wrapping twelve eggs is fiddly, and the marbled version is a good second attempt once you know your pot holds your eggs.
Frequently Asked Questions
How long should I soak Easter eggs in onion-skin dye?
Simmer the eggs in the dye for 10 minutes, then turn off the heat and let them soak until the liquid cools, usually 30 to 60 minutes. That off-heat soak is where most of the color develops. Five minutes gives a pale gold, 30 minutes a rich copper, and a full hour a deep mahogany. Pulling the eggs the moment the simmer ends is why most batches look washed out.
Do I need vinegar to dye eggs with onion skins?
No, but you get better color with it. The vinegar is the acid that helps the pigment bond to the shell instead of washing off unevenly. Two tablespoons per two quarts of water is plenty. Without vinegar the eggs still turn, but the shade is paler and blotchier, especially on brown shells. Apple cider vinegar works in place of white vinegar at the same amount.
Can I eat eggs dyed with onion skins?
Yes. Onion skins contain no dye added by a manufacturer, and any pigment absorbed through an intact shell stays in the shell. Peel them before serving and the eggs taste like plain boiled eggs. Store them refrigerated in a covered container and eat within a week. Discard any egg with a cracked shell, and don’t leave dyed eggs at room temperature for more than two hours.
How can I get brighter colors from onion skins?
Simmer the skins in the water for 30 minutes before adding any eggs, use more skins rather than more water, and add a spoonful of salt with the vinegar. Red onion skins produce far stronger color than yellow ones. The biggest lever, though, is time after the heat is off: soak the eggs in the warm dye for a full hour for the deepest result.
Can I peel the eggs after dyeing them with onion skins?
They peel more easily than plain boiled eggs. Move them from the hot dye straight into ice water, which sets the whites and pulls the membrane away from the shell, then peel under cool running water. Dye doesn’t stop the shells from coming off. If you plan to dye raw eggs in the pot instead, be aware they’re already cooking, so time them from 6 to 10 minutes depending on how set you want the yolk.
How do I stop the eggs from cracking while they simmer?
Lower each egg into the dye with a spoon instead of dropping it, keep the heat at a gentle simmer rather than a rolling boil, and let eggs come out of the fridge and warm up for 20 minutes first. If you are using the wrap method, tie twine loosely enough to slide a finger underneath. Cracked shells also happen when the eggs rattle against the bottom of the pot, so leave some liquid beneath them.
Conclusion
Start by saving skins. Every onion you peel from now until early spring goes in a freezer bag, and that is the only prep work the whole method asks of you.
When you’re ready, simmer one test egg for 10 minutes and steep it for 30. Slice it open next to an undyed egg so you can compare the shell color to the white underneath, and you’ll know in ten minutes whether you want more or less time for the rest of the dozen.
Keep the leftover skins in the fridge and make a second batch in a different direction, maybe wrapped with sage or parsley for prints. Two batches from one bag of scraps is about the point of doing it this way.