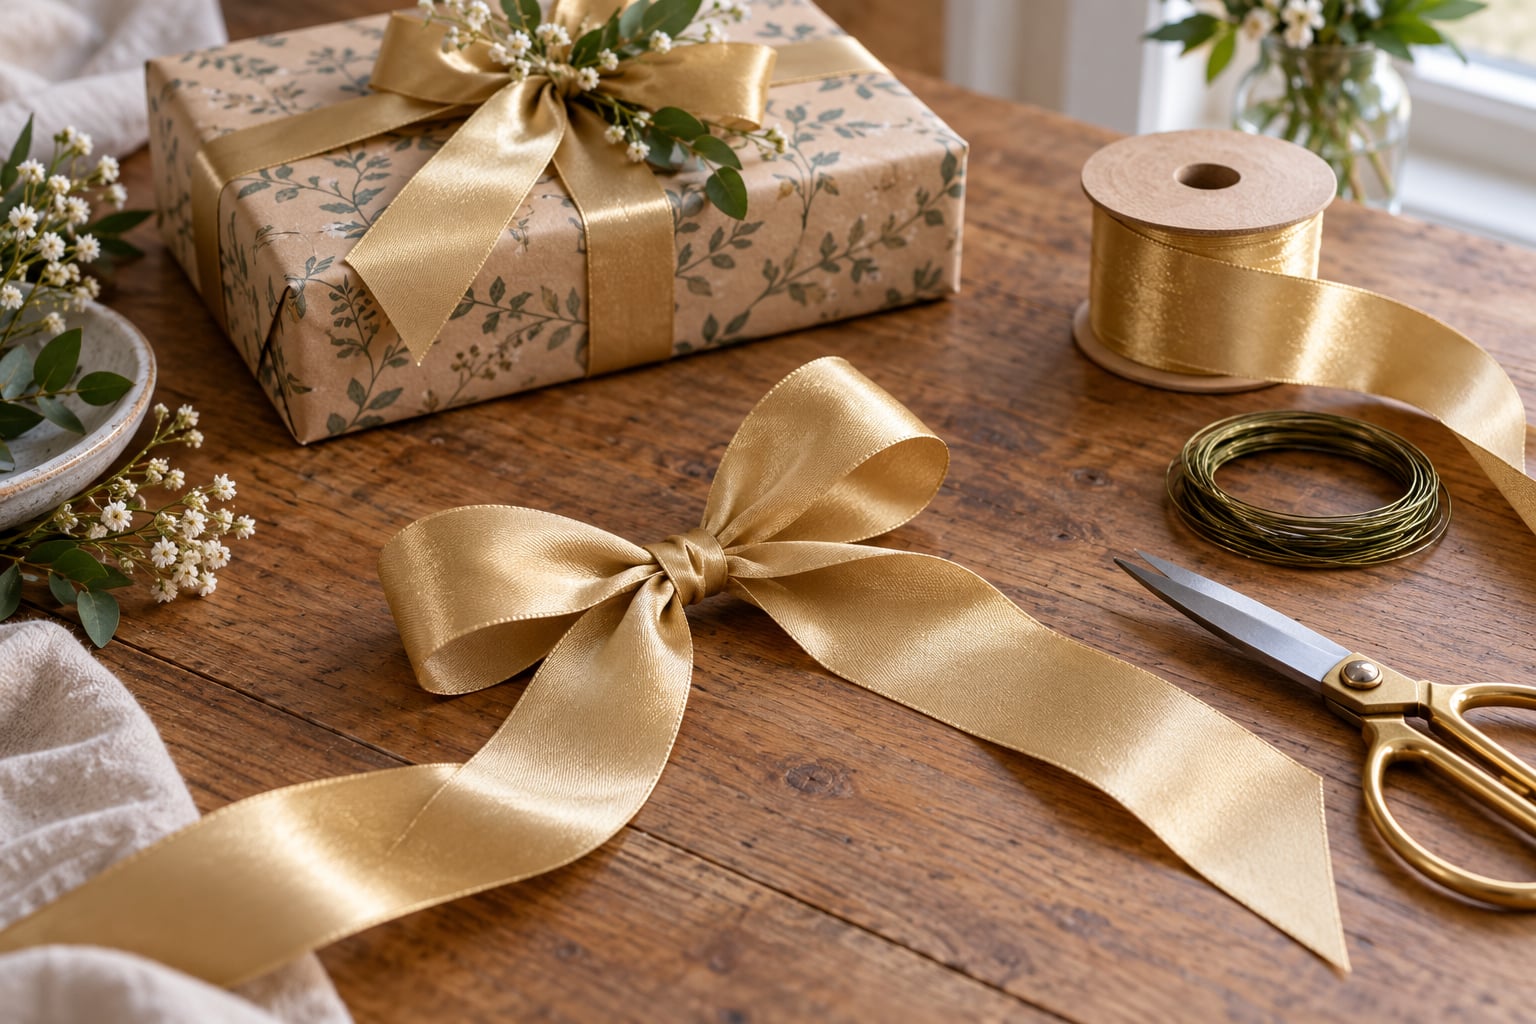
To make a gift bow from ribbon, fold a length of ribbon back and forth into two loops, pinch the middle flat, then wrap a short piece of ribbon or wire around that pinch and pull it tight. The whole bow takes about a minute once your hands know the motion, and the only real trick is making both loops the same length on the first try.
Most people who struggle with bows are not doing anything wrong with the knot. They change the loop size halfway through, so one side ends up twice as big as the other and the bow flops open the second they let go. Fix that one habit and the rest is just measuring.
The method below works with satin, grosgrain, organza, and wired ribbon, and the size scales from a small gift tag bow to something you can put on a wreath. If you are working with kids, the same folds translate fine into a simple paper bow once the ribbon runs out.
Table of Contents
- 1What You Need
- 2How to Make a Gift Bow from Ribbon, Step by Step
- 3Step 1: Measure and Cut the Ribbon
- 4Step 2: Make the Ribbon Loops
- 5Step 3: Wrap and Secure the Center
- 6Step 4: Trim, Fluff, and Attach
- 7Common Mistakes
- 8The center slips and the bow flops open
- 9The loops come out different sizes
- 10The ribbon is too short
- 11The tails look frayed or ragged
- 12The bow sits crooked on the package
- 13Frequently Asked Questions
- 14How much ribbon do I need for one gift bow?
- 15How many loops should a gift bow have?
- 16Can I make a bow without wired ribbon?
- 17How do I keep a ribbon bow from coming undone?
- 18How do I make a bow with two types of ribbon?
- 19What is the easiest bow for a beginner to tie?
- 20Conclusion
What You Need
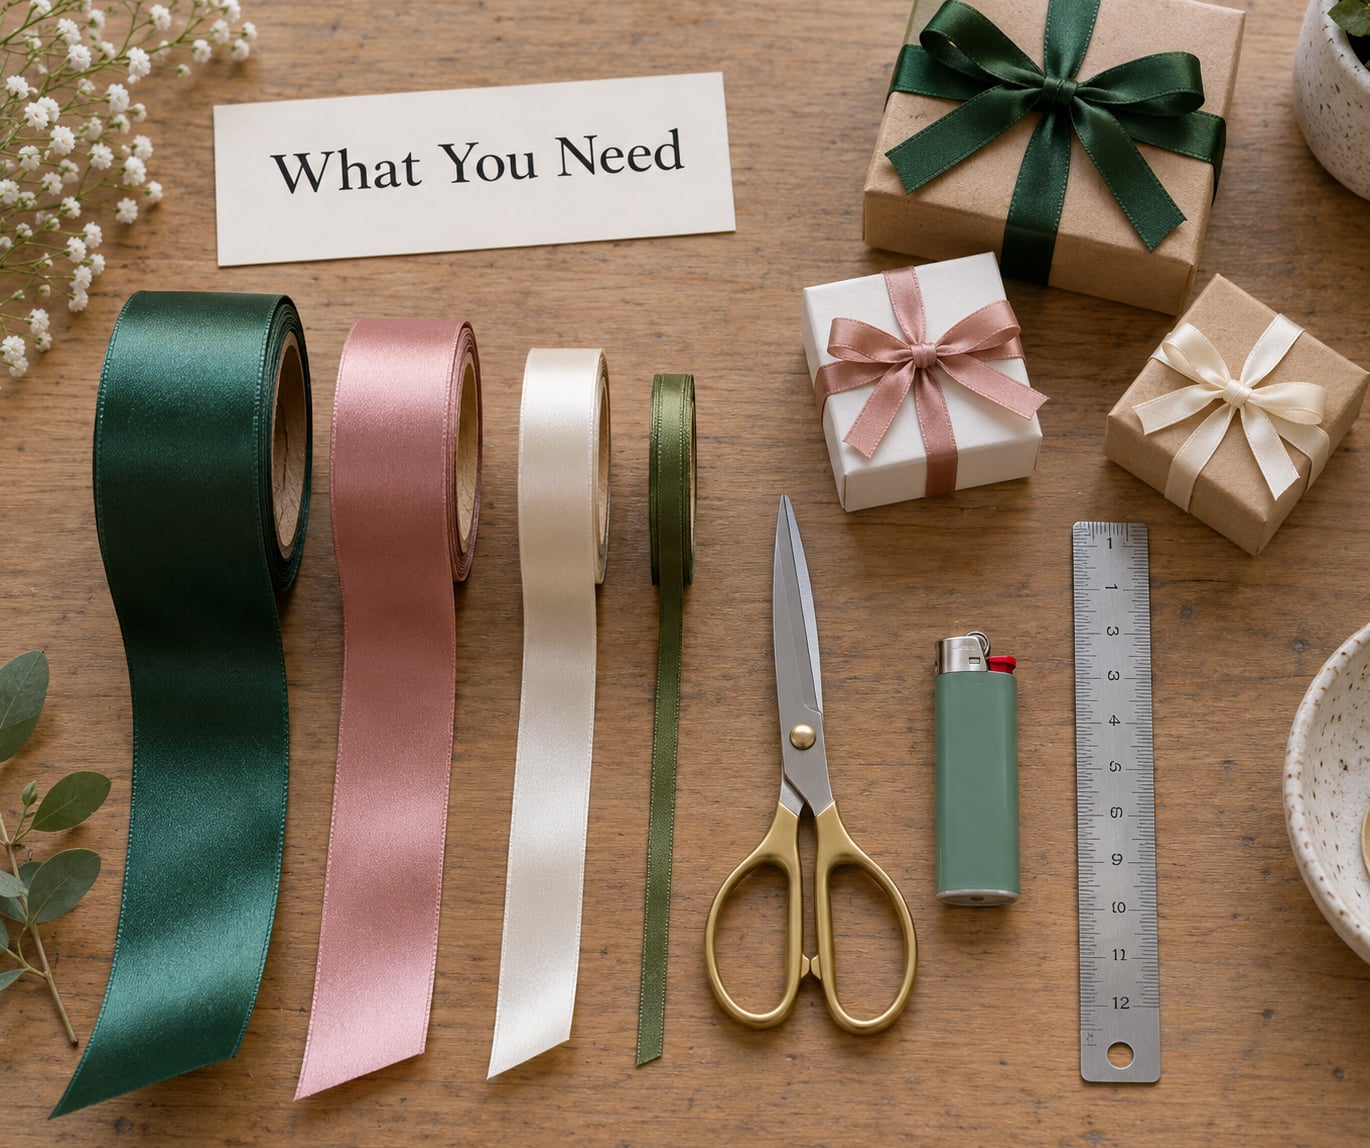
You need very little, which is part of why this is a good last-minute skill. Four items cover the whole bow.
- Ribbon — one spool or one cut length. Wired ribbon holds a loop on its own; plain satin needs a tighter center tie.
- Sharp scissors — dull blades crush the edge and the tails fray the moment you cut them.
- A short piece of thin ribbon, floral wire, or a pipe cleaner — roughly 6 inches, used to bind the center.
- Something to attach it with — a glue dot or dot of hot glue, a piece of clear tape, or a floral wire you leave as part of the bow.
Ribbon width sets the size of the bow more than anything else. A quarter-inch ribbon makes a small bow for a card or a gift tag, and it looks delicate rather than cheap if the loops are even.
A 5/8-inch ribbon is the everyday all-rounder and suits gift bags and mid-size boxes. Go up to 1 inch or wider for a large present or a wreath, since a narrow ribbon on a big box disappears from across the room.
Before you start, unroll the ribbon and let it lie flat. Ribbon that has been coiled on a spool holds a memory, and that curl is what makes loops look lopsided on the first attempt.
If your ribbon is synthetic, run the cut end quickly through a flame or a lighter to seal the edge. Do this before you fold anything, and keep the flame moving.
How to Make a Gift Bow from Ribbon, Step by Step
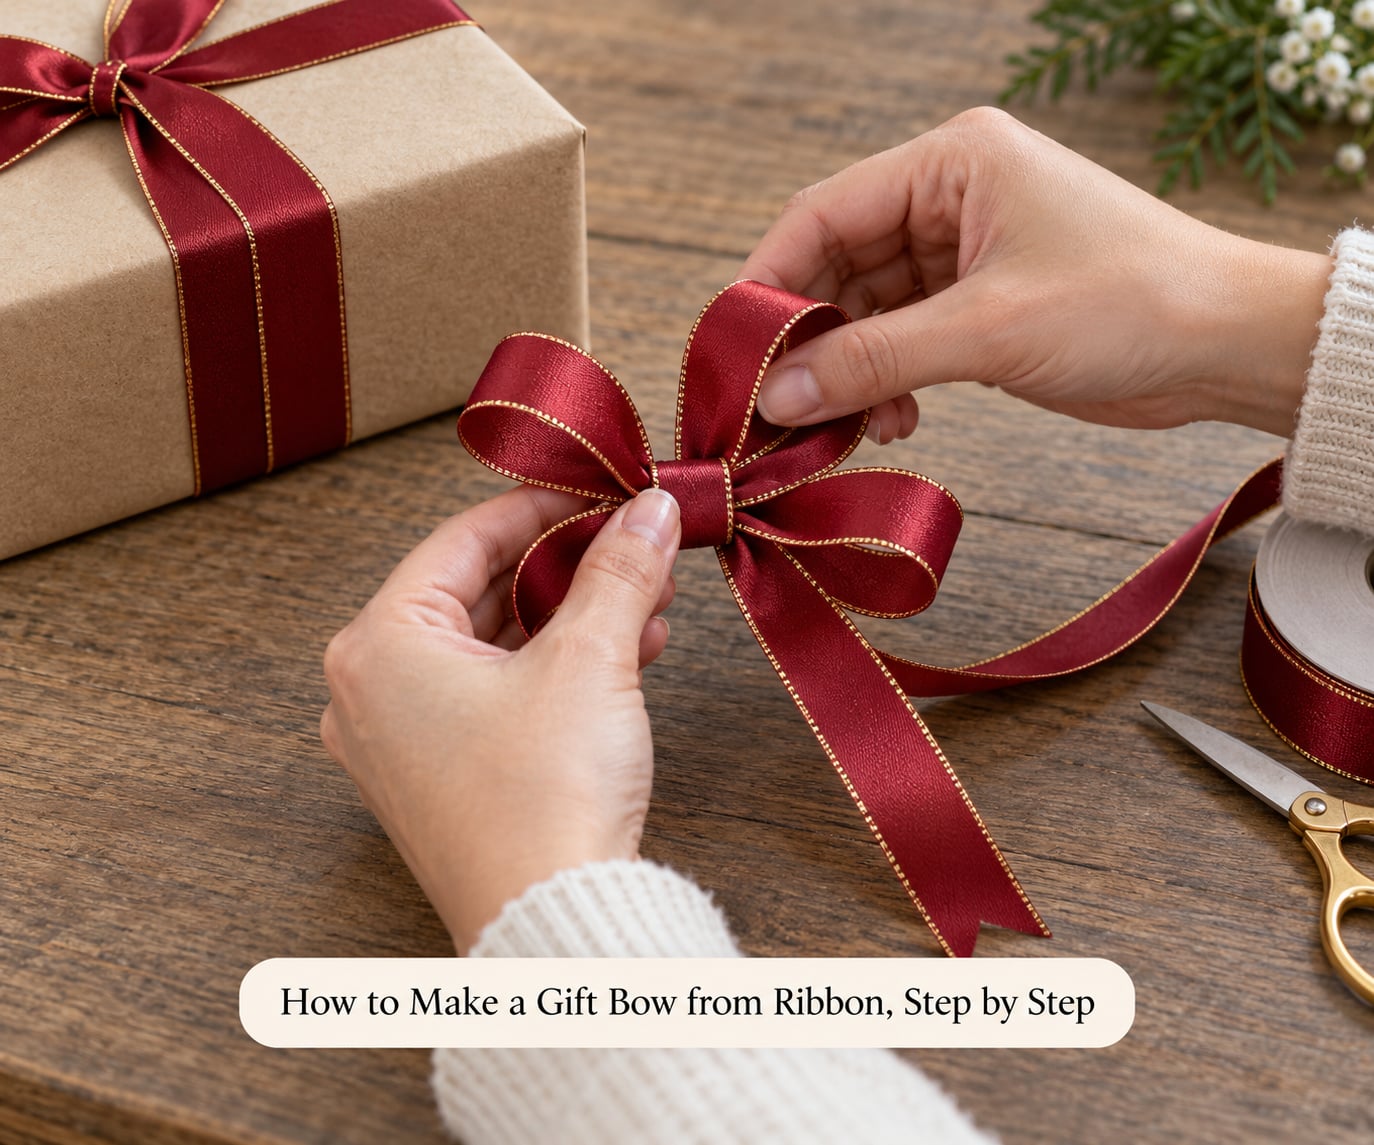
Work on a clear surface with the ribbon in front of you, not wound around your fingers. When the ribbon wraps around your hand you lose track of which end is which halfway through.
Step 1: Measure and Cut the Ribbon
Cut about 36 inches for a medium bow that fits an 8-inch or 9-inch box. That single number covers two loops plus two tails with a little spare for the first attempt.
Measure once against the ribbon spool, mark it with your thumbnail, then cut in one clean stroke. Scoring the ribbon lightly with the scissor blades first gives you a straight edge and keeps the loops matching.
Check the cut end before moving on. If the fibres are already loosening, seal it now rather than after the bow is finished.
Step 2: Make the Ribbon Loops
Lay the ribbon across your open left hand with the cut end hanging past your fingertips by about 6 inches. That overhang becomes one tail.
Bring the ribbon over the top of your hand and down under itself to form the first loop, then pinch the base of that loop between your thumb and forefinger. Pinch hard. The bow is shaped by this pinch, not by the tie.
Now fold the ribbon back on itself to make a second loop on the other side of the pinch, matching the first loop’s length within a finger’s width. Cross the ribbon over the pinch so both loops sit side by side rather than one in front of the other.
You know it worked when you turn the bow over and both loops sit flat and even. If one loop droops, unpinch and remeasure before moving on.
Step 3: Wrap and Secure the Center
Most bows come undone here, so this step deserves more attention than the loop-making. Hold the pinch firmly between thumb and forefinger, or ask someone to hold it for you.
Wrap the short piece of ribbon or floral wire around the pinched center four or five times, then twist or tie it at the back. A pipe cleaner gives the tightest grip because it bites into the ribbon.
Pull the binding in two firm movements rather than one desperate tug, checking that the loops still match after each one. If the loops drift open as you pull, the first loop was too big; unpinch and start that side again.
Turn the bow over. Two even loops and two tails that hang below means the center is holding properly.
Step 4: Trim, Fluff, and Attach
Pull the loops outward and gently upward until the bow looks full from the front. Fluffing means separating the loops and opening the pinch, never stretching the ribbon itself.
Trim the tails to the length you want, keeping in mind they hang past the edge of the box and get tied off on the back. A straight cut is fine; a diagonal or fishtail cut reads as more decorative and hides a slightly uneven length better.
Attach the bow with a glue dot on the back of the pinch for a box or gift bag, or use tape on a card. For a wreath or garland, leave the floral wire in place and twist it around the frame.
Thread a gift tag onto one tail before you attach the bow, and it hangs correctly without glue.
Common Mistakes
Every one of these shows up again and again, and all five have a specific fix rather than a general instruction to try harder.
The center slips and the bow flops open
This is the most common complaint, and the cause is nearly always a binding that is too loose or too short. Wrap your tie four or five times rather than two, and use wire or a pipe cleaner instead of ribbon if you are using non-wired satin. A bow on slick satin needs a mechanical grip, not a knot.
The loops come out different sizes
Decide your loop length before the first fold and measure the second loop against the first rather than by eye. Beginners who adjust mid-way are the reason half the bows online look lopsided.
The ribbon is too short
Roughly 36 inches makes a medium bow. Anything under 30 inches leaves you with tight, stubby loops and tails too short to reach around a box. Cut longer than you think you need; you can always trim.
The tails look frayed or ragged
Almost always dull scissors, plus cutting against the grain of the weave rather than with it. Cut on a flat surface, in one stroke, and seal synthetic ribbon ends with a lighter.
The bow sits crooked on the package
The bow is fine and the attachment point is not. Glue it to the ribbon that crosses the top of the box, not to a corner or a side panel, and pull both tails toward the back before you press it down.
Making two or three throwaway bows on scrap ribbon before the real one genuinely helps. The motion takes about ten bows to land in your hands, and it costs nothing but an inch of ribbon each time.
Frequently Asked Questions
How much ribbon do I need for one gift bow?
About 36 inches of ribbon makes a medium bow with two loops and two tails, which suits an 8 or 9 inch box. Small gift tag bows need about 18 inches. Large wreath bows want 60 to 72 inches because the loops are much wider. Cutting slightly more than you think you need is safer than cutting short, since you can trim tails but cannot add ribbon back to a finished loop.
How many loops should a gift bow have?
Most gift bows use two loops, one on each side of the center pinch. Wider, fuller bows use three or four loops per side, so six to eight in total. A single loop on each side makes a flat bow that suits cards and tags better than a box. The loop count does not need to be exact as long as both sides match.
Can I make a bow without wired ribbon?
Yes, and plain satin, grosgrain, and organza all work. Non-wired ribbon has no wire in the edge to hold the loop, so pinch harder and bind the center four or five times with wire, a pipe cleaner, or a separate narrow ribbon. Regular thread tends to slip on smooth satin, which is where most loose bows come from.
How do I keep a ribbon bow from coming undone?
Two things do the work: a hard pinch at the center and a binding that grips rather than ties. Wrap floral wire or a pipe cleaner around the pinch four or five times and twist it at the back. Avoid relying on a knot in the bow’s own tails, since satin is slippery enough that the knot slides out when the bow hangs on a bag.
How do I make a bow with two types of ribbon?
Make a full bow from your wider ribbon first, then make a smaller bow in the narrower ribbon and tie it onto the front of the center. Keep the two bindings a few inches apart so the smaller bow sits between the loops rather than covering them. Satin over grosgrain and organza over mesh are the easiest pairings to match.
What is the easiest bow for a beginner to tie?
The two-loop bow in the steps above, using wired ribbon if you have it. Wired ribbon is the most forgiving option because the edge holds the loop while your fingers are still learning the pinch. Skip the fishtail tails and layered ribbons until the basic bow feels automatic.
Conclusion
Start here: cut 36 inches of ribbon, lay it across your open hand, and make the first loop before you touch anything else. Pinch it, cross the second loop over it, and match the two sizes before securing the center.
How to make a gift bow from ribbon is one of those skills that looks fiddly in a video and turns out ordinary in the hand. A quarter-inch ribbon and a 2-inch gift tag use the same folds as a 2-inch ribbon on a wreath, and the only variable is how much ribbon you allow each loop.
Make two throwaway bows, then size the real one to your gift. This 2026 holiday wrapping, or whatever birthday, wedding favor, or card pile is in front of you, gets finished a lot faster once the bow stops being the hard part.