How to make wrapping paper with kids is simpler than it sounds: lay a flat sheet of kraft or butcher paper on a covered table, let the kids decorate it with stamps, paint, markers, or handprints, let it dry completely, then trim it to fit the box. The whole project takes about 30 minutes plus drying time.
It works well for a few reasons. The kids stay busy on a screen-free activity while you finish other holiday or birthday jobs, and the wrapping ends up looking like nobody bought it, which is the point. Most of what you need is already in a craft box.
The one thing worth planning is the setup. Once paint or ink is open, the tabletop commits to the project whether or not you planned for it, so ten minutes of preparation saves the evening.
Table of Contents
- 1What You Need
- 2Step-by-Step: How to Make Wrapping Paper with Kids
- 31. Choose the paper and plan the design
- 42. Add the base color or background
- 53. Decorate with stamps, shapes, or handprints
- 64. Let the paper dry and add finishing details
- 75. Cut and use the wrapping paper
- 8Common Mistakes and Easy Fixes
- 9Frequently Asked Questions
- 10What paper is best for making wrapping paper with kids?
- 11Can toddlers make their own wrapping paper?
- 12How long does homemade wrapping paper take to dry?
- 13What paint is safe for children’s craft projects?
- 14How do I make a large sheet of wrapping paper?
- 15Can I use the finished paper for food gifts?
What You Need
Base paper is the first decision, and you have more options than the craft aisle suggests. Brown kraft paper gives a warm rustic look and takes ink beautifully, white craft paper makes markers and crayons pop, and butcher paper is the cheapest way to get a very large sheet.
- Brown kraft paper — sold in rolls, typically around 20 inches wide, and the easiest to find in the paper or shipping-supply aisle.
- Butcher paper — wider rolls, usually 36 inches, so one piece covers a large box without a seam.
- White cardstock-weight craft paper — heavier than standard craft paper, so it resists tearing when a small child wraps.
- Flattened paper bags or old packaging paper — free, and the printed side can be stamped over.
- Old maps or leftover wallpaper — free, and the existing artwork becomes part of the design.
For decorating, gather more than you think you need. Kids finish a small craft in four minutes and then ask for another sheet.
- Washable markers and a few crayons
- Non-toxic, washable tempera or watercolor paint, plus small foam or bristle brushes
- Rubber stamps with an ink pad, or a homemade sponge block stamp
- Cotton swabs, bottle caps, and halved vegetables for printing
- Washi tape, baker’s twine, ribbon, and blank gift tags
Two safety notes matter here. Keep the materials non-toxic, since this is a children’s craft, and skip loose glitter if anyone wrapping or receiving the gift is under three — it is a choking hazard and it ends up on every surface in the house for weeks. If the paper will touch food, like a homemade gift basket or a plate of cookies, leave glitter off it entirely. Adults should handle the cutting, and scissors stay busy hands, not toddlers.
Before anyone opens a paint pot, cover the table. A sheet of cheap plastic or a vinyl tablecloth beats newspaper, which tears and shifts. If the weather allows, push the whole project outdoors or onto the driveway and rinse everything with a hose afterwards. Keep a damp rag in your hand the entire time and the project stays small.
Step-by-Step: How to Make Wrapping Paper with Kids
1. Choose the paper and plan the design
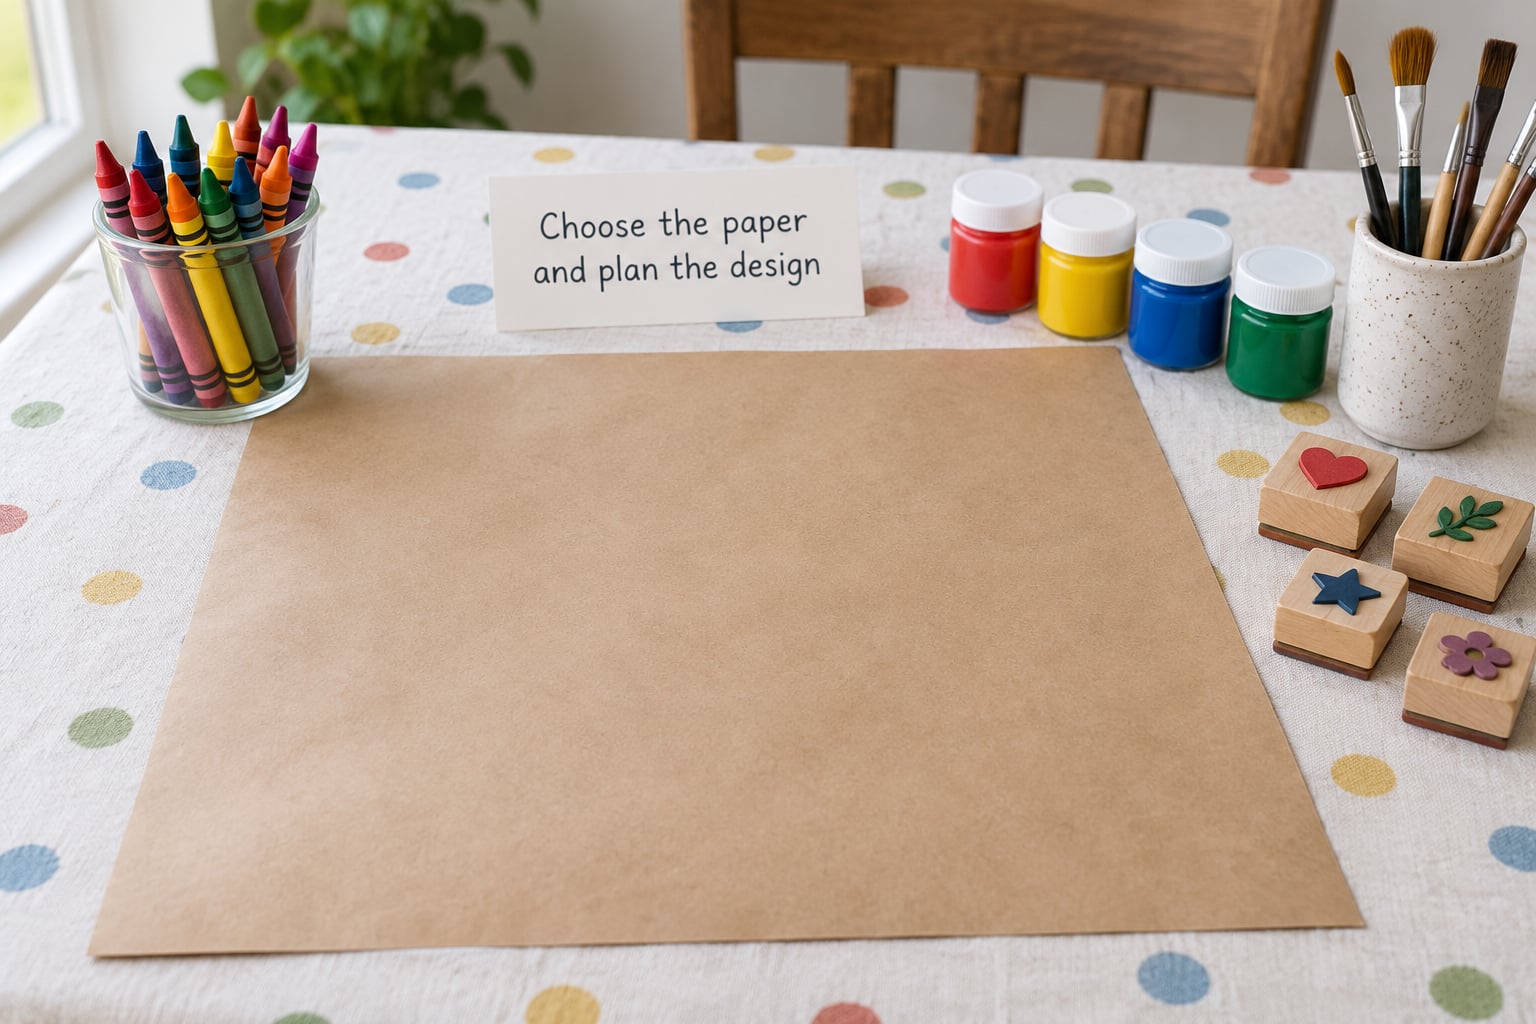
Cut the paper to a full sheet before decorating rather than after, so the pattern gets planned around the box instead of fighting it. Decide on one of three approaches: a repeating pattern in rows or diagonals, a themed design for one occasion, or a freeform scrawl where the kid makes whatever they want.
Repeating patterns are the easiest to teach. Have the kid stamp in a straight line from one corner, then start the next row below it and keep the gap roughly even. Themed designs work well for a birthday or a first-school-day gift, where a handful of repeated drawings of the same thing is a better design than fifty different pictures.
Freeform is the right call for toddlers and for anyone who will lose interest in the first four minutes. Set expectations there: the paper will be wonky, and that reads as handmade rather than broken.
2. Add the base color or background
A base layer gives the design something to sit on and hides any printing or color on recycled paper. Dilute the paint with water until it runs like thin cream, and use a foam brush or wide bristle brush to sweep it across in one direction.
Thin paint is the whole trick. Thick paint sits on the surface and cracks the first time the paper folds, which is exactly what happens when a kid wraps a box. If you want a solid, even coat with no brushwork showing, make the first coat thin and let it dry before adding a second.
For a cleaner result with less drying time, skip paint and use markers or crayons for the background instead. Washable markers soak into the paper fiber and will not transfer onto your hands or the box later, though they take longer to dry fully than ink from a stamp.
3. Decorate with stamps, shapes, or handprints
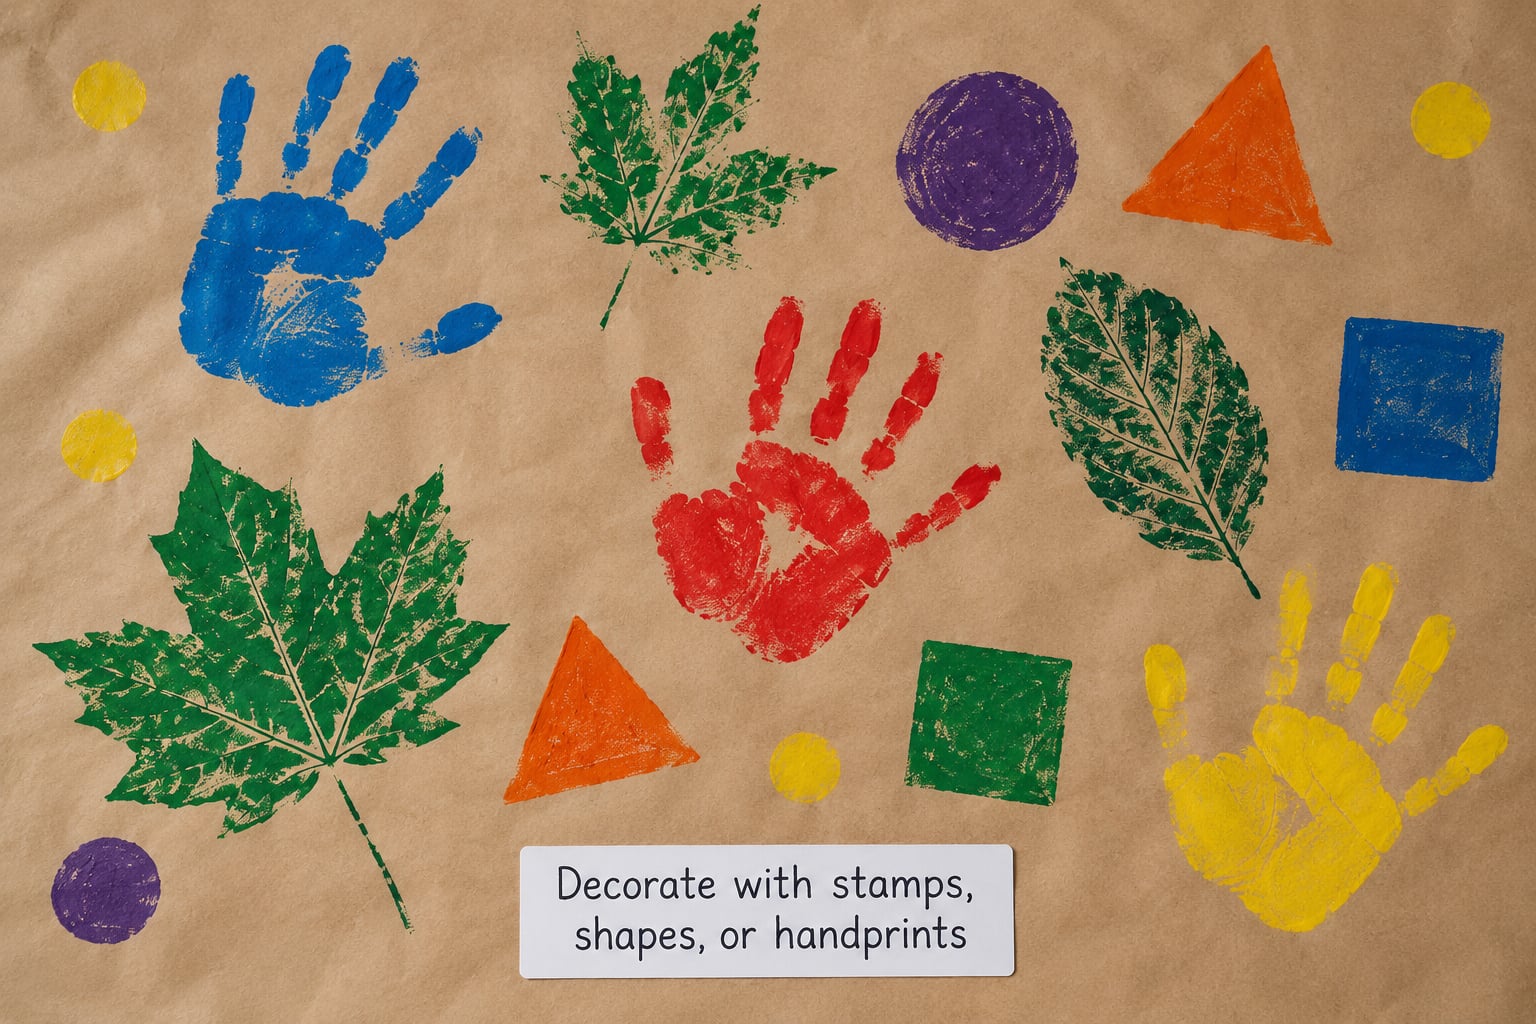
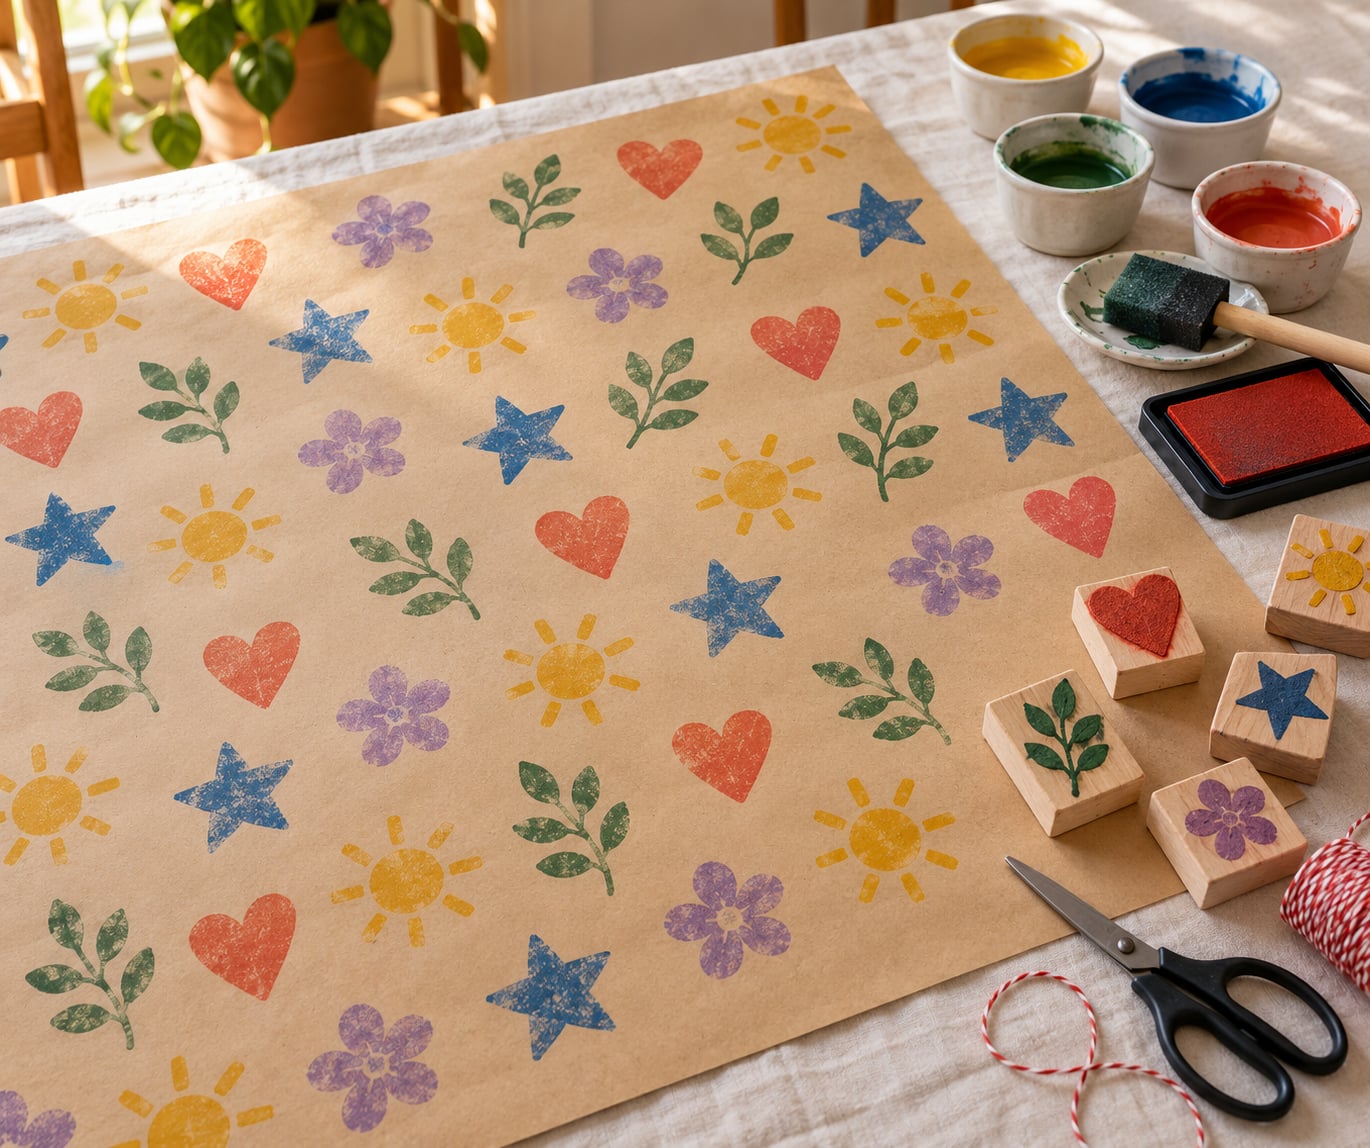
There are several decorating routes, and each suits a different age. Stamping is the fastest and the tidiest: rubber stamps with an ink pad leave clean repeated shapes, and a sponge cut into squares or triangles stamps a whole page in a minute once the sponge is inked.
Handprints work for the smallest children. Put a thin film of washable paint on a plate, press the palm down, and stamp it onto the paper with fingers spread. Add a name in marker underneath if the gift is going to a grandparent.
Vegetable printing is the quiet one that lasts. Halve a potato, cucumber, or bell pepper, press the flat face into paint, then press it onto the paper. A rolled sponge brush gets the same effect in a circular motion and covers a large sheet without anyone sitting still for very long.
Markers and crayons suit children who can control a line, and drawing straight with a ruler or the edge of a book produces a stripe pattern that looks surprisingly deliberate. Washi tape needs no paint at all — a grid of overlapping strips gives a modern collage look and works well for a last-minute sheet.
Whatever the method, balance matters more than precision. Rows of stamps read as a pattern; random placement reads as a smudge. Tell the kid to keep roughly the same gap between marks, and stop while they still want to add more.
4. Let the paper dry and add finishing details
Drying is the step everyone rushes, and it decides whether the finished paper smears on the box a day later. Stamp ink is dry to the touch in roughly 10 to 15 minutes but cures underneath over several hours. Washable paint needs a few hours. Markers and crayons are usually the safest, though permanent markers stay tacky for a day or more.
For a speed-up, lay sheets flat on a table, not on a towel, and aim a hair dryer at the reverse side on a cool setting. While the paper is still slightly damp, flatten it under a stack of books so any ripples come out.
Add the last details once it is dry. Metallic markers or a gold pen catch light and cover any pencil guide lines underneath. Write the year along one edge in the corner, and that sheet can be reused every holiday instead of going in the bin.
Test it before wrapping: rub a fingertip firmly across a printed area. If any pigment lifts, the sheet needs longer. Use the reverse side as the inner face of the wrap so transfer lands on itself rather than on the gift.
5. Cut and use the wrapping paper
Measure the box first, then cut the sheet. A piece needs to be about twice the height plus twice the depth of the box plus an inch of overlap for the seam, and long enough for the box width plus both heights plus a couple of inches. A 20-inch kraft sheet covers most small and medium gifts in a single piece with no joins.
Homemade paper is thinner and more prone to splitting at a crease, so use less tape than usual. One strip along the seam is usually enough. Put the seam on the underside, use matte or clear tape rather than glossy, and if the paper tears at the fold, score the fold line lightly with a blunt knife before bending it.
Children with the patience can do the folding while an adult handles the cutting and taping. Winding baker’s twine or ribbon around a finished box hides the seam entirely and gives handmade paper a finished look.
Common Mistakes and Easy Fixes
Nearly every disappointing sheet comes down to one of five things.
The paper tears when wrapped. Thin kraft paper and standard craft paper give way at the crease, especially for younger kids. Test it first by folding a corner hard; if it splits, use a heavier cardstock-weight craft paper or double up a sheet with a thin glue stick.
Wrinkles that never flatten. Paint applied too thickly dries stiff and buckles as it moves. Scrape the surface gently with a straight edge once dry, or press it under books overnight. Prevention is thinner paint.
Smudging on the gift. Dry to the touch is not the same as cured. Wait several hours before wrapping, and always check with a fingertip in a spot nobody will see.
Ink bleeding across the sheet. Over-inking a stamp is the usual cause. Press the stamp on scrap paper first, wait a second, then go again on the real sheet. Blotting a bleed never works, so stop early rather than trying to fix it.
A child gives up halfway through. This is an age problem, not a motivation problem. Toddlers do best with handprints, stamps, and chunky tools they can press rather than draw. Preschoolers manage sponge blocks and simple shapes with an adult beside them. School-age kids can handle markers, potato prints, and a repeating pattern. Tweens usually want a real design brief and the wrapping itself.
One last tip for a smooth finish: date the sheet and store it flat between sheets of plain paper. Next holiday it comes out ready to go, and the kid gets to see their own pattern again.
Frequently Asked Questions
What paper is best for making wrapping paper with kids?
Brown kraft paper is the best all-round choice because it is strong, widely available in rolls around 20 inches wide, and it hides smudges. Butcher paper is cheaper and wider, so it suits big boxes. White craft paper shows colors best for markers and crayon work, while cardstock-weight paper resists tearing when a young child does the folding. Avoid newspaper and thin tissue, which tear and show ink through.
Can toddlers make their own wrapping paper?
Yes, but pick the method for them rather than expecting them to follow the steps. Toddlers do well with handprints, rubber stamps, and chunky sponge blocks they press rather than draw. Keep the paper flat on a covered table, use non-toxic washable materials, and skip loose glitter, which is a choking hazard for under-threes and ends up on every surface in the room.
How long does homemade wrapping paper take to dry?
Stamp ink is dry to the touch in about 10 to 15 minutes but needs several hours to cure underneath. Washable paint takes a few hours, and markers are usually safe to wrap within a day. Lay sheets flat rather than stacked, and speed things up with a hair dryer on a cool setting aimed at the reverse side. Rub a hidden spot with a fingertip before wrapping anything.
What paint is safe for children’s craft projects?
Choose paints labelled non-toxic and washable, which are made for school and home use and come out of skin and most surfaces with warm water and a cloth. Dilute them with water so they soak into the paper rather than sitting on top. Avoid solvent-based paints and permanent markers near anything a child might put in their mouth, and keep all craft supplies out of reach during the project.
How do I make a large sheet of wrapping paper?
Buy a wide butcher paper roll, usually around 36 inches, and cut one length for the whole box so there is no seam. If you are using narrower kraft paper, join two sheets by overlapping about an inch along one edge and taping the back flat. A roller brush or foam applicator covers a large area far faster than a small brush, which matters when the sheet is wider than the table.
Can I use the finished paper for food gifts?
Yes, as long as the paper is plain on the side that touches the food and has dried fully. Skip glitter entirely, since it transfers to hands and plates, and avoid tape on any surface that will contact food. For cookies or homemade treats, wrap in a layer of plain tissue or parchment first and tie the decorated paper outside it, so the design stays visible and nothing sticks to the food.
If you only make one sheet this holiday, make it a stamped kraft sheet in a repeating pattern. It takes the least supervision, dries the fastest, and the finished paper wraps a box without creasing. Then let your kids design their own on the second sheet, and date both so they come out again next year.