To make a footprint art project with a baby, paint the sole of their foot with washable tempera paint and press it straight down onto thick paper, then add stems, wings or lettering once the print is dry. The stamping itself takes about ten minutes, plus drying time, and it needs no craft experience. The whole thing works on a kitchen table in the middle of an ordinary afternoon.
Baby footprint art is a keepsake project where you press a painted or inked foot onto paper, card or canvas and then turn that print into a picture, a flower, a milestone card or nursery wall decor. Feet are only tiny for a matter of months, while clothes and toys wear out, so a print stays as a fixed record of size and shape.
Most people find the first attempt slightly disappointing. Smudged prints, thin prints and one foot that will not sit still are all normal, and a slightly wonky print usually looks better framed than a perfect one ever would.
Table of Contents
- 1What You Need
- 2How to Make a Footprint Art Project with a Baby, Step by Step
- 3Prepare the Baby and Workspace
- 4Make a Small Test Print
- 5Create the Main Footprint
- 6Turn the Footprint into a Keepsake
- 7Common Mistakes
- 8Simple Variations and Display Ideas
- 9Frequently Asked Questions
- 10What kind of paint is safe to use for a baby footprint art project?
- 11How old should a baby be for a footprint art project?
- 12Do I need to wash the baby’s foot before making the print?
- 13How long does a baby footprint print take to dry?
- 14Can I make a footprint keepsake without paint?
- 15Conclusion
What You Need
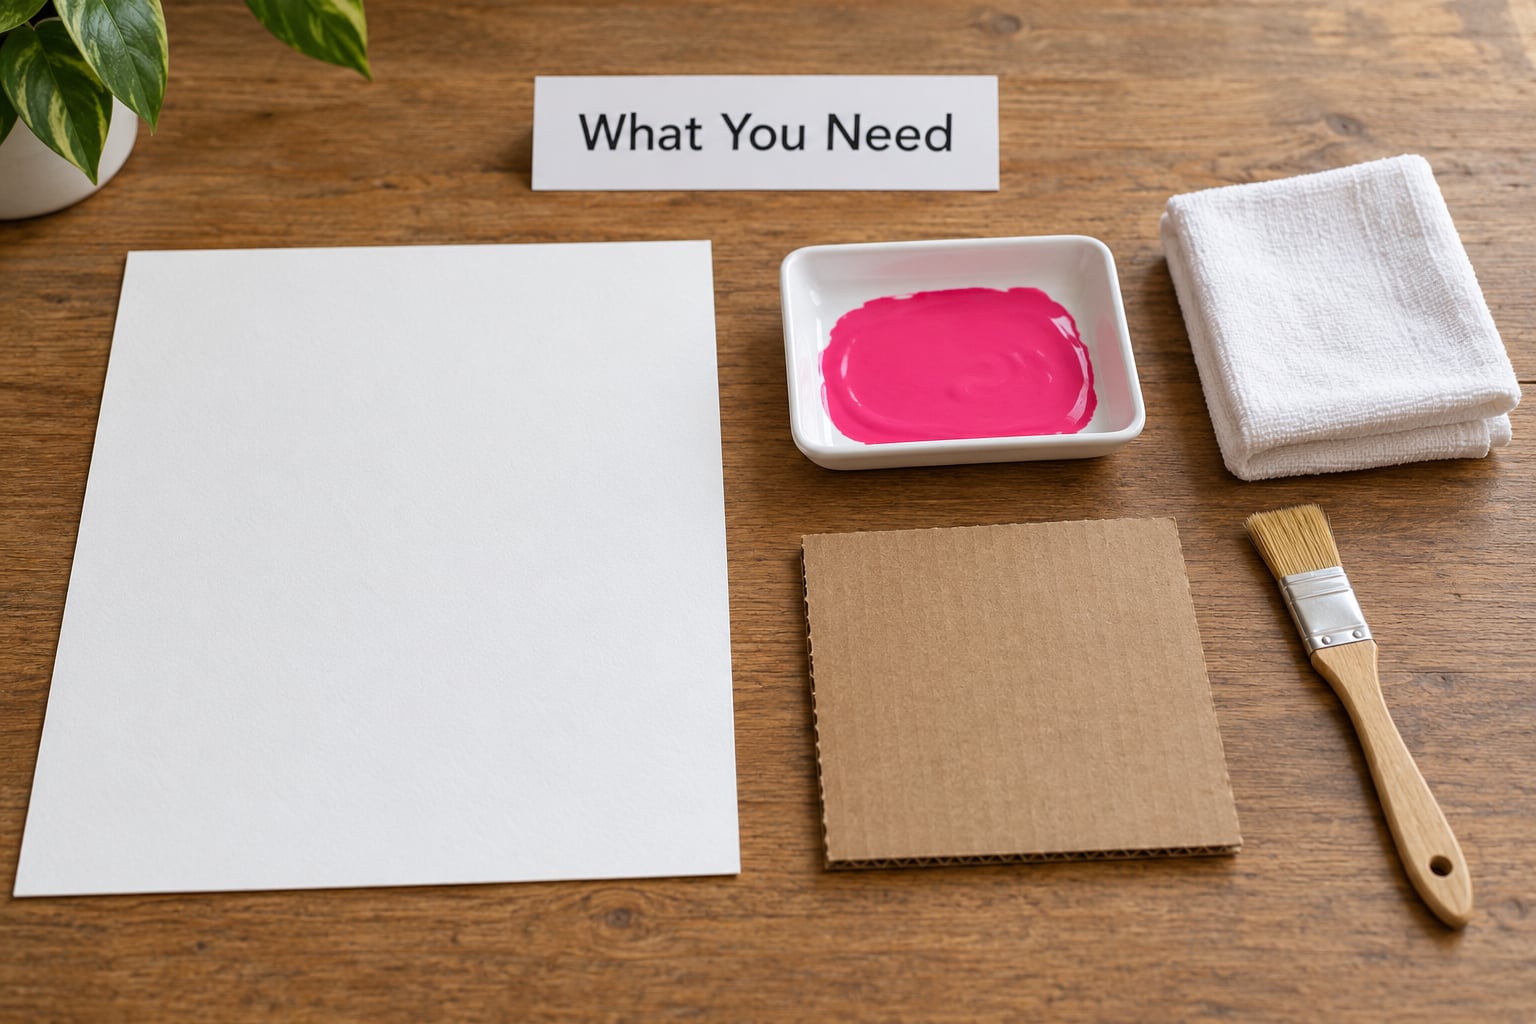
Gather everything before the baby is anywhere near it. The list is short, and most households already own the tricky part, which is a piece of paper thick enough to take paint.
- Thick white card or canvas board. Ordinary printer paper soaks paint straight through to the table. Anything around 200 gsm or heavier holds a clean impression.
- Washable tempera paint. Check for a non-toxic label and the word washable on the pot. Matte tempera gives an opaque, chalky print that shows up on coloured paper.
- A shallow tray or a paper plate to hold the paint. A plate works fine and is cheaper than a palette.
- Scrap cardboard for two or three test stamps before you touch the good paper.
- A small soft brush for loading paint and for adding stems, leaves or wings afterwards.
- A cup of water for thinning paint to a lighter shade.
- A clean cloth or damp wipes within arm’s reach, plus a damp cloth for cleaning skin.
- A protective sheet under your work surface. Newspaper, a plastic tablecloth or a cheap bath mat all work.
- Optional: an apron for the adult, a second pair of hands, and a marker pen for the name and date once the print is dry.
How to Make a Footprint Art Project with a Baby, Step by Step
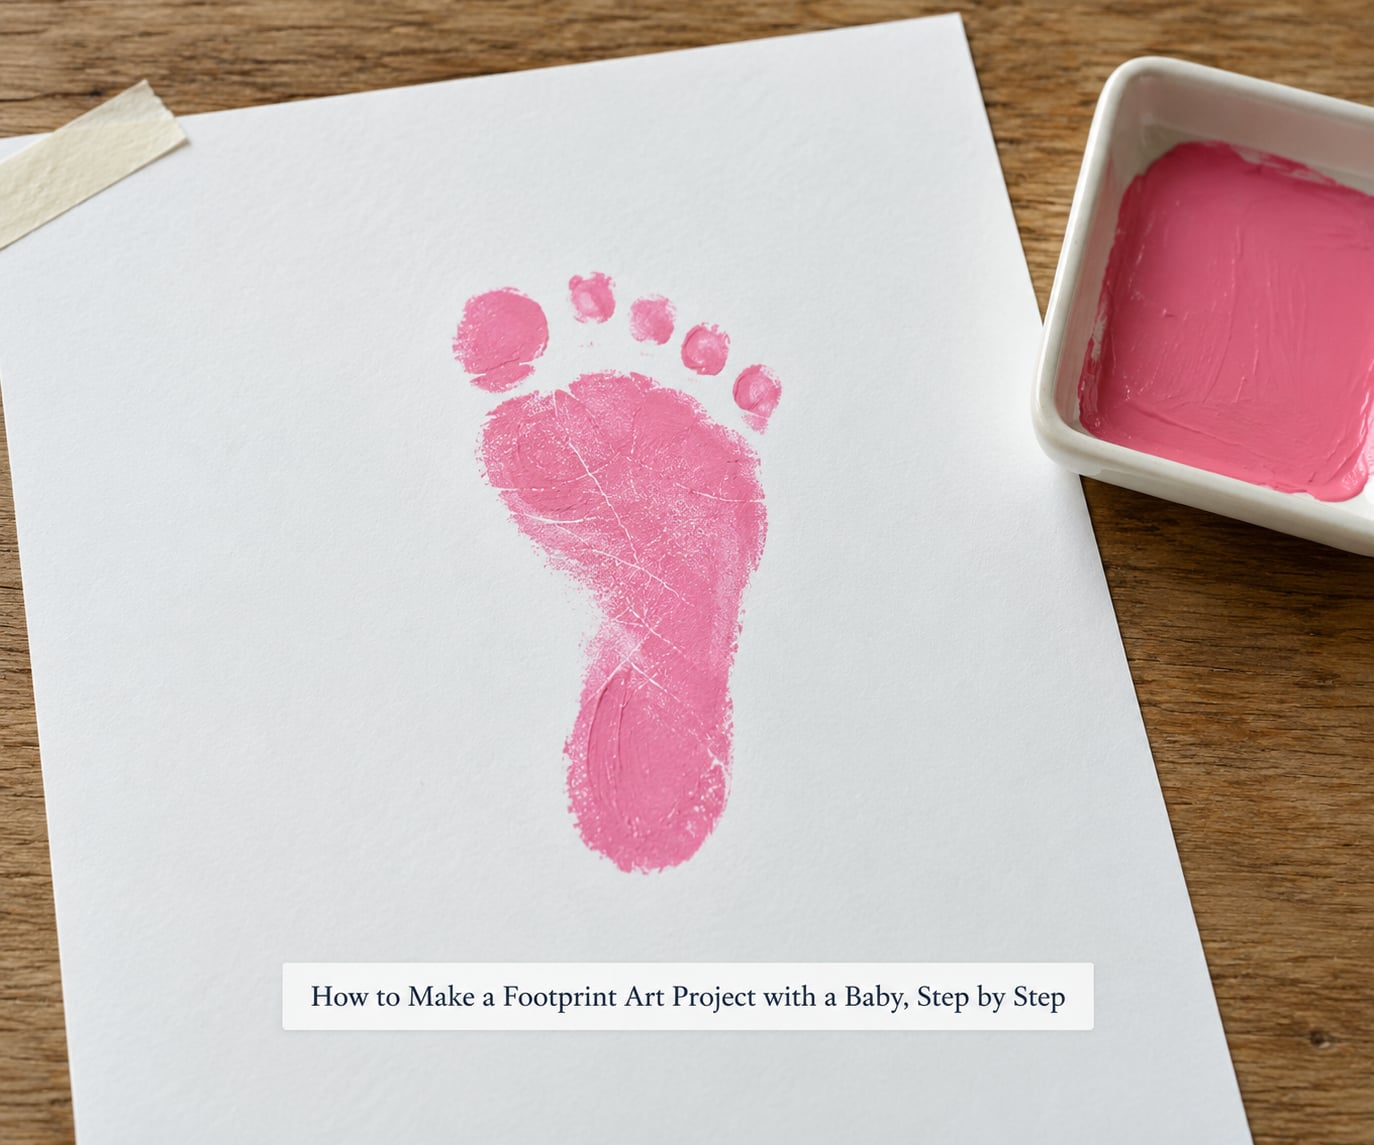
The process has four real stages: prepare, test, press, finish. The test stage is the one people skip and the one that saves the project.
Prepare the Baby and Workspace
Choose a calm moment. A fed baby with a clean diaper, straight after a nap, will usually hold still for a few minutes, and that is all you need.
Support the baby properly while you work. Many parents find a high chair with a clipboard holding the paper in place is far easier than trying to balance a baby and a sheet of card at the same time. A floor seat or your lap works too, and the infant bath is a good option if you want the baby rinsed immediately afterwards.
Keep the workspace clear and keep paint away from the face and hands. Put the tray where the baby cannot reach it, and wash skin with soap and water as soon as the stamping is done.
Make a Small Test Print
Paint the sole of the foot lightly, press it onto the scrap cardboard and check the result. You are testing three things: how much paint the paper needs, how hard you should press, and whether the colour shows up clearly on the surface you chose.
Most faint prints happen because the paint was too thin, not because the technique was wrong. Loaded properly, a good tempera print is solid colour with every toe separated.
Create the Main Footprint
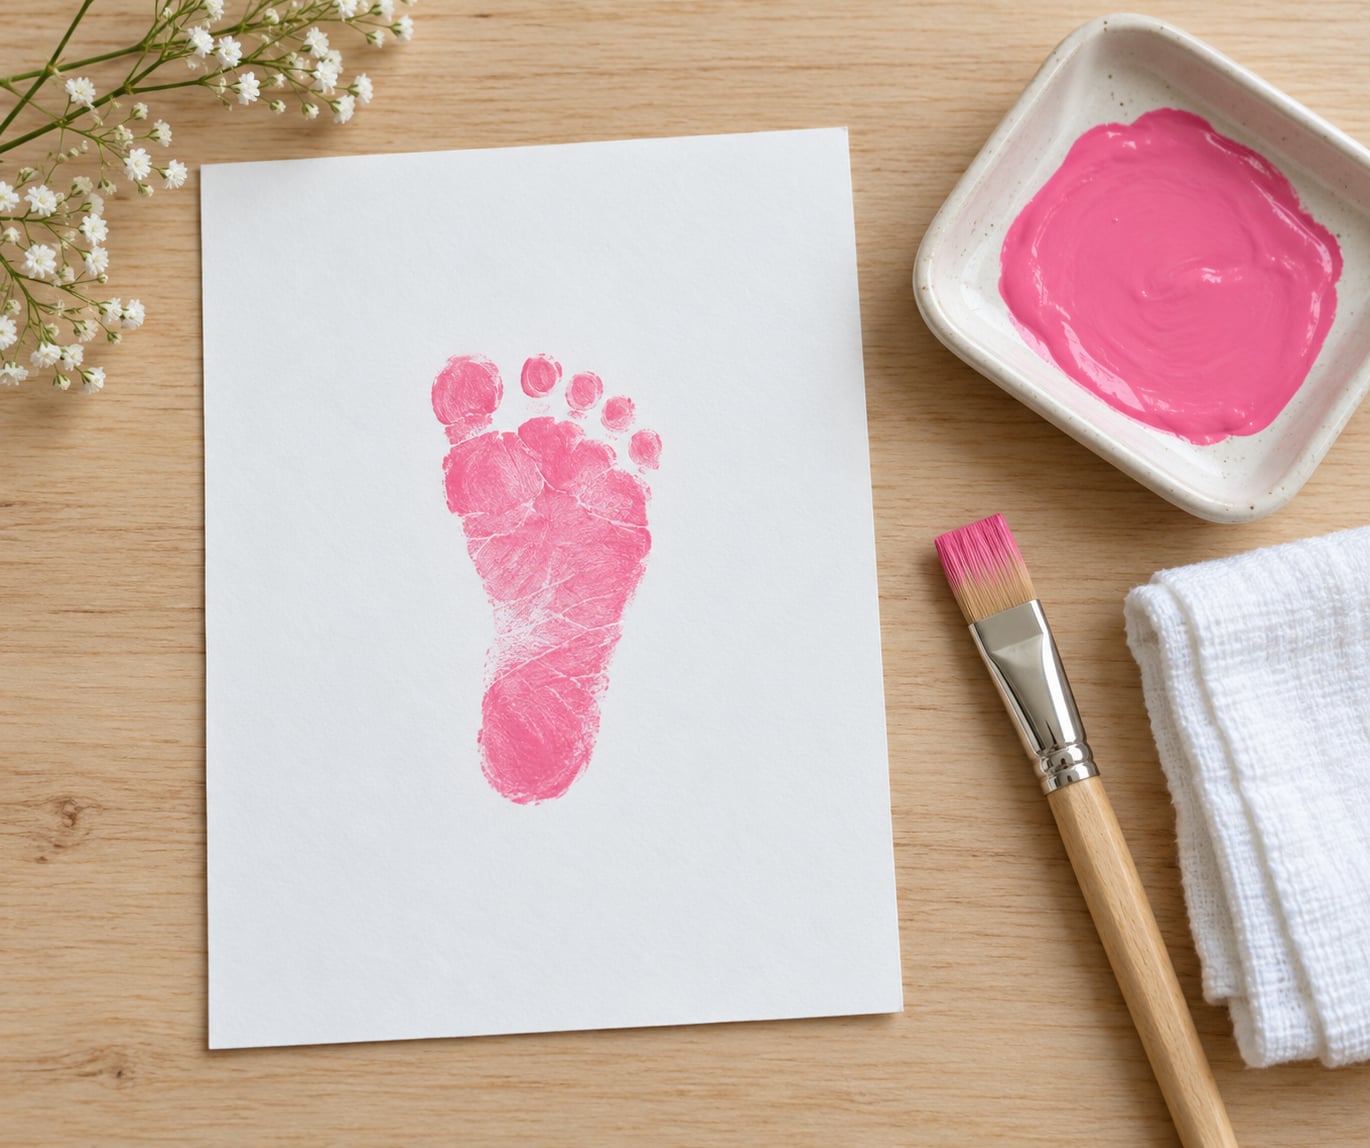
Load the foot with a thin, even coat. Roll the foot forward from heel to toe onto the card, pressing down as you go so each part of the sole and each toe makes contact, then lift straight up without sliding sideways. That single lift is what separates a clean print from a smear.
One foot needs about two or three stamps. Do one colour, let it dry, then add the second. Repainting between every single stamp is slower but gives sharper results.
Stay calm if the baby moves. A wobbly print is still a print, and you can trim around it or cover part of it with paint.
Turn the Footprint into a Keepsake
Let the print dry completely before you touch a brush to it, which usually takes a couple of hours on card and longer on canvas board. Then thin a second colour with a little water and paint stems, leaves, wings or a rainbow arch. Thin water-based paint gives a soft watercolour look rather than a heavy block of colour.
Add the name, the date and the age once everything is dry. Writing it as though the baby signed it turns a print into a record, and it is the part grandparents react to most.
Common Mistakes
The print is faint or invisible. The paint was too thin, or it was a thin kids’ paint on coloured paper. Load the foot again and press harder for a second or two.
The print smears. Too much paint, or the foot slid while lifting. Press the paper onto the foot rather than pushing the foot onto the paper, and lift in one straight movement.
Only part of the foot printed. The baby pulled away or the arch got no pressure. Roll the foot forward in stages, heel first, and hold the ankle steady.
The foot slipped. The skin was damp or the surface was slick. Wipe the foot dry, clean any oily residue, and lay a sheet of paper on a non-slip mat before pressing.
Lettering ran. It was added before the paint dried. Wait, and use a fine marker rather than a brush loaded with thinned paint.
Simple Variations and Display Ideas
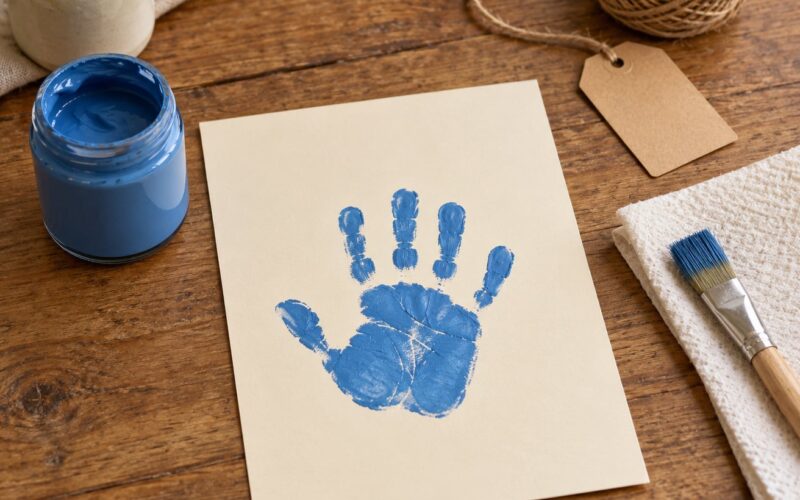
Print both feet side by side for a paired keepsake, or one foot per month for a birth-month milestone set that grows all year. Combining a handprint and a footprint in one frame makes the size difference obvious in a way neither print does alone.
Seasonal themes work because the print is the shape, not the picture. A pink print rotated into a tulip with a green stem, placed as a sun in the corner of a page, or turned into a butterfly with a marker for wings each take a different route to the same finished frame. For nursery wall decor, three small framed prints in a row read better than one large one.
The same prints can go onto fabric with fabric paint for a tea towel or a memory quilt panel, onto terracotta tiles for a door weight, or onto cards and gift tags for a baby shower. Whatever you make, scan or photograph each print before framing it so you have a copy for a memory book or a digital gallery.
Frequently Asked Questions
What kind of paint is safe to use for a baby footprint art project?
Washable tempera paint labelled non-toxic is the safest all-round choice. It is water-based, washes off skin with soap and water, and gives an opaque print on coloured paper. Acrylic paint gives crisper detail but is much harder to remove from skin and should not be used on a baby. Washable ink pads are cleanest of all but need firm, even pressure to transfer properly. Check the label before you open the pot.
How old should a baby be for a footprint art project?
Any age works, but the practical window is the first year. Newborns have floppy, curled feet that make faint prints, so expect softer impressions. From about three months a foot holds its shape better. Between six and twelve months babies often reach for their painted foot, so work fast and wash promptly. Once a toddler is walking and running, switch to walking prints made on a large sheet of paper.
Do I need to wash the baby’s foot before making the print?
Yes, wipe the foot with a damp cloth and dry it properly before you load on any paint. Damp skin makes the foot slippery, and a slippery foot smudges. Baby lotion, oil and moisturiser leave a film that stops paint adhering, so if you have just applied any, wipe the foot again with a damp cloth and dry it before printing.
How long does a baby footprint print take to dry?
Washable tempera on thick card is touch-dry in about an hour and fully dry within a few hours. Canvas board takes longer, often overnight, and acrylic takes longest of all. Keep the print somewhere flat and out of the way of little hands while it sets. Do not add lettering, extra colour or a frame until the surface no longer feels tacky when you touch the edge lightly.
Can I make a footprint keepsake without paint?
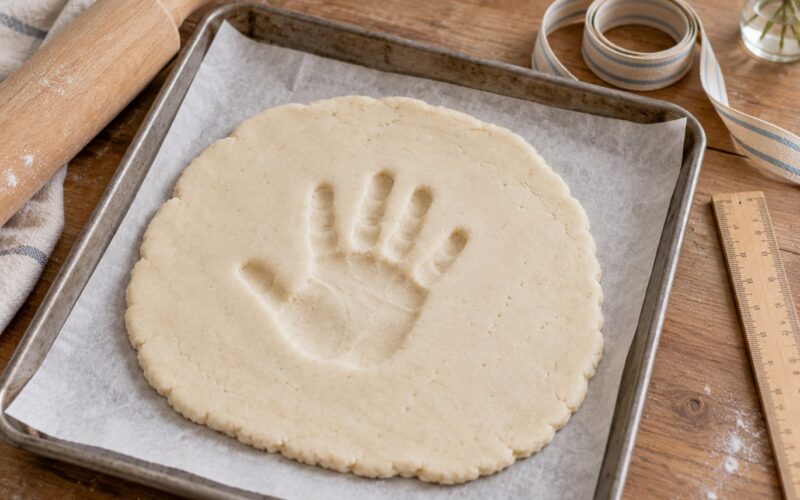
Yes, and it is the tidiest option. A washable stamp pad transfers cleanly and comes off skin with a wipe, though it needs firmer, even pressure to give a full impression. You can also press the foot into air-drying clay or salt dough, mixed from one cup flour, one cup salt and two-thirds cup water, which leaves a permanent mould. An inked footprint works well for fabric and quilt panels.
Conclusion
Start with a calm workspace and one test print on scrap cardboard. That single habit is what separates a clean keepsake from a week of guessing why the paint did not show.
Once the print is on paper, write the name and the date on it, scan a copy for your memory book, then frame the original under glass so it stays clean. That is the whole job, and it takes less time than most first attempts expect.