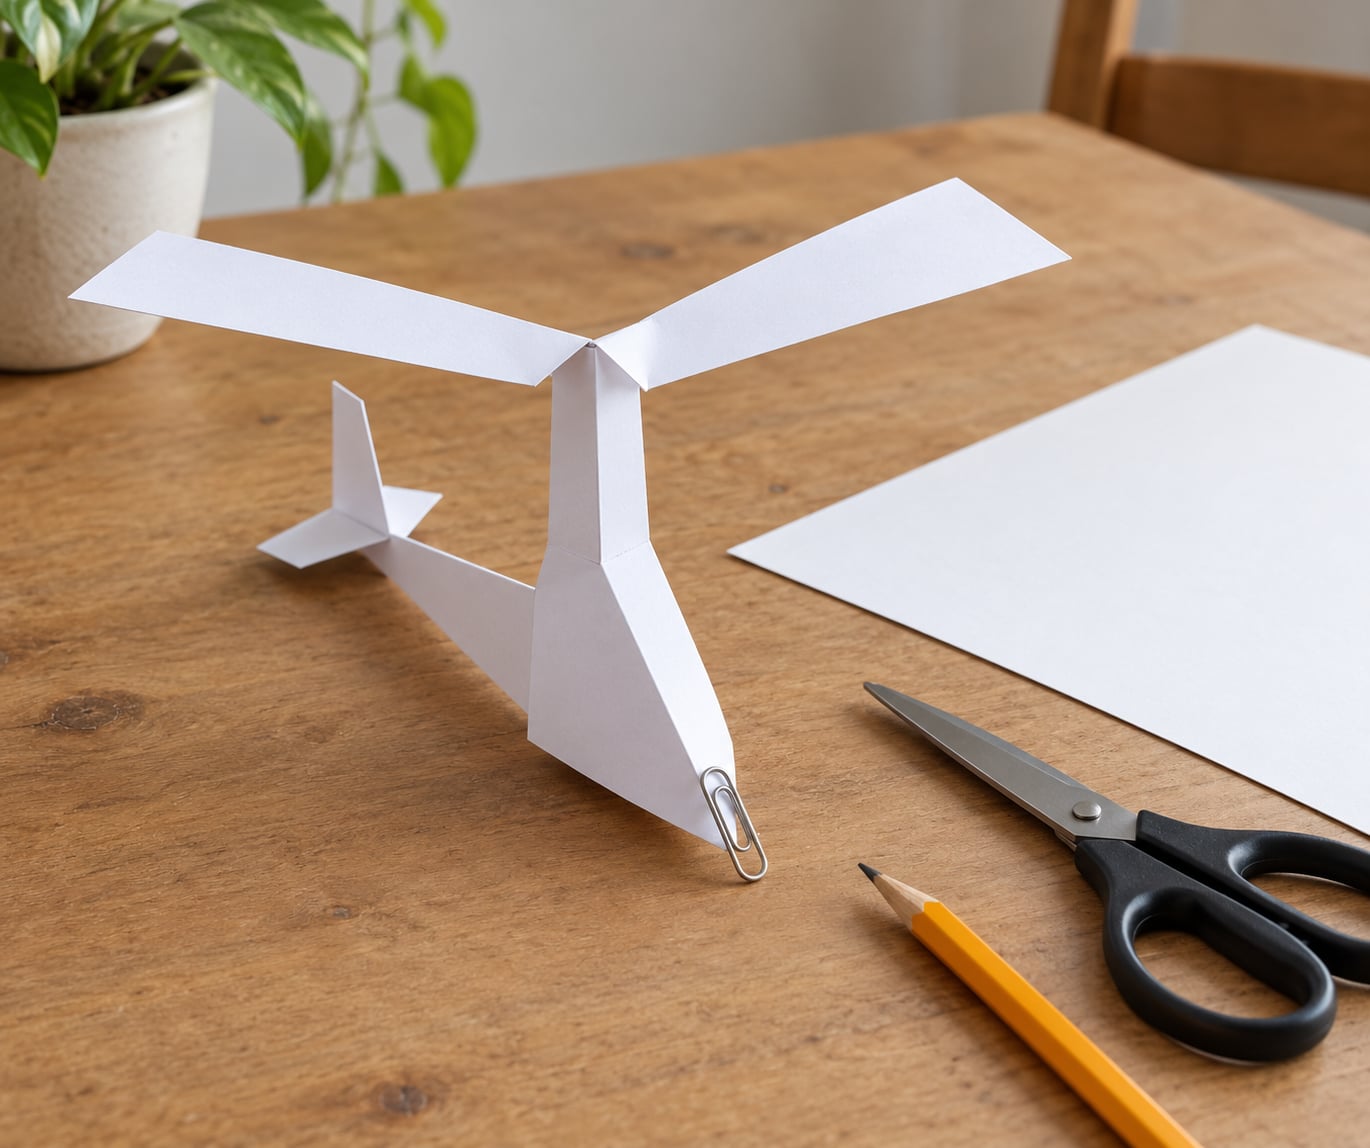
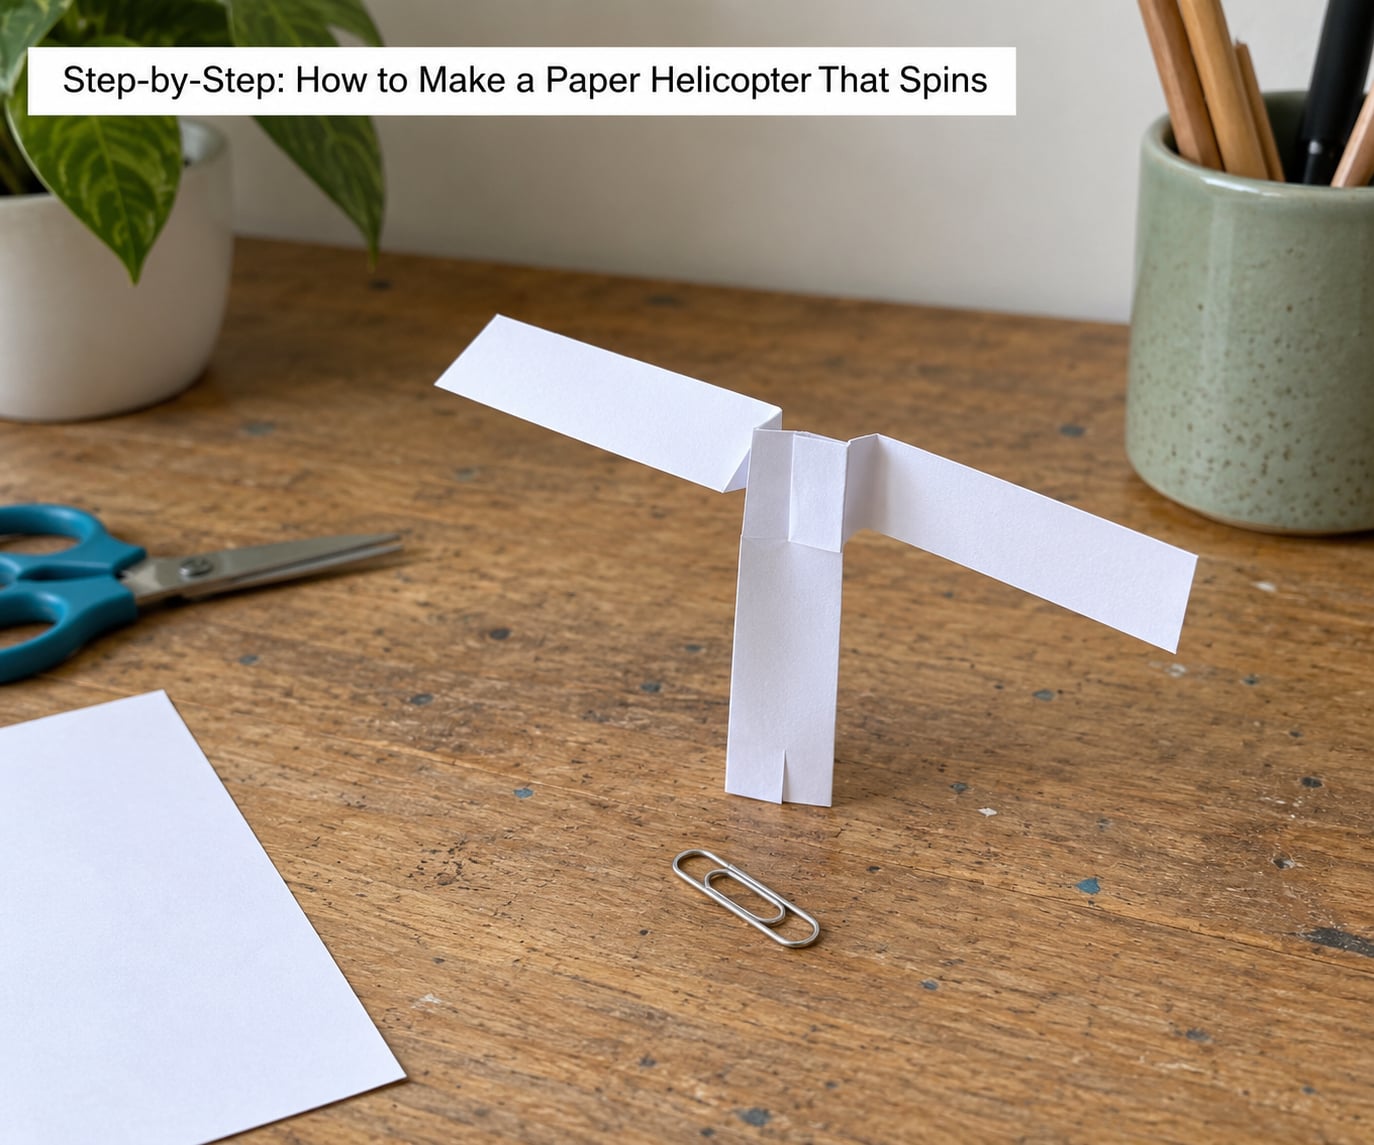
A paper helicopter that spins is really just a rectangle of paper cut into two wide rotor blades with a weighted nose underneath. Fold it in about five minutes, clip a paper clip to the bottom point, hold it level at arm’s length and let go. It turns nose-down, the blades whirl, and it drops slowly enough to watch the whole way down.
The trick most people miss is the blade shape. If the two flaps sit flat in a straight line, the thing just falls like a scrap of paper. Angle them down into a Y and the air catches them, which is what turns a bad drop into a proper little helicopter. A second folder gets you a spiral instead of a tumble.
This works for about as long as it takes to fold a sheet of paper, needs nothing you do not already own, and doubles as a classroom experiment on gravity and air resistance. Here is the build, then the science, then what to change when it misbehaves.
Table of Contents
- 1What You Need
- 2Step-by-Step: How to Make a Paper Helicopter That Spins
- 3How to Fold the Paper Helicopter
- 4How to Shape the Spinning Blades
- 5How to Add the Weight and Launch It
- 6How to Adjust the Flight
- 7Common Mistakes and How to Fix Them
- 8Frequently Asked Questions
- 9What makes a paper helicopter spin?
- 10Why does my paper helicopter not spin?
- 11What paper is best for a paper helicopter?
- 12How do I make my paper helicopter fly longer?
- 13How do I make a helicopter from a paper cup?
- 14Is this craft safe for young children?
What You Need
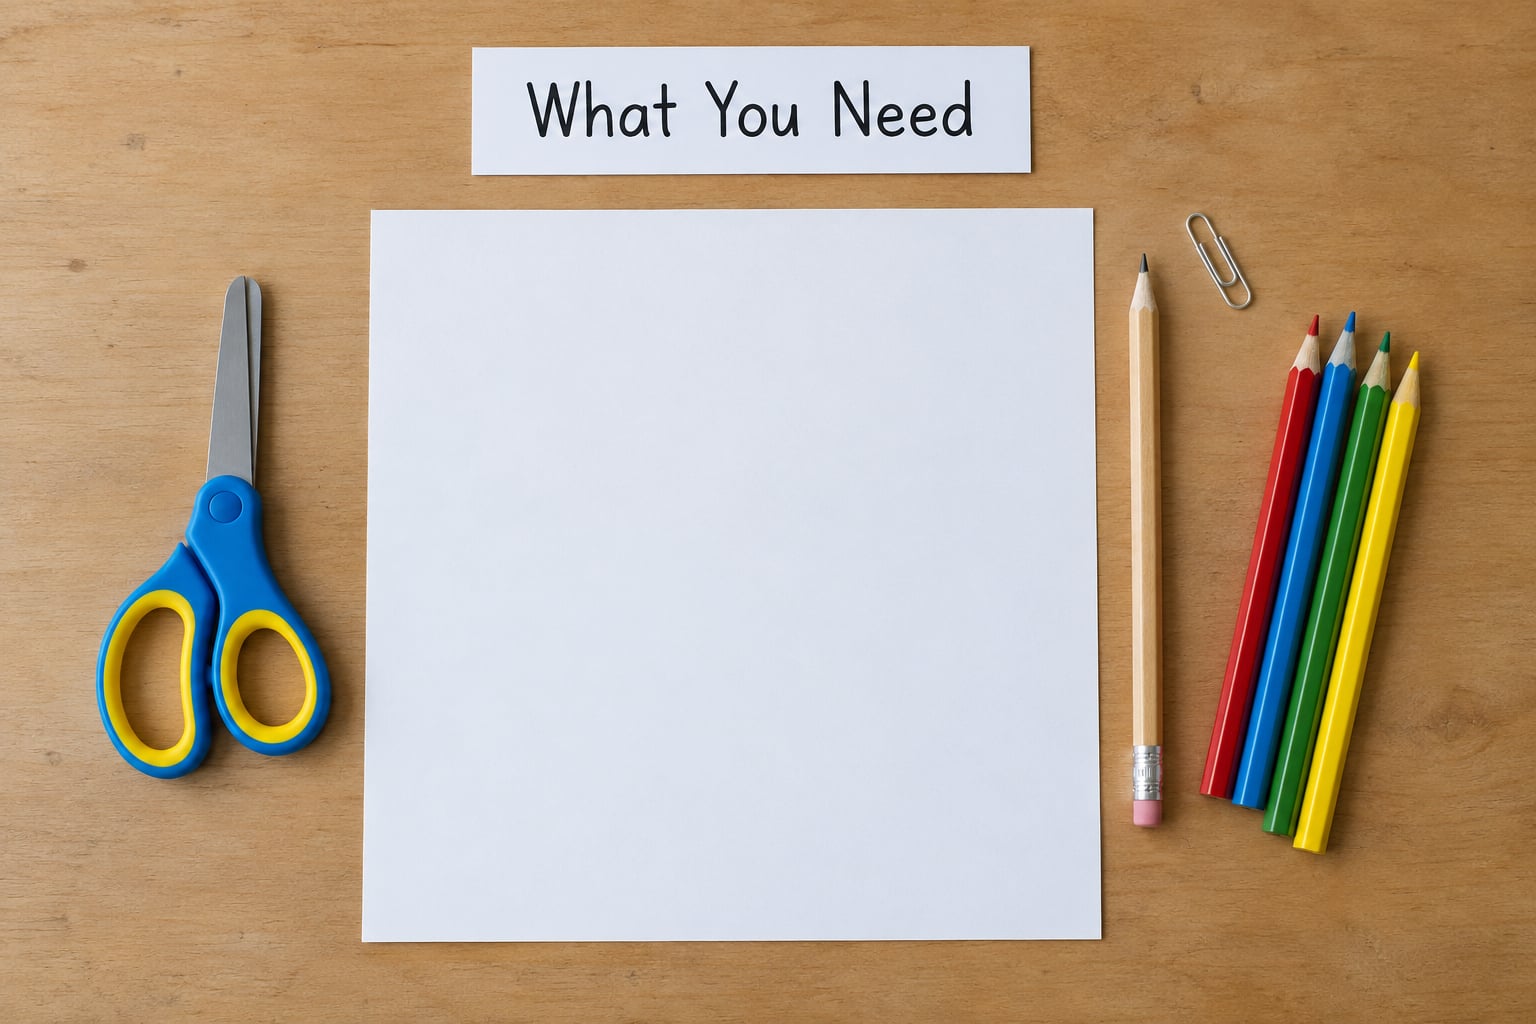
- One sheet of paper, A4 or letter. Card stock around 80 lb works better than thin printer paper because it holds a crisp fold.
- Scissors, ideally rounded-tip ones for children.
- A pencil and ruler for marking straight lines.
- A paper clip for the nose weight. Two or three clips if you want it to spin faster.
- A short strip of tape, optional, for holding the weight or pinning the blades.
- Colouring pencils or stickers, optional, once the flight tests pass.
Recycled paper from a junk drawer is fine. Cereal boxes flattened and cut down work too, since the printed side adds a little rigidity. Skip anything thicker than card stock, though: it will not fold cleanly and the blades tend to crack at the cut.
This craft suits ages 5 and up with an adult nearby for the cutting. Younger children can do the folding and the dropping while an adult handles the blade cut, which is the one fiddly moment.
Step-by-Step: How to Make a Paper Helicopter That Spins
How to Fold the Paper Helicopter
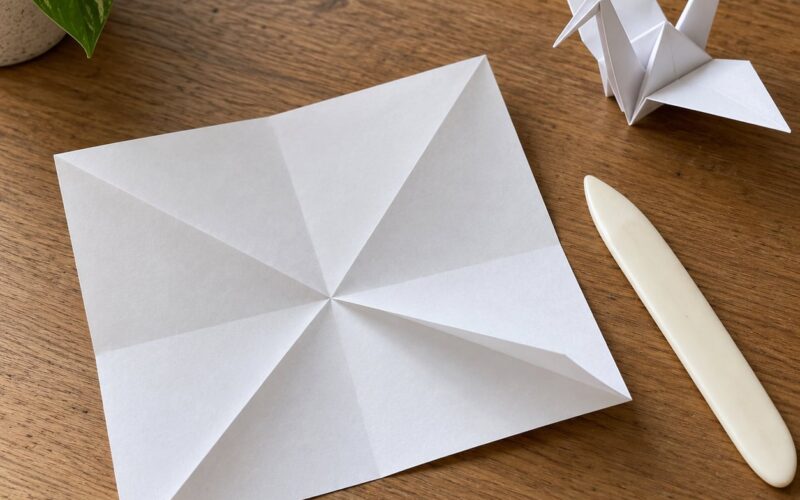
- Lay the sheet flat, long edge across, and fold it in half across the short way. Press the crease firmly with your thumbnail, then open it out again. That centre line is your guide for everything after this.
- Bring the two top corners down to the centre crease so the slanted edges meet on it and form a point at the bottom. Crease each corner well, then unfold them again so you can redo them neatly.
- Fold the paper in half the other way, short edge to short edge, and crease it. Now you have two clear centre lines meeting at a right angle and the paper still opens out flat.
- Fold the top corners down to the centre crease one more time and leave them folded. This forms the pointed nose, and it is the part that hangs below the blades when you drop it.
- Turn the folded paper so the point faces you and fold it in half lengthwise, bringing one side edge over to the other. You now have a narrow, double-layered body with the point at the bottom and the open edge at the top.
Check the body before you cut anything: open it flat and confirm the two corner triangles are the same size. If one is wider, the finished helicopter will lean that way when it spins.
How to Shape the Spinning Blades
- Mark a line about a third of the way down from the open top edge. Use a ruler so the mark is square across the folded body.
- Cut a shallow triangle out of the top edge along that mark, cutting through both layers. The pointed end of the triangle faces down into the paper.
- Open the body flat, then fold each of the two cut flaps down along the cut edge so they angle outward and slightly down. Each flap is one rotor blade.
- Look at the paper head-on. The two blades should angle down and away from each other, leaving a V-shaped gap between them and a gap in the middle. That is the Y shape.
- Measure both blades with a ruler and make them match. Unfold anything that is uneven and refold along a fresh straight edge rather than eyeballing it.
A flat row of blades, a T shape, will not spin well. Fold the blades down until you can see daylight between them at the centre, which is usually a 30 to 45 degree drop from flat.
How to Add the Weight and Launch It
- Slide one paper clip onto the pointed nose at the bottom. If it sits loose, wrap a short piece of tape around the point over the clip.
- For a faster spin, clip a second paper clip underneath the first, or tape a washer or two small coins to the very tip. A heavier nose pulls the body straight down.
- Pinch the helicopter gently by the top of the body, between the blades, with the blades level. Do not hold it by the blades or the point.
- Stand up, extend your arm, and hold it about one metre above the floor with the blades horizontal.
- Let go without pushing, throwing or angling down. The helicopter should tip forward, the blades catch, and it spirals down for several seconds.
Test indoors first. A steady room gives you a fair reading, and a fan blowing at a constant speed makes a good wind tunnel substitute when you want to test air resistance properly.
How to Adjust the Flight
Every change below shifts one of three things: how fast the blades turn, how steady the body stays, and how long it takes to reach the floor. Change one at a time, or you learn nothing from the result.
- Shorten the blades by cutting a little off the outer edge. Shorter blades spin faster and fall quicker.
- Lengthen the blades by making your triangle cut shallower and further down the sheet. Longer blades spin slower but hang in the air longer.
- Move the blades closer together for a faster spin, or further apart for a steadier, slower descent.
- Add a second paper clip to the nose for a tighter, faster spin and a steeper fall. Too much weight makes it plummet like a stone.
- Widen the blade angle to slow the spin and extend flight time. Narrow it for a fast, dramatic whirl.
- Scale everything up with a bigger sheet. A larger helicopter has more rotor area and usually stays up longer, which makes it easier to see across a classroom.
Common Mistakes and How to Fix Them
Almost every disappointing paper helicopter falls into one of the seven problems below. Each symptom tells you what changed, so fix that first before rebuilding.
The blades are uneven. One rotor blade ends up longer or wider than the other, and the helicopter drifts or wobbles mid-spin. Open the paper flat, lay a ruler against the cut edge and refold both blades on the same line. Cutting a sliver off the long blade is faster than folding it back.
The wings form a flat T. Straight blades spread sideways like a bar and the air slips off them, so nothing turns. Fold both blades down at roughly 30 to 45 degrees so they sit in a Y with daylight between them. This single change fixes more wobbly helicopters than any other tip.
It does not spin at all. Almost always no weight on the nose. Gravity wins, the body tumbles and the blades flap uselessly. Clip a paper clip to the very tip of the point, and if it still stalls, add a second one.
The centre crease is crooked. A lopsided fold twists the body, so the helicopter spins off to one side and corkscrews. Unfold it completely, realign the two short edges exactly, and press the crease with a thumbnail from one end to the other.
It dives straight down like a dart. The weight is too heavy for the blade area, or it is taped across the middle of the body instead of the tip. Move the clip down to the point. If it still plummets, remove a clip rather than shortening the blades.
The paper creases and tears near the blades. Forcing a fold in card stock splits the fibres. Unfold, flatten the sheet under a book for a minute, and refold with a bone folder or the back of a spoon instead of a fingernail.
It lands badly even when it spins. The release is usually to blame. Hold the helicopter level, let go with an open hand rather than a flick, and test in still indoor air. Gusty conditions turn a good helicopter into a tumble.
Frequently Asked Questions
What makes a paper helicopter spin?
It spins because angled rotor blades push air upward and backward as they fall, which turns the paper into a spinning rotor and pushes back against the fall. This is autorotation, the same trick a real helicopter uses when its engine is off. A weight on the nose keeps the body pointing down so the blades stay at a steady angle instead of flapping.
Why does my paper helicopter not spin?
Three things cause it. The blades are flat in a T shape instead of angled down into a Y, there is no weight on the nose, or the two blades are different sizes. Angle both blades down so you can see daylight between them, clip a paper clip to the very tip of the pointed nose, and check the blades measure the same. That fixes almost every case.
What paper is best for a paper helicopter?
Card stock around 80 lb gives the best result. It holds a crisp fold, keeps the blades stiff enough to spin and survives being dropped onto a hard floor. Plain printer paper works but flutters more and tears at the folds. Construction paper is too floppy for the blades, and anything thicker than card stock cracks when you bend it.
How do I make my paper helicopter fly longer?
Shorten the blades a little, angle them down further for a slower spin, and add one extra paper clip to the nose so the body drops straight instead of sliding sideways. Scaling the whole design up on a bigger sheet also helps, since more blade area means more air resistance. Test one change per drop and note what happens.
How do I make a helicopter from a paper cup?
Turn the cup upside down, cut two slots in the sides about a third of the way down, then bend the strips outward to make blades. Weight the base by taping coins or a paper clip underneath, hold it level and drop. The cup version spins faster than a folded sheet because the wider blades catch more air, but it lands harder.
Is this craft safe for young children?
Yes, for ages 5 and up with supervision. Folding, weighting and dropping are safe on their own. The cutting step is the one to hand to an adult, or use rounded-tip scissors and cut slowly along a ruler line. Test indoors on a rug first, skip thrown or high drops, and keep the small paper clips away from children who still put things in their mouths.
Start with one sheet and a single paper clip, get the Y-shaped blades even and release it level from about a metre. Once that version spins, change one thing at a time and see what it does to the flight time. The same helicopter teaches gravity and air resistance better than most worksheets I have handed out.