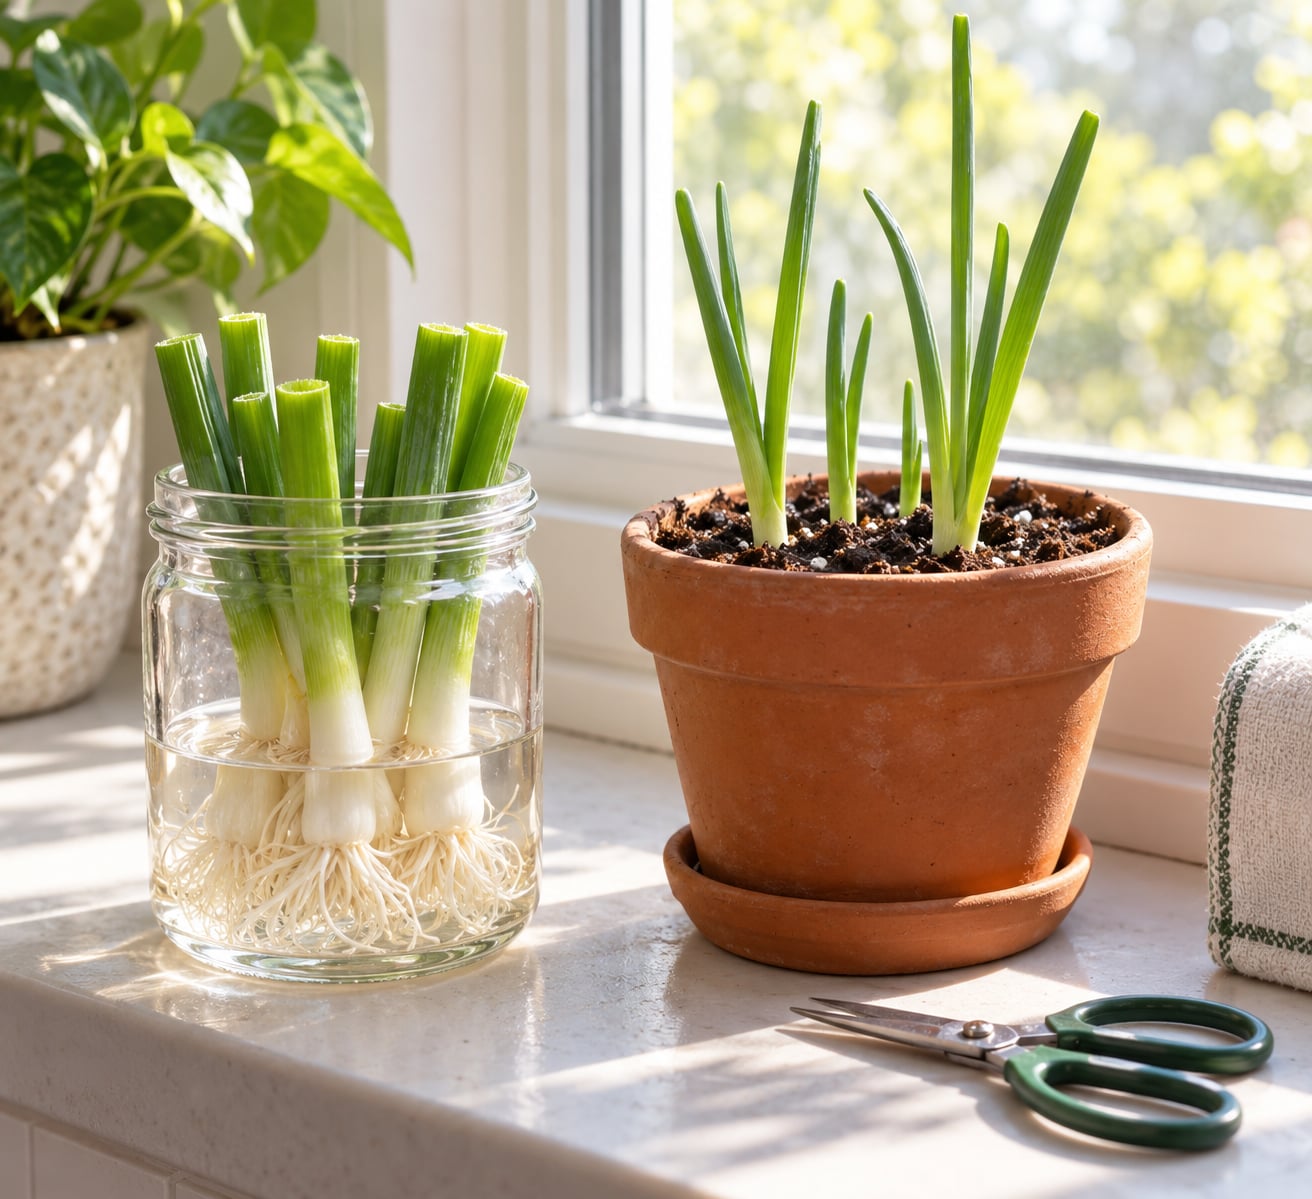
Yes, you can regrow green onions on a windowsill in nothing but water, and the setup takes about two minutes. Cut the white root end off a bunch of scallions, stand it in a jar with a couple of centimetres of water, and put the jar on a bright sill. Shoots appear in 3 to 7 days and the greens are snippable in 7 to 15 days. One stub usually feeds you two or three harvests before you pot it in soil.
It is the cheapest kitchen garden there is. The white base still holds a living basal plate, which is the tiny growing point that sends up new leaves, so the scrap is not really waste at all. Most failures come down to two things: letting the bulb sit submerged in stale water, or a windowsill with too little light. Both are easy to fix once you know what to look for.
Below is the whole method, from choosing the bunch to the third cut, plus what to do when the water goes cloudy or the shoots come up pale and floppy.
Table of Contents
- 1What You Need to Regrow Green Onions on a Windowsill
- 2Step-by-Step
- 3How to Regrow Green Onions on a Windowsill in Water
- 4Plant the Remaining Stubs in Potting Mix
- 5Trim, Water, and Harvest Without Removing the Plant
- 6Common Mistakes
- 7Frequently Asked Questions
- 8Can green onions regrow more than once?
- 9Why are my regrown green onions yellow?
- 10Do green onions need soil, or will they grow in water?
- 11How much sunlight does a windowsill need for green onions?
- 12Will a regrown green onion produce a larger bulb?
- 13Conclusion
What You Need to Regrow Green Onions on a Windowsill
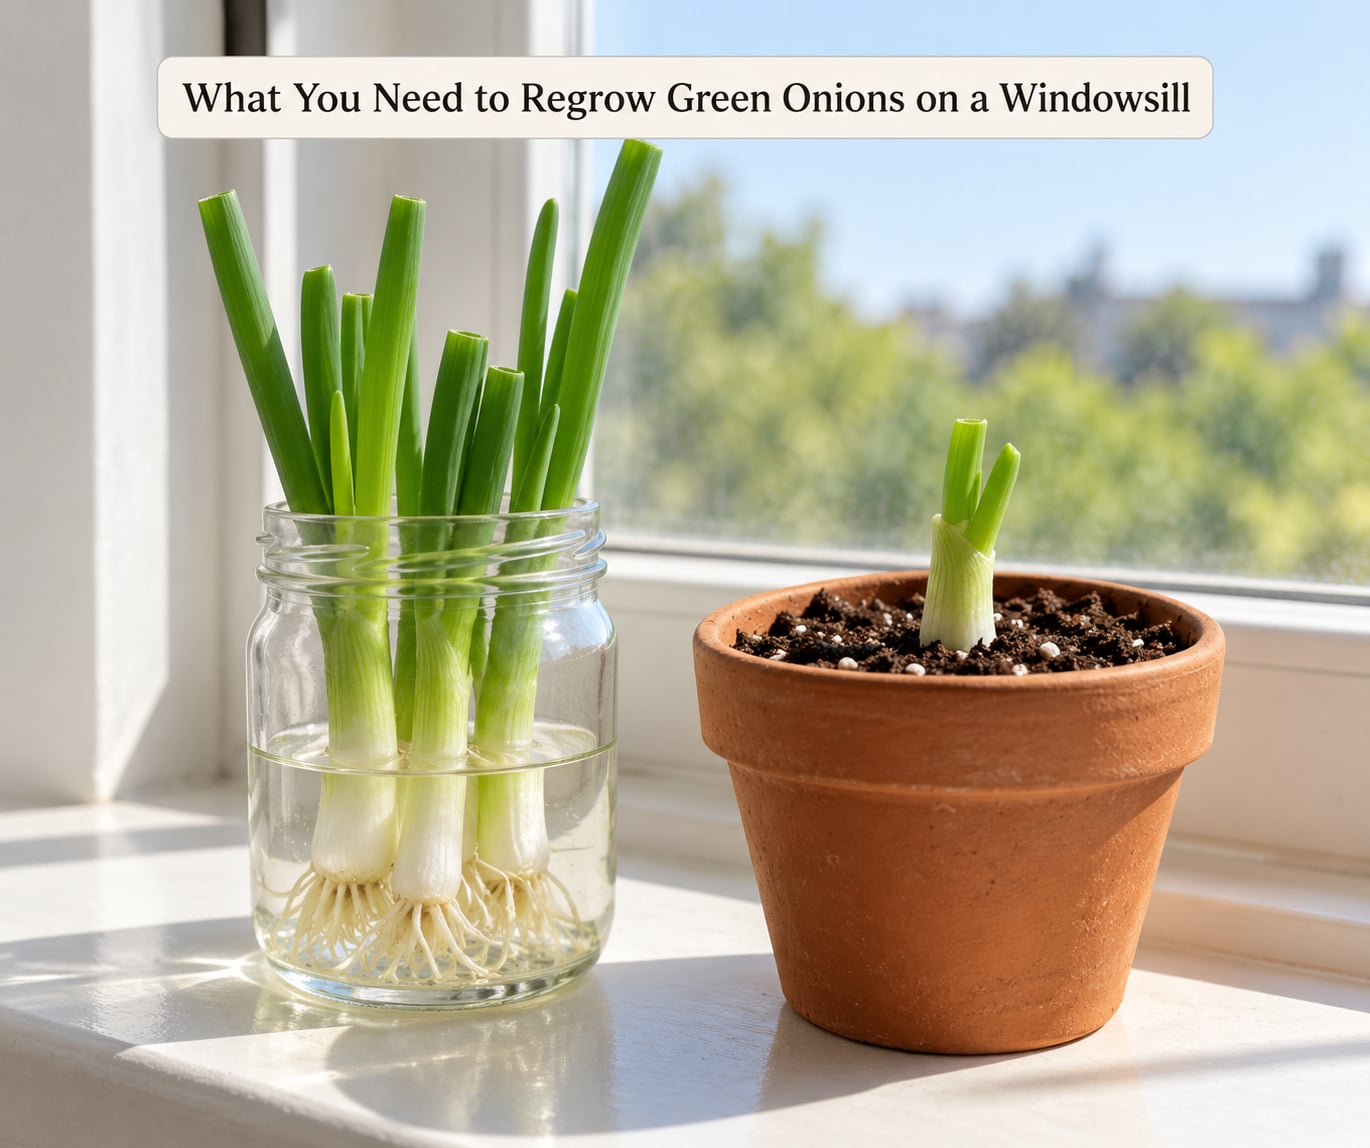
There are two setups and you only need one to start. The water method is the fastest: a glass jar, a tumbler or a shallow dish, some water, and the root ends from your last bunch of scallions. It suits a first attempt because you can see the roots and spot trouble before it spreads.
The soil method is slower and lasts much longer. You need a small pot with drainage holes and a light, well-draining potting mix. Growers who skip the jar entirely and push bulb ends straight into soil report thicker, stronger regrowth, and in a summer porch or balcony the plants will just keep going.
Whichever route you take, start with a good bunch. Pick scallions that feel firm at the bulb, with bright green leaves and roots that are white and pliable rather than dry and papery. Wilted greens are fine, because the leaves get cut off anyway, but a slimy or blackened base is already past saving.
Then pick the spot. Look for a windowsill that gets four to six hours of bright light, ideally eight. South-facing is best, east-facing is fine, and a dim north-facing window gives you pale, stretched shoots. Avoid a sill that gets baking afternoon sun against the glass, and keep the jar away from the heating vent or the edge of the stove, because onions throw a strong smell once they are stressed.
Step-by-Step
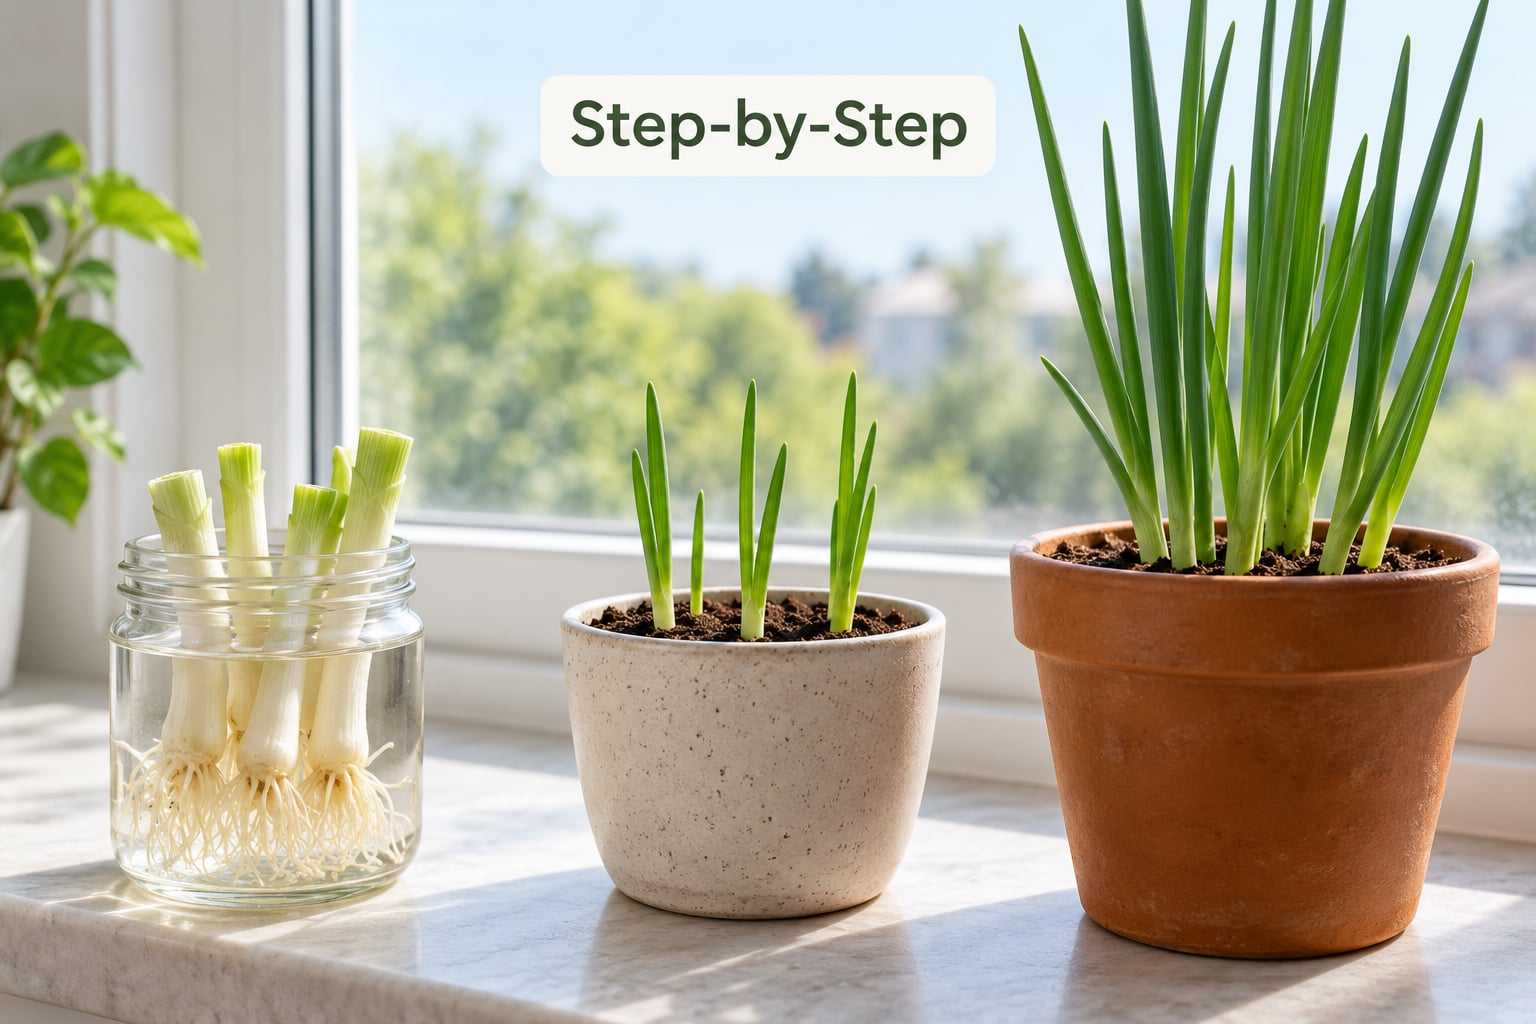
- Trim the greens off about 2.5 cm above the white base and cut away any limp or slimy outer layers.
- Leave 1.5 to 2.5 cm of the white root attached. A base with no roots rarely produces a new shoot.
- Place the stubs root end down in a jar with 2.5 to 5 cm of water, keeping the white base above the water line where the jar allows it.
- Set the jar on a bright windowsill away from hot glass and drafts.
- Refresh the water every two or three days, rinsing the jar and the roots each time.
- Snip the greens at 15 to 20 cm tall, cutting above the white base, and leave the plant in place for another round.
New growth is easy to spot. Within a few days you will see a pale green point pushing up from the centre of the cut stub, and the existing roots will lengthen and whiten if the water is fresh. Those two signs together mean the base is alive and rooting properly.
How to Regrow Green Onions on a Windowsill in Water
The water method is the fastest route and the one beginners should use first. Snug the stubs into the mouth of the jar so they sit upright and cannot tip over, then add enough water to cover the roots and no more. Overcrowding is what makes a jar fail, so leave a finger’s width between bases and use a second jar if the bunch is large.
The water level is the detail most people get wrong. Too deep and the white base sits underwater, which invites bacterial rot and a sour smell in the kitchen within days. Too shallow and the roots dry out between changes. Change it every two or three days, and every time, tip the jar out, rinse it, swish the roots under the tap and refill with cool or room-temperature water.
Once the roots have thickened noticeably, or the shoots crowd each other and flop over, the water method has done its job. Set a couple of the strongest stubs aside to move into soil and keep the rest in the jar while you finish them off.
Plant the Remaining Stubs in Potting Mix
For a plant that keeps producing, soil beats water. Take a rooted stub and set it in a pot with drainage holes, burying only the bottom of the white base, roughly 1 cm deep. Covering it deeper invites rot at the crown. A light potting mix with perlite or coarse bark drains freely, which is what onion roots want.
Water when the surface of the soil starts to dry out, not on a fixed daily schedule. A soggy pot is as bad as a stagnant jar, and it is the usual reason soil-grown onions go yellow and soft at the base. Keep the pot on the same bright sill and turn it a quarter turn each week so the growth stays even.
First harvest in soil usually lands around 7 to 15 days as well, though potted plants often look lankier for the first few days while roots establish. Signs of healthy growth: steady lengthening leaves, upright habit, and soil that smells clean rather than sour.
Trim, Water, and Harvest Without Removing the Plant
Harvesting is a snip, not a pull. Cut the leaves at 15 to 20 cm with clean scissors, always above the white base, and never cut down into the growing point. Cutting too low takes the whole plant with it. Take only what you need for tonight’s soup or salad, and the plant fills out over the next week or two.
After cutting, refresh the water and leave the jar where it is. A fed plant needs steady moisture and light, plus a quarter turn weekly so it does not lean into the glass. If you are potted, a dilute liquid feed every few weeks keeps the leaves dark and sturdy; in a plain jar there are no nutrients to add, which is exactly why the third cut is thinner than the first.
Rotate a second jar of fresh stubs every week or two so one is always sprouting while another is being cut. That simple habit gives you continuous greens without thinking about it, and it is how most households end up growing onions indoors year-round.
Common Mistakes
Slimy roots, cloudy water, a sour smell. This is bacterial rot, the single most common failure. It happens when the water sits too long or the bulb base stays submerged. Remove the affected base, scrub the jar with hot soapy water, rinse it, and start again with a shallower water level. Anyone worried about germs should wash their hands and rinse the roots under running water at each change.
Yellowing tips and pale leaves. Move the container to brighter light, cut off the yellow parts, and check the water level. If the white base feels soft, the plant is finished. Yellowing after two or three cycles is normal rather than a failure, and the answer is soil.
Nothing happens after 10 days. The root end was probably cut off, or the base sat above the water with nothing to drink. Trim to leave at least 1.5 cm of root, then try a fresh bunch with a strong root mat. Bulbs that have started to dry out are past the point where they will regrow.
Long, floppy, weak shoots. That is a light problem, not a food problem. Move the jar nearer the glass, but out of hot direct sun on the pane, or add a small grow light if you are deep in winter. Stretching toward the window is the plant telling you it wants more light.
Regrowth gets smaller each cut. That is the stored energy running down, not a mistake. Expect two to three good harvests per stub, then retire it and start a fresh one in soil.
Two small safety notes for a family kitchen. Onions and other alliums are toxic to cats and dogs, so keep the jar and the scraps on a counter the animals cannot reach. And if a windowsill batch smells strong enough to fill the room, move it to another spot rather than trying to fix it with more water changes.
Frequently Asked Questions
Can green onions regrow more than once?
Yes, usually two to three times from the same stub. Cut the greens at 15 to 20 cm above the white base and the plant sends up a fresh shoot from the same growing point. Expect the second and third cuts to be thinner and paler than the first, and retire the stub when new growth comes up short, limp, or stops entirely.
Why are my regrown green onions yellow?
Yellowing usually means stress, not disease. Common causes are a bulb base sitting in water long enough to rot, water that has gone stale, too little light, or a stub that has already spent its stored energy. Trim the yellow leaves, wash the container, refill with fresh water and move the plant to brighter light. If the white base is mushy, discard it.
Do green onions need soil, or will they grow in water?
Water works well for the first two or three harvests, which is all most people need. Plain water carries no nutrients, so once you want an ongoing supply, move the rooted stub into a small pot of well-draining potting mix with the white base lightly covered. Soil-grown plants grow thicker, hold more flavour, and stay productive far longer than a jar will.
How much sunlight does a windowsill need for green onions?
Give them at least four to six hours of bright light a day, and eight is better. A south-facing sill is ideal and an east-facing one works. Behind a north-facing window the shoots come up pale, thin, and stretched toward the glass, a sign of too little light rather than too much. A small grow light solves a dim winter sill.
Will a regrown green onion produce a larger bulb?
No. The white stub you plant is already formed and will not swell into a bigger bulb. Its job is to push up green leaves using the energy stored in that base. For real bulbs, sow seed or plant sets in a deep container or outdoors, where there is room for the bulb to expand and the roots have space to spread.
Conclusion
Start tonight. Save a bunch with sound white roots, trim the greens to 2.5 cm, stand the stubs in 2.5 to 5 cm of water, and set the jar on your brightest sill. Change the water every couple of days, snip the greens at 15 to 20 cm, and leave the base in place so it sends up a second and third cut. When growth slows, move the best stub into a pot of potting mix and start a fresh jar alongside it.