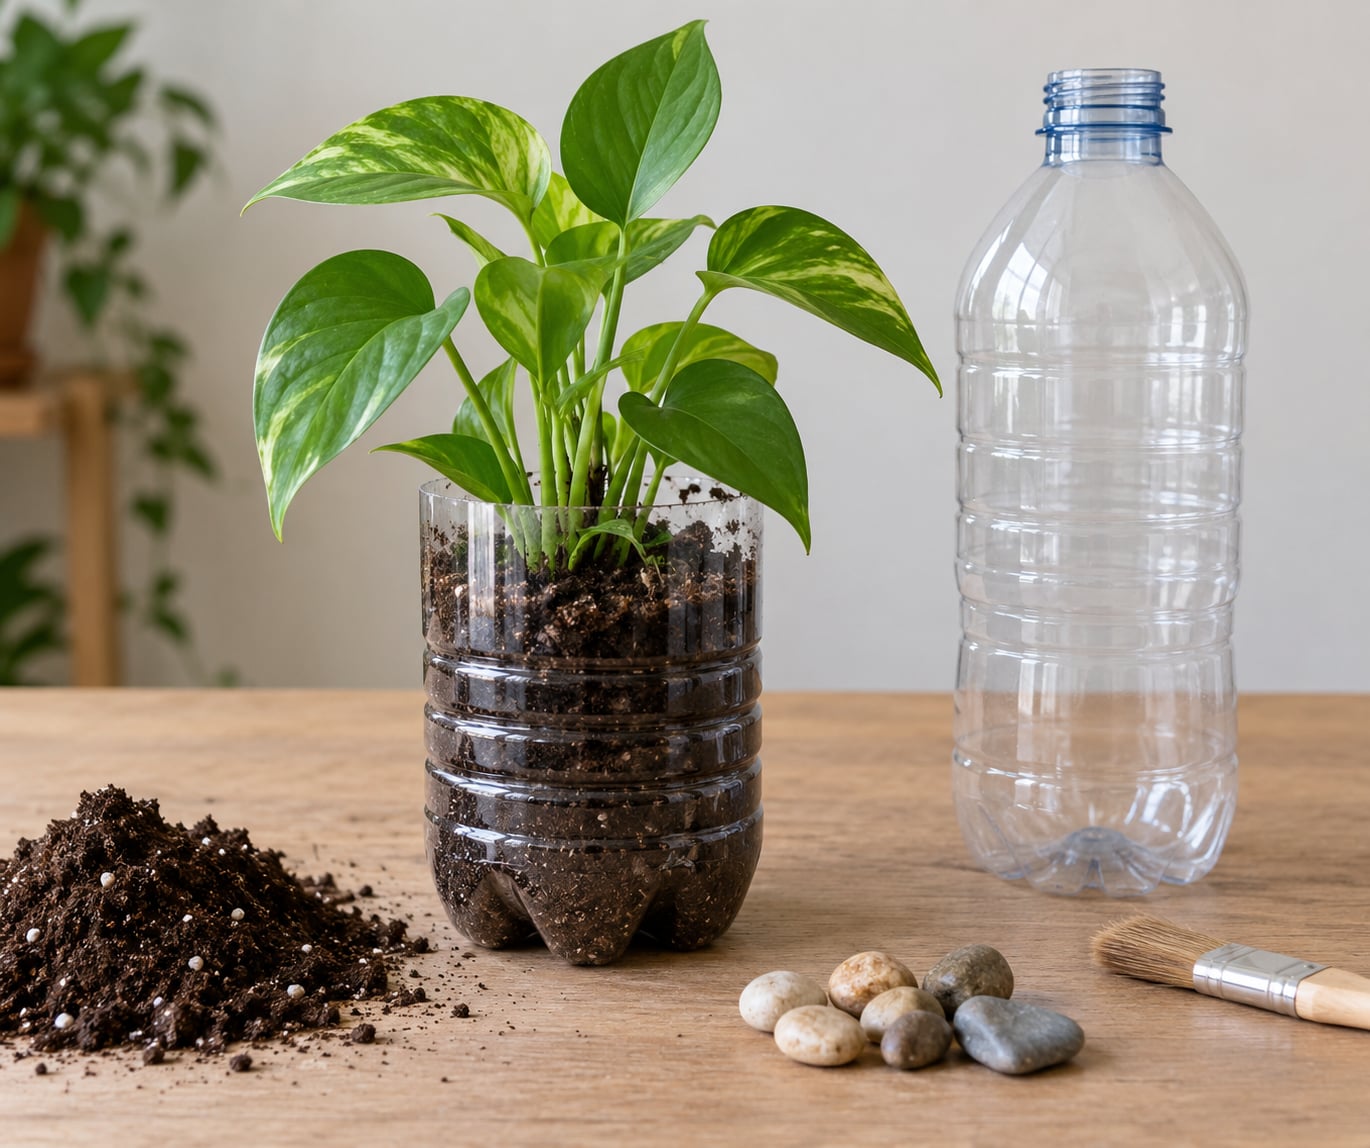
To recycle plastic bottles into planters you cut the top off a clean bottle, punch drainage holes in the base, decorate the outside, then fill it with potting mix and a small plant. A 2-liter soda bottle makes a roomy pot, and a 500 ml one makes a perfect windowsill herb pot. The whole thing takes 20 to 30 minutes per bottle, and the only tricky part is making the drainage holes without cracking the plastic.
I keep a bag of empty bottles by the bin now, mostly because my kids ask for one every time they want to grow something. Herbs and salad greens live on the sill, and I hang two bigger ones from the porch rail in summer.
Before you cut anything, here’s the short version.
- Wash the bottle and peel off the label, including the sticky residue.
- Cut the top off about a third of the way down, or cut a wide opening for a bigger container.
- Punch five or six small drainage holes in the base with a heated screwdriver, a drill or a nail.
- Sand the cut rim until it is smooth, then paint or decorate.
- Add a thin layer of pebbles, potting mix, and a plant that suits the size.
Table of Contents
- 1What You Need
- 2Step-by-Step: How to Recycle Plastic Bottles Into Planters
- 3Step 1: Choose and Clean the Bottles
- 4Step 2: Cut the Bottle Into a Planter Shape
- 5Step 3: Add Drainage Holes
- 6Step 4: Decorate the Plastic Bottle Planter
- 7Step 5: Add Soil and Plant
- 8Step 6: Water and Care for the Planter
- 9Common Mistakes
- 10Frequently Asked Questions
- 11What size plastic bottle is best for making a planter?
- 12Do plastic bottle planters need drainage holes?
- 13Can I use a plastic bottle planter outside?
- 14What kind of paint is safe for decorating a plastic bottle planter?
- 15Which plants grow best in recycled plastic bottle planters?
- 16Are plastic bottle planters safe for children to handle?
- 17Conclusion
What You Need
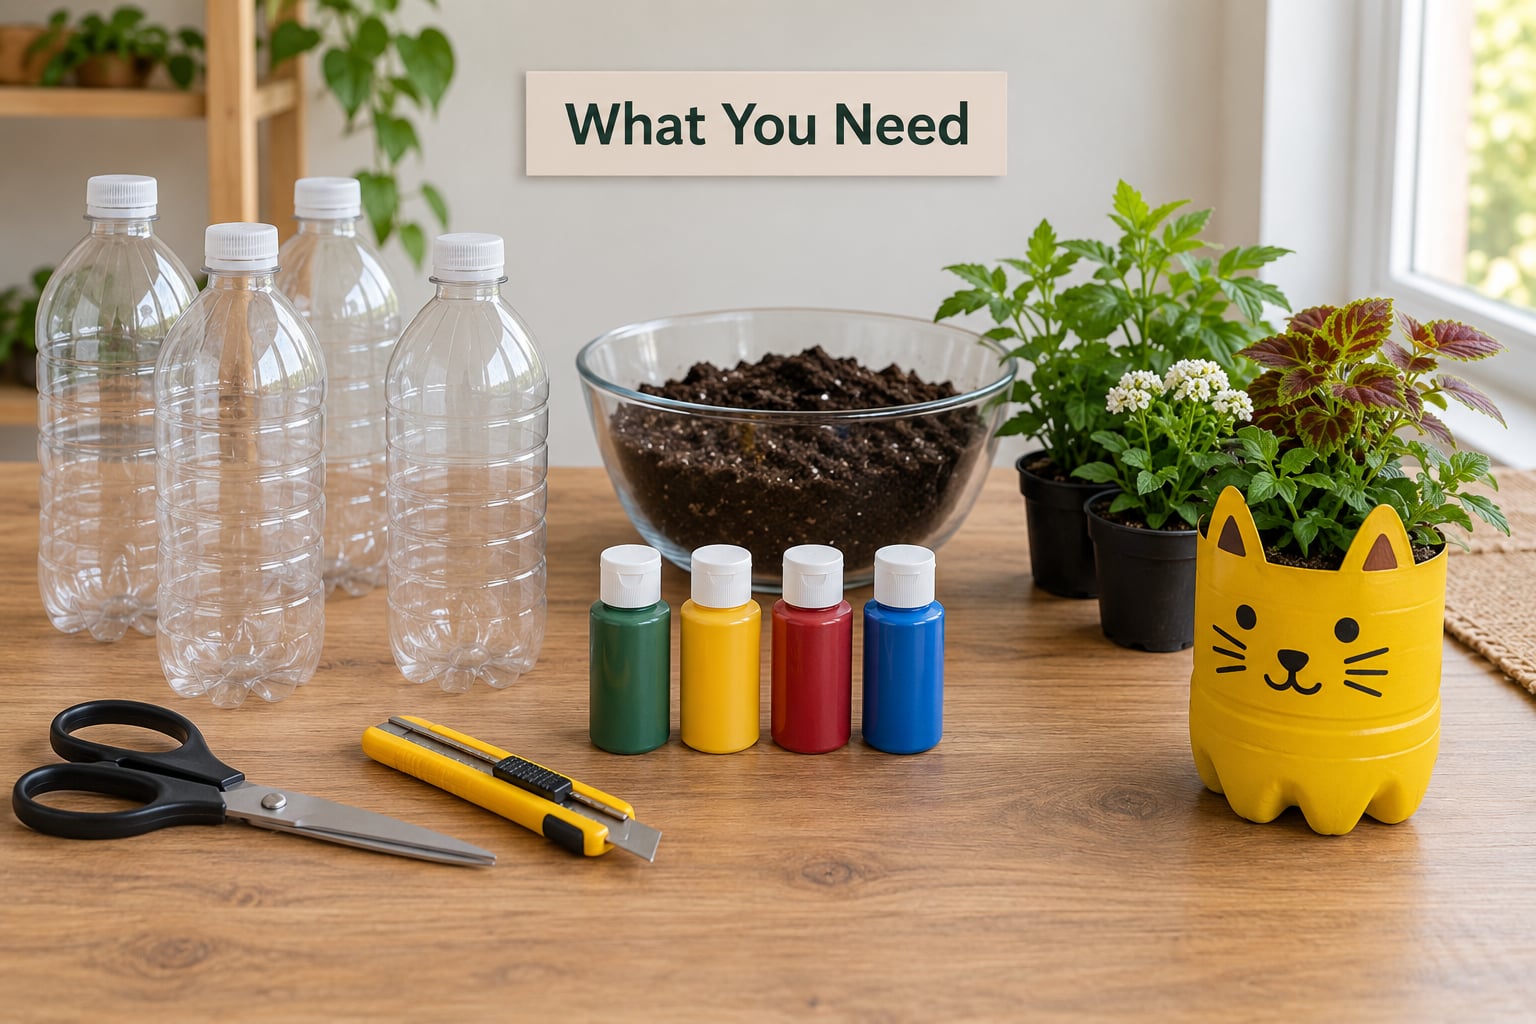
You almost certainly have most of this already. Gather everything before the first cut, because interrupting a half-finished bottle to hunt for a screwdriver is how projects get abandoned.
- Bottles: 500 ml to 2 liter plastic bottles. Look for the recycling symbol on the label. #1 PET (clear drink bottles) and #2 HDPE (opaque milk and juice bottles) are the usual picks.
- Cutting tools: scissors for the top cut, plus a utility knife, an awl or heated screwdriver, and a drill with a small bit if you have one.
- Measuring and marking: masking tape and a marker. The tape gives you a straight line to cut along and stops the knife from wandering.
- Smoothing: 150 grit and 220 grit sandpaper, or fine grit wet-and-dry for wet use.
- Decoration: acrylic paint and a brush, spray paint made for plastic, permanent markers, stickers, stencils, paper, string, and a waterproof sealant or plastic primer.
- Planting supplies: small pebbles or gravel, bagged potting mix, and a plant that fits the pot.
- Safety kit: cut-resistant gloves, safety glasses, a cutting mat or old newspaper as a work surface, and a broom for sweeping up plastic shavings.
One note on ventilation: if you spray paint, work outside or in a well-ventilated room, away from flames and open heat. Aerosol fumes are the one part of this project worth taking seriously.
Step-by-Step: How to Recycle Plastic Bottles Into Planters
Step 1: Choose and Clean the Bottles
Pick bottles with straight, evenly molded sides. A ribbed or curved body makes a wobbly pot, and the base ring on some bottles leaves a gap where water sits.
For plants you plan to eat, stick with #1 PET and #2 HDPE, the two codes most widely accepted as food-contact plastics. Fill the bottle with warm water and a squirt of dish soap, cap it, shake hard for thirty seconds, then scrub the inside with a brush. Rinse and let it dry completely, because any moisture left inside traps mold once you add soil.
Labels leave a film that paint will not stick to. Peel what you can, then rub the patch with a cloth and a little rubbing alcohol or a plastic-safe cleaner until the surface feels dull rather than greasy. It is the most annoying five minutes of the whole job, and skipping it is why painted bottles start peeling in a month.
Success check: the bottle is dry to the touch inside and out, and no label remains above the area you plan to paint.
Step 2: Cut the Bottle Into a Planter Shape
For a standard pot, measure about a third down from the top and wrap a strip of masking tape around that line. Mark it with a marker so the guide stays visible over the slippery plastic. Cut slowly around the circumference with a utility knife, keeping the blade angled slightly downward so it does not skate off the curve.
For a wider, shallower container, cut the same line but on a taller bottle, which gives you a broad opening for a windowsill herb pot. For a narrow seedling pot, cut lower and leave a narrower cylinder, which is easier for tiny roots.
Wrap the cut edge in a strip of tape while you work and peel it off afterwards, because it leaves a noticeably cleaner line than cutting bare plastic. Then run 150 grit sandpaper along the rim in one direction until your finger finds no catch. I have skipped this once and had a lip that nicked my thumb every time I watered.
Success check: the pot stands flat on a counter without rocking, and the rim is smooth enough to run a finger along without snagging.
Step 3: Add Drainage Holes
Drainage is the single thing that decides whether the plant lives. A pot with no holes holds water until the roots suffocate and turn to mush, which is root rot.
Three methods work well. A heated screwdriver melts a clean hole in a few seconds, though the melted plastic can smell sharp, so do it outdoors. A drill with a small bit goes fastest and needs no heat. A heated nail held with pliers works in a pinch; tap it through with a hammer and sand the edges afterwards.
Make five or six holes in an old bottle that will sit on a saucer, or two in a small pot that drains freely outside. Test with a mug of water before you add soil. Sand every hole with the 220 grit paper until the edges are rounded, because a drilled hole leaves a sharp plastic burr that will cut the root ball as you plant.
For a self-watering version, cut the base off entirely, invert the top section so the neck points down, and fill the inverted top with soil. A cotton cord running down the neck into a reservoir bottle below wicks water up as the soil dries. This is the trick people search for most and it takes one extra bottle.
Success check: water runs out of the holes within a few seconds, and no hole has a jagged lip.
Step 4: Decorate the Plastic Bottle Planter
Lightly scuff the outside with 150 grit sandpaper in a circular motion, then wipe it with a damp cloth to remove dust. Paint will grip that scuffed surface far better than a glossy one, and it is the difference between a finish that lasts a season and one that lasts years.
For the best adhesion, spray a primer formulated for plastic first, let it cure, then apply your colour. Acrylic paint works fine with the primer and is far easier for kids. Spray paint gives an even finish in one pass but needs a mask and outdoor work.
There are easier options too. Permanent markers and paint pens write straight onto the scuffed plastic. Stencils with masking tape give clean stripes. Paper cutouts with a glue stick make collages, and a strip of waterproof sealant over the inside rim keeps soil from creeping under the paint edge.
Let each coat dry fully before the next, and give the finished pot a full day before you plant. Rushing this is how a fingerprint ends up baked into the base coat.
Success check: paint is dry to the touch and does not come away on a cloth after a light rub.
Step 5: Add Soil and Plant
Put a shallow layer of pebbles or gravel in the bottom, just enough to cover the drainage holes. It stops soil washing out and keeps roots off the wet base.
Fill with lightweight potting mix rather than garden soil. Garden soil is dense and holds water too long in a small plastic pot, and potting mix with perlite or vermiculite lets the roots breathe. Fill to about 2 cm below the rim, leaving room for water.
Set the plant in so the top of its root ball sits level with the soil surface, not buried. Firm the mix gently around it and water once to settle everything. Size the plant to the pot: a succulent in a 2-liter bottle looks lost, while basil in a 500 ml pot will outgrow it by midsummer.
Success check: the plant sits at soil level, nothing wobbles, and a gentle push on the rim does not shift the root ball.
Step 6: Water and Care for the Planter
Water thoroughly until water runs from the base, then wait for the top centimetre of soil to dry before watering again. Plastic dries out faster than clay, so check daily in summer heat. Standing water in a saucer invites root rot, so empty it.
Indoors, most herbs and small leafy plants do well on a bright sill with a few hours of direct light. Outdoors, acclimate the pot gradually, because plastic in full sun heats up enough to bake roots on a hot afternoon.
If you notice the pot going brittle or the sides caving in, the plastic has been sitting in sunlight for a season or two. Move it into partial shade, or move the plant into a different container and keep the old bottle for a less sunny spot.
Success check: soil is moist at finger depth, not soggy, and water escapes freely from the holes after each soak.
Common Mistakes
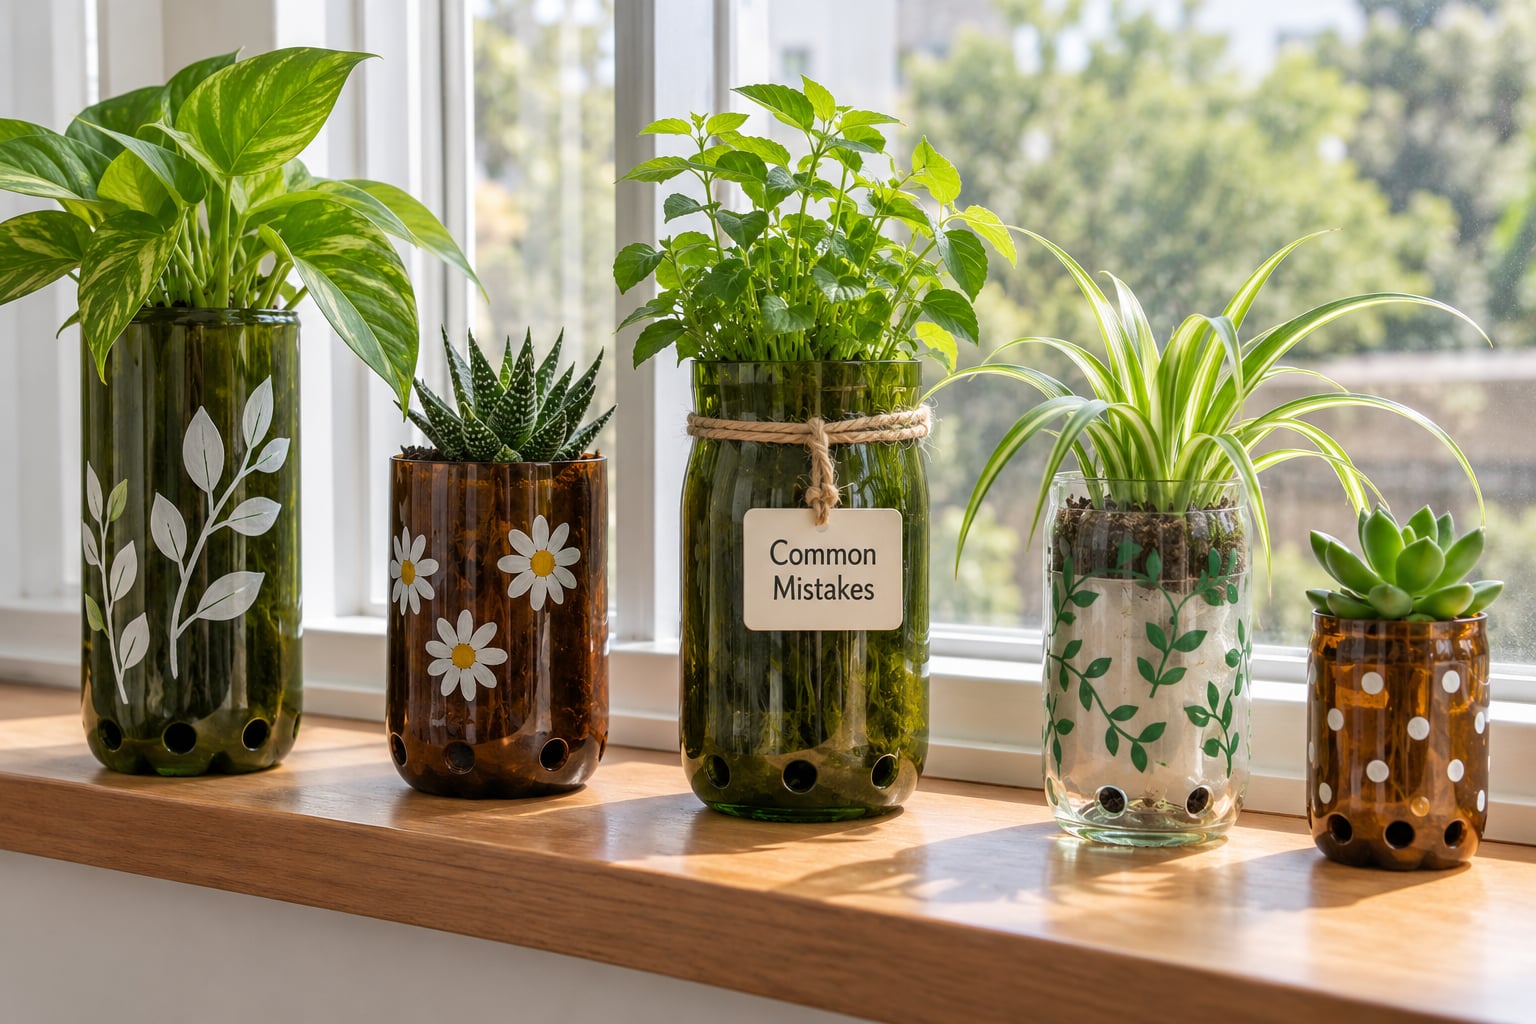
Almost every mistake here has the same fix: slow down at one step and the next three go fine.
- Cutting toward your hand. Push the knife away from your fingers, keep the blade on a cutting mat, and use gloves. This is the one risk in the whole project.
- No drainage holes. Poke them before the soil goes in. It is nearly impossible to do neatly afterwards.
- Skipping the label and residue removal. Paint peels off the film within weeks. Rub the plastic dull before decorating.
- Forgetting to scuff and prime. Sand in circles, clean with a damp cloth, then use a primer made for plastic.
- Holes that crack the base. Use a heated screwdriver or a drill with a small bit instead of forcing a nail through. Work on scrap plastic first if you have never done it.
- Sharp cut rims. Sand the rim and every hole with 150 then 220 grit. Kids notice this one fastest.
- Overwatering. Empty any saucer, and test the soil with a finger rather than a schedule.
- A pot that rocks or tips. Cut a level base and keep the pot shallow and wide rather than tall and narrow.
- Bottles that turn brittle in the sun. Move them to partial shade or swap them out every season. Clear bottles also grow algae, so an opaque one is better if you can find it.
- Oversized containers for the plant. A huge pot holds far more wet soil than a small plant can use. Match the plant to the bottle, not the other way round.
A couple of other containers work just as well if you have them: a large yogurt pot needs only drainage holes and a decorative rim, and a milk jug can be cut into a watering can spout or a tall indoor pot.
Frequently Asked Questions
What size plastic bottle is best for making a planter?
A 2-liter soda bottle makes the most versatile pot, giving enough root room for herbs, salad greens and small flowering plants. A 500 ml bottle suits a single herb or a seedling. Whatever the size, cut the top off no more than a third down so the pot stays wide and stable rather than tall and top-heavy.
Do plastic bottle planters need drainage holes?
Yes, drainage holes are the most important part of the build. Five or six small holes in the base let excess water escape so the roots get air and do not rot. Test the holes with a mug of water before you add soil, and sand the edges afterward to remove the sharp burr left behind.
Can I use a plastic bottle planter outside?
Yes, and they do well on a balcony, porch or windowsill. Keep them out of full afternoon sun, which heats the plastic and can bake the roots, and move them into partial shade as the season turns. Expect to replace them each year outdoors, since sun and frost make the plastic brittle over time.
What kind of paint is safe for decorating a plastic bottle planter?
Acrylic paint with a plastic primer underneath gives the most durable finish, and spray paint made for plastic works well if you spray outdoors. Skip solvent-based or oil-based paint near anything edible. If you plan to grow food in the pot, let the finished planter cure for a full day and keep paint off the inside rim.
Which plants grow best in recycled plastic bottle planters?
Herbs such as basil, mint, parsley and chives do well in a 500 ml pot, as do salad greens and spring onion roots. Larger bottles suit bigger plants, including cherry tomatoes, peppers and strawberries. Succulents and other shallow-rooted plants prefer wide, shallow bottles. Match the plant size to the bottle or it will outgrow the pot by midsummer.
Are plastic bottle planters safe for children to handle?
They are, once the sharp work is done. Sand the cut rim and every drainage hole smooth with fine sandpaper, then let an adult check the whole surface before handing it over. Decorate with paint, stickers and markers rather than sharp additions, and keep utility knives and heated tools away from the project once cutting is finished.
Conclusion
The recipe is short: wash the bottle until the label is gone, cut the top off about a third down, sand the rim, punch drainage holes in the base, decorate it, and add potting mix with a plant that fits.
Once you’ve made one, making four takes barely longer than making one, and a row of them on a sill looks like you meant it. That also makes it a good weekend project with kids, as long as an adult handles the cutting and the sanding.