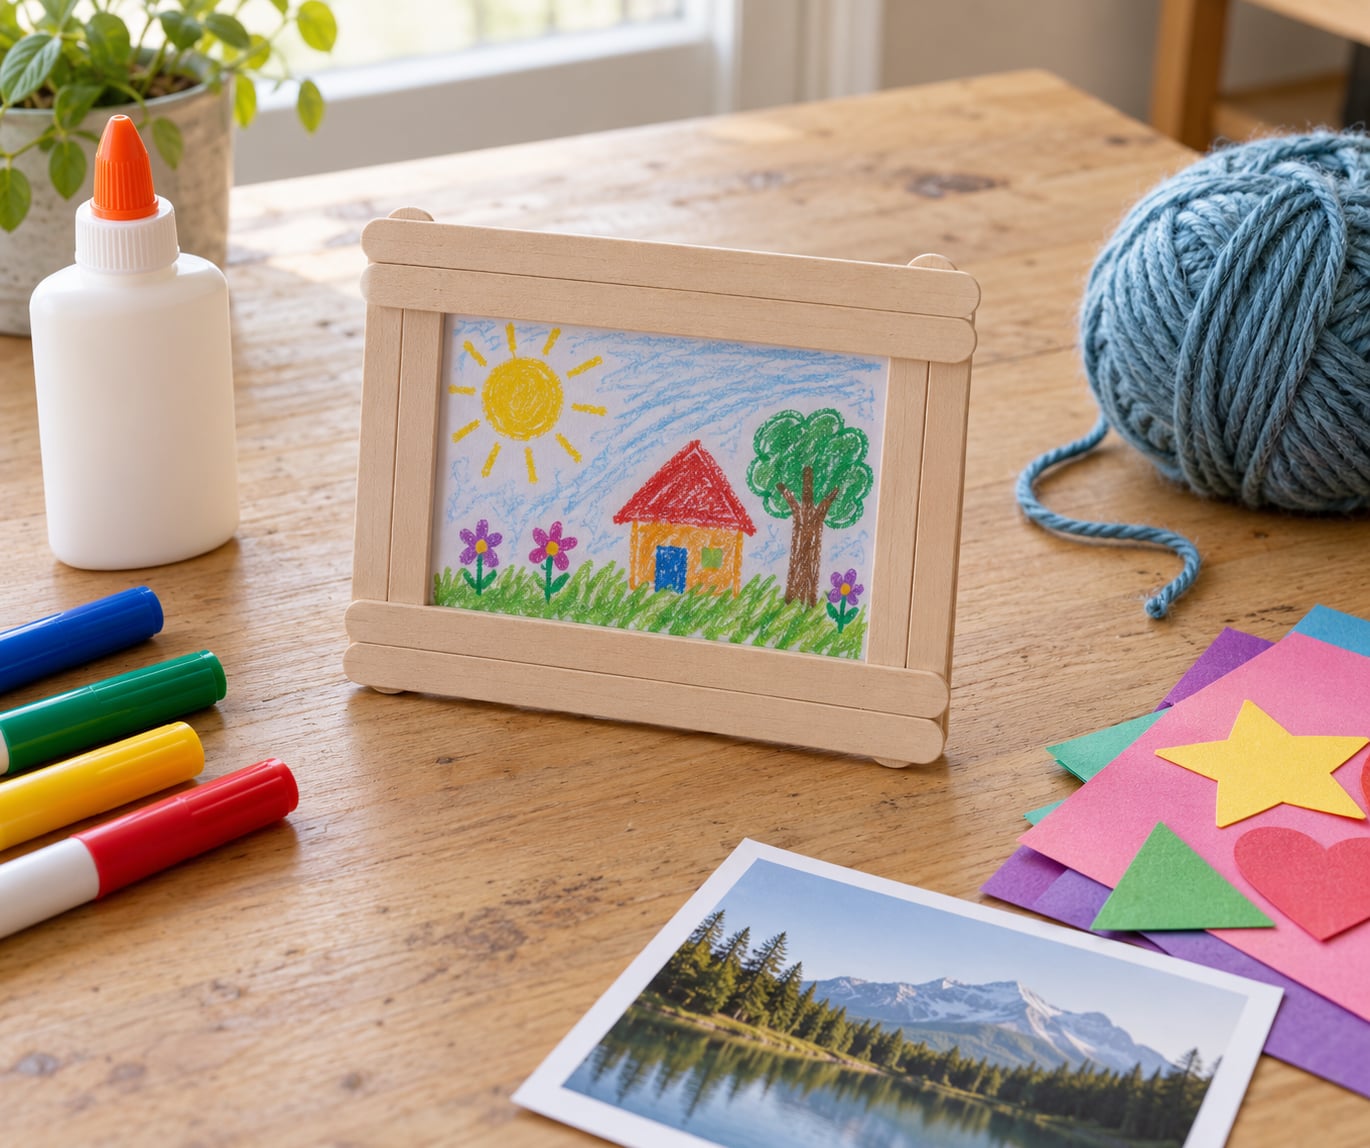
How to make a popsicle stick picture frame is simpler than it looks: lay out eight craft sticks in a square, glue them where they overlap, and let the glue dry completely. Add a photo or a drawing on the back and you have a finished frame in about an hour plus drying time.
The whole project runs on plain wooden craft sticks, a bottle of glue, and something to decorate with. It works just as well for a printed photo, a first-day-of-school picture, or a piece of artwork your child drew on thicker paper.
Plan roughly 45 minutes of active building and at least an hour before the frame is handled, and pick a spot where the craft can dry without being nudged. It is a good rainy-afternoon project, and the photo size is entirely up to you.
Table of Contents
- 1What You Need
- 2How to Make a Popsicle Stick Picture Frame Step by Step
- 3How to Choose the Photo or Artwork
- 4Build the Popsicle Stick Border
- 5Add the Photo, Drawing, or Cardboard Backing
- 6Decorate and Finish the Frame
- 7Make It Your Own
- 8Making It With Kids
- 9Common Mistakes
- 10Frequently Asked Questions
- 11How many popsicle sticks do I need for a picture frame?
- 12Can I make a popsicle stick frame without glue?
- 13What is the best way to attach a photo without damaging it?
- 14How long does the frame need to dry before I use it?
- 15Can children decorate the frame with markers or paint?
- 16How can I make the frame stand up or hang on a wall?
- 17Start With a Dry Fit
What You Need
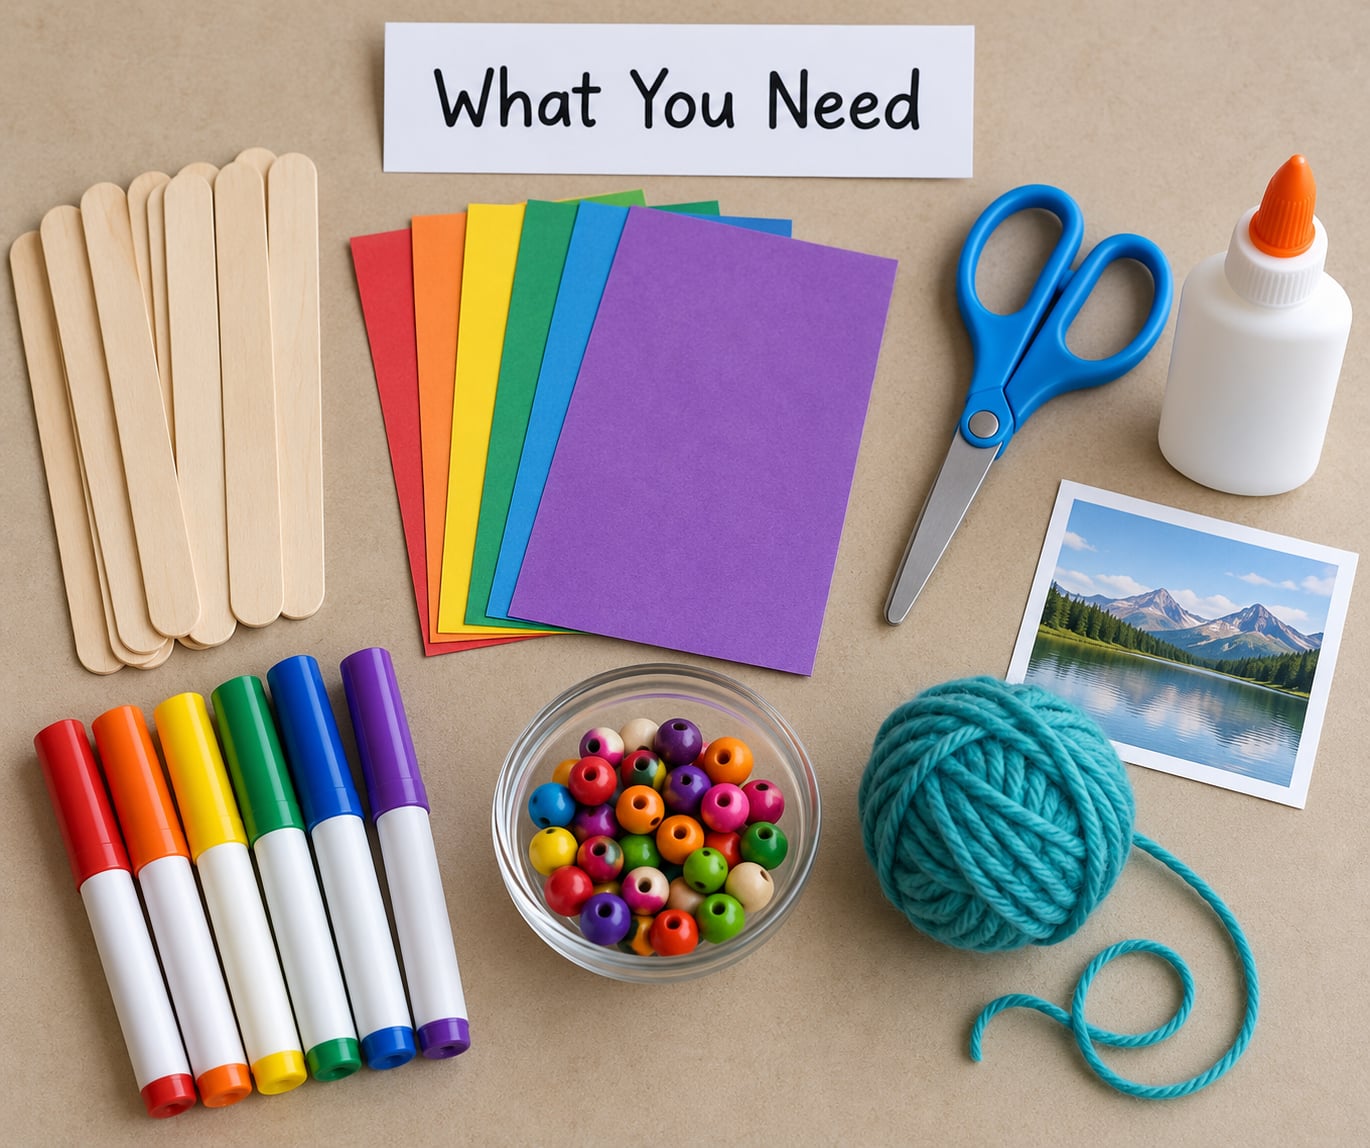
A starter set for one popsicle stick photo frame is short enough to write on one line. Everything else is optional decoration.
- 8 to 10 standard craft sticks for a small square frame
- 1 bottle of craft glue or school glue
- 1 photo or drawing, trimmed to fit
- 1 piece of cardstock or thin cardboard for the backing
- Scissors and a ruler
- Markers, paint, stickers, yarn or beads for decorating
- A spare craft stick to use as a straight-edge guide
The stick count follows the photo. A 3×3 inch photo fits inside a square built from eight sticks, where each stick covers one side and the corners overlap. For a 4×3 inch photo, move up to jumbo sticks or build with two sticks per long side.
If you already have a bag of sticks from making frozen treats, pull those out and use them. Save any that are split or too short for the border and put them to work on a smaller craft instead.
How to Make a Popsicle Stick Picture Frame Step by Step
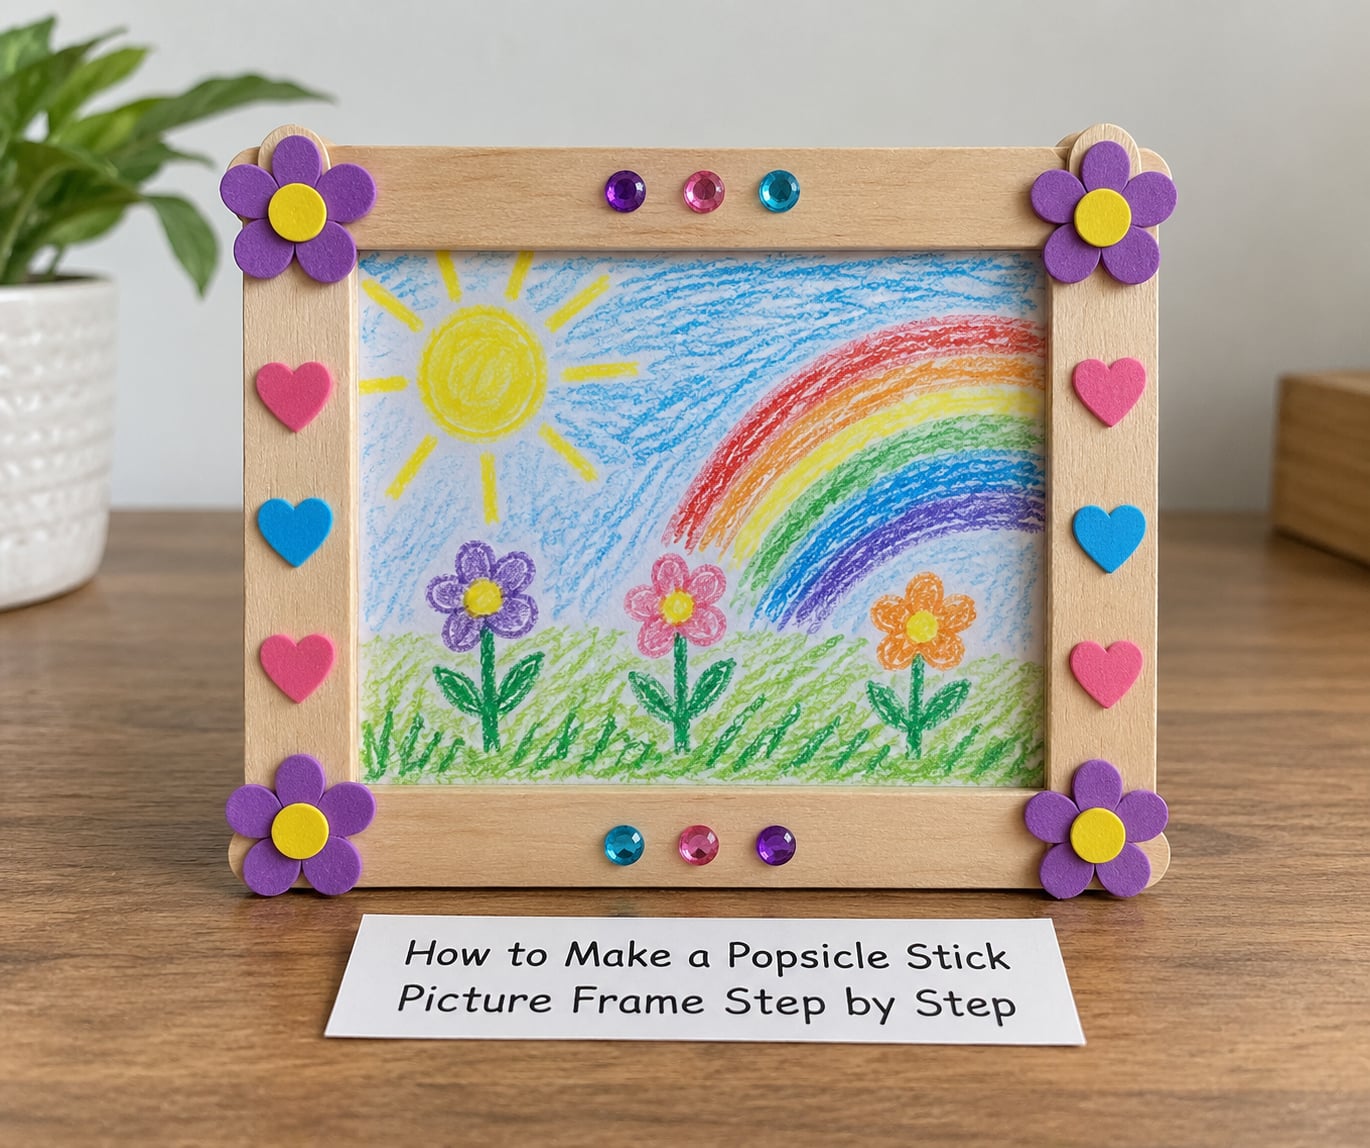
Lay out the sticks on a flat surface first and check the fit before any glue goes down. Dry-fitting takes a minute and saves a rebuild later.
How to Choose the Photo or Artwork
Measure the opening inside your laid-out sticks, then trim the photo to that size plus a small overlap on each edge. The overlap is what stops the picture from sliding out through the back.
Thicker paper works better than glossy photo paper because it hides glue marks and gives the backing something to grip. Leave the corners clear, because the overlapping sticks cover them anyway.
Build the Popsicle Stick Border
Arrange eight sticks in a square with the ends crossing at the corners. Lay the spare stick along one edge and use it as a straight guide so every side matches.
- Line up all eight sticks in a square and eyeball the corners.
- Adjust each side until the widths are even.
- Run a thin bead of glue along one stick.
- Press the crossing stick on top at a right angle.
- Hold it in place for about 30 seconds.
- Glue the remaining corners the same way.
- Let the square dry flat for an hour.
Corners are the weak point in this craft, so add a small dab of extra glue where the two sticks cross. If you want a sturdier frame, glue a second layer of sticks across the back of the square once the first layer has set.
Add the Photo, Drawing, or Cardboard Backing
Flip the frame over and dab glue around the back of the square. Do not flood it, and keep glue away from the edges of the photo face where it can seep through.
Press the photo or artwork into place, then add the cardstock or cardboard backing on top so the picture is sandwiched between the sticks and the board. Let it sit under something flat and let it dry fully before the frame is moved or hung.
Decorate and Finish the Frame
Decorating works well once the structure is dry. Markers and paint dots suit young children, while stickers, paper shapes, beads and wrapped yarn give a busier border.
Glue small items directly onto the sticks, and keep beads away from the frame if it will be handled by a toddler. Tie a piece of yarn to a corner for a hanging loop, glue a spare stick to the back at an angle for a kickstand, or attach a small magnet to the backing so the frame sticks to the fridge.
Make It Your Own
Once the basic frame works, the decoration is where it turns personal. A notebook-and-pencil border suits a back-to-school photo, red, white and blue paint suits a summer holiday card, and small leaf stickers work well for an autumn display.
Making It With Kids
For a toddler version, skip the hot glue and use school glue or a glue stick. Plan on a longer set time, and leave out beads and small loose pieces so nothing ends up in a mouth.
Common Mistakes
Almost every problem with this craft traces back to one of four things: glue, alignment, photo size, or handling before the glue sets. Each one has a quick fix.
The corners pull apart. The square was probably moved or lifted while the glue was still soft. Flatten it with a book on top and leave it for another hour, or reinforce each corner with a dab of glue.
The sides look uneven. Sticks vary slightly in width and warping is normal. Use the spare stick as a straight edge when gluing each side, and compare opposite edges before you commit.
The photo is crooked or too large. Measure the inner opening while the frame is still flat and loose on the table, then trim. If the image already sits in a cardboard sleeve, leave the sleeve on as your backing and glue that instead of the photo.
A stick snapped while cutting. Score the line first with a craft knife or the back of a blade, then bend the stick gently along the score until it separates. Never force a straight cut across the grain.
The glue dried too fast. Work in short batches of two or three corners at a time and keep the bottle uncapped only while you are gluing. Hot glue grabs in seconds, so move quickly or fall back on craft glue and allow extra set time.
The frame splits under weight. One layer of sticks flexes. Add a second layer on the back, or glue the sticks in pairs so each side is double thickness.
Frequently Asked Questions
How many popsicle sticks do I need for a picture frame?
Eight standard sticks build a small square frame sized for a 3×3 inch photo, with each stick covering one side and the corners overlapping. Use twelve sticks for a wider rectangle, or jumbo sticks to hold a 4×3 inch photo. Add four more sticks if you plan a second layer on the back for extra stiffness.
Can I make a popsicle stick frame without glue?
Not a lasting one. Sticks need some adhesive to hold a square shape, and glue is the simplest option. A glue stick works for children, craft glue gives a stronger joint, and double-sided tape or glue dots can hold a light frame together. If you want zero adhesive, tape the corners instead, and expect a shorter lifespan.
What is the best way to attach a photo without damaging it?
Keep glue off the photo face entirely. Flip the frame over, dab a thin layer around the back of the square, and press the photo face down into it. If the photo came in a cardboard sleeve or a clear plastic cover, glue the sleeve to the sticks instead of the picture. A cardstock backing between the photo and the table adds protection.
How long does the frame need to dry before I use it?
Give the square at least an hour before adding the photo, then another hour before handling or hanging it. Craft glue takes longer than hot glue, so allow a couple of hours if you used a thick bead. Keep the frame flat and undisturbed while it dries, and wait until the next day before hanging it on a wall.
Can children decorate the frame with markers or paint?
Yes, once the glued structure is dry. Markers work on the flat surface of the sticks, and acrylic or tempera paint can be dabbed on in spots or strokes. Skip paint on the photo side, since the colour can bleed through. For toddlers, use washable markers and large glue dots, and avoid beads and other small pieces.
How can I make the frame stand up or hang on a wall?
For a kickstand, glue one spare stick to the back at a slight angle so it props the frame open on a shelf. For hanging, tie yarn or twine to one corner in a loop, or run string across the back and up over the top edge. A small magnet glued to the backing works well for a refrigerator display.
Start With a Dry Fit
Measure your photo, lay out the eight sticks, and confirm the square is even before you open the glue. That single check prevents almost every frustration later in the build.
Once the frame is dry, decorate it and add a hanger, kickstand or magnet. The result is a handmade popsicle stick picture frame that costs almost nothing and holds a keepsake photo for years.