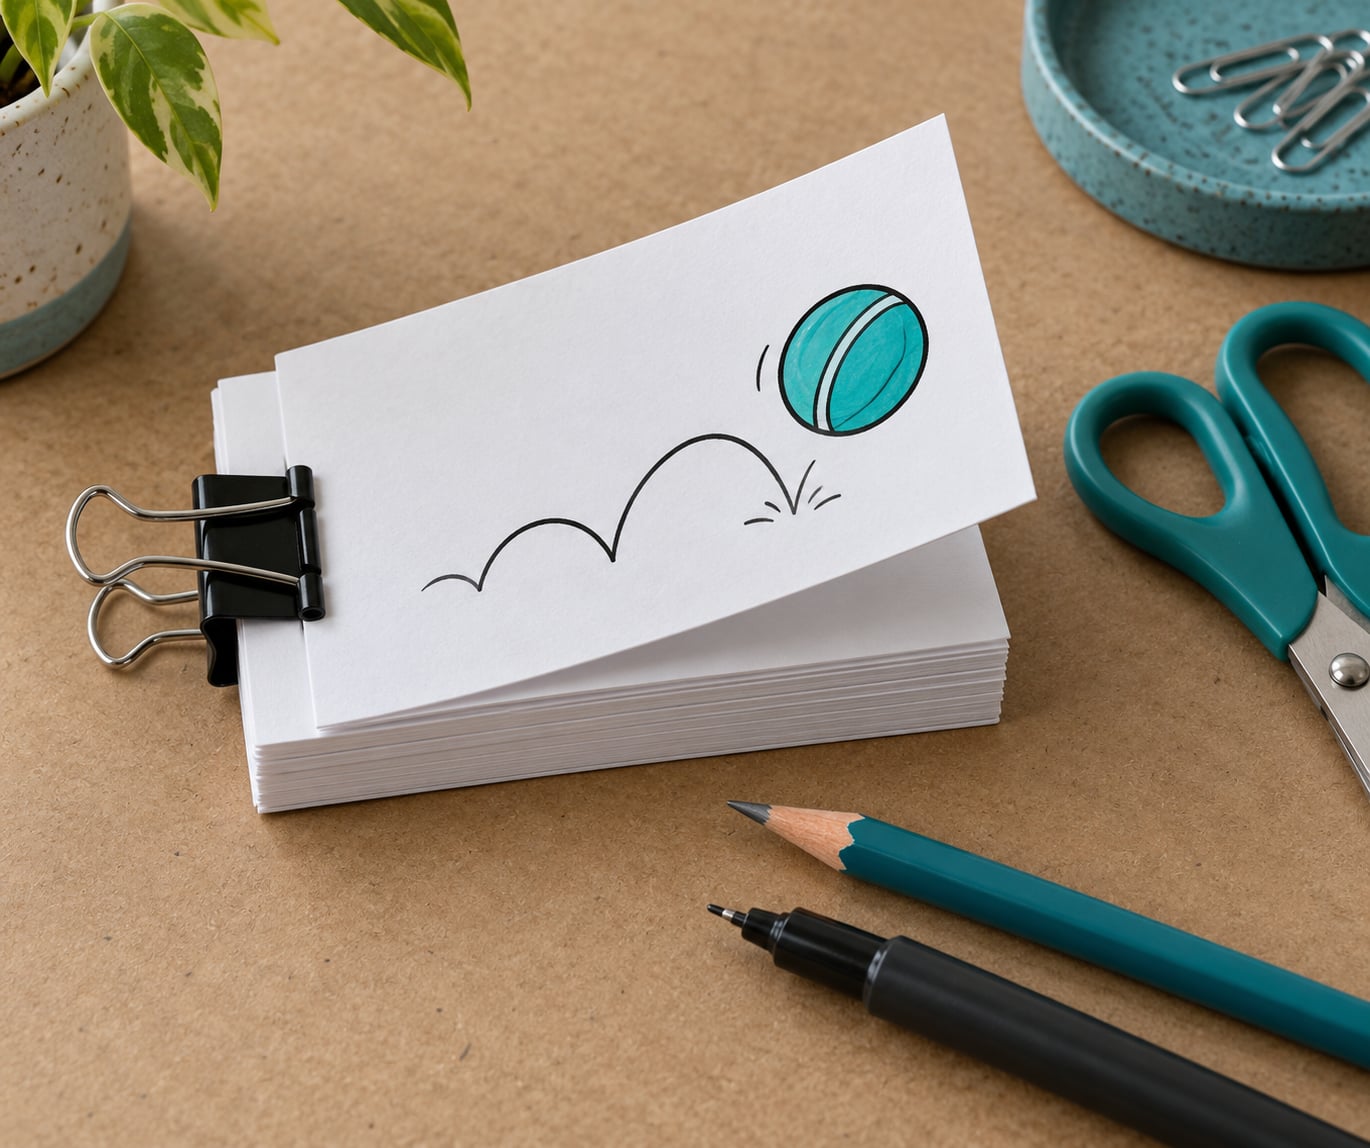
A flipbook animation is a stack of small cards, each one showing the same drawing changed a little from the card before it, bound together at a single edge. Flip the pages quickly and your brain blends the separate pictures into movement, so a handful of paper behaves like a tiny movie you made yourself. You can build one from index cards, a pencil, a dark marker and a binder clip in about half an hour, with no software and no budget.
The whole craft rests on one rule: small change, many frames, fast flip. That is the same principle behind every stop-motion film ever made, and a paper flipbook lets you feel it with your hands instead of learning it from a screen. The device itself is old, too. It was patented in 1868 as a kineograph, a bound set of sequential drawings you flipped with one thumb, and the idea has barely changed since.
Below is the process I would hand a beginner: pick one small movement, draw it across a fixed number of cards, stack the cards so the edges match, clip them, then flip from the bottom corner. It takes less effort than it sounds, and the first finished one is genuinely satisfying.
Table of Contents
- 1What You Need
- 2Step-by-Step
- 3Choose a Simple Animation Idea
- 4Plan the Movement Before Drawing
- 5Draw the Pages in Sequence
- 6Assemble and Flip the Book
- 7Make It Loop
- 8Common Mistakes
- 9Tips for Making the Animation Easier to Flip
- 10Frequently Asked Questions
- 11What materials do I need to make a flip book animation?
- 12How many pages should a beginner flip book have?
- 13What kind of drawing works best for a flip book animation?
- 14How do I make the pages flip smoothly?
- 15Can children make a flip book without drawing a character?
- 16What is a good first flip book animation idea for kids?
- 17Conclusion
What You Need
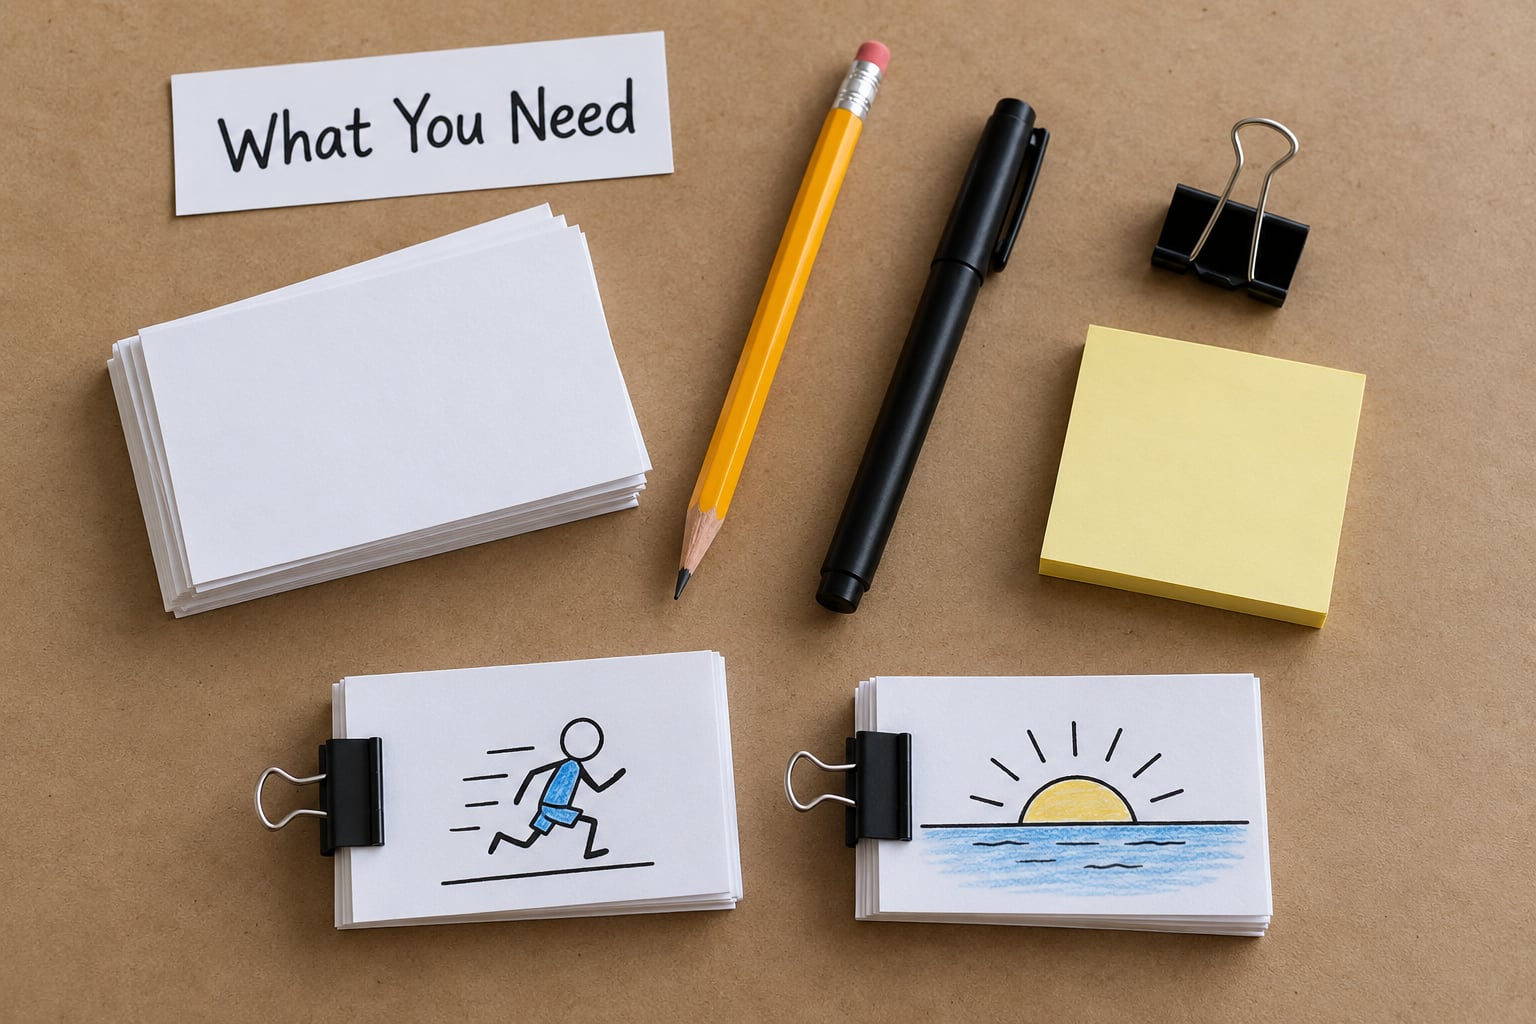
You need very little, and most of it is already in a drawer somewhere.
- Small cards. Blank index cards, a sticky note pad, or any thick paper cut to one consistent size. Thicker stock turns better and hides the drawing showing through from the back.
- A pencil and eraser. Sketch in pencil first, then ink over it. Guessing at the outline straight in marker is how beginners end up erasing a whole page.
- Dark markers or fine-tip pens. Black fine-tip is the classic choice. Colour afterwards with pencils or crayons once the sequence works, because colour hides drift between frames and makes a wobble harder to spot.
- Something to bind the stack. A binder clip, a rubber band, or a stapler. Any of the three works, and the clip is the one beginners should keep.
- A light source, optional but worth it. A bright window, a light pad, a tablet or a laptop screen showing a white page. This is the single tool that keeps every frame identical, and most beginners skip it.
- A ruler and scissors, optional. For trimming ragged edges that snag each other mid-flip.
Set up in one corner of a table with a pencil, the cards, and the marker within reach. That sounds trivial, but a stack of 25 cards that has to be walked to the window for tracing loses most of its advantage.
Step-by-Step
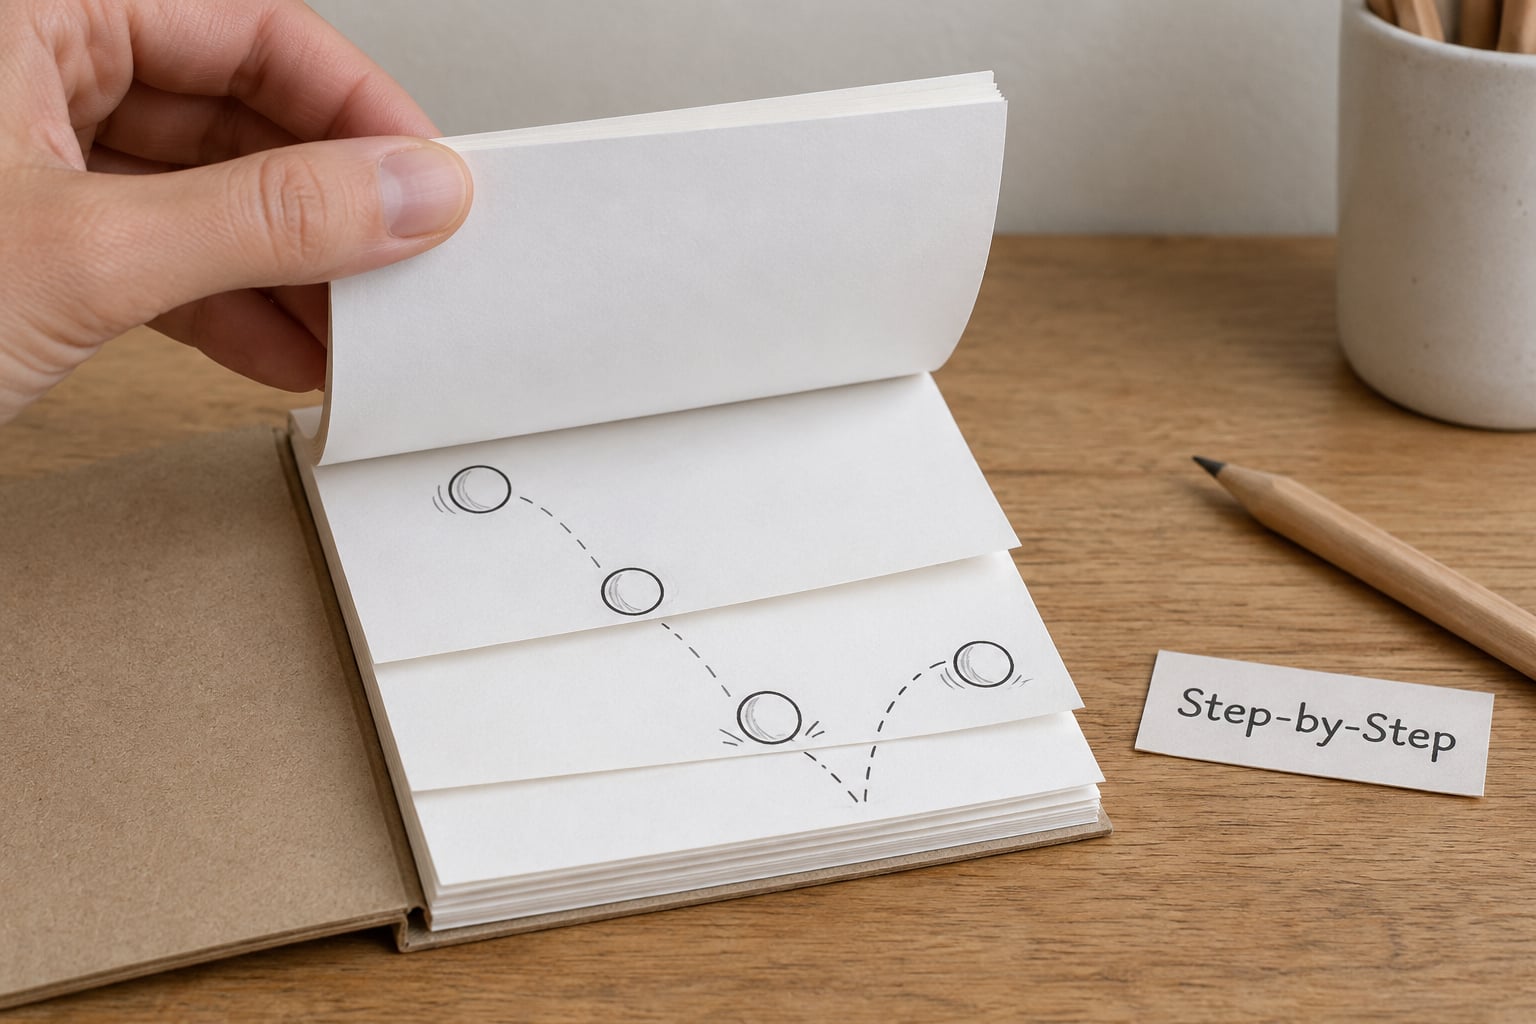
Choose a Simple Animation Idea
Pick one movement that travels across a small area: a bouncing ball, a stick figure walking, a flower growing out of a pot, a hand waving, a sun rising. Start there rather than a running person or a car, because a small subject is far easier to redraw accurately on the next card.
A good first rule is that the whole action should be understandable in ten seconds. If you cannot say what happens in it, the animation will not read when the pages are moving.
Plan the Movement Before Drawing
Sketch the key positions on scrap paper first, usually three or four: start, middle, end. Note which part moves and which parts stay fixed, then decide how many cards you need to cover the distance.
How many cards to use depends on how much movement you want:
- 8 cards. Chunky and funny, with big visible jumps. The best choice for a first try with a young child.
- 12 to 15 cards. Noticeably steppy but still easy to read. Good for preschool and quick family projects.
- 20 to 30 cards. Smooth enough to look like real movement, and the range most beginner and school projects settle on.
- 40 cards or more. Genuinely smooth, like a short film. Worth the extra drawing time for older kids or anything you plan to film.
Keep the subject in roughly the same spot on every card and keep it the same size. Most of the smoothness in a flipbook comes from the character staying put while one part of it changes.
Draw the Pages in Sequence
Draw frame one in pencil on the bottom card, darken it with the fine-tip pen, then slide a fresh card on top, leaving a narrow strip of the drawing showing along one edge. That visible strip is your reference for the next frame.
Change one thing at a time. A ball dropping moves down slightly; a hand waving moves sideways; a flower growing gets a little taller. If you move the arm, the head, and the legs on the same card, the drawing will drift and the animation will look blurry rather than fast.
For accurate frames without any software, put the next blank card over your drawing and hold the whole stack against a light source. A bright window works. A light pad or a tablet screen with a white page open works better. Trace the outline you can see straight through, move the card, and trace again. You end up with a copied sequence rather than a redrawn one, which is the whole trick.
Leave a clean margin around each drawing and keep the line work bold. Small details vanish when a page is only on screen for a fraction of a second.
Assemble and Flip the Book
Stack the cards in order, back to front, and line up the corners against a straight edge. Push the stack up against a closed book or a ruler first, then the loose end into a binder clip so the whole stack stays put. Add four or five blank cards at the back, because a stack with no spare pages stops dead in your hand instead of flipping all the way through.
Now the test. Hold the clip with one thumb, push the bottom corner forward with the other, and let the cards roll off the thumb in one motion. If pages catch or skip, the edges are ragged or the stack has loosened, so trim the offending corner and re-clip. Slower flipping reveals more stutter, which is exactly what you want to see while you are still fixing it.
Make It Loop
To make the animation cycle without a hard stop, add the frames again in reverse order at the back of the stack, so the last drawn position flows back into the first. A rising sun looks far better this way than one that snaps back to night.
Common Mistakes
Almost every disappointing first flipbook comes down to one of six things.
- The frames barely change. If each card looks the same, there is no movement to see. Make the change bigger on every card, or add more cards to split the movement into smaller steps.
- The drawings shift position or size. You are redrawing from scratch each time. Trace instead, and use the light source so the next frame copies the last one exactly.
- Pages catch and skip while flipping. Usually uneven edges or a stack that has come loose. Trim the corners, re-align everything against a straight edge, and tighten the clip.
- The clip is on the wrong edge. It has to be on the edge you push away from, so the cards roll forward in the same direction every time.
- Too much detail on each card. Fine shading disappears at speed and makes the picture look noisy. Bold outlines and flat colour read better every time.
- Torn or creased cards from over-working. Pencil that is too hard drags the paper apart. Light pressure, and erase with a soft eraser rather than a rubber one.
Tips for Making the Animation Easier to Flip
A few habits turn a choppy stack into something that reads as motion.
- Number the back of every card in the corner once they are stacked. It takes two minutes and saves re-drawing half a sequence when the stack gets scrambled.
- Keep every card the same size. Cut them in one batch rather than one at a time, and trim the long edges against each other while they are still loose.
- Leave a margin of about a finger width on the two edges you hold. A drawing that runs to the edge stiffens the card and makes it snag.
- Round the bottom corners with scissors. It prevents both paper cuts and the snag that ruins an otherwise good flip.
- Practise on your desk first with the clip on, before you show anyone. Half the choppiness is thumb technique, not drawing.
- Flip from the bottom corner, not the top. Pushing upward reverses the direction of travel and reads as backward motion.
- Use two hands, not one. One thumb on the clip, one on the corner, and the stack can open a little wider each time, which is what real animators do on a peg bar.
Frequently Asked Questions
What materials do I need to make a flip book animation?
You need small cards, a pencil and eraser, a dark fine-tip marker or pen, and something to bind the stack such as a binder clip, a rubber band or a stapler. Blank index cards and sticky note pads are the easiest to work with. A light source is optional but valuable: a bright window, a light pad or a tablet screen with a white page open lets you trace the next frame instead of redrawing it.
How many pages should a beginner flip book have?
Start with 20 to 30 cards for a smooth, watchable result, and use 8 to 15 for a deliberately chunky and funny one. Around 12 pages per second reads as smooth motion, so more cards means a longer animation rather than a better one. If your subject is small, like a bouncing ball, 15 frames is plenty. A walking figure or a growing plant needs closer to 30.
What kind of drawing works best for a flip book animation?
Simple line drawings with one clear subject and one moving part work best. A stick figure, a ball, a flower or a hand waving beats a detailed scene every time. Keep the subject the same size and in the same spot on every card, change only what moves, and use bold outlines instead of shading. Fine detail disappears at speed and makes the animation look noisy rather than smooth.
How do I make the pages flip smoothly?
Align every card against a straight edge, keep the stack clamped tightly in a binder clip, and trim any ragged corners with scissors. Add four or five blank cards at the back so the flip can run all the way through instead of stopping against your hand. Practise on your desk with one thumb on the clip and the other pushing the bottom corner forward in a single steady motion.
Can children make a flip book without drawing a character?
Yes, and it is an easier first project. Animate an object such as a bouncing ball, a paper aeroplane, a rising sun or raindrops, which needs only a circle or a triangle per card. Cutting shapes from coloured paper and gluing them to card works well for younger children, and a printed template of a simple shape can be traced over for a very young animator who is not ready to draw freehand.
What is a good first flip book animation idea for kids?
A bouncing ball is the classic first project because the movement is obvious, needs one shape, and is forgiving of small mistakes. A waving hand, a growing flower, a rising sun and a stick figure walking are all equally good. Pick something that happens in a small area, keep the count between 15 and 25 cards, and resist adding a second object until the first flipbook actually moves.
Conclusion
Start with 20 index cards, one simple subject, and one change per card. Drawing the first frame, sliding a blank card over it, and tracing what shows through is the first real action, and the rest is stacking and clipping.
Change one detail on each page, keep the subject in the same spot, and the stack turns into a moving picture the moment you flip it. That is the whole method, and once a child has made one, they will invent the second themselves.