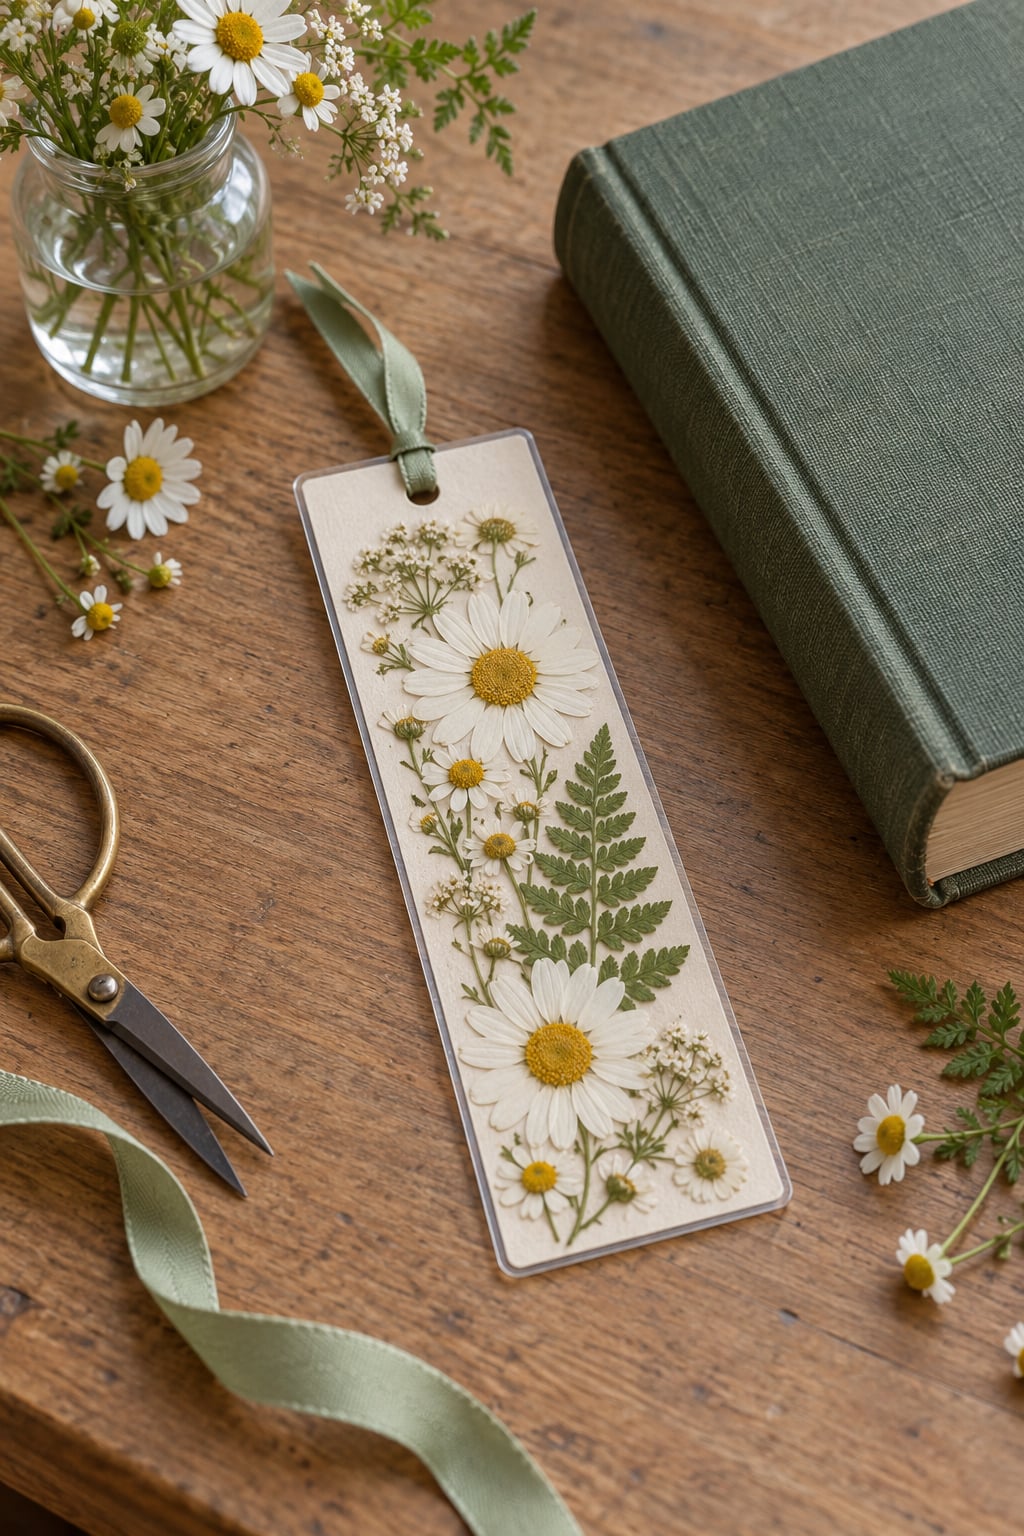
A pressed flower bookmark is a bookmark made by sealing dried, flattened flowers between two clear layers: wax paper, clear contact paper, or a coat of sealer over the top. Learning how to make a pressed flower bookmark takes about 15 minutes of crafting once the flowers are dry, and most of the waiting happens inside a heavy book while you get on with your day.
It is one of my favorite things to set up for kids. The collecting part doubles as a nature walk, the pressing part is slow enough to teach patience, and the finished bookmark is genuinely useful rather than another thing destined for the recycling bin.
Table of Contents
- 1What You Need
- 2Four ways to seal the flowers, side by side
- 3How long the pressing takes
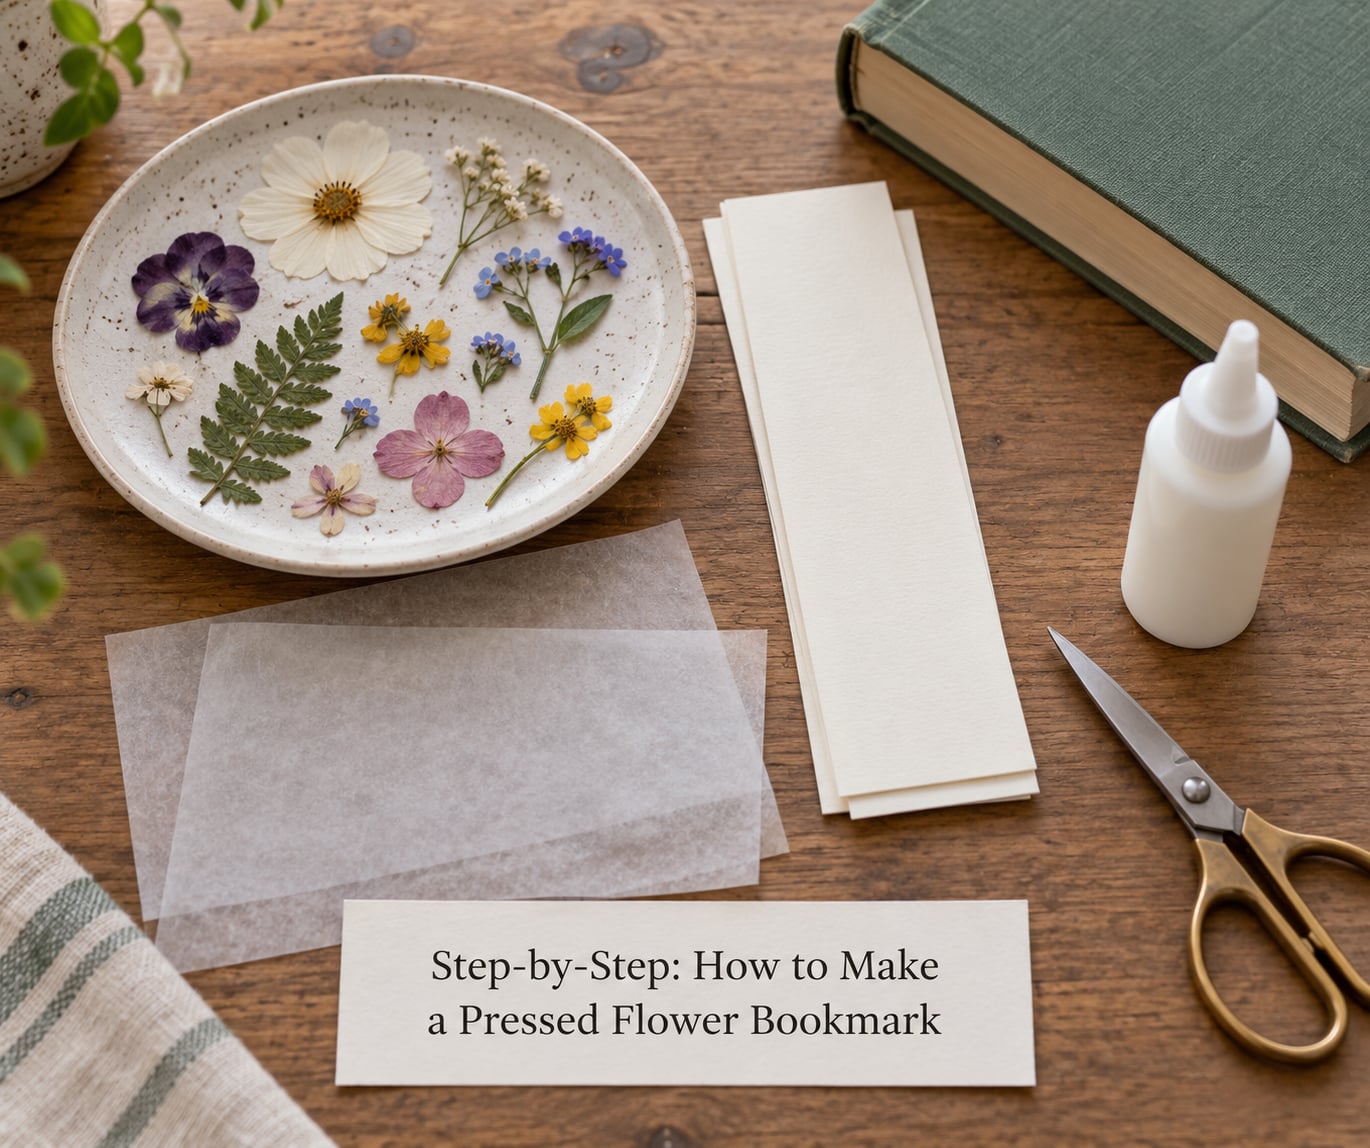
- 4Step-by-Step: How to Make a Pressed Flower Bookmark
- 5Step 1: Choose the Best Flowers for Pressing
- 6Step 2: Prepare the Bookmark Paper
- 7Step 3: Arrange the Flowers
- 8Step 4: Press the Flowers Between Paper
- 9Step 5: Remove and Protect the Pressed Design
- 10Step 6: Finish the Bookmark
- 11Common Mistakes and Helpful Tips
- 12Frequently Asked Questions
- 13What flowers are best for making a pressed flower bookmark?
- 14How long does it take for flowers to dry in a book press?
- 15Can children make pressed flower bookmarks without glue?
- 16How do I stop pressed flowers from becoming moldy?
- 17What paper works best for a pressed flower bookmark?
- 18Can I laminate a pressed flower bookmark?
- 19Start With One Bookmark, Then Make a Batch
What You Need
Everything comes from a craft drawer, a garden or a walk around the block. Bookmark blanks are usually 2 to 2.5 inches wide by 6 to 7 inches tall, which is a shade wider than a standard book ribbon so it does not slip out of the spine.
- Fresh flowers, small leaves or thin seed pods
- Heavyweight paper, cardstock or plain printer paper for pressing
- Wax paper or parchment paper to sandwich the flowers
- A heavy book for pressing, plus a weight like a dumbbell or a stack of hardbacks
- Scissors and a ruler, or a craft knife and cutting mat for older kids
- Glue or sealer, a soft brush, tweezers and a small spoon or craft knife handle for smoothing
- Ribbon, string or a bookmark tassel for the finish
- Optional: a hole punch, washi tape, colored pens, a small sheet of clear contact paper or laminating pouch
If you do not have wax paper, two sheets of brown kraft paper work in a pinch. A takeaway menu cover makes a good substitute for a bookmark blank, and a bottle lid makes a decent weight when the book is light.
Four ways to seal the flowers, side by side
Sealing is what turns a fragile dried flower into something that survives months inside a book. These four methods all work; the differences are cost, mess and how flat the finished bookmark sits.
| Method | Difficulty | Mess | Best for |
|---|---|---|---|
| Sealer brushed over cardstock | Easy | Medium | The most forgiving method, and the easiest one for children |
| Clear contact paper sandwich | Easy | Low | No glue, no brush, done in about five minutes |
| Packing tape or laminating pouch | Medium | Low | The most durable, hardest surface to get bubble-free |
| Cardstock window frame | Medium | Medium | A neat border that hides taped or ragged edges |
Skipping the sealing step entirely does not work well. An unsealed flower will shed petals onto the next page and crumble at the corner the first time someone turns it.
How long the pressing takes
| Pressing method | Time | Notes |
|---|---|---|
| Heavy book, checked at two days | About 5 to 7 days | Good enough for kids who want a quick result |
| Heavy book plus added weight | 10 days to 2 weeks | Noticeably flatter and better colored |
| Craft microwave flower press | A few minutes | Fast, but it needs practice and it scorches easily |
| Bought pressed flowers | None | The reliable choice when you need bookmarks today |
Growers posting on r/gardening say the laminated versions from their own beds hold their color for years, which matches what I have seen with the tape method. A few careful names: daisies, chamomile, violets, calendula, small zinnias, fern fronds, pressed herbs and seed heads all flatten well. Dandelions, large dahlias, big sunflowers and thick 3D centers do not, no matter how long you press them.
Step-by-Step: How to Make a Pressed Flower Bookmark
Step 1: Choose the Best Flowers for Pressing
Pick flowers that are already flat and open. Single-layer petals, thin leaves and anything with visible veins press into the paper beautifully.
Skip anything wet from dew or rain, and skip fuzzy or waxy blooms. A freshly picked dandelion head, the most tempting flower on any walk, turns to fluff and seeds before the press is even closed.
You can also collect from your own garden or a permission-free verge. On r/crafts, people repeat the same formula: collect, press until dry, then seal. Gathering only what you have permission to pick keeps the project simple.
Step 2: Prepare the Bookmark Paper
Cut one sheet of printer paper, cardstock or clean paper for pressing, plus a second sheet for the back. The pressing sheets need to be big enough to cover the flowers with an inch of margin on every side.
Cut your bookmark blank at 2 to 2.5 inches wide by 6 to 7 inches tall. If you have a cutting machine, the same rectangle works as a canvas or frame file, and if you are laminating, size the pouch to match before you start.
For a sturdier blank, layer two pieces of cardstock with a thin line of glue and let it dry flat overnight.
Step 3: Arrange the Flowers
Lay the flowers out on the dry paper before anything goes down. Moving a pressed flower after it is glued is painful, so the planning stage is where a good design happens. This dry layout is the step that decides whether the finished card reads like a garden or a pile of petals.
Pick two or three colors and repeat them. Leave small gaps between pieces so the design has room to breathe, and put the biggest bloom slightly above center rather than dead in the middle.
Children handle tweezers better than fingertips here, since a stem or a petal lifts easily at this stage.
Step 4: Press the Flowers Between Paper
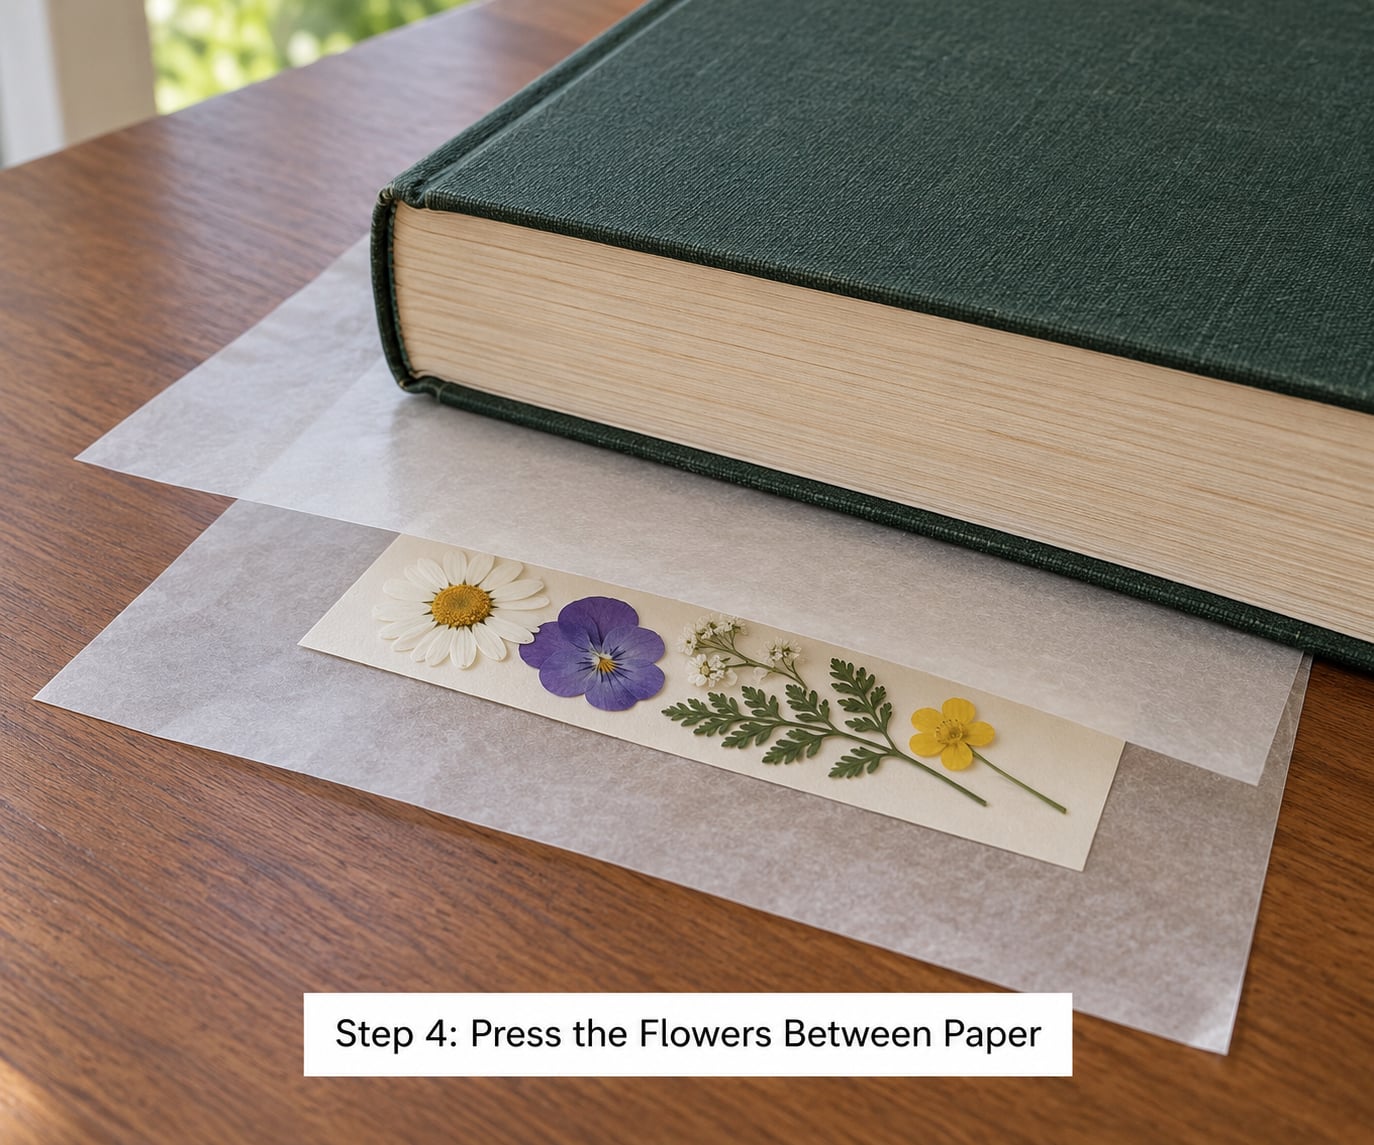
Place the arrangement face down on the bottom sheet, then lay wax paper or parchment over the top. The wax paper should be cut a little larger than the paper underneath so nothing sticks out and catches on the book page.
Close the heaviest book you own on top of the stack. Add a dumbbell or two more hardbacks if you have them, and put the book somewhere flat and out of the way.
Two more sheets of paper above the wax paper absorb moisture that gets through. Without them, wet petals leave a stain on the page, which is the single most common complaint in r/crafts about book pressing.
Step 5: Remove and Protect the Pressed Design
Check after two days. Flowers are dry enough when they feel papery rather than cool or flexible, and when nothing sticks to the paper when you lift a corner.
Lift each piece with tweezers and place it sticky side up on the bookmark blank, if you are using a sealer. Brush on one thin coat over the whole surface, set the flowers down, and press gently with the flat of the brush. Thin coats dry clearer and flatter than one heavy one.
Let it dry, then add a second coat, sealing the edges so nothing can lift later. Matte finishes look like paper; gloss finishes look sealed and shine a little in sunlight.
If you are skipping glue, lay the flowers on the sticky side of clear contact paper, cover with a second sheet, and press the whole thing down with a credit card to push out air bubbles. Trim to size once it is set.
Step 6: Finish the Bookmark
Write the name and date on the back with a fine pen, or add a short note if it is a gift. Washi tape along the bottom edge is a quick way to finish a plain cardstock blank.
For a tassel, measure about 10 inches of embroidery floss, wrap it around a piece of cardstock, tie it tight and trim the ends. Punch a hole 1 inch from the top of the bookmark, thread the tassel through, and tie it back through the loop.
A short piece of quarter-inch ribbon works the same way and is easier for small hands. Let the bookmark lie flat for a few hours before it goes into a book, and put the finishing layer only on one side so the bookmark is not double the thickness of the page.
Common Mistakes and Helpful Tips
Wrinkled or torn petals. A soft brush loads with too much sealer and drags petals out of shape. Dip the brush and wipe off almost everything, so you are laying down a film rather than pushing liquid around.
Mold inside the sealed bookmark. Flowers were sealed before they were fully dry. Wait the full pressing time and run the papery-dry test in Step 5 before anything goes on top. The waiting is the unglamorous part of how to make a pressed flower bookmark, and skipping it is what ruins the result.
Flowers will not stick. The coat was too thick and the surface stayed tacky, or the flower was lifted and dropped instead of laid down. Thin coat, lay, press, wait, second coat.
Air bubbles in tape or contact paper. Lift a corner, smooth from the center out with a card, and work at a shallow angle. Bubbles are easier to fix from the back than to cut around.
Sticky edges months later. Adhesive along the rim of a bookmark picks up book dust and page lint. Trim the clear layer a few millimeters inside the cardstock edge, or cover the rim with a strip of washi tape.
Colors fading to brown. Light and humidity are the causes. Keep finished bookmarks out of sunny windows, store them in an album or box, and seal fully rather than leaving petals half exposed.
Flowers too thick to sit flat in a book. Only flat, thin material works. Save bulky centers and seed heads for a framed piece on the wall rather than a bookmark that lives between pages.
With younger children, an adult should handle the iron or the craft knife. The rest of the project, arranging, placing and pressing, is entirely safe to hand over.
Frequently Asked Questions
What flowers are best for making a pressed flower bookmark?
Small, flat, single-layer flowers press best. Daisies, chamomile, violets, calendula, small zinnias, thin leaves, fern fronds and small seed heads all dry flat and keep their shape. Avoid dandelions, dahlias, large sunflowers and anything thick or fuzzy, which shed or break apart. Dry blooms from your own garden are ideal; bought pressed flowers work when you need to finish today.
How long does it take for flowers to dry in a book press?
Plan on five to seven days with one heavy book, and ten days to two weeks if you add a dumbbell or a second stack of hardbacks on top. Check at two days by lifting a corner: the flowers are ready when they feel papery and nothing clings to the paper. Thick centers need the full two weeks, and sealing damp flowers is what causes mold.
Can children make pressed flower bookmarks without glue?
Yes, and the no-glue route is usually easier for small hands. Press the flowers dry as normal, then lay them on the sticky side of a sheet of clear contact paper, add the flowers sticky side up, and cover with a second sheet. Press the whole sandwich flat with a card to clear air bubbles, trim to size, and add ribbon. No brush, no drying time between coats.
How do I stop pressed flowers from becoming moldy?
Dryness is the whole answer. Press the flowers longer than you think you need to, until they feel papery rather than cool or flexible and lift free of the paper. Keep the finished bookmark flat during sealing so moisture cannot sit under the clear layer, and avoid framing flowers that still hold any thickness in the center, where damp pockets hide. If a closed bookmark smells musty, the flowers were sealed too early.
What paper works best for a pressed flower bookmark?
Plain acid-free paper or medium cardstock is the most reliable choice. It takes sealer without soaking through, and acid-free stock keeps petals from browning faster over time. Heavy printer paper works for the pressing sheets, and cardstock or clear acrylic blanks work for the finished bookmark. A machine-cut blank or cardstock frame is a good option if you own a Cricut or Silhouette.
Can I laminate a pressed flower bookmark?
You can, and it gives the most durable result. Use a laminating pouch or packing tape sized to the blank, leave a small border of clear film around the edges, and lay the sheet down from one end while you lift the film slowly with a ruler to keep it straight. Push bubbles out from the center toward the edge. Keep the pouch on a low or medium heat setting to avoid clouding.
Start With One Bookmark, Then Make a Batch
Gather a handful of flat flowers, press them between two sheets of paper inside your heaviest book, and leave it alone for a week. When you open it, cut a 2-inch by 7-inch blank, seal the flowers in one thin coat, add a name on the back and punch a hole for ribbon.
Once the first one is done, the rest go quickly. Kids who have watched one bookmark take a week to press always pick their own flowers the second time round.