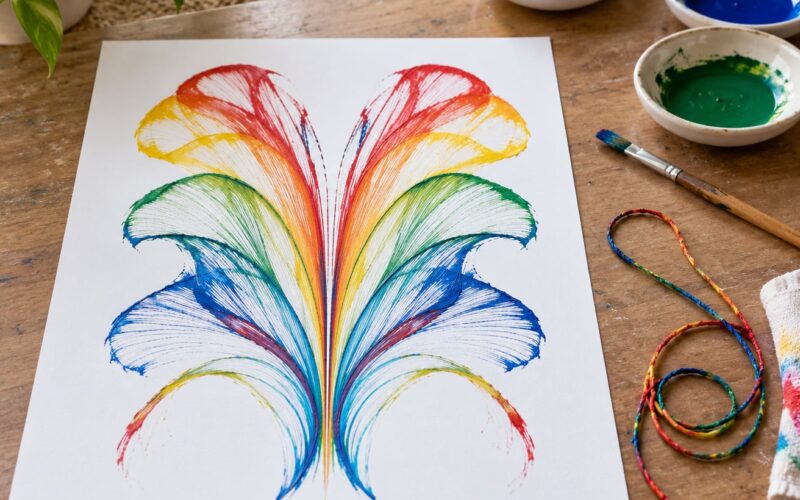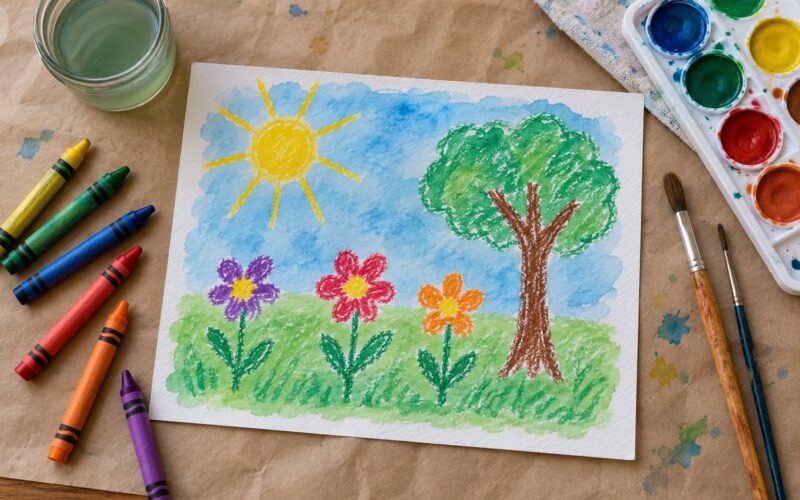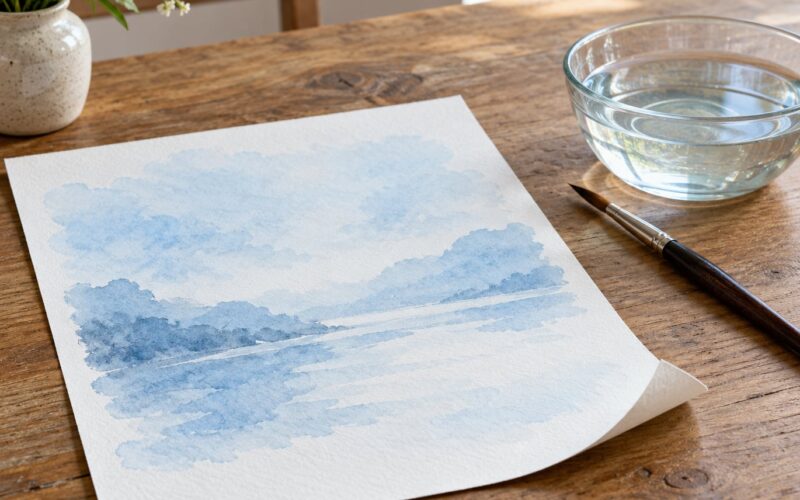
Blow painting is using air blown through a straw to push wet paint across a sheet of paper, so the colour branches outward into tendrils and cloudy shapes on its own. How to do blow painting with watercolors comes down to dripping thinned colour onto paper and then blowing steadily through a straw held just above the puddle. It takes about 20 minutes, needs no brush skill at all, and works for kids from about age two upward.
The reason it appeals to adults as much as children is that it removes the part of painting most people find hard: control. You set the colour down and step back, and the air does the rest.
Table of Contents
- 1What You Need
- 2Step-by-Step: How to Do Blow Painting with Watercolors
- 3Step 1: Prepare Your Workspace
- 4Step 2: Thin the Watercolors for Blow Painting
- 5Step 3: Add Paint to the Paper
- 6Step 4: Blow the Paint
- 7Step 5: Layer Colors and Add Details
- 8Step 6: Let the Painting Dry
- 9Common Mistakes
- 10Frequently Asked Questions
- 11What is blow painting?
- 12Can you blow paint with a straw?
- 13What paper is best for blow painting?
- 14How much water should you add to watercolor paint?
- 15Do you cut straws in half for blow painting?
- 16How long does blow painting take to dry?
- 17Conclusion
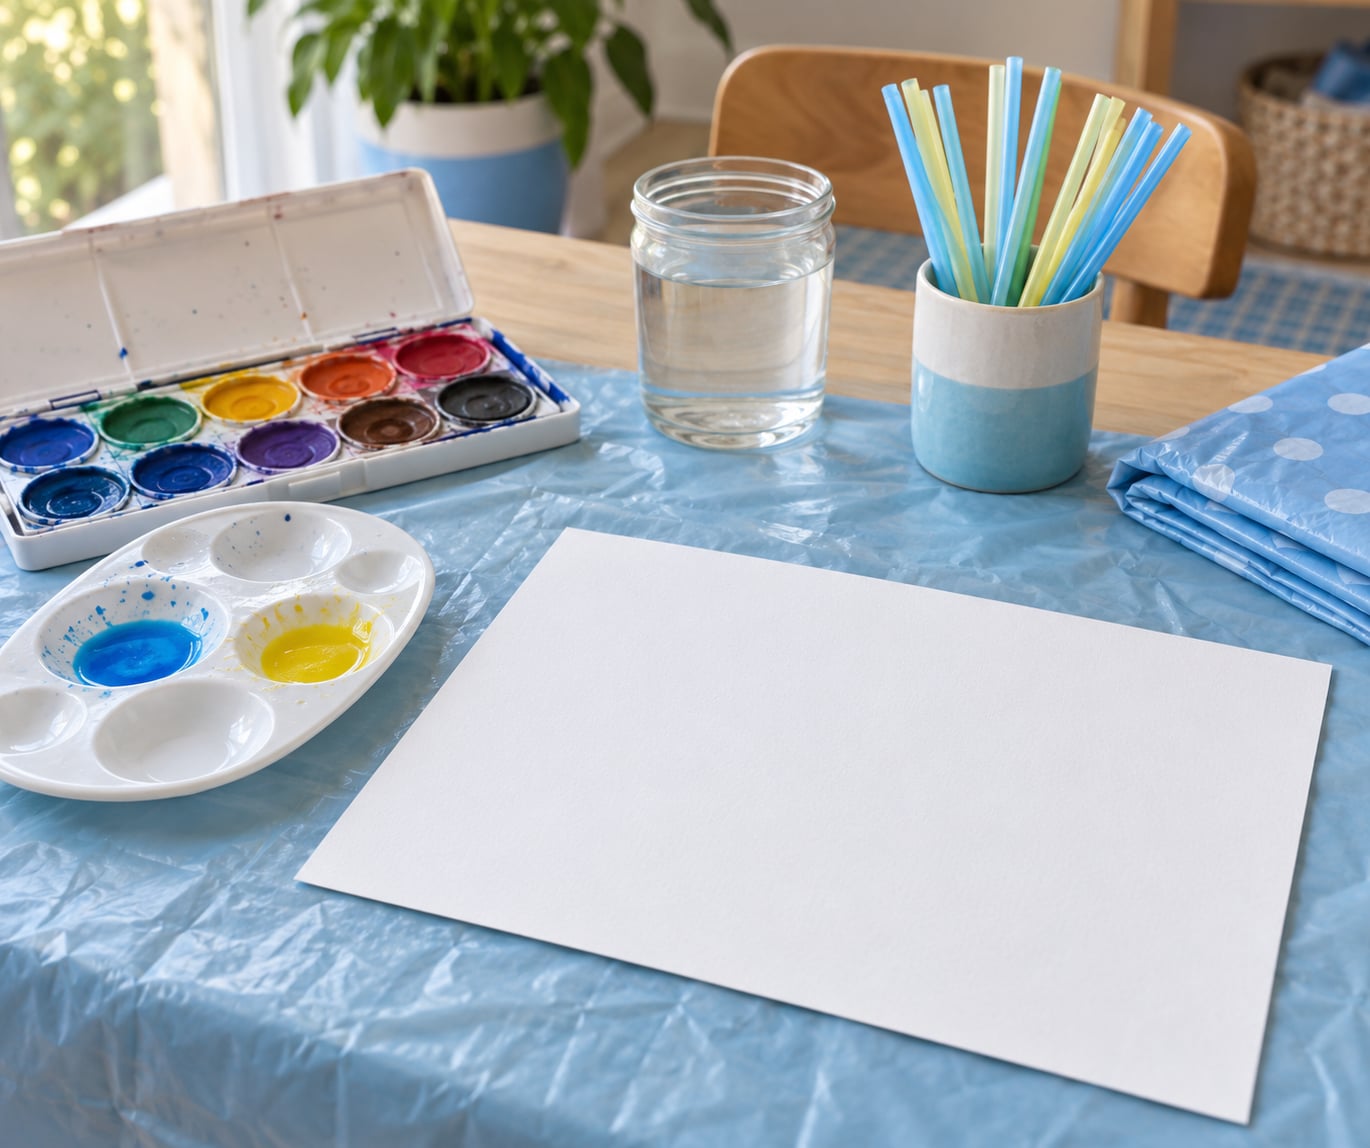
What You Need
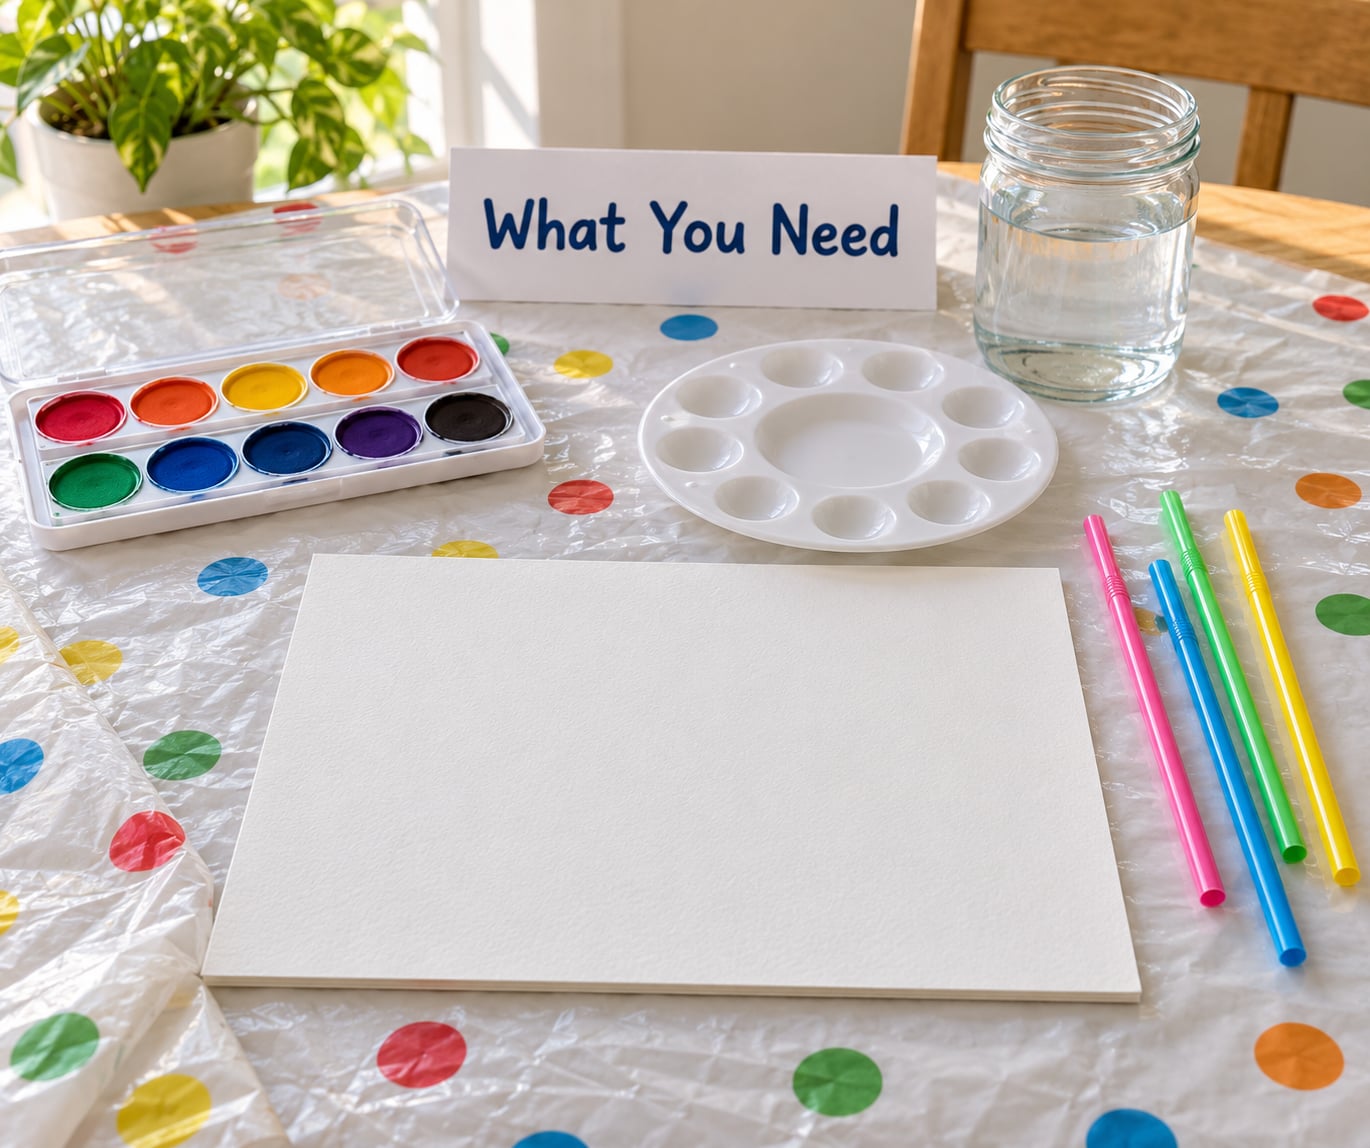
- Watercolor paint. Liquid watercolours work best because they flow on contact with water. Dried pan cakes in a tin need a lot more diluting, and many parents report they barely move when blown.
- Clean water and a cup or jar for mixing.
- Paper. Heavy cardstock or watercolor paper. Both resist buckling better than ordinary printer paper.
- Plastic drinking straws. Bendy ones make it easier for small hands to aim.
- A palette, plate or shallow tray for mixing the paint down.
- A pipette, medicine dropper or the straw tip itself for placing the paint.
- A table covering plus an apron or old shirt for sleeves.
- Paper towel for blotting drips.
One optional addition earns its keep: a sheet of paper for practice drops. Beginners nearly always put too much paint down the first time.
Spread the covering before anything else. Blow painting feels contained until the first drip lands somewhere it should not, and an apron is faster than a wardrobe change.
Step-by-Step: How to Do Blow Painting with Watercolors
Step 1: Prepare Your Workspace
Lay the paper flat on the covered surface and put the paint, water, straws and paper towel within arm’s reach of whoever is doing the painting. Keeping everything in one small area means nobody has to lean over the wet page to reach the palette.
If you are working with a toddler, cut the straw in half with scissors and poke a small pinhole about halfway up the tube. The short length cuts the breath needed, and the pinhole stops paint being sucked into the straw. Stay within arm’s reach the whole time, use washable non-toxic paint, and bin the cut straw when the session ends rather than leaving it for a child to chew on.
Step 2: Thin the Watercolors for Blow Painting
Squeeze a small amount of paint into the palette tray and add water a little at a time, stirring with the straw or a spoon. You want it to flow freely, closer to ink than to cream.
A useful starting point is roughly one part paint to two parts water for liquid watercolours. Test it by tilting the tray: if it runs off the edge in a steady ribbon, it is ready. If it holds a mound, add more water.
Thinner than that and the colour goes pale and watery. Thicker than that and it sits there and will not move at all. Paint strength varies by brand and by how long the pan has been sitting dry, so trust the tilt test over any fixed number.
Step 3: Add Paint to the Paper
Pick up thinned paint with the dropper, or dip the straw tip and let it drip. Drop two or three small blobs onto one area of the paper, not across the whole sheet.
Starting in one compact spot is what makes the technique visible. The paint needs somewhere to gather before the air pushes it, and a large puddle just spreads into a flat stain.
Step 4: Blow the Paint
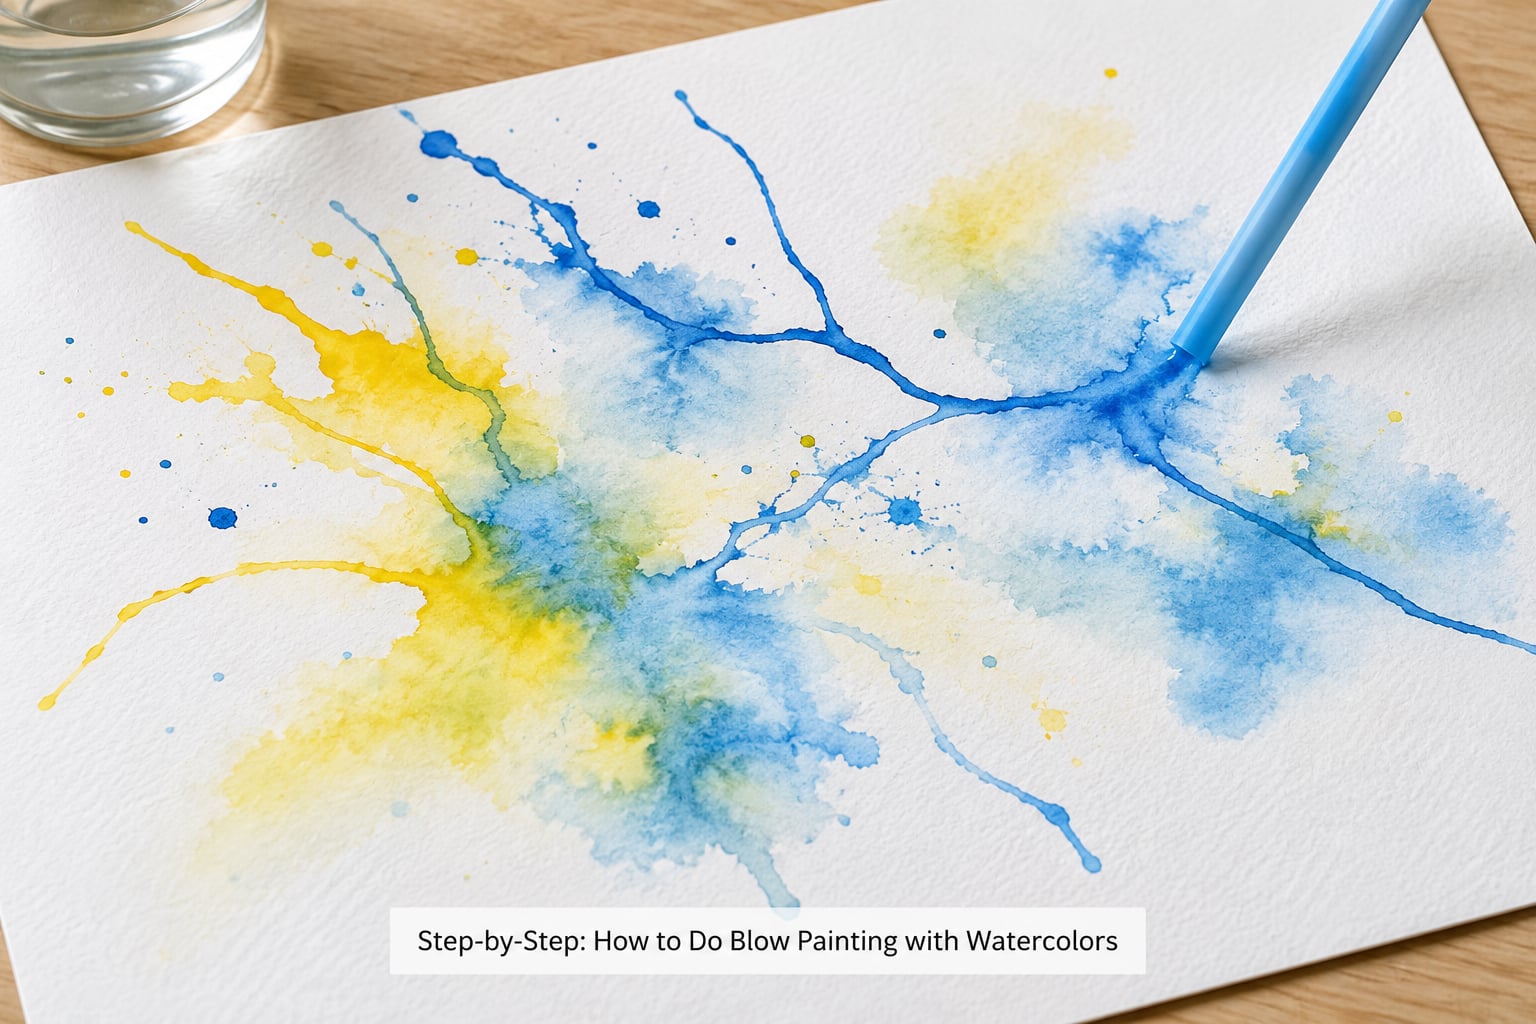
Hold the straw an inch or two above the wet paint without touching the paper. Blow steadily in one direction and watch the colour run away from your breath, pushing into branching lines and soft edges.
The faster and steadier the air, the further the paint travels. Short puffs make short fingers, so beginners should aim for a long, even exhale rather than hard bursts.
Children who struggle to sustain enough breath will get there with the halved, pinholed straw. They can also blow gently through a folded paper cone held loosely, which widens the airflow and needs less effort.
Step 5: Layer Colors and Add Details
Let the first colour dry before adding another one on top, otherwise the two run into each other and turn a muddy brown. Drying takes a few minutes on a sheet that is damp rather than wet.
Once a layer is dry, drop a different colour nearby and blow it toward, away from or across the first one. Crossing strokes give you stems and branches, which is how most people turn an abstract sheet into trees or flowers.
For texture, sprinkle a pinch of table salt onto a wet area and let it dry there. The salt draws the water out of the paint and leaves a speckled ring behind. A fine brush or a cotton bud handle the small details once the paper is fully dry.
Step 6: Let the Painting Dry
Leave the sheet flat and undisturbed until the paper feels dry to the touch. That usually takes 30 minutes to an hour indoors, and less in a warm room or outdoors in shade.
Lifting it while damp leaves a print on the back of the sheet and can drag the colours into each other. Once dry, the paper is stable, and you can mount it on card or tape it along a clothesline for a small gallery wall.
Common Mistakes
The colour came out pale and washed out. You added too much water. Go back one notch by mixing in a little more paint, and try dropping the colour a fraction larger.
The paint will not move at all. It is too thick, or you used a dried pan straight from the tin. Add water a few drops at a time until it runs off the edge of the tray, or switch to a liquid watercolour.
The paper buckled, tore or went soft. Ordinary printer paper has no strength for this. Move to cardstock or watercolor paper, and if a sheet starts to give, stop blowing and move on.
Paint ran off the edge of the sheet. You either placed the puddle too close to the border or used too much. Start at least two inches in, and drop smaller amounts than feel necessary.
Colours turned muddy. They were added while the first one was still wet and the two mixed in the water. Wait until each layer is dry, and keep complementary colours apart if you want them clean.
The straw clogged up. Paint dried inside the tube, often because the straw was dipped in and left standing. Stand straws in a cup of water between uses, and rinse under the tap straight after.
Worth saying plainly: no two sheets come out the same, and that is the appeal rather than a flaw. A child cannot make a mistake here, because there is no wrong result to arrive at.
Frequently Asked Questions
What is blow painting?
Blow painting is a technique where you drip liquid paint onto paper and blow air through a straw, usually 1 to 2 inches above the surface, to push the wet paint outward. The moving air shoves the puddle away from its centre and pulls colour into branching tendrils. No brush is used, which makes it easy for young children and complete beginners.
Can you blow paint with a straw?
Yes, and a straw is the standard tool for it. Hold it just above the paint without touching the paper and blow steadily in one direction. Bendy straws are easier for small children to aim. Cut the straw in half and poke a pinhole halfway up if you want less breath and no chance of sucking paint into the tube.
What paper is best for blow painting?
Heavy cardstock or watercolor paper works best because it resists buckling under wet paint. Ordinary printer paper soaks quickly, ripples and can tear as soon as you blow on it. Avoid anything glossy or laminated, since paint will bead up and slide around instead of soaking in. Tape the corners of the sheet down if the edges are lifting.
How much water should you add to watercolor paint?
Start with about one part paint to two parts water for liquid watercolours, then adjust by eye. Tilt the tray: paint that runs off the edge in a steady ribbon is thin enough to blow, and paint that holds a mound is too thick. Dried pans from a tin need far more water and often still resist moving.
Do you cut straws in half for blow painting?
Cutting a straw in half is worth doing for children under about five. It roughly halves the length of the air column, which makes a real difference to how much breath a small child needs to move a drop of paint. Poking a pinhole halfway up the shortened tube also stops paint being inhaled. Adults can use a full straw.
How long does blow painting take to dry?
A single-layer sheet usually feels dry to the touch within 30 minutes to an hour indoors, and dries faster in a warm room or outdoors in shade. Thick pooled areas take longer. Leave the sheet flat until it is completely dry before moving it, otherwise the colours can drag into each other and leave an impression on the back.
Conclusion
Start with three things: cover the table, thin a small amount of watercolor until it runs off the edge of the tray, and drop two blobs a couple of inches in from the edge of some heavy paper. Blow once and you will have the branch shapes within seconds.
After that, change something each time. Two colours instead of one, a different straw angle, a second layer once the first is dry. That variation is what keeps children coming back to it, and why the result feels like theirs rather than a copy.