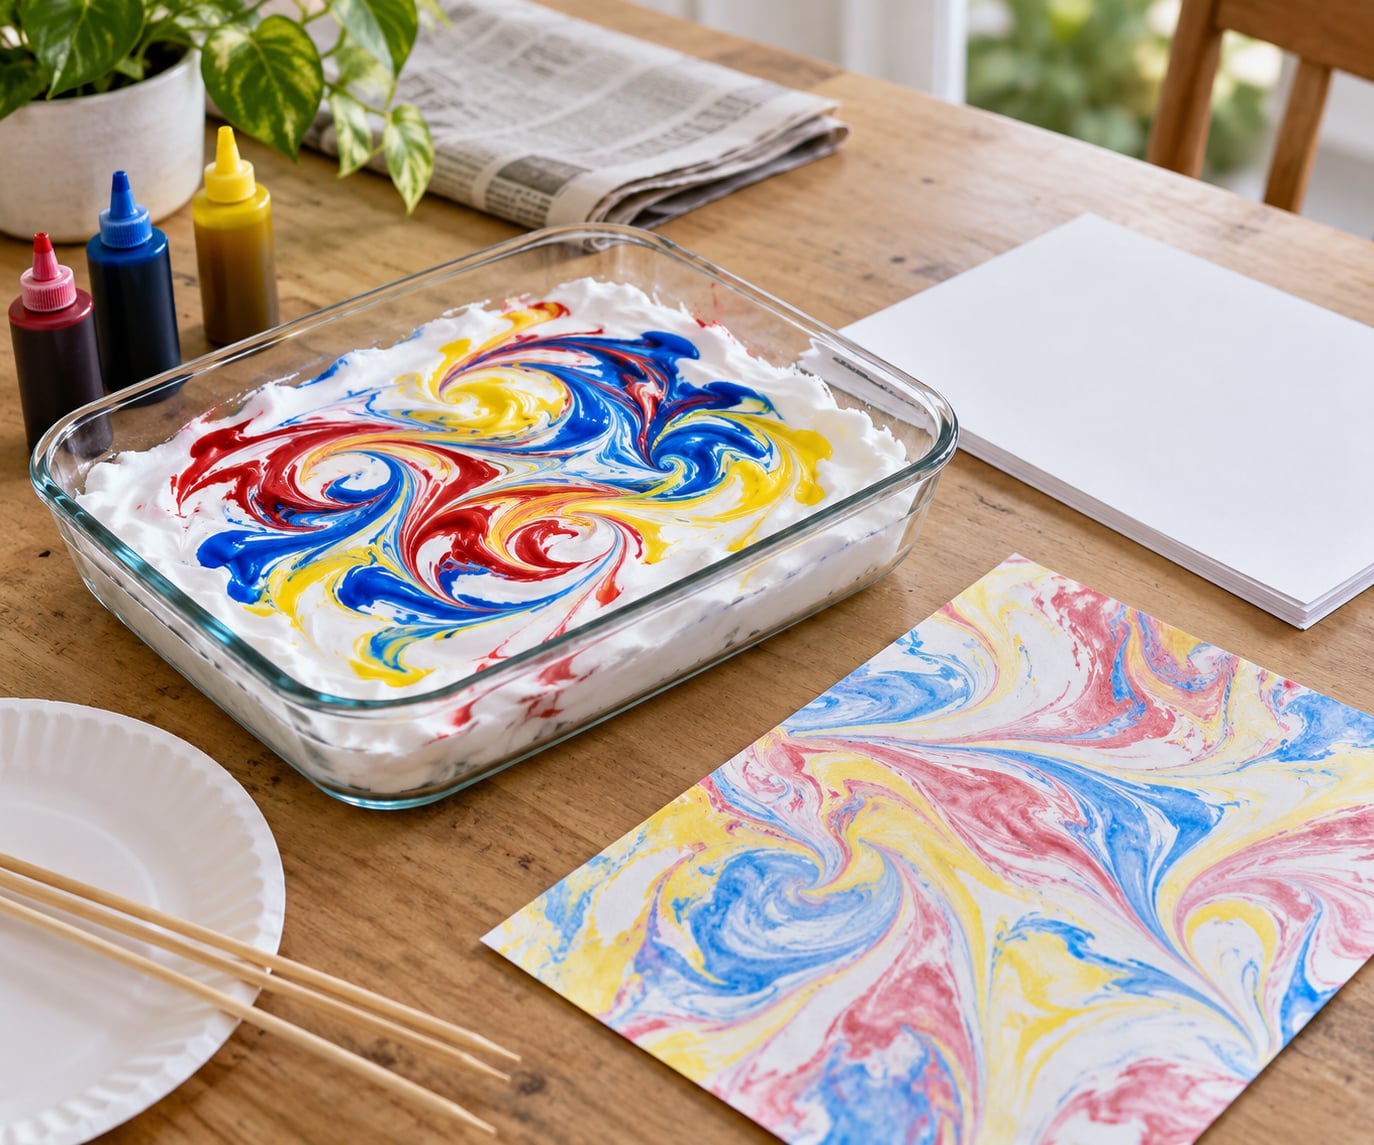
Shaving cream marbling needs four things: a shallow pan, shaving foam, drops of color and a sheet of smooth paper. You swirl the color through the foam, press the paper down, lift it away and scrape off the cream, and the pattern stays on the page. The active part takes about ten minutes, plus however long the paper needs to dry.
This is the version most families mean when they search how to do marbled paper with shaving cream, and it is the easiest one to start with because the supplies are already in the house. No special craft cupboard required, and the results look far more considered than the effort suggests.
Table of Contents
- 1What You Need
- 2Step-by-Step: How to Do Marbled Paper with Shaving Cream
- 3Prepare the Work Surface
- 4Add Shaving Cream to the Tray
- 5Make the Color Patterns
- 6Place the Paper on Top
- 7Lift and Reveal the Design
- 8Dry and Finish the Paper
- 9Common Mistakes and Easy Fixes
- 10Frequently Asked Questions
- 11What kind of paper works best for shaving cream marbling?
- 12Can I use liquid watercolors instead of food coloring?
- 13How long does marbled paper take to dry?
- 14Can I reuse the shaving cream after marbling?
- 15What age is this shaving cream craft suitable for?
- 16How do I stop the colors from mixing into a muddy shade?
- 17Conclusion
What You Need
Everything here is cheap and most of it you own already. The one thing worth buying is a can of plain shaving foam.
- Shaving foam — a plain can, no gel. Foam holds a pattern on its surface; gel sinks into the paper and stains it grey.
- A shallow tray — a 9 x 13 inch baking dish, a pie plate or a brownie pan works. A deeper casserole dish is harder to lift paper out of.
- Smooth paper — cardstock, heavyweight drawing paper or copy paper. Skip textured watercolor paper; the bumps drink the color and you get a blurry, spotty sheet.
- Color — liquid food coloring, liquid watercolors or washable tempera paint. A dropper or the nozzle of the bottle keeps you in control.
- A skewer, chopstick or cotton swab — for the swirls. A ruler or a plastic pan scraper takes the cream off in one swipe.
- Paper plates — to squeeze excess cream off the skewer, so you are not wiping it on a towel.
- Newspaper or a plastic sheet — to protect the table. Food coloring stains counters, clothing and hands, so cover generously.
- Paper towels and a damp cloth — for cleanup, plus a dish for rinsing the pan at the sink.
On paper choice, a smooth surface is the whole trick. Marbling works on white, cream and kraft paper, and light-colored cardstock gives the most vivid result. If you plan to write on the finished sheet, print or write first and marble over the back, or keep a clean card on top of the stack for messages.
For young children, stick to plain unscented foam and water-based coloring, and keep skewers and scissors out of reach of anyone under three. Foam marbling is a sensory activity, so it doubles as a fine-motor exercise for preschoolers.
Step-by-Step: How to Do Marbled Paper with Shaving Cream
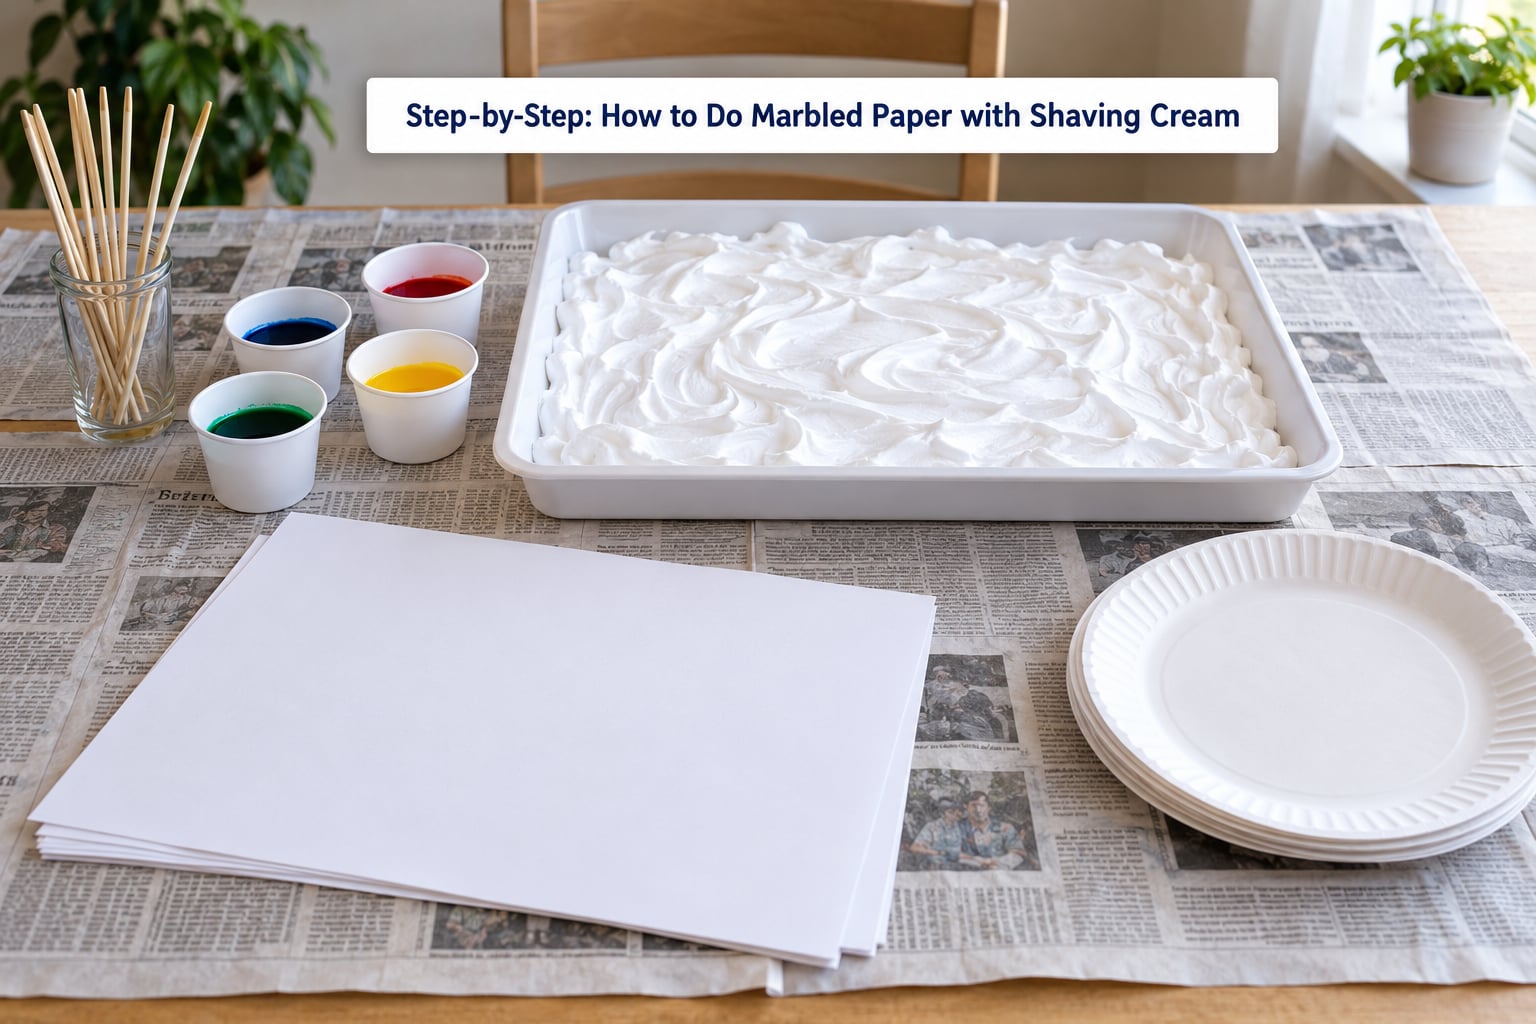
Prepare the Work Surface
Cover the table with newspaper or a plastic sheet, then set out every supply within arm’s reach. Once color is down, you do not want a child rummaging in a cupboard with wet hands. Put the paper stack, plates and skewers on a dry towel beside the tray.
Add Shaving Cream to the Tray
Spread an even layer of foam in the tray, roughly half an inch deep across the whole base. A thicker layer holds more color but makes the sheet harder to lift cleanly. Use the back of a spoon to flatten the top into a smooth, level surface.
Make the Color Patterns
Drop five to ten dots of each color onto the foam, spacing them apart so they do not all run together on contact. Drag a skewer or cotton swab gently through the dots in a figure eight or a long S curve, one pass only. More swirls make muddier paper, not better paper.
Place the Paper on Top
Lay a sheet of paper flat on the foam and press gently from one corner to the other until the whole sheet makes contact. Small air pockets leave white patches. Work from the edges inward and keep the paper still, because shifting it drags the pattern sideways.
Lift and Reveal the Design
Slide a finger or a plastic spatula under one corner and peel the sheet away in one slow motion, holding the far corner down until the last moment. Rest it colored side up on a protected drying surface. Do not lay it face down on newspaper while it is still damp.
Dry and Finish the Paper
A paper plate is handy here — stand the sheet on it while it dries so the back stays flat. Once it is fully dry, trim the edges if you want a clean border, or press it under a stack of heavy books for an hour to flatten any curl. Then cut shapes, fold a card, or add a title in marker.
You can get roughly four to six good sheets from one pan of foam. Lift the first sheet, scrape the bare patches clean, add a fresh round of drops and swirl again. Once the foam turns stringy and dull rather than pillowy, scrape it out and start a fresh batch.
Common Mistakes and Easy Fixes
The colors turned brown or grey. You swirled too much, or the drops landed too close together. Fewer colors, spaced further apart, and a single light pass through each one fixes it. The same thing happens if you add a second round of color on top of a used pan without clearing the first.
The sheet came out pale. You probably scraped and wiped more than once. One firm swipe with a ruler or pan scraper removes nearly all the cream; every extra pass drags color off with it. A thinner foam layer also gives a cleaner, brighter result.
The design is blurry or smudged. The paper either shifted while you pressed it down or you lifted it too slowly. Press from the corners toward the center, hold the sheet still for a few seconds, then peel quickly from one corner.
There is a pale, greasy film left on the paper. Scrape the cream off while it is still thick, then blot the back once with a dry paper towel. Let the sheet dry completely before you press it or stack it.
The paper buckled or curled while drying. Too much liquid reached the sheet. Lift the paper sooner, and press it flat under heavy books once it is bone dry.
The color looks dull on the second and third sheets. That is normal for any reused batch. Add a few extra drops of fresh color and accept slightly quieter patterns — or start over if you are making something that needs to look perfect.
A few extra tips worth keeping: use foam, never gel; use smooth paper, never textured; press with the flat of your hand rather than fingertips, which leaves dents; and work outdoors or on a plastic-lined tray if you want cleanup down to a rinse of the pan.
Frequently Asked Questions
What kind of paper works best for shaving cream marbling?
Smooth paper gives the cleanest result, so cardstock, heavyweight drawing paper and plain copy paper all work well. Avoid textured watercolor paper, because its bumpy surface breaks the color into speckles and the pattern reads as blurry. Cream and kraft paper are fine too, though dark colors lose some punch on them. If you want to write on the sheet afterward, print first and marble over the back.
Can I use liquid watercolors instead of food coloring?
Yes, and many crafters prefer them. Liquid watercolors are thin, so a few extra drops are needed, and they stay translucent rather than glossy, which gives a softer look. Food coloring is the brightest and cheapest option for beginners. Tempera paint sits in between: more opaque, very washable, and a good choice for small hands. Skip acrylic paint, which stains and does not rinse out of clothing.
How long does marbled paper take to dry?
A small card or envelope liner on regular paper dries in about an hour or two at room temperature. Full sheets and heavier cardstock need longer, often several hours, because more liquid soaks in. Let each sheet dry flat before stacking, and press it under a stack of heavy books for an hour if it curls at the corners.
Can I reuse the shaving cream after marbling?
Yes, for a few sheets. Lift the first sheet, scrape the bare areas flat again, add fresh drops and swirl a new pattern. You will usually get four to six decent sheets from one pan. When the foam stops looking pillowy and turns stringy and dull, it has given what it can, so scrape it into the bin and start a fresh batch.
What age is this shaving cream craft suitable for?
Preschoolers through adults can do it, with an adult nearby for anyone under six. Children under three should not handle the skewers, and nobody should taste the foam, even when it is labeled non-toxic. Plain unscented foam is the kinder choice for children who dislike strong smells. For babies and toddlers, the foam itself is a fine sensory material to play in, with the paper step left to an adult.
How do I stop the colors from mixing into a muddy shade?
Space the drops apart on the foam so they do not touch, and limit yourself to three or four colors per sheet. Drag the skewer through them once in a single direction rather than circling repeatedly, since every extra pass blends the colors toward brown. You can also add a fresh round of drops to a used pan instead of reusing a pattern you have already muddied.
Conclusion
Start by spreading a half-inch layer of shaving foam in a shallow tray, add a few spaced-out drops of color, swirl once, and press a smooth sheet of paper down on top. Lift it, scrape off the cream in a single swipe, and let it dry flat. Once you have one sheet you like, try a two-color palette, a different paper size, or a stack of sheets from the same pan.