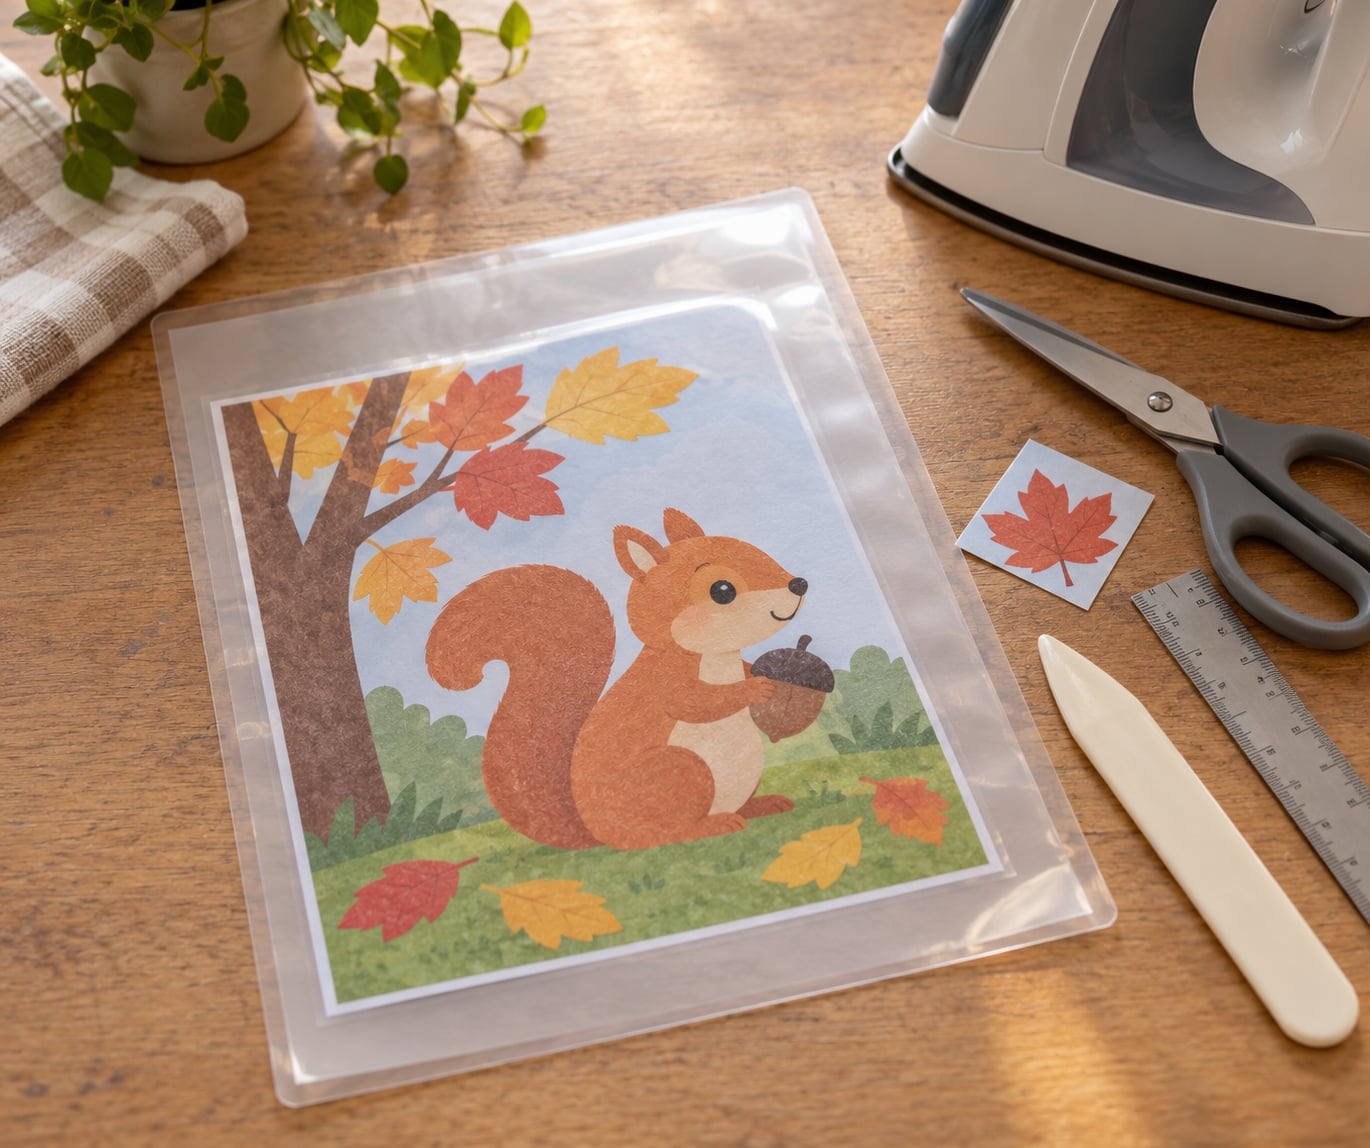
You can laminate without a laminator by sealing the page between two clear layers: self-adhesive laminating sheets, an iron pressed through wax paper or parchment paper, clear contact paper, or a plastic document pouch. None of these need a machine, and all of them take about five minutes per sheet. The main differences are how stiff the finished page feels and how well it shrugs off water.
I have made hundreds of flashcards, reward charts and bookmark sheets this way in a classroom setting with nothing more than a laminator-shaped hole in the cupboard. The iron method gives the closest thing to a machine finish. Self-adhesive sheets are the fastest and the cleanest for batch jobs, and contact paper is the one every teacher already has in a drawer somewhere.
Table of Contents
- 1What You Need
- 2Step-by-Step: How to Laminate Without a Laminator
- 3How to Laminate Without a Laminator with Self-Adhesive Sheets
- 4How to Laminate Without a Laminator Using Wax Paper
- 5How to Laminate Without a Laminator Using Parchment Paper
- 6How to Laminate Without a Laminator with Clear Contact Paper
- 7How to Laminate Without a Laminator in a Pouch
- 8Common Mistakes
- 9Frequently Asked Questions
- 10What can I use instead of a laminator?
- 11Is an iron safe for laminating paper?
- 12Which method works best for coloring pages?
- 13Can you cut a laminated sheet?
- 14How do you protect crafts without making them fully waterproof?
- 15Conclusion
What You Need
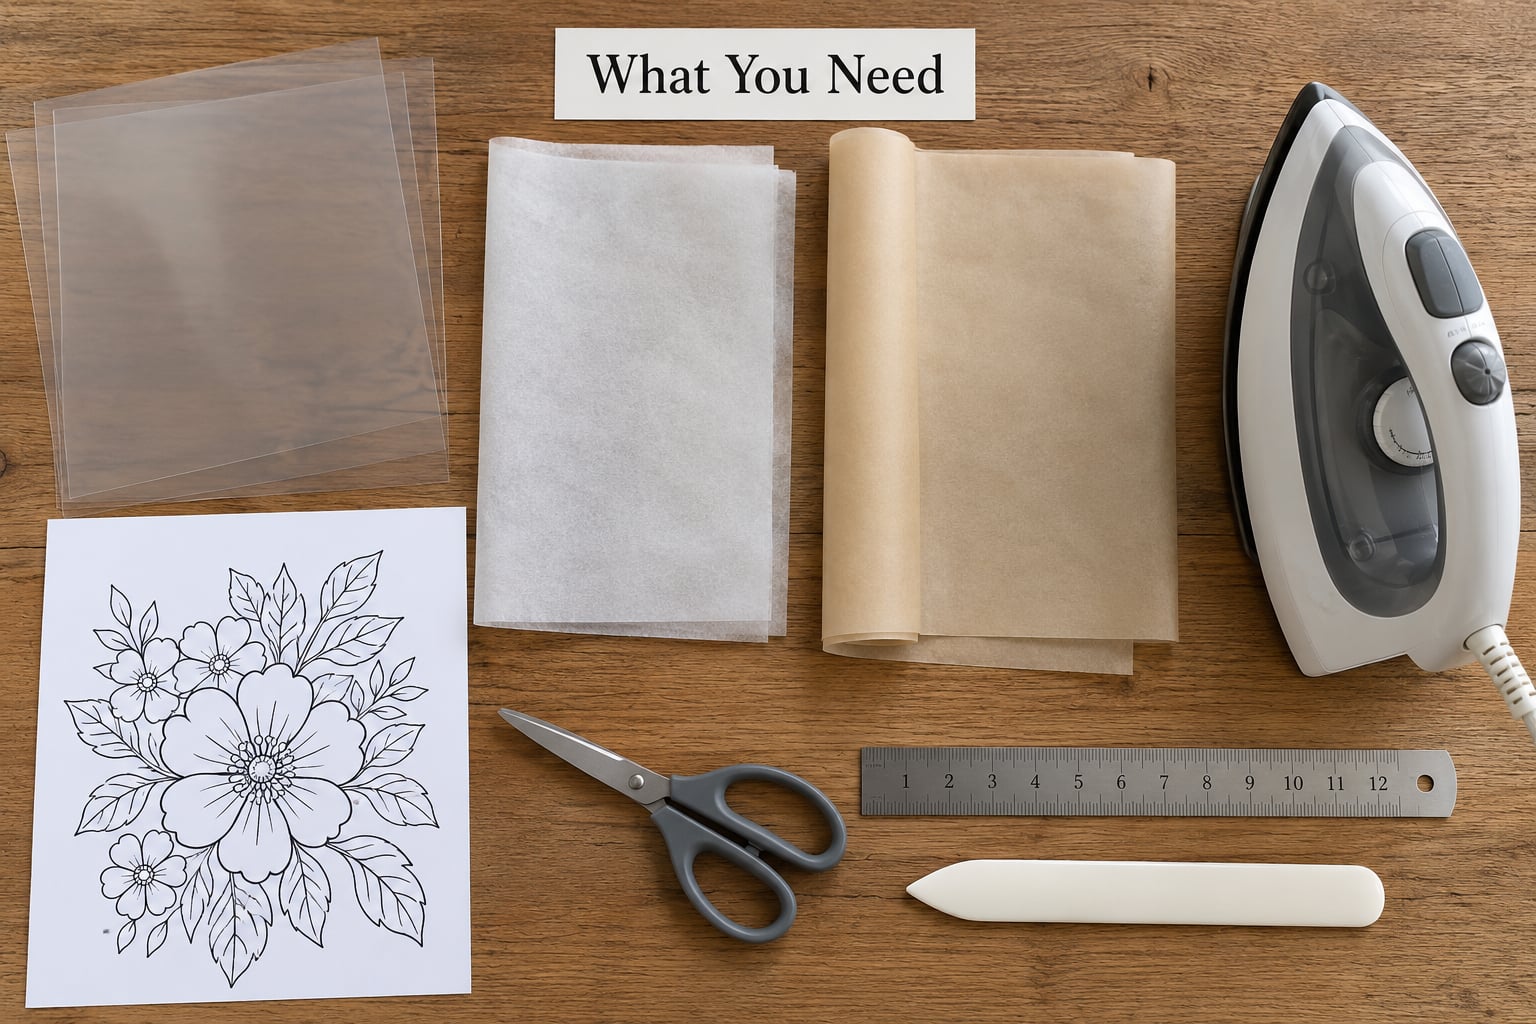
Gather the tools for the method you picked before the page comes out of the printer. Laying out everything first is the difference between a smooth sheet and a sheet with a bubble you cannot get out.
- Self-adhesive laminating sheets for the fastest method. Two sheets sized a little larger than your page, so you have a border to trim later.
- Clear contact paper for budget batches. It cuts with scissors and needs no heat at all.
- Wax paper or parchment paper as the barrier between your page and a warm iron. Both are waxed or coated paper, never your print itself.
- An iron with a low or medium setting and the steam turned off. Steam leaves water marks that never come out.
- A ruler and a bone folder (the back of a spoon works) for pushing air toward the edge instead of trapping it.
- Scissors or a craft knife on a cutting mat, plus a scrap sheet of printer paper for testing heat settings.
- A plastic document pouch or page protector sleeve for the projects you want to reuse and swap contents in.
All of these are safe for paper crafts. The one item that needs an adult is the iron: keep it on a stable surface, keep the cord well back from the edge of the table, and never leave a hot iron face down on a craft mat.
Step-by-Step: How to Laminate Without a Laminator
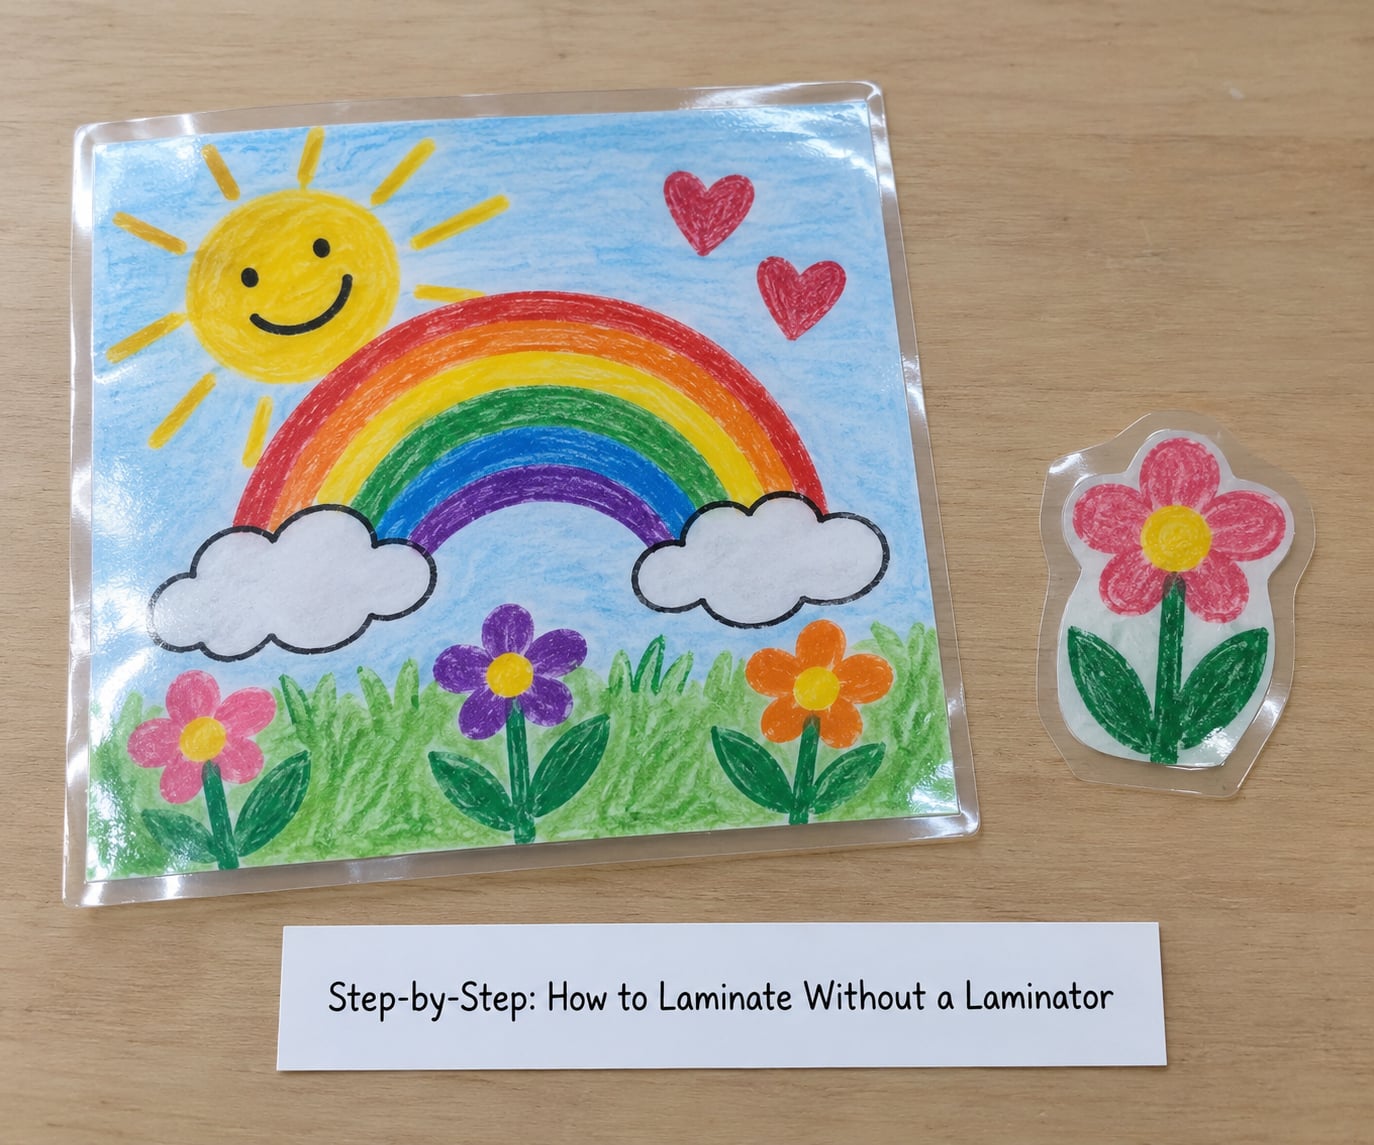
Five methods, in the order I would actually try them. The first is quickest, the third looks the most like machine lamination, and the last one does not seal anything at all but solves a different problem.
How to Laminate Without a Laminator with Self-Adhesive Sheets
This is the fastest route and the one that traps the fewest bubbles, because the top sheet bonds on contact as you lower it. Buy sheets that are a few millimeters bigger than your page on every side.
- Measure your page and cut two self-adhesive sheets to match, plus a small margin.
- Print or draw the artwork and let the ink dry for several minutes.
- Peel the backing from the first sheet and lay it sticky side up on a flat, clean table.
- Set your page in the center and press the corners down lightly so it does not shift.
- Peel the backing from the second sheet, holding both ends so it does not fold in the middle.
- Lower the top sheet onto the page starting at one end, letting it fall as you go.
- Smooth from the center outward with a ruler or your palm to push air toward the edges.
- Rub out any remaining bubbles with a bone folder, working from the middle of the bubble toward its edge.
- Trim the border square with a craft knife or scissors, cutting just outside the paper so you never nick the artwork.
- Check the seal by running a fingernail along the edge. If the plastic lifts, press that corner down again.
The sign it worked: the sheet feels noticeably stiffer than the bare page, and the plastic does not slide when you flex it.
How to Laminate Without a Laminator Using Wax Paper
Wax paper is the cheapest way to get a real heat seal, and it is the method I trust for anything that will be handled hard. You are not gluing the page to the wax; you are using the wax to bond two layers of plastic together around the paper.
- Cut two pieces of wax paper a half inch larger than your page on all sides.
- Place a flat layer of plastic (self-adhesive film, a cut pouch, or clear contact paper) on the table, then your page on top, leaving a small plastic margin showing.
- Cover everything with the second layer of plastic and lay the wax paper on top as your barrier.
- Set the iron to low or medium with the steam off. Test on a scrap sheet of plain paper first.
- Press the iron over the whole surface in slow strokes, about five seconds per pass, with no circular scrubbing.
- Lift the wax paper only after the page has cooled to the touch, roughly thirty seconds.
- Peel the wax paper away slowly at a low angle rather than straight up.
- Trim the sealed plastic border, leaving a quarter inch all the way around.
The sign it worked: the paper feels slightly firm, and the covering stays attached when you hold the sheet by the corner and shake it.
How to Laminate Without a Laminator Using Parchment Paper
Parchment is the gentler version of the iron method. It is a better barrier for artwork printed with heavy ink, for pressed leaves, and for anything you are nervous about scorching, because it does not transfer wax onto the plastic the way wax paper can.
- Sandwich your page between two layers of clear plastic, as above.
- Put a sheet of parchment paper on top and, if you are fussy, one underneath as well.
- Set the iron to the temperature the parchment packaging recommends, which is usually a medium setting with no steam.
- Press briefly in three or four straight passes rather than one long heavy press, which is what causes curling.
- Let the sheet cool completely on the table before you move it.
- Peel the parchment away slowly, checking that no paper fibres lift with it.
- Trim the edges and check the seal at each corner.
Keep the iron supervised the whole time, and never leave a finished sheet sitting on the warm plate. If a glossy photo goes dull under the iron, that is the temperature climbing too high, and you can dry the page under a book to bring the shine back.
How to Laminate Without a Laminator with Clear Contact Paper
Contact paper is the budget workhorse, and it is the one most likely to bubble because the adhesive grabs the air in the middle before it reaches the edges. The trick is registration: keep the page from sliding while you lower the film.
- Cut contact paper about a quarter inch larger than the artwork on every side.
- Lightly tape the corners of your page to the table so it cannot move.
- Lay the contact paper over the page, sticky side down, holding both short ends.
- Lower it slowly from the top edge, letting the contact paper fall a few millimeters as you go rather than dropping it flat.
- Start at the center and push air out toward the edges with a ruler or bone folder in short, firm strokes.
- For any bubble that will not move, pierce it at one end with a pin, then press the flap flat. A pin hole is far less noticeable than a cloud of air.
- Trim the border, and round the corners with scissors if you are laminating a bookmark or a tag.
For curved or textured paper such as a photo, a canvas print or heavily textured cardstock, this method is not the right one. The paper keeps its bend, so the film lifts and peels away from it within a few days. Use the iron method for those instead.
How to Laminate Without a Laminator in a Pouch
A document pouch is not a heat-sealed laminate. Nothing sticks, and the paper can still be pulled out, which is exactly why teachers use pouches for activity sheets and cards they swap out every week.
- Choose a pouch a little larger than your finished card, or trim a larger pouch down to size.
- Slide the card in so the sealed spine edge sits against the spine of the pouch.
- Trim the excess plastic at the open end with scissors, cutting in short snips so the plastic does not crack.
- Punch a hole through the plastic only, not the card, if you are making a hanging bookmark or tag.
- Write on the surface with a dry-erase marker and wipe it off; the plastic takes the ink, not the paper.
- Swap the contents whenever the activity changes instead of making a new sheet each time.
A plain plastic page protector sleeve does the same job and slides over a printed sheet without any trimming at all. That makes it the fastest option for reference charts you keep in a binder.
Common Mistakes
Nearly every bad DIY laminate comes down to air, heat, or a page that was not flat. Work through these in order.
- Air bubbles and cloudy patches: lower the film slowly instead of dropping it, then smooth from the center outward. A credit card or a ruler pushes trapped air to the edge where you can cut it off.
- Wrinkles in the paper: the page was not flat before you started. Press it under a heavy book for an hour, or iron it flat on low with a cloth.
- Crooked alignment: tape your page to the table first, or mark the centre of the page and of the film with a light pencil mark before you lower anything.
- Edges that lift after a few days: you trimmed flush to the paper. Leave a quarter inch of plastic all the way around, then trim straight and square, and the border holds the seal.
- Visible ridge lines from tape: lay strips in one direction, overlapping about half a strip, and never cross over a previous strip. Wide clear packing tape in long straight runs looks far better than short overlapping pieces.
- Heat damage, scorch marks or curled edges: the iron was too hot or you pressed too long. Drop one setting, keep the steam off, and replace the sheet. Paper does not recover from scorching.
- Peeling during removal: you pulled the plastic away before the page cooled, or you pulled straight up instead of peeling at a low angle. Cool it, then peel slowly and steadily.
- Ink bleeding or a smeared print: the ink was still wet. Give freshly printed pages several minutes, or an hour for inkjet photo paper, before sealing them.
One habit that fixes most of this: run a scrap sheet of plain paper through the method first, then decide your final iron setting. Thirty seconds of testing is cheaper than ruining the craft your kid has been working on all week.
Frequently Asked Questions
What can I use instead of a laminator?
The four best stand-ins are self-adhesive laminating sheets, clear contact paper, clear packing tape, and a household iron pressed through wax paper or parchment paper. For work you repeat, such as activity cards you swap out weekly, a plastic page protector or document pouch needs no heat at all. Pick based on whether you want a permanent seal, a stiffer sheet, or something reusable.
Is an iron safe for laminating paper?
Yes, with care. Set it to low or medium, turn the steam off so no water reaches the page, and always place wax paper or parchment paper between the iron and the page as a barrier. Keep the iron on a stable surface with the cord out of the way, test the setting on scrap paper first, and never leave it face down. A supervising adult should handle the iron.
Which method works best for coloring pages?
Self-adhesive laminating sheets are the safest choice for a coloring page because there is no heat involved and the finish stays bright. Give any ink or marker a few minutes to dry before sealing, since a damp line of colour will smear under pressure. Contact paper also works well and can be peeled off later if the child wants to colour it again.
Can you cut a laminated sheet?
Yes. Score it first with a craft knife along a ruler, cutting only through the plastic, then snap the plastic along the line to cut through the paper underneath. Cutting a cold laminated sheet without scoring tears it and leaves a white, ragged edge. Rounded corners are worth doing on bookmarks and tags, since sharp plastic corners lift and scratch.
How do you protect crafts without making them fully waterproof?
Skip lamination for anything that must handle water, like a placemat or a bath-book page, and use a clear polyurethane spray sealant instead. It soaks into the paper fibres, leaves the artwork flexible, and will not yellow or curl. Spray outdoors or on a covered surface, spray from about a foot away, and let each coat dry before the next one.
Conclusion
For the quickest clean result, use self-adhesive laminating sheets and smooth from the middle outward. For the most durable, traditional finish, sandwich the page between plastic and press through wax paper or parchment paper with a supervised, low-heat iron. For reusable activity cards and reference charts, a document pouch or page protector sleeve does the job with no heat and no fuss.
Whatever you choose, measure the plastic before you cut it, clear a clean patch of table, and run one scrap sheet through the method first. Trim with a quarter inch of border rather than cutting flush, and your DIY lamination will outlast a surprising number of machine-made ones.