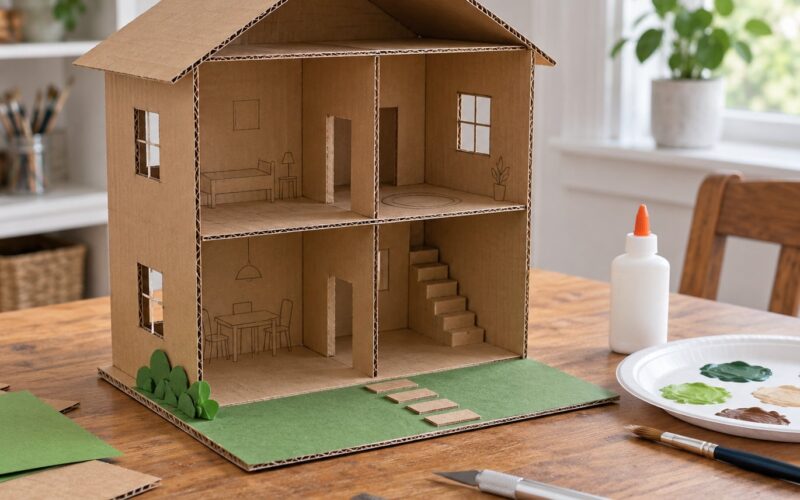
How to cut cardboard cleanly for crafts comes down to four things: a sharp blade, a metal straightedge, a firm surface that will not let the board slide, and several light passes rather than one heavy push. Ten minutes of setup per piece buys you edges that stay square instead of tearing into fuzz. Most of the whole job takes under an hour.
I keep a cutting mat, a metal ruler and a spare pack of snap-off blades on the table whenever a craft is on the go. That habit is the difference between a costume piece that looks deliberate and one with a chewed-up corner.
Table of Contents
- 1What You Need
- 2Step-by-Step: How to Cut Cardboard Cleanly for Crafts
- 31. Prepare the Cardboard and Your Work Surface
- 42. Mark and Score the Cut
- 53. Cut Along the Score Line
- 64. Finish the Edges
- 7Common Mistakes and How to Fix Them
- 8The cut wanders off the line
- 9The edge tears or fuzzes up
- 10The board crushes or dents
- 11Layers separate after cutting
- 12Corners come out rounded, not square
- 13The blade snaps or heats up
- 14Someone gets hurt
- 15Frequently Asked Questions
- 16What is the best tool for cutting cardboard cleanly for crafts?
- 17How do you cut corrugated cardboard without tearing it?
- 18Can children cut cardboard safely for crafts?
- 19How can I make curved cuts in cardboard look neat?
- 20Should I sand cardboard edges after cutting?
- 21Conclusion
What You Need
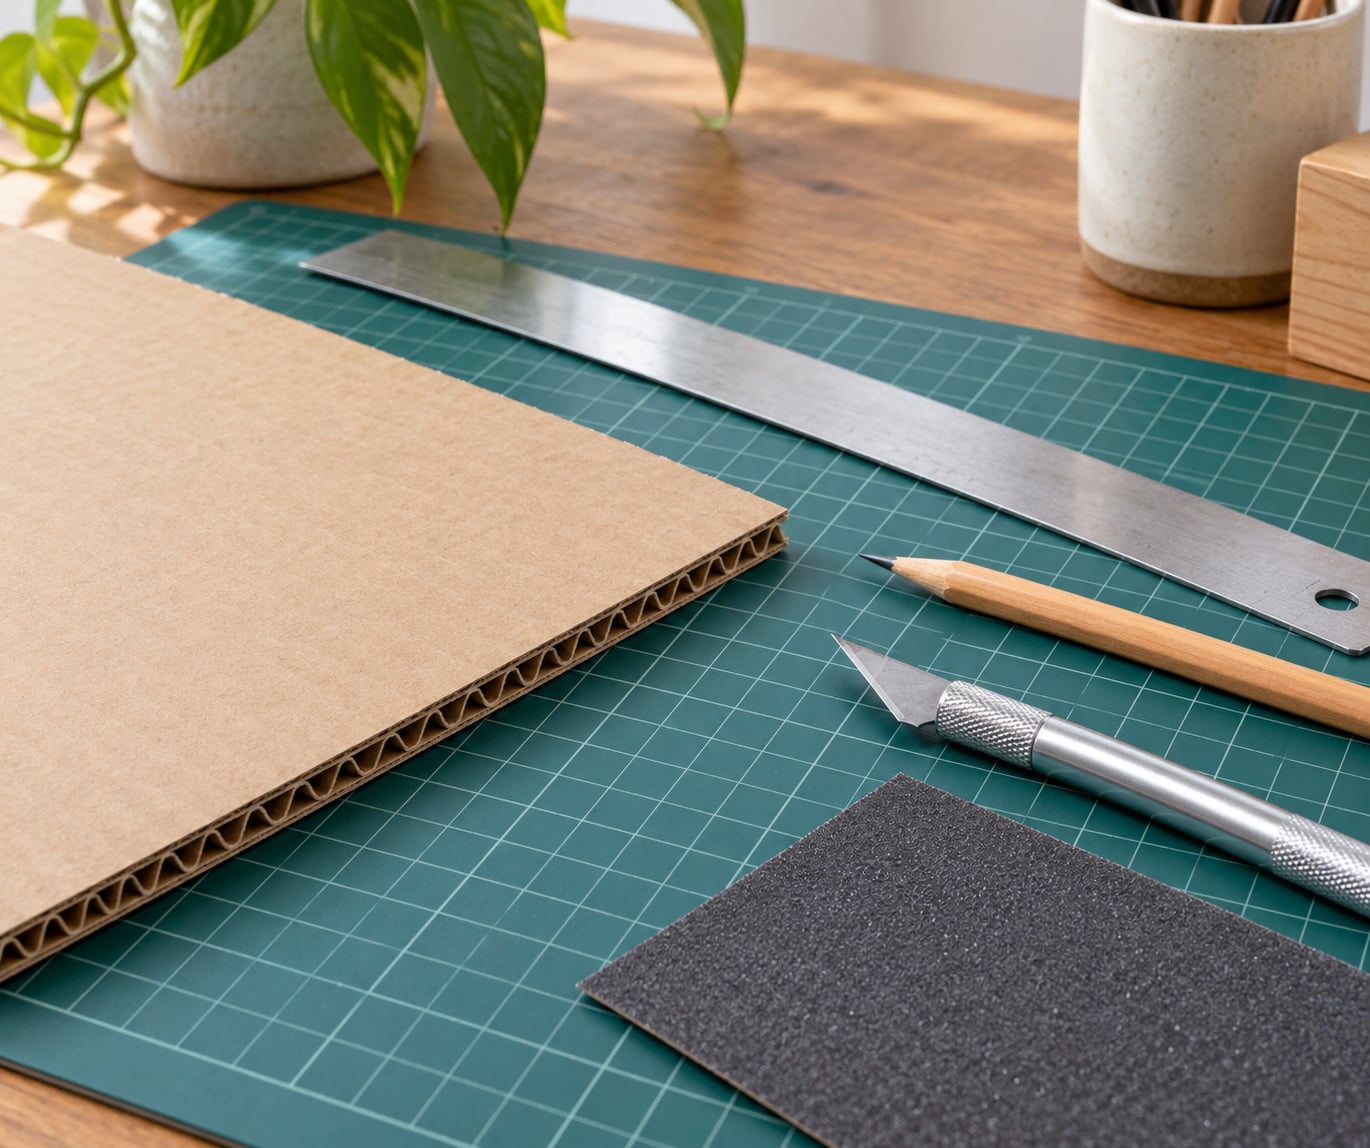
Cardboard is layered fibre held together with adhesive, so tools that shear fibre work better than tools that crush it. Here is the short list I actually use, followed by how each tool behaves.
- Sharp craft knife or utility knife. A hobby knife gives finer control on small shapes; a utility knife survives thicker board. Either way, start with a fresh blade.
- Metal straightedge. A steel ruler is worth more than a plastic one because the blade cannot slice into it. A thick cardboard template works in a pinch, but the edge shifts as it wears.
- Self-healing cutting mat. It grips the board and takes the blade instead of your table. A gridded board also shows you the angle your cut is drifting to.
- Pencil and eraser. Mark the cut line before you touch a blade, because you can erase a pencil line and you cannot erase a wandering cut.
- Masking tape. For painted, glossy or freshly printed surfaces where tape would lift the finish, low-tack tape fixes the board down without pulling colour off it.
- Fine sandpaper or a sanding block. Roughly 150 to 220 grit smooths the fuzzy edge a blade leaves behind.
- Glue or tape, optional. A thin coat along a raw edge stops fibres from lifting later.
Choosing by material matters more than choosing by tool. Single-wall cereal-box board is thin enough for serrated cardboard scissors or a craft knife. Double-wall or shipping-box board wants a utility knife and slower passes. Foam core and matboard need a fresh craft knife because the foam crushes before the blade cuts.
For children, swap the knife for a kid-safe saw, a pumpkin-carving saw, or cardboard scissors with a serrated edge, and do the tracing instead of the cutting. The same scoring habit still applies.
Before anyone picks up a blade, set the board flat with plenty of light on it, keep fingers behind the straightedge rather than beside the cut line, and cut away from your body. Check the blade extends only a few millimetres past the handle. On a self-healing mat, let the straightedge do the work so the blade stays shallow.
Step-by-Step: How to Cut Cardboard Cleanly for Crafts
1. Prepare the Cardboard and Your Work Surface
Flatten the board first. Corrugated boxes come out of storage with bent liners and puffed-up edges, and a puffed board rocks under the straightedge so the blade dips and catches. Open the box flat, press it under something heavy for a few hours, or run it over the edge of a table the wrong way to knock the layers back together.
Lay the mat on a firm surface with a cutting surface underneath, then put the board on the mat. If it still slides when you push it, tape a corner down or place a second unused mat on top as a weight. Check the step worked by nudging the board with one finger; it should not move.
Next, find the flutes. Corrugated board has ridges inside, and cutting across them separates the layers faster than cutting along them. Turn the board so the cut runs parallel to the ridges for the cleanest edge on straight cuts.
2. Mark and Score the Cut
Measure with a steel ruler and mark the full length of the cut with a sharp pencil, adding a small tick every few centimetres along the line. The ticks are your early warning that the blade is drifting.
Now score: run the knife tip lightly along the line using the straightedge as a guide, just deep enough to break the surface fibres. It should feel like a faint groove, not a trench. Scoring gives the blade a channel to follow, so it stops sliding sideways into fibres and starts cutting straight. Run the pencil over the groove once more to make it visible.
Check it worked by lifting the board and looking at the edge. If the groove is a continuous line rather than a dotted one, you are ready to cut.
3. Cut Along the Score Line
Hold the straightedge with your non-cutting hand and keep fingertips well back from the line, ideally behind the ruler. Start at one end and draw the blade toward you, using the groove as the path. Use light, even pressure and take two or three passes rather than one deep one. Every pass follows the channel you already made, so the blade glides instead of burrowing.
At corners, turn the board rather than turning the board and your hand together. That is how you get an accurate 90-degree corner: cut the first side, then start the second cut from the existing edge instead of guessing the angle.
For curves, work in small segments with a rocking motion, keeping the board flat on the mat. Take the blade off and look before you go any further. A shallow kerf, roughly a third of the board thickness, means you are on track. A deep gouge or a lifted flap means you are pushing too hard or the blade has dulled. Stop, change the blade or back off the pressure, then finish the cut.
On thin single-wall board, serrated cardboard scissors handle curves more cleanly than a knife because the teeth grip as they cut. On double-wall, keep the utility knife and take your time.
4. Finish the Edges
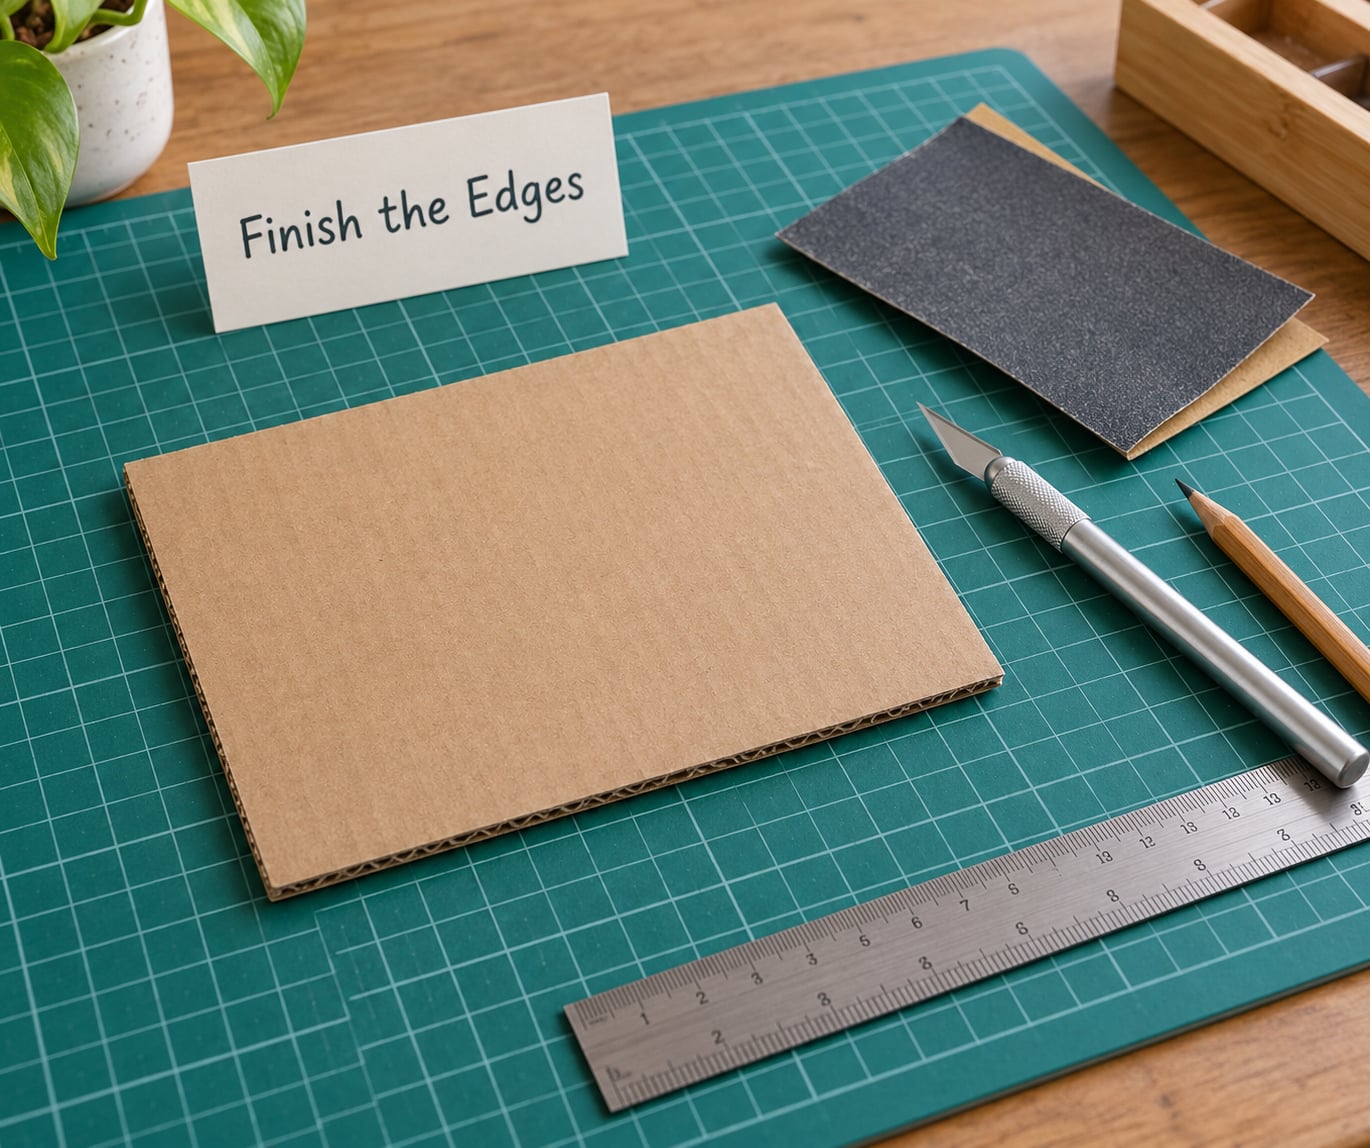
A raw cut edge is never truly finished. It holds a ridge of fibre that catches on paint, glue and fingertips. Rub the edge once with fine sandpaper, working at a slight angle so you round off the lip rather than flattening the face. Keep the sanding light on printed or painted surfaces, and re-glue any layer that starts lifting away from the rest.
For a tidier finish, run a thin line of PVA glue along the edge and let it dry before you paint. That seals the fuzz in one step. On thick board, wrap the edge with masking or paper tape instead; it adds a minute and makes the piece far tougher.
If a cut tears out mid-shape, stop and patch rather than carrying on. Glue a small scrap behind the damage, or tape it on the reverse side, then trim the repair flush with the intended outline. Check the piece from the front; if the repair shows, cover it with a decorative layer as part of the design.
Common Mistakes and How to Fix Them
These are the failures I see over and over, and each one has a matching correction.
The cut wanders off the line
Usually pressure, not blade sharpness. Lighten your grip, rest more of the blade on the straightedge, and make more, shallower passes. If it still drifts, the straightedge is probably too thin; move to a steel ruler.
The edge tears or fuzzes up
A dull blade drags fibre instead of cutting it. Snap off a fresh segment, and score before you cut rather than trying to force one pass through. The multi-pass method is what keeps edges clean on corrugated board.
The board crushes or dents
Too much downward force on soft board. Support the piece with a folded cardboard scrap underneath so the blade has something to press into, and cut on the mat rather than on a table edge or your lap.
Layers separate after cutting
Common on double-wall and matboard. Cut parallel to the flute ridges where you can, score first, and finish the edge with glue or tape to bind the liners back together.
Corners come out rounded, not square
Rotate the piece and cut each side from the edge you just made. Guessing both angles from the original outline is what produces a clipped corner.
The blade snaps or heats up
Snap-off blades are segmented for a reason. Retire a blade the moment it needs force, and never sharpen a knife on cardboard. Dragging a dull blade through fibre generates heat and ruins the temper.
Someone gets hurt
Most cuts happen because a board shifted mid-stroke or a blade was left exposed. Retract the blade fully when you put the knife down, keep spare blades in a tin rather than loose, and do the cutting yourself for children. If you are working with kids, choose a saw or serrated scissors instead of a knife at all.
Frequently Asked Questions
What is the best tool for cutting cardboard cleanly for crafts?
A sharp craft knife or utility knife guided by a metal straightedge, cutting on a self-healing mat, gives the cleanest result on almost any board. Make two or three light passes along a scored pencil line instead of one deep push. For thin single-wall board, serrated cardboard scissors handle shapes and curves well. For thick double-wall, reach for a utility knife with a fresh snap-off blade.
How do you cut corrugated cardboard without tearing it?
Turn the board so your cut runs parallel to the flute ridges, since cutting across them shears the bond between layers. Score the pencil line lightly with the knife tip first, then take two or three light passes along that groove. Keep the board flat on a self-healing mat and rotate the piece at corners instead of twisting the blade. A fresh blade matters more than pressure here.
Can children cut cardboard safely for crafts?
Yes, with the right tool. Give children a kid-safe saw, a pumpkin-carving saw, or cardboard scissors with a serrated edge, and have an adult do the tracing and any scoring. Adult hobby knives and box cutters are genuinely hazardous for untrained hands, which is why many classrooms avoid them entirely. Let children cut outward-facing shapes on a mat, keep blades capped when not in use, and supervise the whole session.
How can I make curved cuts in cardboard look neat?
Work in short segments, rocking the blade gently while the board stays flat on the mat, and stop to check your line every few centimetres. Making small cuts instead of one long slice keeps the fibres from catching and lifting. On thin board, serrated scissors grip better than a knife. When you are done, sand the curve lightly at an angle and seal it with glue to stop it fuzzing.
Should I sand cardboard edges after cutting?
Yes, a light pass is worth it. Use fine sandpaper, around 150 to 220 grit, and rub at a slight angle to take the ridge of fibre off without flattening the face. Keep it brief on printed or painted areas, and watch for layers lifting apart on thick board, then re-glue them. A thin coat of glue along the edge afterwards gives a harder, paint-ready finish.
Conclusion
Start with the prep, not the blade. Flatten the board, tape it down if it moves, measure and mark the line, then score it lightly before any real cutting begins. After that, take a few light passes with a fresh blade along a metal straightedge, and sand or seal the edge when you are finished.
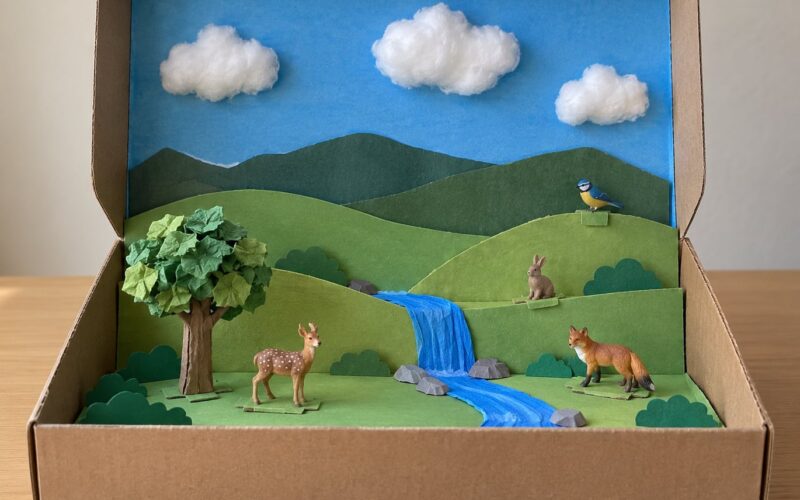
Once those edges come out square, you can stop treating cardboard as packaging and start treating it as a material worth building with. Try a layered shadow box, a curved costume piece, or a set of identical panels and see what changes.