A floating paper boat comes from one rectangle of paper, folded into a pointed hat and then opened into a hull that traps air. The whole sequence takes about five minutes and needs no glue, scissors or staples. Work on a flat surface and run a fingernail along every crease as you go.
I fold these with my own kids roughly once a month, usually while a batch of laundry runs. The version below is the traditional sailboat, and it is the one that sits upright in a bathtub instead of tipping straight over.
Table of Contents
- 1What You Need
- 2Step-by-Step: How to Fold an Origami Boat That Floats
- 3Start with a Rectangle
- 4Create the Centre Crease
- 5Form the Preliminary Base
- 6Open the Upper Layer
- 7Repeat and Flip the Base
- 8Shape the Hull
- 9Open the Boat and Adjust the Sails
- 10Test the Boat in Water
- 11Common Mistakes
- 12Frequently Asked Questions
- 13Will a paper boat float on water?
- 14Do you need a rectangle or a square of paper?
- 15How do I make my paper boat float longer?
- 16Can I reuse a paper boat after it has been in the water?
- 17Is this fold hard for beginners?
- 18Conclusion
What You Need
One sheet of printer or craft paper is the whole supply list. Letter size (8.5 x 11 in) and A4 both work, and either one gives a boat roughly 4 in long.
A flat table matters more than you would think. Creases made on a soft surface or over a knee come out rounded, and rounded creases are the main reason a hull collapses the moment you open it.
Use thin regular paper rather than cardboard. Cardboard soaks up water from the bottom, gets heavier by the minute and sits low in the tub. Printer paper is weak against water but light, so it wins on the first few minutes even if it softens.
Crayons are optional but useful. Rubbing a heavy layer of crayon across the underside of the hull slows down water getting into the fibres, which buys a few more minutes afloat.
Step-by-Step: How to Fold an Origami Boat That Floats
Start with a Rectangle
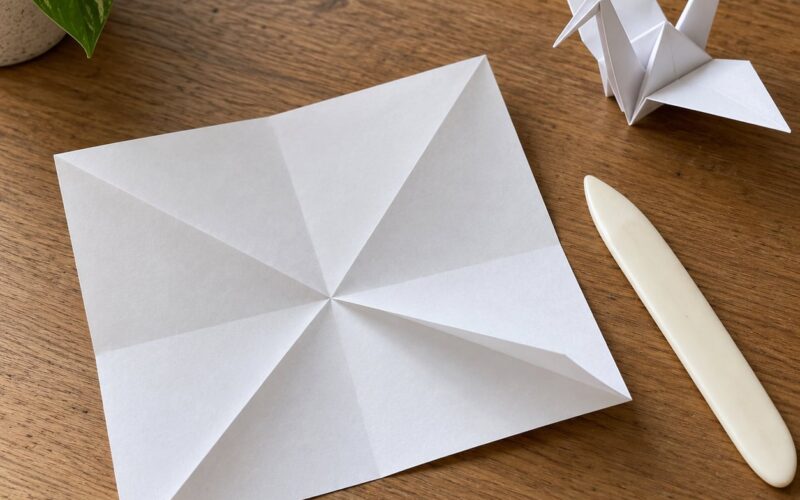
Lay the paper landscape with the long edge running left to right, printed side up. Fold the top edge down to meet the bottom edge, press the fold flat with your thumbnail, then open it out again. That single horizontal crease tells you the exact half point for the next step, and it doubles as the waterline on the finished hull.
Create the Centre Crease
Turn the paper a quarter turn so the short edges are on the left and right. Fold one short edge across to meet the other, crease firmly, and unfold. This vertical centre crease is the guide every corner will be brought to later, so take a minute to make it sharp.
Form the Preliminary Base
Turn the paper back to landscape. Bring the top-left corner down to the centre crease, pressing the flap flat, and do the same with the top-right corner. The folded edges should meet along the centre line, which turns the top of the sheet into a triangle.
Next, fold the bottom edge up to the centre crease and crease it. Unfold all three lines. Now you have a rectangle scored with a triangle on top and a band across the middle.
Collapse the sheet along those scores so the top edge drops down and the sides swing in. The result is the preliminary base, a flat triangle sitting on a squared-off flap. Push the sides toward each other until the triangle stands upright and holds its shape.
Open the Upper Layer
Lift the top flap of the triangle away from you and let it hang open toward the front. Flatten it downward into a square, pinching the two side corners so they line up. The open flap now forms a diamond sitting on a diamond, with the loose paper underneath staying square to the table.
If the corners refuse to meet, the base was not collapsed sharply enough in the previous step. Undo it, re-crease the triangle edges with a fingernail, and collapse again.
Repeat and Flip the Base
Turn the whole model over and repeat the same corner folds on the back: top corners to the centre crease, bottom edge to the crease, collapse, open the flap, flatten into a diamond. Both sides must match, otherwise the finished hull leans to one side and takes on water as it leans.
Flip it back over at the end so the loose flap sits underneath and the pointed triangle sits on top. That orientation is what the next step expects.
Shape the Hull
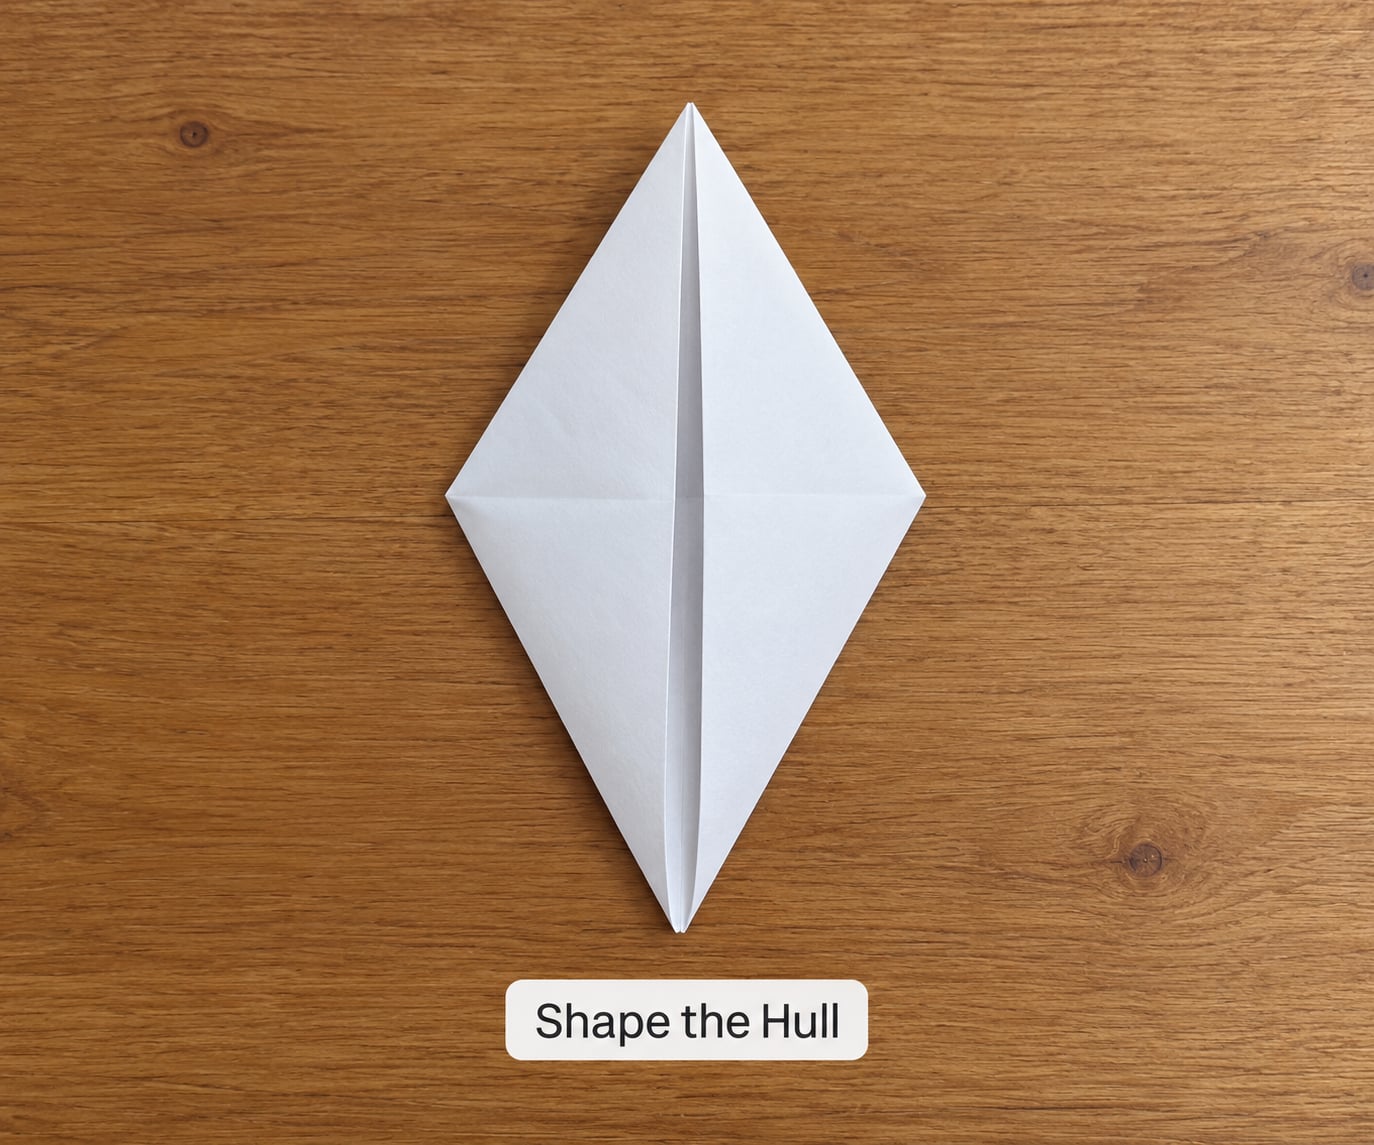
Fold the triangle’s top point down to the bottom edge, crease, then unfold. Lift that point straight up again between the two side layers, pressing the sides inward as it rises. The model now looks like a tall pointed hat sitting on a flat square base.
Pull the two top corners of the hat outward, away from the centre, and flatten what comes out into a wide triangular sleeve. Rotate the model a quarter turn and do the same on the other pair of corners.
Pinching the base flat while you do this is what makes the hull wide. A narrow base is the single most common reason a boat capsizes on its first launch.
Open the Boat and Adjust the Sails
Set the model down with the flat square on the bottom. Pull the two side corners apart and outward, gently, until the sides swing open and you can see a hollow inside. Stop as soon as the hull opens; yanking harder is what rips corners.
Press the bottom into a flat, wide base and open the sides until they stand upright. The triangular flap in the middle is the sail. Fold its top point down about a third for a shorter sail, or leave it tall on a larger sheet. Both float; the shorter sail just sits lower and looks steadier.
Test the Boat in Water
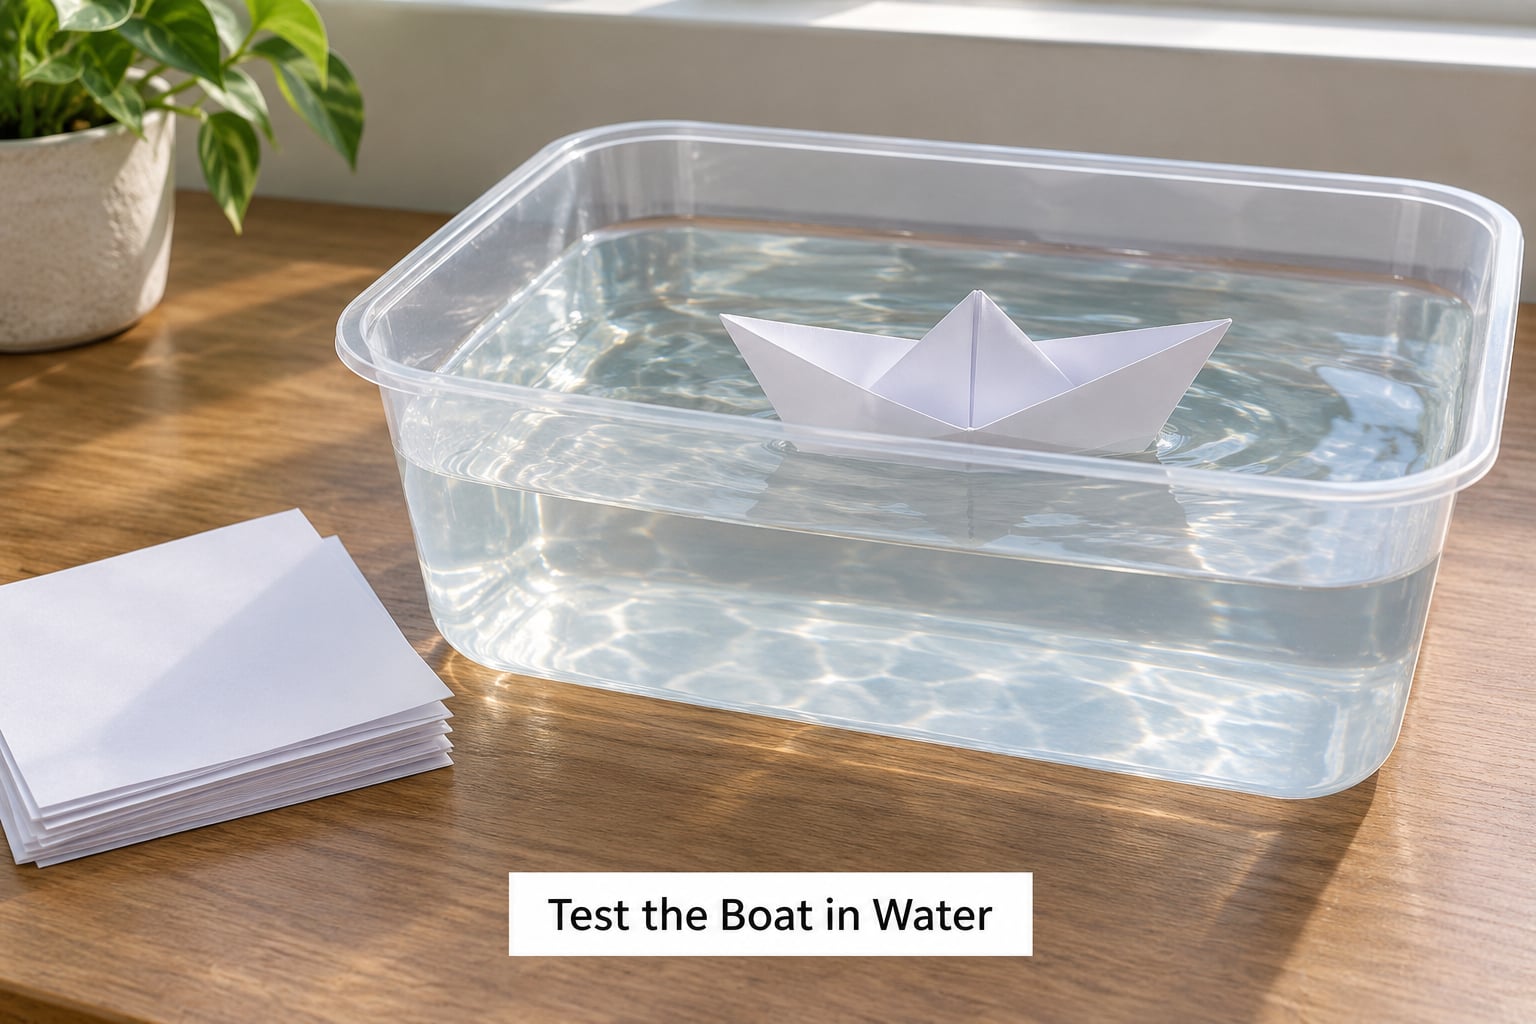
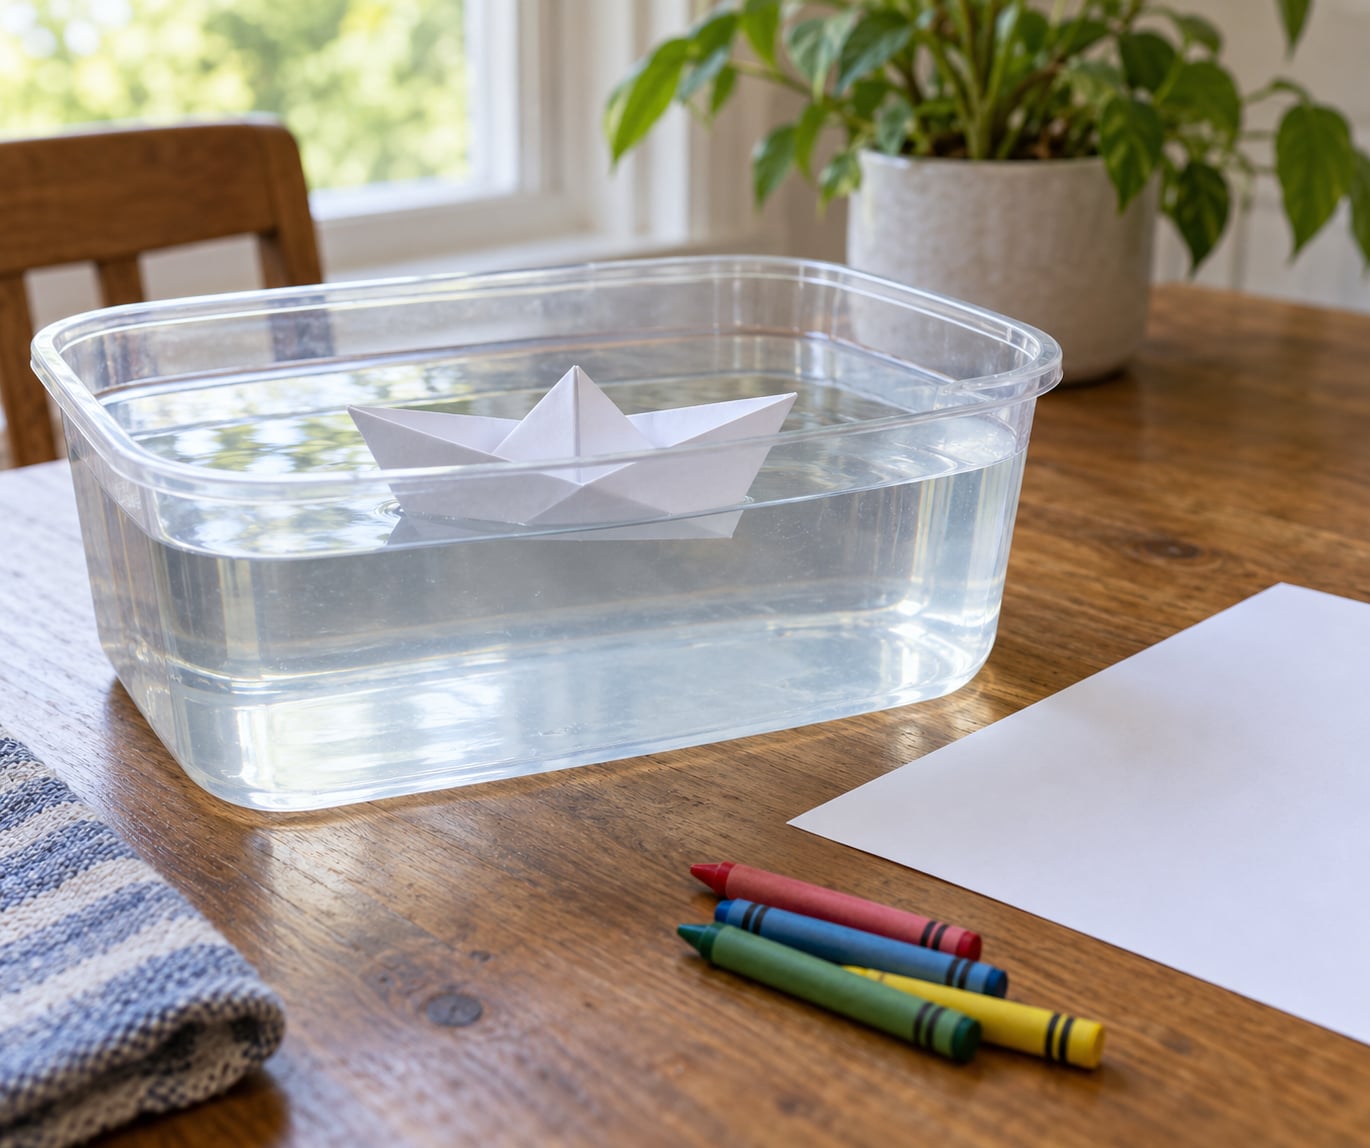
Fill a shallow tub, a baking dish or even a washing-up bowl with a few centimetres of water. Set the boat down flat on the surface rather than dropping it in, and let go. A correctly shaped boat sits with its hull about a centimetre under and its sides clear of the water.
If it tilts, tap the rim of the tub once or twice to break the surface tension and watch which way it leans. A hull that leans hard to one side has uneven side folds, so flatten it and re-shape rather than adding weight.
For older children, run the boat down a sloped tray or a plastic gutter with a shallow film of water. That is where the classic boat earns its keep, because a straight hull tracks instead of spinning.
Common Mistakes
Creases that are too soft. Everything downstream depends on the folds being sharp. After every fold, run a thumbnail along the crease a couple of times before moving on.
A hull that is too narrow. If the base is slim, pull the side corners further apart than feels natural and press the base down with a fingertip. A wide flat base is the difference between a boat that floats and a boat that rolls over.
A blocked or lumpy centre. A small point that refuses to sit flat usually means the preliminary base was collapsed with the layers misaligned. Unfold back to the rectangle and start again rather than forcing it.
Torn corners at the pull-apart step. Pull the sides apart slowly with fingers flat on the paper rather than pinching a single corner. If a corner starts to go, back off, smooth the crease with a fingernail, and try again.
The boat sinks straight away. That is usually a heavy, absorbent sheet rather than a bad fold. Printer paper and A4 sink last longest; waxed or grease-proof paper outlasts them; thin cardboard sinks soonest of all.
Two quick wins if you want more time on the water: colour the underside of the hull with crayon right before the launch, and keep the sides high rather than folding them down for looks. Buoyancy comes from trapped air inside the hull, so anything that closes off that air helps.
Frequently Asked Questions
Will a paper boat float on water?
Yes. A folded paper boat floats because the hull is hollow and traps air, so it displaces more water than the paper itself weighs. Standard printer paper usually stays up for several minutes before the hull softens and lets water in. Waxed, grease-proof or foil paper lasts considerably longer because the fibres do not absorb water at all.
Do you need a rectangle or a square of paper?
A rectangle is easier and gives a better boat, so a single Letter or A4 sheet is ideal. A square works too, but you have to trim off one edge to create the rectangle first, and beginners usually get a better result by starting with the right shape. Cutting a square down also wastes less paper than folding a full sheet and then trimming it to size.
How do I make my paper boat float longer?
Rub crayon over the underside of the hull, keep the sides high, and press the base wide and flat so more air is trapped inside. Using waxed, grease-proof or foil paper helps most of all because those surfaces shed water instead of absorbing it. Avoid thin cardboard, which soaks up water and sinks within seconds.
Can I reuse a paper boat after it has been in the water?
Sometimes, but only if the paper stayed crisp. A boat that floated for a minute or two and kept its shape can be dried flat under a heavy book for a few hours and sailed again. If the hull has gone soft, translucent or furry from water, the fibres have started to separate and the boat will not survive a second launch.
Is this fold hard for beginners?
The folds themselves are simple, and the whole thing takes about five minutes once you have the hang of it. The one moment that catches everyone out is opening the model into the boat at the end. Take that slowly, pull the sides apart gradually, and press the base flat as it opens. Younger children may need a hand with the first two corner folds.
Conclusion
Crease firmly, keep the base wide, and set the boat on the water flat rather than dropping it in. Test it in a shallow tub first, add crayon to the hull if you want longer float time, and the sailboat will sit upright every time.