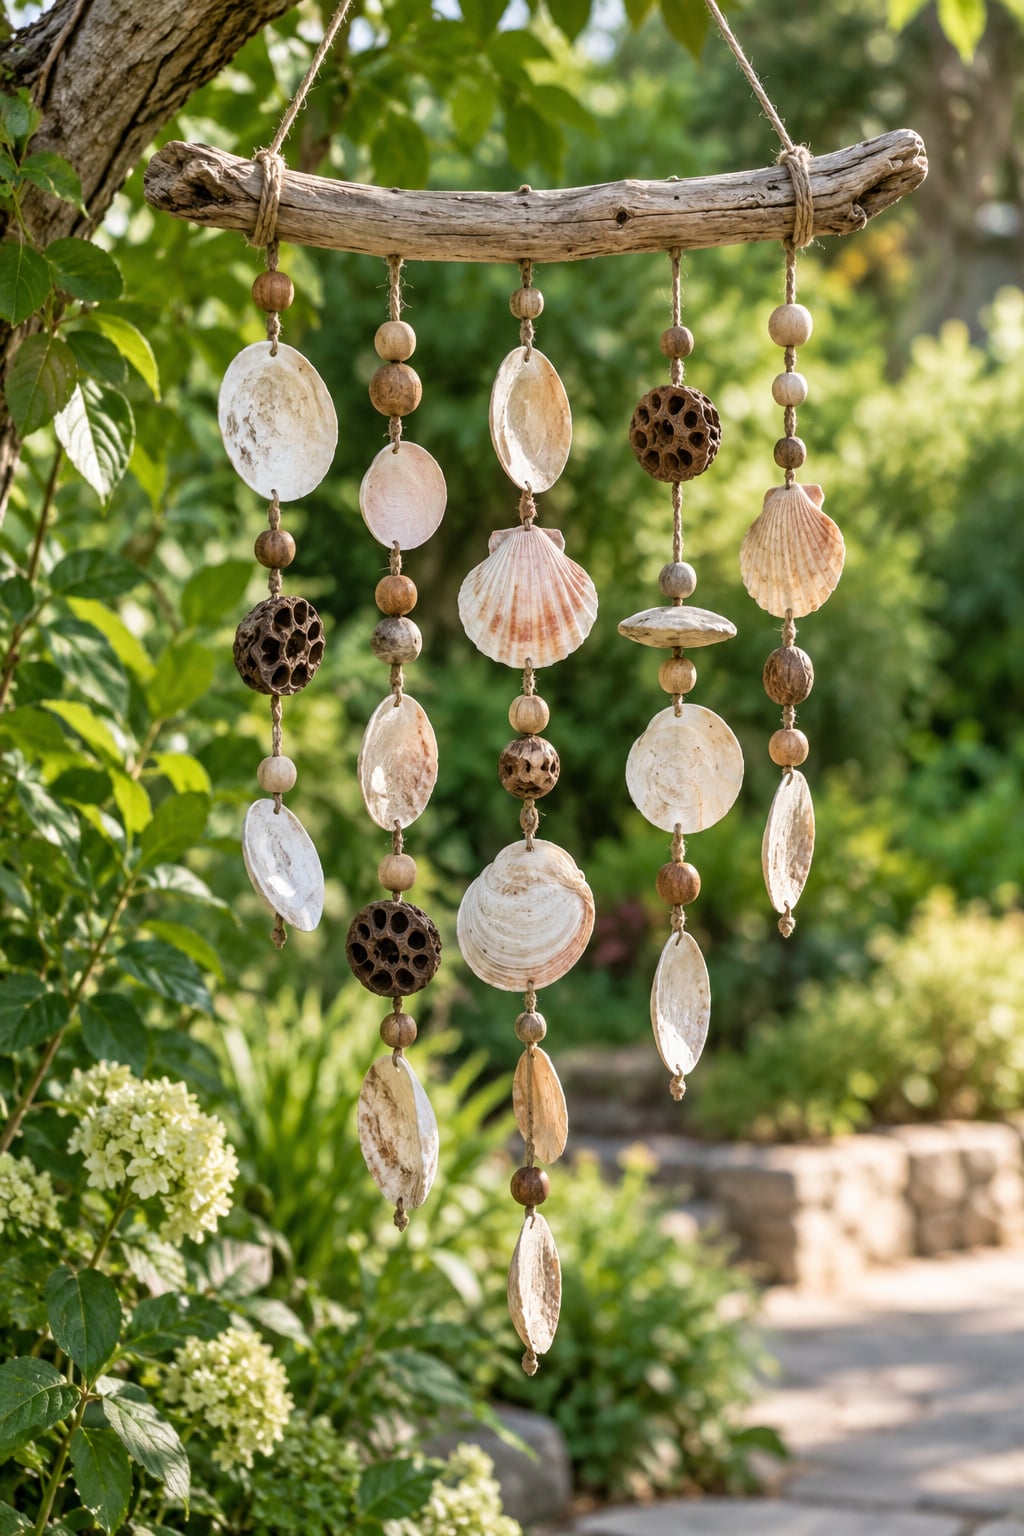
To make a nature wind chime, gather five or six found objects, put a hole near the top of each one, and hang them at staggered lengths from a sturdy branch so the breeze makes them knock together. The whole build takes about 45 minutes of making time, costs nothing if you forage your materials, and works with children from age three upward.
A wind chime is simply a set of hanging objects — shells, sticks, pinecones, pebbles, beads — strung from a branch or a wooden hoop so that moving air sets them swinging and colliding. What makes this project special is where the materials come from: it starts with a walk, not a craft shop.
Children tend to stay with this one longer than most crafts, because the collecting is half of it. They learn to look closely at ordinary objects, sort by weight and shape, and practise the fine motor work of threading and knotting without any screen involved.
Table of Contents
- 1What You Need
- 2How to Make a Nature Wind Chime: Step by Step
- 3How to Choose a Strong Branch
- 4How to Thread the Wind Chime
- 5How to Make Your Nature Wind Chime Sound Good
- 6How to Hang Your Nature Wind Chime
- 7Common Mistakes
- 8Safety and Care Tips
- 9Frequently Asked Questions
- 10How do I make a nature wind chime with kids?
- 11What kind of string should I use for a nature wind chime?
- 12How do you tie knots that stay tight on a wind chime?
- 13Do seashells make good wind chimes?
- 14Can children make a nature wind chime without a drill?
- 15How do you hang a wind chime so it catches the breeze?
- 16Conclusion
What You Need
Everything on this list is either gathered free outdoors or already in a drawer. Quantities are sized for one chime that makes a pleasant noise rather than a loud one.
- 1 strong branch, about 30–40 cm long — this becomes the top plate every piece hangs from.
- 5–6 found objects that knock together — flat shells, driftwood slivers, seed pods, small smooth stones, short twigs, or wooden beads.
- 1 longer branch or a length of twine for the hanging loop.
- 1–2 m of cord — jute twine for a rustic look, or waxed braided nylon if the chime will live outside.
- 1 small round object — a pebble, a wooden disc, a shell — to act as the clapper in the centre.
- Sandpaper, scissors, and a hand drill with a 3 mm bit if you are making it with older children. Adults handle the drill.
For the cord, jute twine looks the most natural but stretches when it gets wet, and clear fishing line is almost invisible outdoors while fraying and snapping after a few months of sun. Waxed nylon cord holds knots, survives weather, and suits a chime that will stay up through the winter.
Swap freely on the found objects. If your child collected leaves, feathers or flowers, those can be layered as decoration alongside the objects that actually make the noise, since they will not ring on their own.
How to Make a Nature Wind Chime: Step by Step
This is the whole method in eight steps. Read it once through before you start, because the order matters — testing objects early saves you drilling something that will never make a sound.
- Gather. Collect on a walk, a beach trip, or during a garden tidy. Aim for more objects than you need, so you can choose.
- Knock-test. Tap two pieces together over a hard surface. If they make a dull thud or nothing at all, set them aside.
- Pick the hanger. Choose a branch that feels heavy in your hand but you can still lift one-handed, and that bends only slightly.
- Clean and dry. Rinse shells and stones, then dry them fully overnight. Leave pinecones and seed pods to open on a windowsill for two days.
- Make holes. Adults drill a 3 mm hole near the top edge of each object, or use a nail and hammer for thin wood. Add a dab of glue around the hole so it will not tear out.
- Cut and thread. Cut six lengths of cord in clearly different sizes and thread each piece, then tie a double knot through the hole.
- Add the clapper. Thread one longer cord through the middle of all six pieces with the clapper at the bottom, so it strikes each piece when it swings.
- Hang and test. Tie everything to the branch, hang it up, and walk past it a few times to check that the pieces actually meet.
How to Choose a Strong Branch
A good hanger branch is dry, dead wood without leaves, roughly the width of a broom handle, and free of rot. Break a small twig off the end rather than bending the whole thing: if it snaps cleanly it is sound, and if it cracks or feels spongy the branch is finished and will not hold the weight.
Weight is the part most people get wrong. A chime lighter than 200 g spins around its hanging point and rarely moves the pieces enough to collide. A branch heavy enough to stay put in a breeze gives the whole thing a slow, swinging motion, which is what turns the movement into sound. Weigh it in your hand or on a kitchen scale, and check that the branch is thicker than the cord loop you plan to tie to it.
How to Thread the Wind Chime
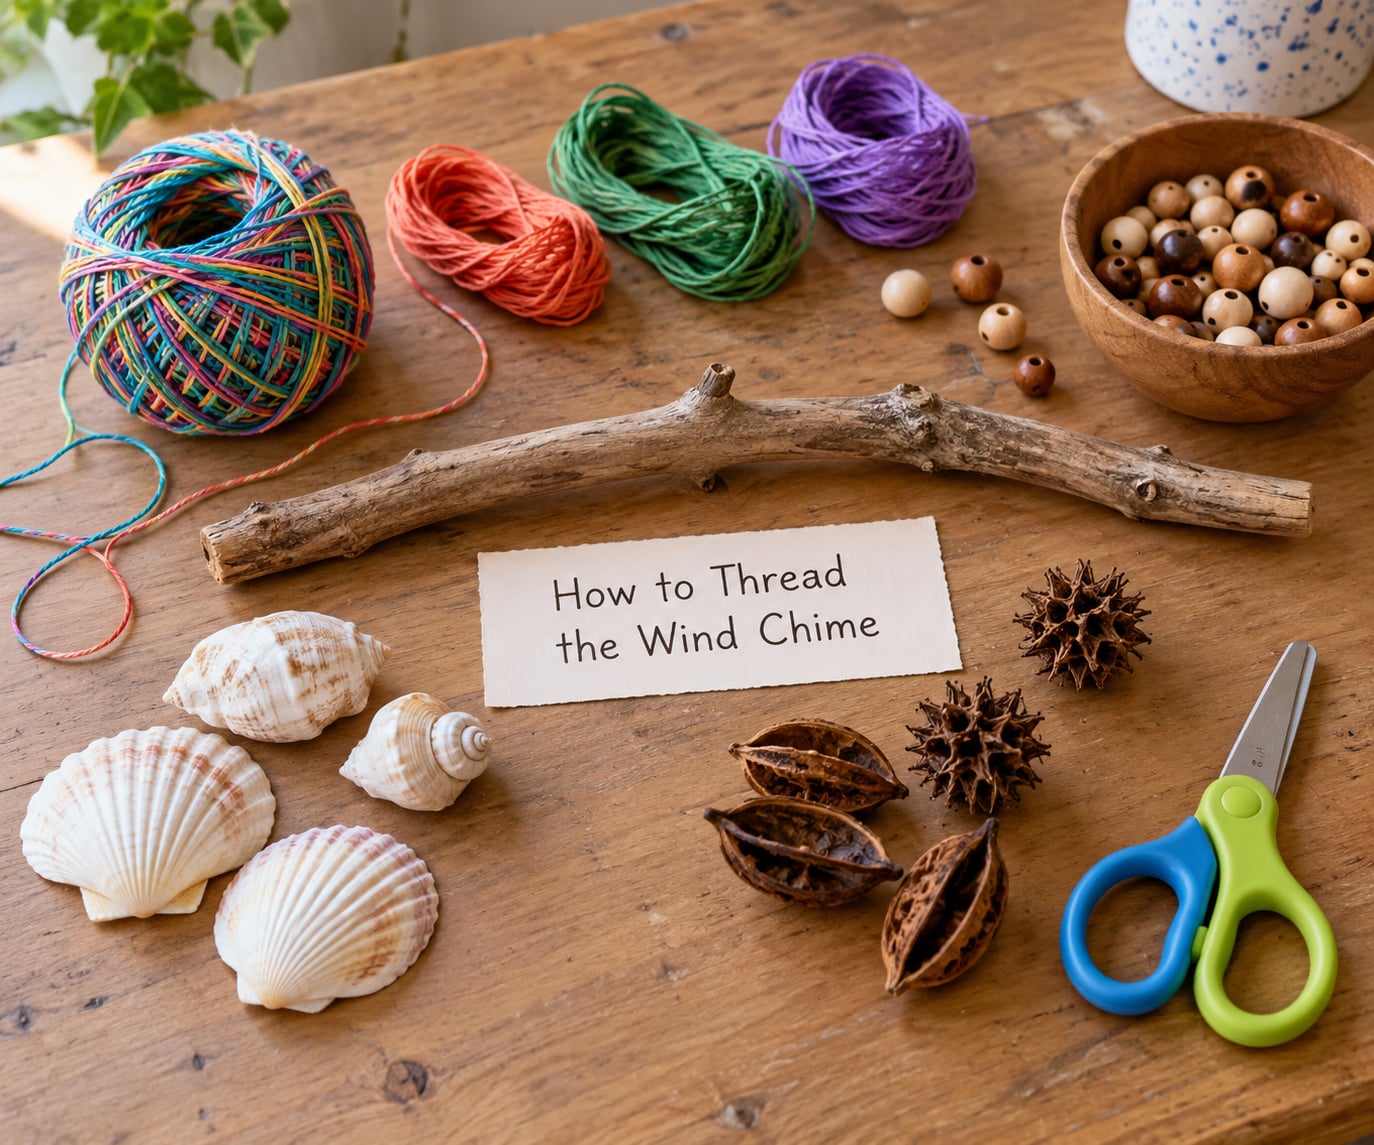
Threading is where most chimes fail, and the spacing rule is simple: the gap between the top of one piece and the bottom of the piece above it should be narrow enough that the objects touch when the chime swings, but not so narrow that they rest against each other at rest.
For a chime around 25 cm tall, cut your six lengths at roughly 8, 11, 14, 17, 20 and 23 cm. Work from the longest hanging point on the branch outward, tie each cord on with two half-hitches, and put a small dab of glue under the knot. Wind works loose knots more reliably than anything else, and glue is what keeps the joint from opening in a storm.
Children can do the threading and knotting from age five with thick cord and chunky wooden beads, using a plastic needle or a stiff plant stem to push the cord through the hole. Everything involving the drill, the hammer or the scissors stays with an adult.
How to Make Your Nature Wind Chime Sound Good
Length and material decide the pitch: short, light objects ring high and fast, while long, heavy ones give a low, slower tone. Mix four to five within the same family of material rather than combining shells, stone and thick wood in one chime, which is what produces the muddy clashing sound people complain about.
Different natural materials sound very different from each other, and outdoor durability varies just as much. This table compares the common finds:
| Material | Sound | Outdoors |
|---|---|---|
| Flat shells | Bright, hollow, fast decay | Good; needs boiling first to stop it smelling |
| Pinecones and seed pods | Dry rattle rather than a ring | Good; soak off insects and let them reopen |
| Smooth pebbles | Hard click, almost no ring | Excellent |
| Driftwood and sticks | Wooden knock, warm tone | Fair; seal or oil to stop splintering |
| Wooden beads | Clean, pitched clack | Good |
| Bamboo tubes | Deep hollow tone | Excellent if sealed at the cut ends |
The other half of sound design is the clapper. Without one, the pieces only collide by chance when the wind is strong. With a single clapper hanging just below them, the chime rings in the lightest air, which is usually what people mean when they say their handmade version made no noise.
How to Hang Your Nature Wind Chime
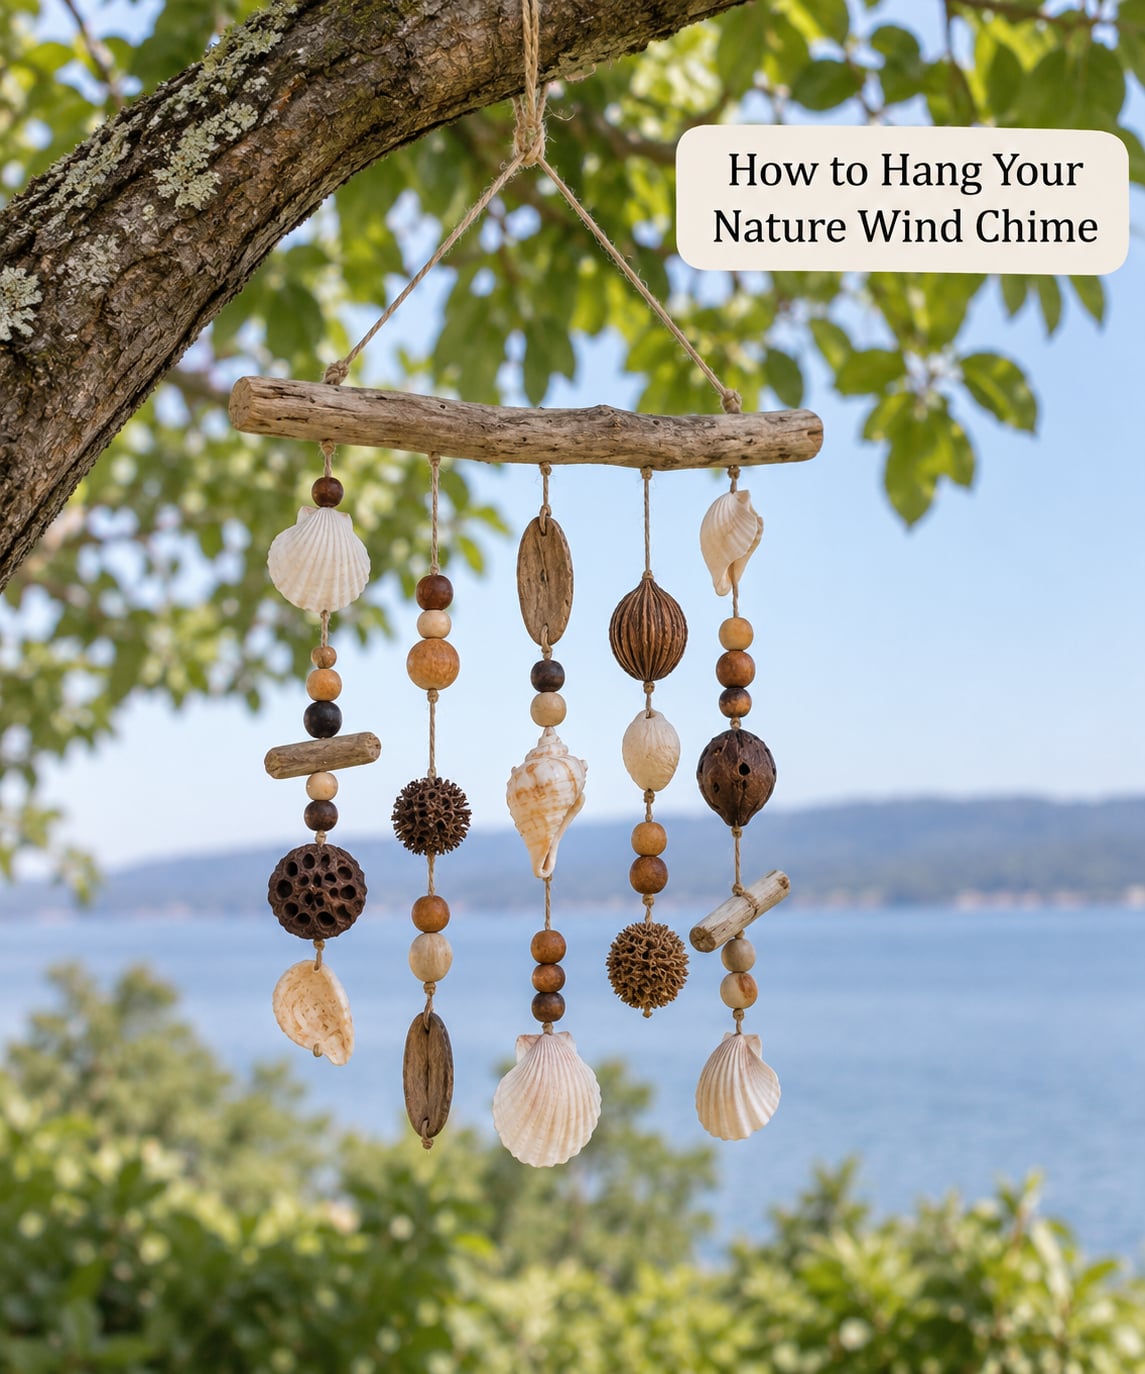
Hang it where the breeze actually reaches it: an open porch, a garden stake, or the lowest sturdy limb of a tree near a path. A chime tucked against a house wall or under a dense canopy stays still, and a still chime is the most common reason a homemade one seems to have failed.
Secure the hanging loop with a second knot around the branch and leave a centimetre or two of slack between the cord and the limb, so the chime swings rather than rocking. Check the height before you drill anything: nothing on the chime should sit below about 150 cm where children play, and never directly beside a window, a road or a path where someone could walk into it.
Give it a full week outdoors before you judge it. Some chimes need a gusty afternoon to show what they can do, and a quiet first day is normal.
Common Mistakes
The chime is silent. This is nearly always spacing, not materials. Move the hanging points closer together until the pieces rest within a finger’s width of touching at rest, and add a clapper.
It sounds clashing or muddy. You have mixed hard and soft materials, or lengths that are too close together to be told apart. Rebuild using one material family and spread the lengths further apart, ideally 2–4 cm between each.
It hangs crooked. Uneven cord lengths or knots slipping are to blame. Re-tie everything with double knots, add glue at each joint, and hang it on a calm day so you can balance it before the wind shows up.
The branch broke or the pieces cracked. The branch was rotten, or the hole was drilled too near the edge. Test the branch by snapping a twig end, and place holes at least a centimetre from any edge or point.
Shells stink after a week outside. Boil them for ten minutes, rinse, and dry them completely before use. Pinecones should be soaked and dried too, which also removes the insects hiding in the scales.
Safety and Care Tips
Split the work by age. Adults handle cutting the branch, drilling holes, hammering nails, and any sharp shells or glass. Children collect, clean, thread, knot and decorate. With five-year-olds, expect the threading to take three times as long as you planned and let it.
Only use objects your child can positively identify. Skip any berry, seed or plant they cannot name with certainty, and stay away from yew, laburnum and anything treated or painted. Wear eye protection when drilling shells or ceramic pieces, since shell dust is unpleasant to breathe, and take the drilling outdoors or over a bin.
Hang the chime out of reach of animals and curious climbers. A squirrel will strip beads and pinecone pieces off in an afternoon, and a toddler can reach surprisingly high. A wall hook or a shepherd’s hook on a porch rail is safer than a low tree branch.
For longer life, check the knots every couple of months and bring the chime in for winter. Wipe it dry after wet weather, touch up any bare wood with a little outdoor oil, and replace fishing line or stretched jute twine each season rather than waiting for it to snap in the wind.
Frequently Asked Questions
How do I make a nature wind chime with kids?
Collect five or six found objects, knock-test them in pairs, then drill a hole near the top of each. Children can thread the cord and tie the knots while an adult handles cutting and drilling. Allow about 45 minutes, plus overnight drying for shells, and put the clapper in last so the chime rings even in a light breeze.
What kind of string should I use for a nature wind chime?
Jute twine looks the most rustic and is the easiest for small hands, but it stretches when wet. Clear fishing line is nearly invisible and frays within a few months of sun and wind. For a chime that stays up outdoors, waxed braided nylon cord holds knots better and handles weather, which is why most ready-made chimes use it.
How do you tie knots that stay tight on a wind chime?
Use a double knot, which means passing the end through the loop twice before tightening, and pull it hard. Add a small dab of waterproof craft glue under every knot where the cord meets the object. Wind and repeated swinging work loose knots loose faster than anything else, and the glue is what holds the joint through a storm.
Do seashells make good wind chimes?
Yes, if you choose flat ones. Wide, flat shells ring bright and hollow, while rounded shells mostly thud. Boil them for about ten minutes first to remove any residue that smells once they get damp, then dry them completely. Drill near the thickest part of the shell, using light pressure so the bit does not skid across the surface.
Can children make a nature wind chime without a drill?
For children under five, yes. Skip hard shells and stones entirely and use objects that already have a hole or gap: pinecones with open scales, seed pods, loops of thick garden twine, or beads on their own. An adult can pierce soft wood with a heated nail held in pliers, though drilling with a small hand bit is safer and neater.
How do you hang a wind chime so it catches the breeze?
Hang it in open air, not against a wall or under dense cover, and leave a centimetre or two of slack in the hanging cord so the whole chime can swing rather than rock. Keep it at least 150 cm above ground level and well clear of windows, paths and play areas. Test it over a week before deciding it is too quiet.
Conclusion
Start on the next walk, not at the craft table. Bring home a branch and more found objects than you need, knock-test them against each other, and pick the six that ring best. Those six, hung in staggered lengths from a branch heavy enough to stay still, are the whole wind chime.