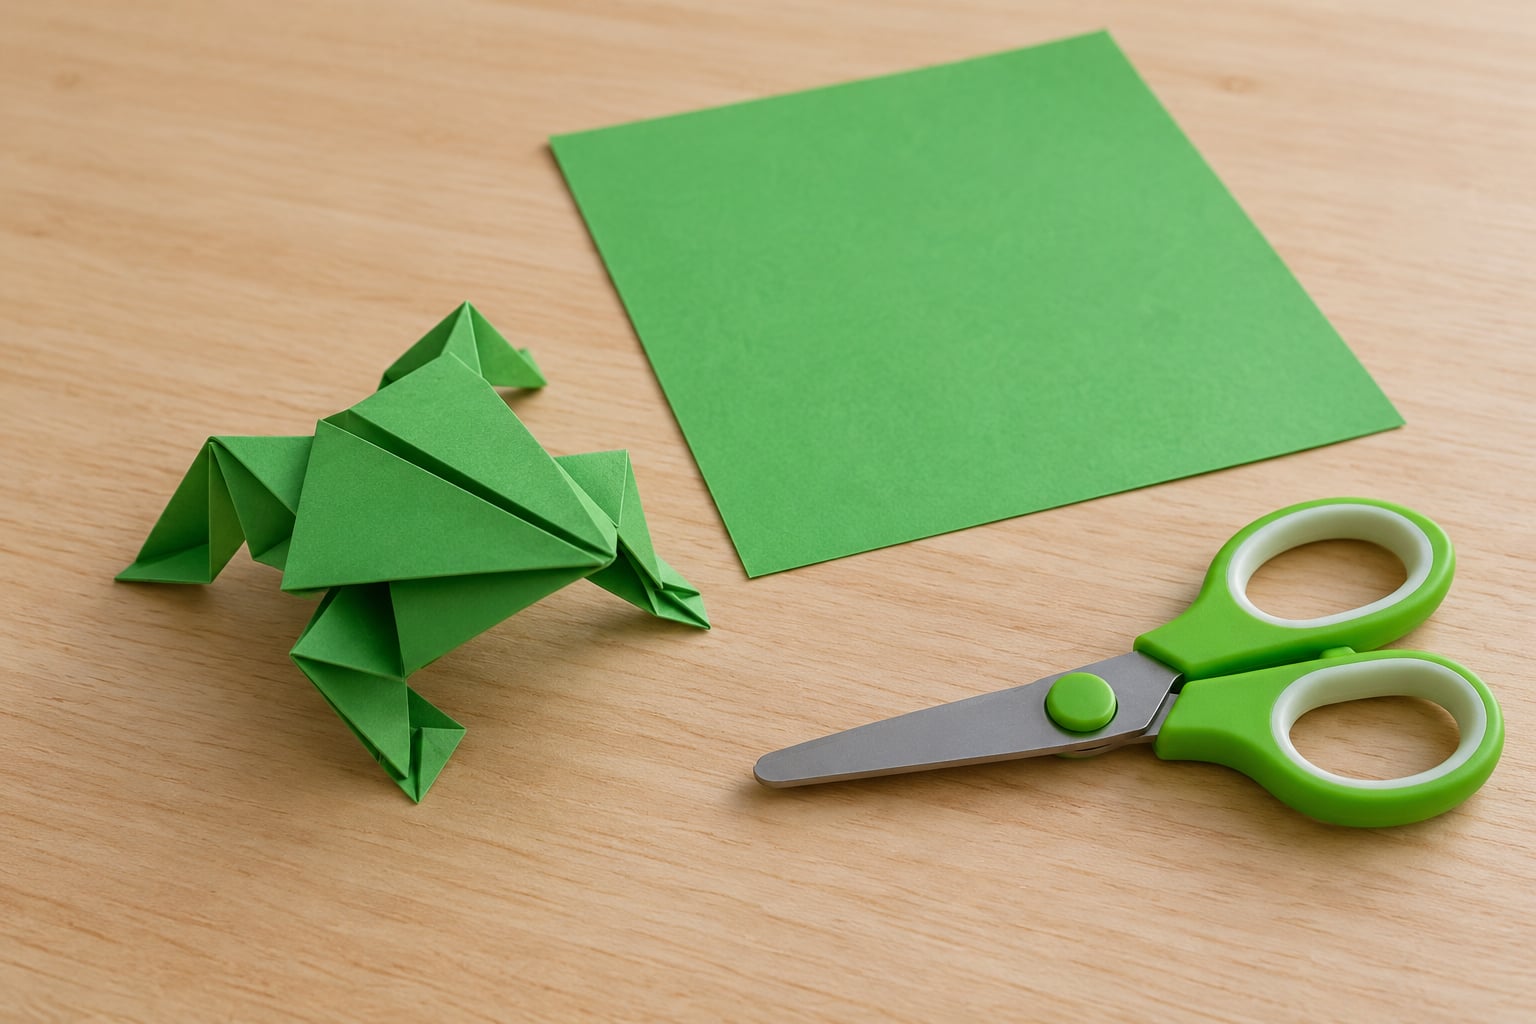
You only need one square sheet of paper and about ten minutes to learn how to fold an origami frog that jumps. The whole model is built from creases: two diagonal creases, a few corners folded to the centre, and one accordion fold across the back that acts as a spring. Press that spring with your finger and the frog hops away on its own. No glue, no scissors once the square is ready.
What follows is written for kids and complete beginners, which means every step says what to look for rather than assuming you already know origami vocabulary. If you can fold a paper square in half, you can make this frog.
Table of Contents
- 1What You Need
- 2Origami frog facts at a glance
- 3Step-by-Step
- 4Step 1: Make the Starting Creases
- 5Step 2: Fold the Lower Corners to the Center
- 6Step 3: Fold the Top Triangle Down
- 7Step 4: Fold the Head and Create the Front Legs
- 8Step 5: Fold the Hind Legs
- 9Step 6: Make the Final Head Fold
- 10Step 7: Make Your Origami Frog Jump
- 11Common Mistakes
- 12Frequently Asked Questions
- 13What kind of paper is best for an origami frog that jumps?
- 14How do I fix a crease that will not stay folded?
- 15Why are my origami frog’s legs stuck together?
- 16How do I make the origami frog jump farther?
- 17Is origami frog folding suitable for young children?
- 18Conclusion
What You Need
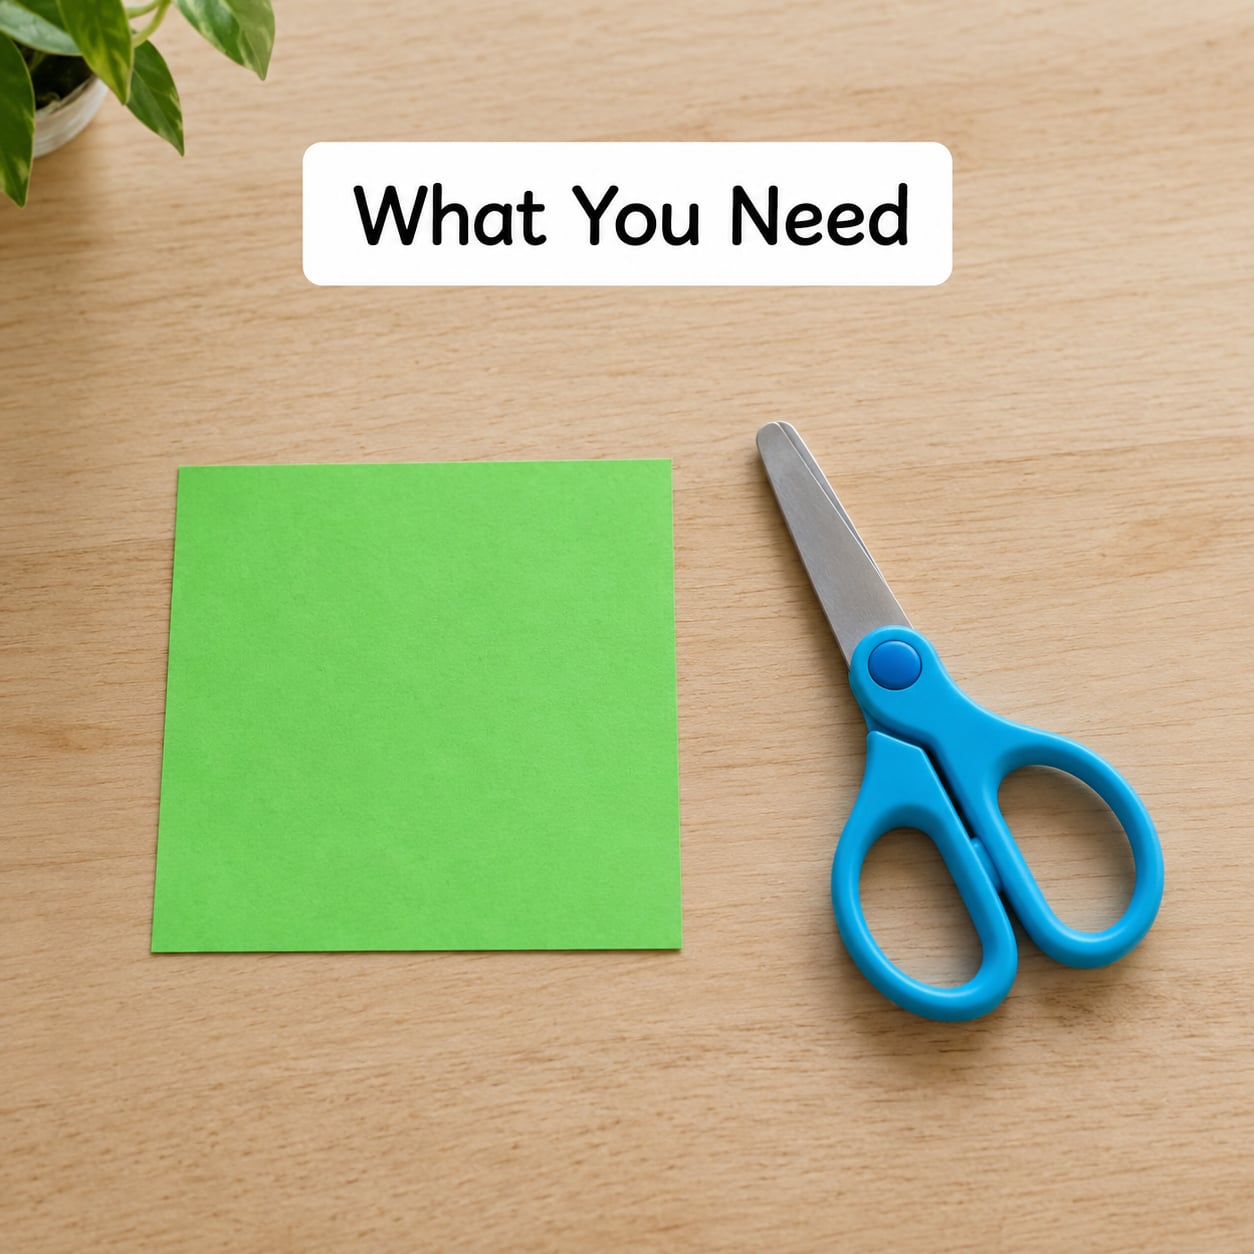
The material list is short on purpose. Everything here is either paper or a surface to fold on.
- A square sheet of paper — about 15 x 15 cm (6 x 6 inches) works well. Printer paper is fine, and its light weight actually helps the frog travel further.
- A flat work surface — a table, a desk or a large book. You need room to fold both diagonals with a full arm sweep.
- A fingernail or a flat finger — to press creases firmly as you go.
- Optional: a light pencil — to draw the first two guide lines so a child can see where the paper needs to go.
- Optional: a smooth floor or tray — for testing the hop once the frog is finished.
If you are starting with a rectangular sheet, fold it in half the short way, then cut or tear off the extra strip to leave a clean square. A square with a straight edge creases more predictably than a torn one.
Origami frog facts at a glance
- Folding time: about 10 minutes for a first-timer, 20 to 25 minutes with a young child
- Paper size: one 15 x 15 cm (6 x 6 inch) square
- Number of folds: about 15 creases in total
- Difficulty: beginner, with one tricky middle step
- Finished size: roughly 3 cm (just over an inch) across
- Extra supplies: none — no glue, tape or scissors needed after the square is cut
Step-by-Step
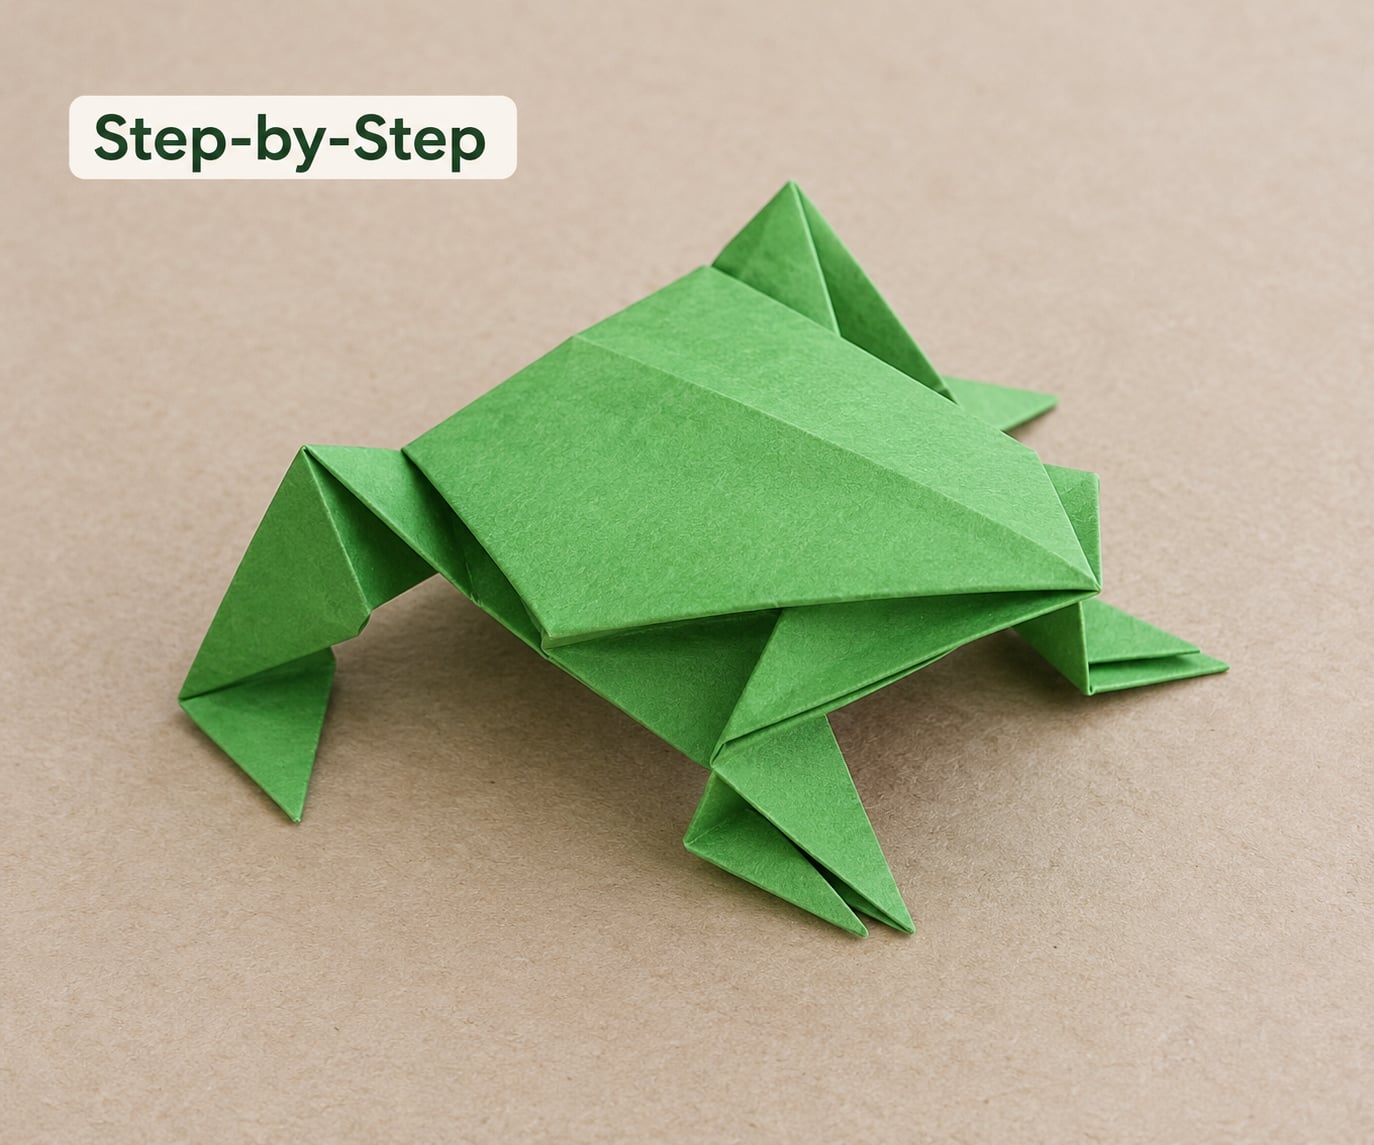
Work in the order below and keep the paper on the table until each check passes. Turning the paper over at the wrong moment is the most common reason a frog ends up lopsided.
Step 1: Make the Starting Creases
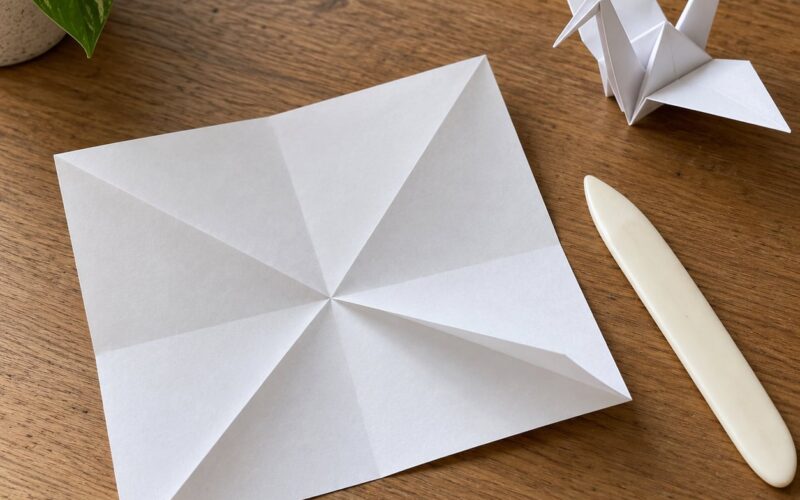
Lay the square flat with the side you want to show facing down. Fold it corner to corner into a triangle, press the crease from end to end with your fingernail, then unfold it.
Turn the square a quarter turn and repeat with the other pair of corners. When you unfold the paper completely, you should see two diagonal creases crossing in an X, plus a faint horizontal and vertical crease if you also folded it in half both ways.
Check: the two creases must cross exactly at the centre of the square. If one line runs past the middle, the square is not even, and everything after this step will lean too.
Step 2: Fold the Lower Corners to the Center
Turn the paper so one point faces you. Take the two bottom corners and bring each one to the centre point where the diagonal creases cross. Press both edges flat so they run cleanly from the centre out to the sides.
You now have a long triangular flap lying over a smaller triangle, with a single corner still pointing up at the top of the model.
Check: the folded corners should meet precisely at the centre point, not short of it or past it. Any gap here becomes a lump that blocks the legs later.
Step 3: Fold the Top Triangle Down
Fold the top point straight down over the two folded corners until its tip reaches the bottom edge of the model. Crease firmly and flatten the shape with your palm.
The result is a compact triangle with a long flap running down the middle and the two original bottom corners peeking out underneath on either side.
Check: the whole model should lie completely flat. If a corner lifts, run your fingernail along that crease once more before moving on.
Step 4: Fold the Head and Create the Front Legs
This is the step where most beginners get stuck, so slow down here. Fold a short flap down near the top of the triangle to mark where the head will sit — roughly one finger-width deep. Crease it, then unfold it back flat.
Now use that crease line: pull the top layer up and slightly toward you, opening it like a small pocket, and press the sides inward so the paper rises into a narrow neck. The two lower corners you folded in Step 2 become the front legs — flatten them outward, one on each side, so they sit symmetrically.
Check: look at the model from the front. You should see two front legs of equal length, and a raised neck at the back. If only one front leg came out, a layer got caught — open it back out and repeat from the marked crease.
Step 5: Fold the Hind Legs
Take the two points at the bottom of the model and bring them outward and slightly upward to form two longer legs. Fold each one in toward the body, then flatten the model so it sits as a low shape rather than a tent.
Work one side at a time and press along the bottom edge where the legs meet the body. This bottom crease is what the frog pushes against when it jumps.
Check: both hind legs should match in length and angle. Hold the frog side-on: if one leg sticks out further or sits lower than the other, that is the leg that will trip the frog when it hops.
Step 6: Make the Final Head Fold
Take the loose tip at the top of the neck and fold it down to form the head. Press the fold sharply so it holds on its own, then run your finger along the base creases on both sides to reinforce them.
This is where children like to add eyes. Draw them on now, while the head is still flat and easy to mark, rather than after decoration has made the paper slippery.
Check: the frog should now rest in a crouch with its head up, front legs at the front and two longer hind legs at the back. Nothing should be loose or flapping.
Step 7: Make Your Origami Frog Jump
Place the frog on a smooth, low-friction surface — a bare floor, a table top or a plastic tray all work better than carpet or a towel.
Hold the frog gently at the sides of its body with one finger on each side. Press down on the centre of its back with your other finger, then let go quickly. That press loads the spring folded across the frog’s back and the release throws it forward.
If it stalls or tips over, press slightly further back and lift your finger faster. If it jumps but lands nose-down, add a small back leg adjustment so the hind legs sit flatter, and try again.
Common Mistakes
Almost every frog problem traces back to one of five things. Here is what goes wrong and what to do about it.
Creases that will not hold. Run your fingernail along the fold two or three times, always from the centre outwards to the edge. Creasing from the edge inwards makes a weak crease that springs open later, usually during Step 4.
The head flap folded the wrong way. If the neck sticks up as a peak instead of a flat flap, unfold it and check which layer you pulled. You want the top layer of the triangle only — the layers underneath should stay flat against the table.
Paper that is too stiff. Card and thick craft paper will not spring. Use printer paper or thin origami paper instead. Very large sheets also work better than tiny ones, because the final folds stay thin enough to flex.
Legs stuck or blocked. This almost always means a corner did not reach the centre in Step 2, leaving a thick wedge under the body. Unfold back to Step 2, square the corners to the centre point, and refold. Pressing the legs apart gently also clears folded layers that have trapped each other.
A frog that will not jump at all. It is usually sitting too flat or the spring fold was never made in the first place. Put your finger in the middle of the back and press down — if you feel resistance, the spring is there and you just need a firmer, faster release. If the back feels like solid paper, the fold is missing.
A couple of habits help more than anything else. Crease firmly at every stage rather than once at the end, and turn the model over deliberately instead of guessing which way is front. Most frog failures are caught at the check printed under each step.
Frequently Asked Questions
What kind of paper is best for an origami frog that jumps?
Light, thin paper works best because the spring across the back needs to flex. Standard printer paper is an excellent choice and costs nothing. Origami paper is smoother and creases more crisply, while card and thicker craft paper are too stiff and produce a frog that will not hop. Bigger sheets also spring better, since the final folds stay thinner.
How do I fix a crease that will not stay folded?
Run your fingernail along the line two or three times, working from the centre of the paper out towards the edge. Creasing from the edge inward leaves a weak ridge that springs open later, usually during the neck fold. If the crease still will not hold, lay the model flat under a heavy book for ten minutes. A warm iron on low, with a cloth, also sets a stubborn crease.
Why are my origami frog’s legs stuck together?
Stuck legs almost always mean a corner stopped short of the centre point in the second step, leaving a thick wedge trapped under the body. Unfold back to that stage, bring both bottom corners exactly to the centre where the creases cross, and refold firmly. If the legs are simply folded against each other, gently pull them apart before testing the jump so the layers do not stay nested.
How do I make the origami frog jump farther?
Start with lighter paper, since a thinner sheet folds into a springier back. Next, check that the fold along the bottom of the hind legs is sharp, because that crease stores and releases the energy. Press your finger further back on the body, near the hind legs, and lift off quickly rather than releasing slowly. Finally, test on a smooth hard floor, since carpet and fabric absorb the jump.
Is origami frog folding suitable for young children?
Yes, with an adult nearby for the first attempt. The opening folds are forgiving, and the model needs no glue, scissors or sharp tools once the paper is a square. The fiddly part is the neck fold, where adults are often needed. Children around five or older usually manage the whole model with help checking each crease, and they can decorate the frog before testing the hop.
Conclusion
Everything in this origami frog comes back to the same foundation: two diagonal creases crossing at the centre, then corners folded exactly to that point. Get those right and the rest of the model holds together.
If your frog sits there and does nothing, make one adjustment before anything else — sharpen the fold along the bottom of the hind legs and press down nearer the back of the body. Then let your child draw eyes on the head and run a jumping contest across the floor. Once you are comfortable with how to fold an origami frog that jumps, fold a few more and the whole family can hold a race.