A paper plate mask takes about 40 minutes, needs nothing more exotic than a plate, scissors, glue and some elastic, and works beautifully for Halloween, book reports, or a rainy Tuesday. Knowing how to make a paper plate mask is one of those skills that feels obvious once you see it, and then you use it every October for the rest of your life.
The method below is the one I come back to: hold the plate against the face, mark the eyes, cut them out, decorate flat, punch two holes, tie the elastic. It holds up to a full day of wear, and a four-year-old can do most of it while you handle the cutting.
Table of Contents
- 1What You Need
- 2Step-by-Step: How to Make a Paper Plate Mask
- 31. Choose a Paper Plate and a Mask Design
- 42. Mark the Eye Openings
- 53. Cut the Plate Carefully
- 64. Decorate the Mask
- 75. Add the Elastic or Paper Strap
- 86. Let the Mask Dry and Try It On
- 9Common Mistakes and Easy Fixes
- 10Paper Plate Mask Ideas for Different Themes
- 11Frequently Asked Questions
- 12What is the best paper plate for making a mask?
- 13How do I make the eye holes the right size?
- 14Can I paint a paper plate mask instead of coloring it?
- 15How do I keep the mask from slipping off?
- 16What materials can I use to decorate the mask?
- 17How long should I let a paper plate mask dry?
- 18Conclusion
What You Need
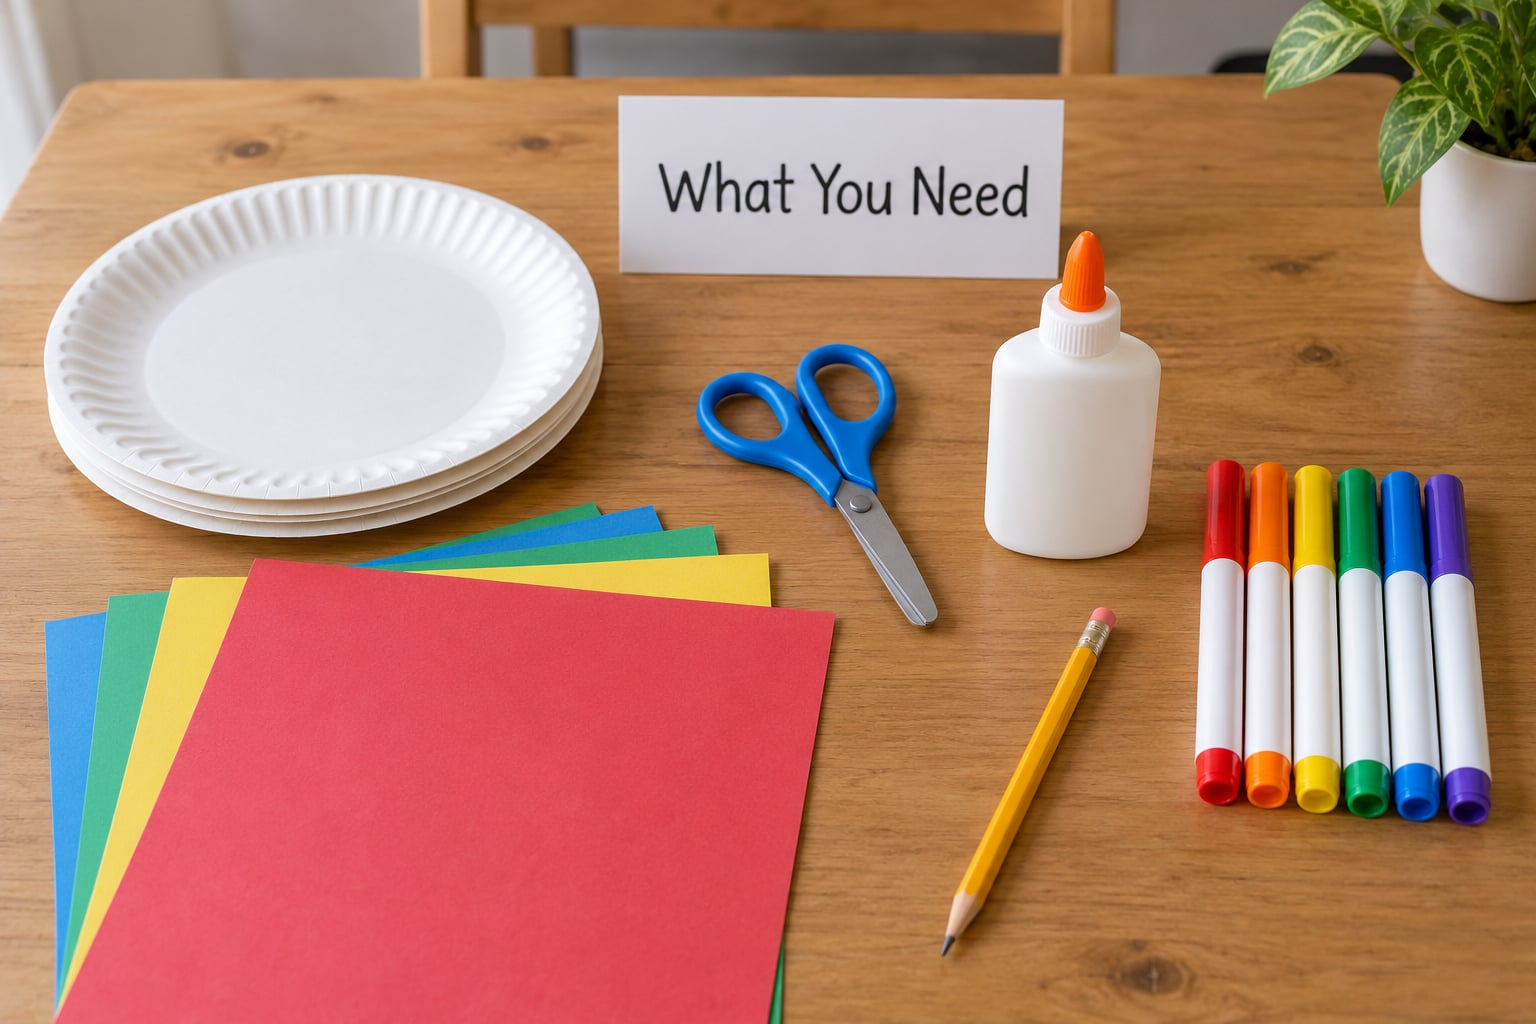
Nothing on this list is specialised, which is the whole appeal. Everything comes out of a kitchen drawer, a craft box, or the recycling bin.
- 1 sturdy paper plate — dinner size, uncoated, the heavier the better. Heavyweight plates from a grocery store hold up far better than the thin ones from a party pack.
- Construction paper or cardstock scraps — for ears, horns, feathers, manes and any piece that must not flop.
- Child-safe scissors — blunt-tipped is fine for paper, and far safer for small hands.
- Pencil, plus washable markers or tempera paint — markers for speed, paint for coverage.
- A glue stick or white craft glue — a glue stick grips the ridged rim better than liquid glue on some plates, but liquid works better on heavy paper.
- A hole punch — a single-hole punch works; a craft punch makes neater holes.
- Elastic, about 1/4 to 3/8 inch wide — roughly 14 to 18 inches for a small child. Measure before you cut, and add an inch.
Optional extras: pipe cleaners, googly eyes, felt, tissue paper, ribbon, and a small scrap of cardboard from a cereal box for reinforcing.
Before anyone starts cutting, flatten the plate under a heavy book for ten minutes if it arrived bent. Wipe it with a damp cloth if it is greasy, since paint and glue slide off a plate with a food film on it.
Step-by-Step: How to Make a Paper Plate Mask
1. Choose a Paper Plate and a Mask Design
Hold the plate up in front of your child’s face. The eyes should sit slightly above the plate’s centre line, with roughly a third of the plate above them for a forehead, and the chin edge just past the mouth.
Decide the character before you trace anything. Animal, robot, community helper or seasonal character all use the same base — a face, two eyes, decoration on the front.
A mask that fits well covers from the top of the forehead to just under the mouth without touching the cheeks, so check that before you mark a single dot.
2. Mark the Eye Openings
Have your child wear or hold the plate and mark a small dot roughly 1/4 inch in from the rim on each side. Those dots are the outside edge of the eye holes, and the size of the plate decides the rest.
Make each eye hole about 1 inch wide by 3/4 inch tall for a preschooler, and 1.25 by 1 inch for an older child. Bigger feels generous but lets more light through, which is the point — a child who cannot see straight ahead will not want to wear it.
Trace the holes with a pencil first and hold the plate up again. Ask your child if they can see you clearly from the other side of the room.
3. Cut the Plate Carefully
Cut eye holes in from the rim rather than cutting a closed circle out of the middle. Start at the rim, snip a short line toward the marked dot, then trace the shape. An adult or an older child should do this step, with the plate resting flat on the table, never held in the air.
Turn the plate as you cut rather than twisting the scissors. If the plate starts to crack or tear, stop and use a fresh blade, because a dull blade is what causes most tears.
Some people add a mouth opening or a shaped chin at the same time. Make sure it stays clear of the eyes — if a child sees through it, they can follow instructions, read a room and keep walking without bumping into things.
4. Decorate the Mask
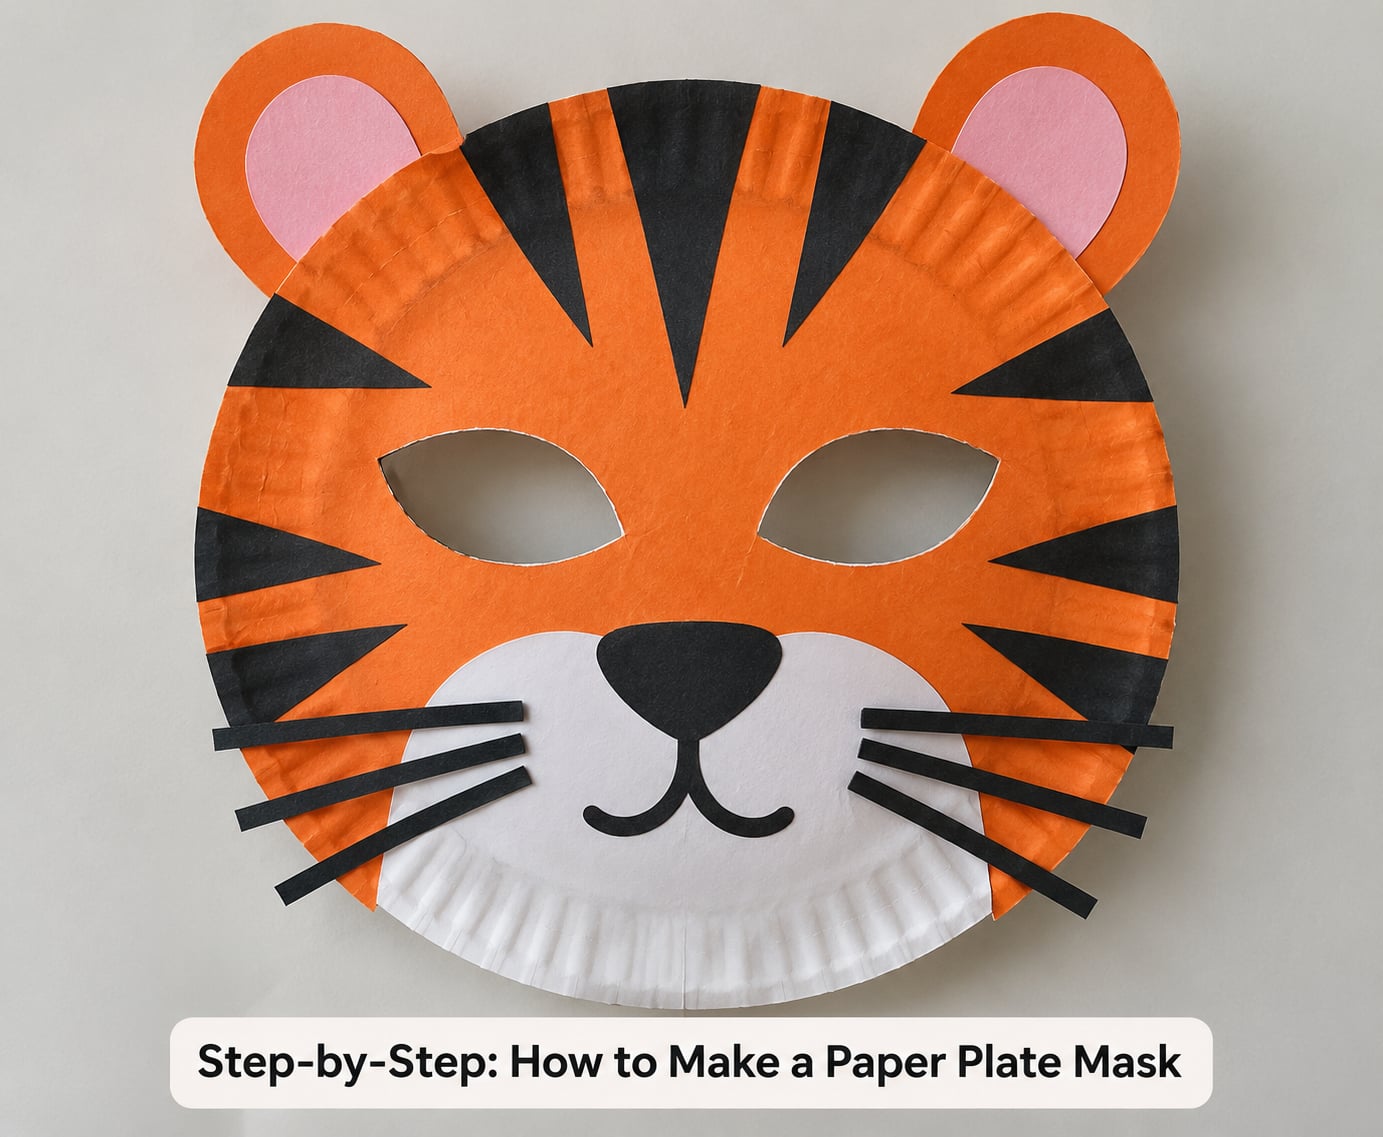
Paint or colour before you attach anything bulky. Base coat first in large strokes, then details once it has dried a little, then glued-on pieces such as ears, horns or a fringe of yarn.
Washable markers need no drying time and are forgiving for small hands. Tempera paint gives you full coverage and washes out of clothes, but it needs a few hours flat.
Cardstock ears glued on after the paint is dry stay crisp. Tissue paper glued straight onto a wet plate will bleed, and glue on the raised rim of a plate will peel off, so run a thin line of glue across the flat middle of the surface rather than around the edge.
If you want the mask to survive a day of running around, glue a flat scrap of cereal-box cardboard to the back after everything is dry. Packing tape laid over the joins, inside and out, is the reinforcement that works — the same trick, and it takes about two minutes instead of an afternoon with a sewing machine.
5. Add the Elastic or Paper Strap
Punch one hole on each side of the plate, level with the eyes or a half inch above them. Punching above the eyes is what keeps a mask from sliding down and pushing the holes out of alignment.
Thread the elastic through from the inside to the outside on one hole, across the back of the head, and back in on the other. Tie a double knot and dab the knot with a little tape so it cannot work loose.
Elastic stretches and is forgiving. A strip of ribbon or a paper band cut from a second plate works too, but neither stretches, so measure two to three inches longer than the head and let the child tie it. No sewing needed either way.
Fit is the part most masks get wrong. You want the plate to sit still without pressing the cheeks, and the elastic should rest on the back of the head or over the hair, not on the ears.
6. Let the Mask Dry and Try It On
Markers need about 15 minutes. Painted and glued masks want a few hours, or overnight on a flat surface, which is why the craft table becomes a drying rack.
Once dry, hold it on and have your child walk around, sit down, and reach for something. If the eyes have drifted, mark the correct spots, move the strap holes to match, and fill the old holes with a small paper circle.
A mask that has been worn once and survived is fine. For a costume the child keeps, add the cardboard backing and packing tape before the first wear, not after.
Common Mistakes and Easy Fixes
- The eye holes are too small or uneven. Re-trace with the plate held on the face, measure each hole before cutting, and cut both from the rim inward on a flat table.
- The mask slips down. Move the strap holes up to eye level, shorten the elastic, or tie a second small loop at the back.
- Decorations peel off. Glue was applied over the plate’s raised rim, or the plate was greasy. Wipe the surface, use the flat middle, and give glue a full drying time.
- The plate tears at the eye holes. Replace the scissors blades and place scrap cardstock under the area being cut.
- The mask feels flimsy. Glue a cereal-box cardboard backing on and reinforce the eye holes with tape rings on both sides.
- The paint is still tacky. Paint dries on flat card, not on a curved plate propped against something. Lay it face up on the table and wait.
- Paint bleeds into the paper. Too much water. Use thicker paint, lighter strokes, and a second coat instead of scrubbing the first.
Worth knowing: paper plates are single-use because they are coated and thin. If you want a prop that survives a whole term of pretend play, start from a cardboard plate or a cereal box and use the same steps.
Paper Plate Mask Ideas for Different Themes
The cut and strap method never changes, so the character lives entirely in the decoration. A few that work well:
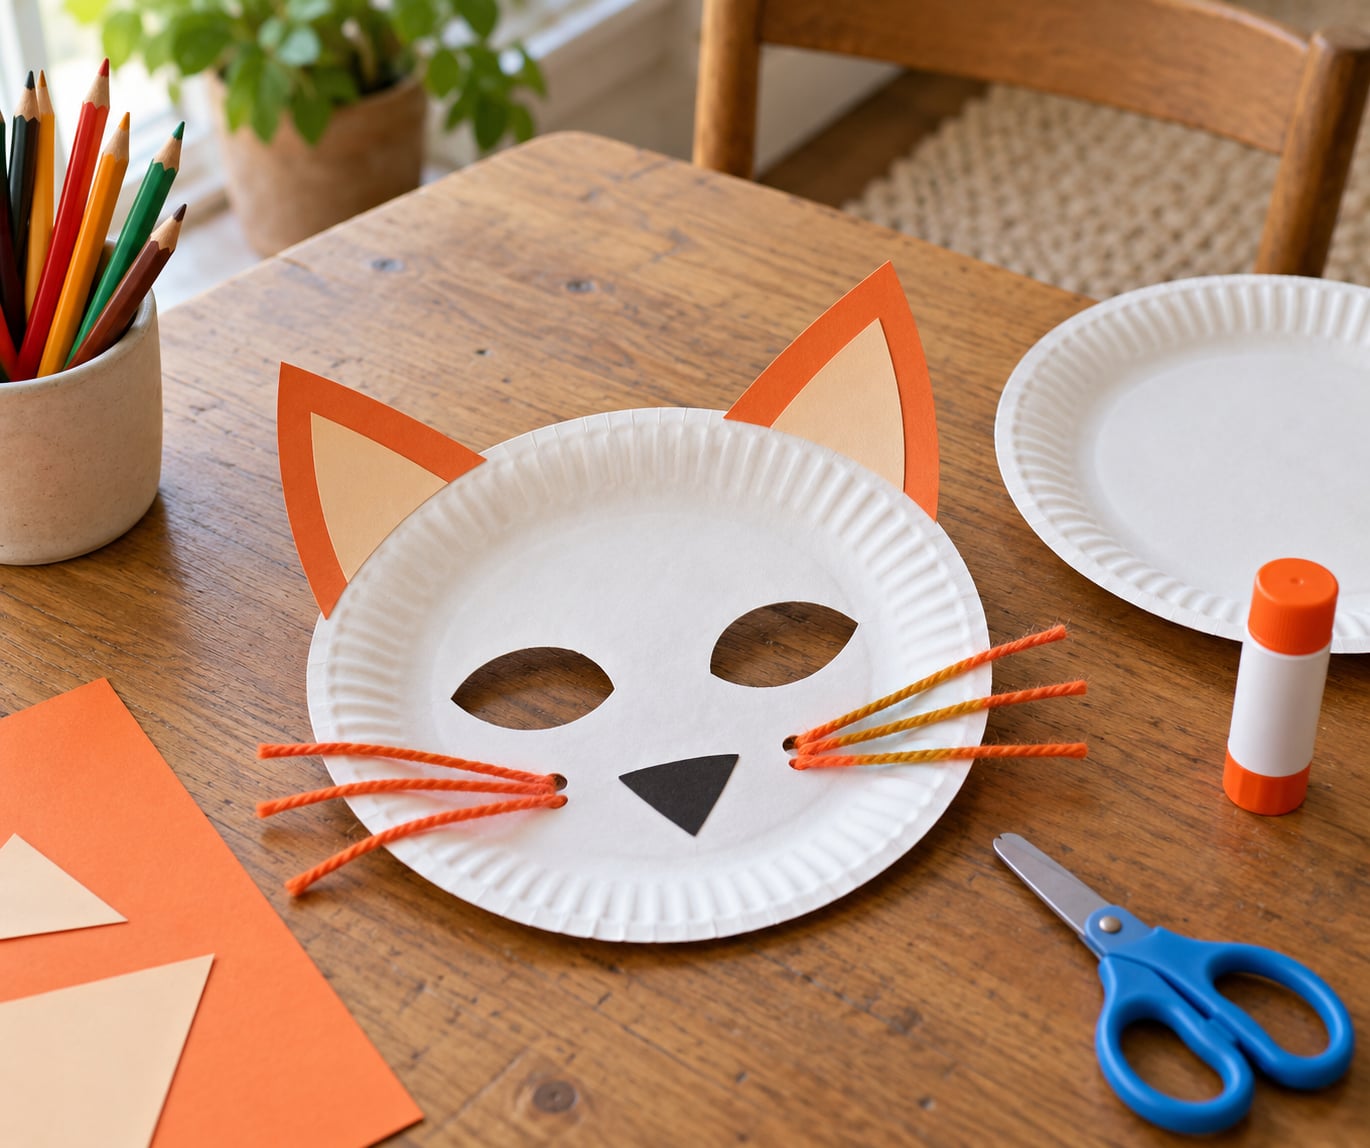
- Cat — triangle ears from cardstock, marker stripes on the cheeks, pink nose, yarn whiskers glued at the sides.
- Owl — two big paper circles for eyes, a folded diamond beak, and feather texture made by gluing small overlapping paper scallops in rows.
- Robot — grey paint, squared-off eye holes, cardstock bolts at the corners, pipe-cleaner antennae taped to the top.
- Butterfly — googly eyes, a coiled pipe-cleaner proboscis, and tissue paper wings taped behind the plate edges.
- Rainbow — wide marker or paint arcs from cheek to cheek, cotton-ball clouds glued along the bottom edge.
- Sugar skull for Day of the Dead — white base, black marker around the eyes and nose, small paper flowers. Children wear it with all-black or all-white clothing and no other detail so the face stays the story.
- Leprechaun for St. Patrick’s Day — green paint, an orange paper beard, a paper hat band, a pipe-cleaner curl at the top.
- Book-report character — a fox, rabbit, bear or dinosaur from a story your child just read, used for retelling it or for an I Spy walk.
Each of these is fine motor practice folded into a costume. For the youngest children, hand over the markers and the glue stick and keep the scissors and the hole punch yourself.
Frequently Asked Questions
What is the best paper plate for making a mask?
Choose a heavy, uncoated dinner plate. Paper sold for parties is thin and almost always tears when you cut the eye holes, while a sturdy plate takes paint, glue and a full day of wear. If you have two, glue them back to back with cardstock in between for a mask that lasts much longer.
How do I make the eye holes the right size?
Hold the plate against your child’s face and mark a dot roughly a quarter inch in from the rim on each side, level with the top of the eyes. For a preschooler, cut about 1 inch by three-quarter inch holes; for an older child, 1.25 by 1 inch. Cut inward from the rim rather than punching a circle from the middle.
Can I paint a paper plate mask instead of coloring it?
Yes, and paint gives you much better coverage for a full animal or monster face. Use tempera or acrylic craft paint, apply it in light layers, and lay the plate flat face up while it dries. Wipe the plate with a damp cloth first so the paint has something to grip.
How do I keep the mask from slipping off?
Punch the strap holes at eye level rather than halfway down the plate, because higher anchor points hold the eye holes in front of the eyes. Measure elastic around the head before cutting, leave an inch of slack, tie a double knot, and cover the knot with a small piece of tape.
What materials can I use to decorate the mask?
Most things work: washable markers, tempera paint, glue sticks, construction paper, cardstock, felt, tissue paper, yarn, ribbon, googly eyes, pipe cleaners, buttons and found natural materials such as feathers or leaves. Keep glued-on pieces flat-backed and away from the eye holes so the child can still see clearly.
How long should I let a paper plate mask dry?
A marker-decorated mask is wearable after about 15 minutes. Painted or glued masks need several hours, and overnight on a flat surface is safest. If you want it to survive a costume event, add a cardboard backing and packing tape over the joins the day before and let it set fully.
Conclusion
Start with one plate, hold it against your child’s face, and mark the eye holes before anything else. Everything after that is decorating, and the decorating is the fun part.
Let the child pick the character and do the colouring, glue and choosing of details while you take the scissors and the hole punch. Once you know how to make a paper plate mask, the same method gives you a costume, a book-report prop and a character for every rainy afternoon this 2026.