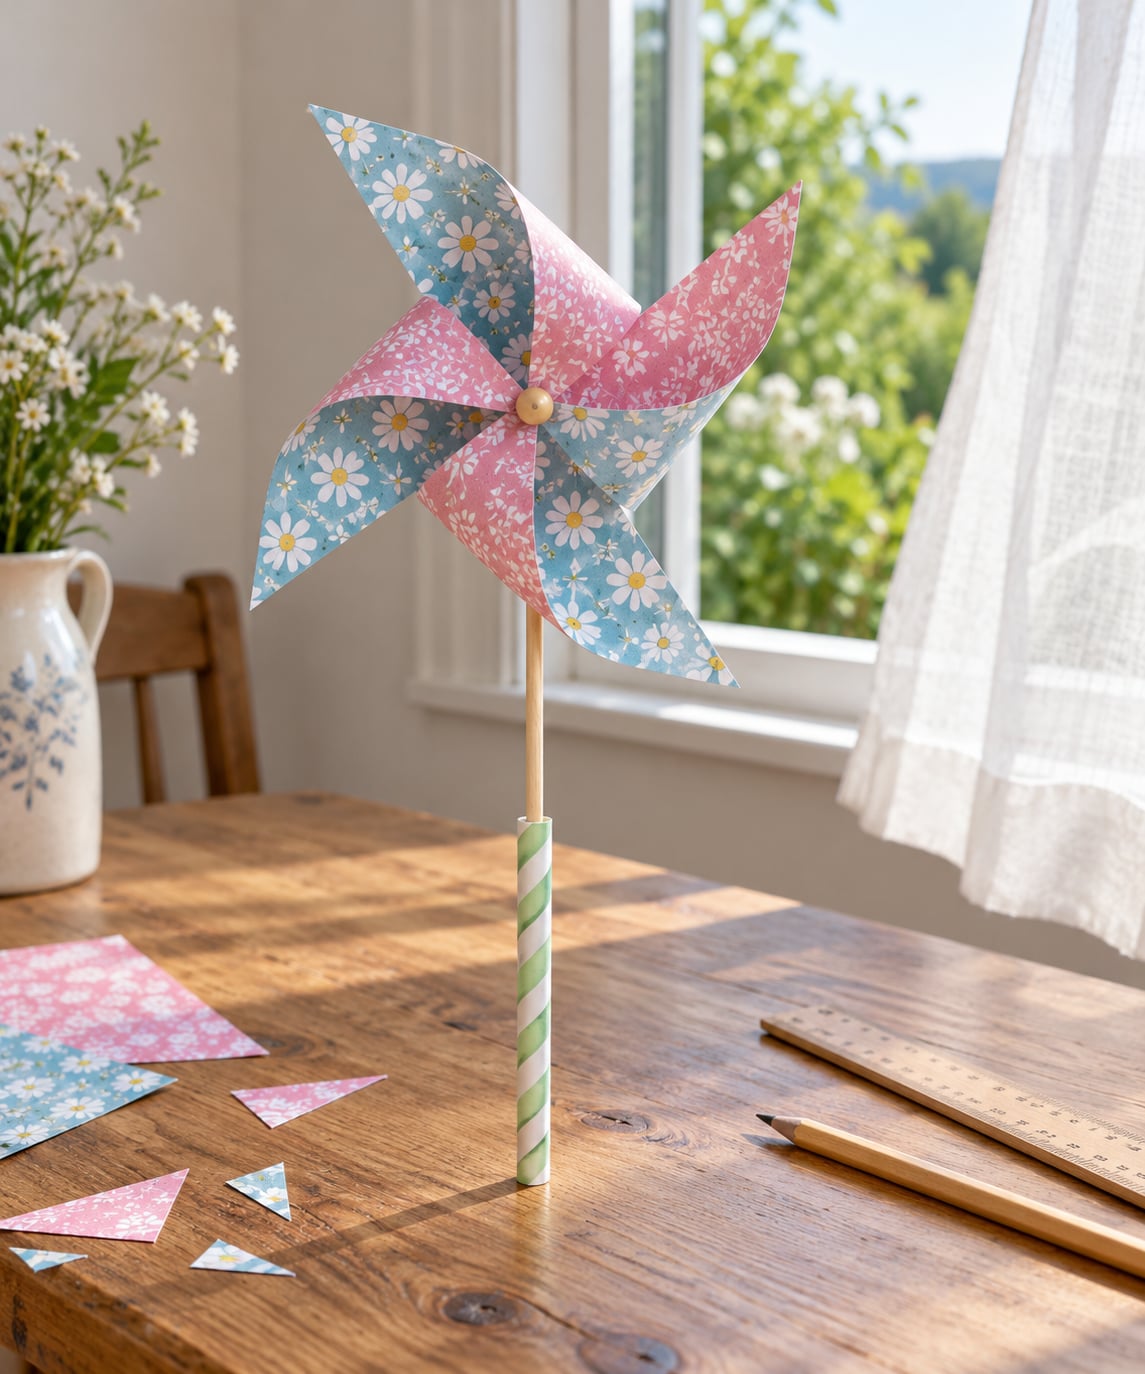
To make a paper windmill that turns, cut straight slits from each corner of a square of paper toward the middle, stop about 2 inches (5 cm) short, then fold every corner in to the centre and pin the hub to a straw or stick. The folded blades sit at an angle to the paper, so moving air drives them around the pin.
Most people call this craft a paper pinwheel, and it is the same object. It takes about 15 minutes from a scrap of paper to a spinning toy, works from roughly age four upward, and costs almost nothing if you use paper from the recycling pile.
Kids get real fine motor practice from cutting along a straight line and creasing a corner to a point, and they learn cause and effect when the windmill sits still and then races after a puff of breath. One thing to plan for: the pinning step is the fiddly part for small hands, so have an adult nearby.
Table of Contents
- 1What You Need
- 2Step-by-Step: How to Make a Paper Windmill That Turns
- 31. Cut a Square and Mark the Diagonals
- 42. Cut Toward the Center
- 53. Fold the Corners to the Center
- 64. Fasten the Blades
- 75. Add the Handle and Set the Clearance
- 86. Balance and Test the Windmill
- 9Common Mistakes and Fixes
- 10Three habits that make it easier
- 11Safety Tips for a Paper Windmill
- 12How to Make the Windmill Turn Better
- 13Frequently Asked Questions
- 14What kind of paper works best for a windmill that turns?
- 15Can I make a paper windmill without a wooden skewer?
- 16Why is my paper windmill not spinning?
- 17Can I decorate the windmill before assembling it?
- 18Will the windmill work outside in a strong breeze?
- 19Can I make several paper windmills from one sheet?
- 20Make Your First Spinning Paper Windmill
What You Need
- One 8 inch (20 cm) square of lightweight paper — printer paper, craft paper, or a flattened paper bag
- A pencil and a ruler
- Scissors, ideally rounded-tip for young children
- A long pin, or a brad fastener with a hole puncher
- One small wooden bead, a rolled paper ring, or a loop of tape
- A drinking straw, a pencil, or a wooden craft stick for the handle
- A strip of masking tape, or a small dab of glue
A paper plate works as a ready-made circle to trace if you would rather not measure a square, and a hole puncher is safer than a push pin for children under five. Have a spare sheet out, because the first one usually gets torn at the corners.
Step-by-Step: How to Make a Paper Windmill That Turns
The whole build takes about 15 minutes, plus a few minutes for the paper to sit under a book while you sharpen the creases. Cutting the square and punching the pin hole are the two steps worth doing together.
1. Cut a Square and Mark the Diagonals
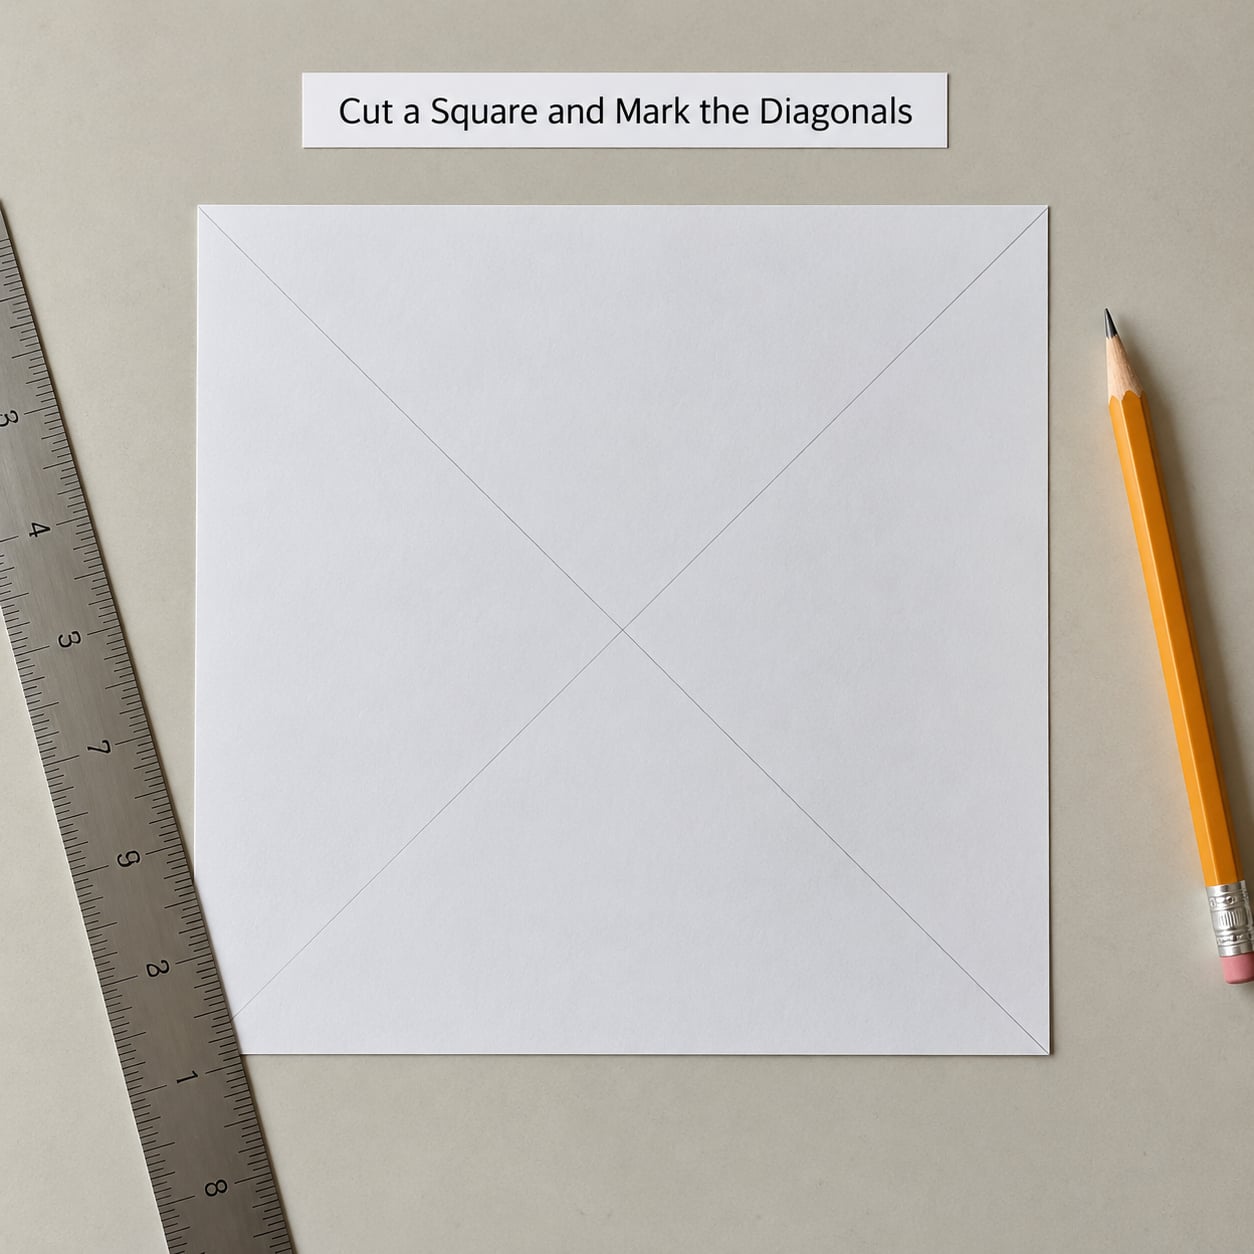
Trim your sheet into a square, about 8 inches (20 cm) on each side. Fold it in half one way, press the crease flat with your thumbnail, then unfold and fold it in half the other way.
When you unfold, the two creases cross at the exact centre. Mark that crossing with a light pencil dot so you can erase or cover it later, then use the ruler to draw a faint diagonal line from each corner to the dot.
2. Cut Toward the Center
Cut along each diagonal from the corner inward, stopping about 2 inches (5 cm) short of the centre dot. All four cuts should be the same length, because uneven cuts are the top reason a windmill flaps instead of turning.
The four uncut triangles between the cuts are what become the blades, so treat them gently. Lay the square flat rather than picking it up and shaking it while you work.
3. Fold the Corners to the Center
Bring one corner down to the centre dot and press the crease firmly with your thumbnail. Work clockwise, one corner at a time, holding each point down with another finger while you crease it.
The points spring open as soon as you let go, and that is normal. Press the last fold a second time, and when all four tips meet they should sit on the dot without any one of them covering another.
4. Fasten the Blades
Poke the pin straight down through the exact centre, through all four folded layers at once. Hold the pin between finger and thumb as it goes in so it does not slant, and ask an adult to do this for anyone under five.
Before you tighten anything, look straight down from above. Each point tip should sit roughly the same distance from the pin. If one blade sits closer, pull the pin out, shift the paper a hair, and push it back in.
5. Add the Handle and Set the Clearance
Slide the bead onto the pin above the paper, then press the pin or stick into the end of the drinking straw to make a handle. The bead sets a gap of about 1/8 inch (3 mm) between the paper and your fingers, which is what keeps the blades spinning freely.
No bead? Roll a ring of tape, or a small ring of paper, and slide it down the pin instead. It does the same job. If the blades rub the handle, pull the pin up a fraction and try again rather than forcing the mechanism.
6. Balance and Test the Windmill
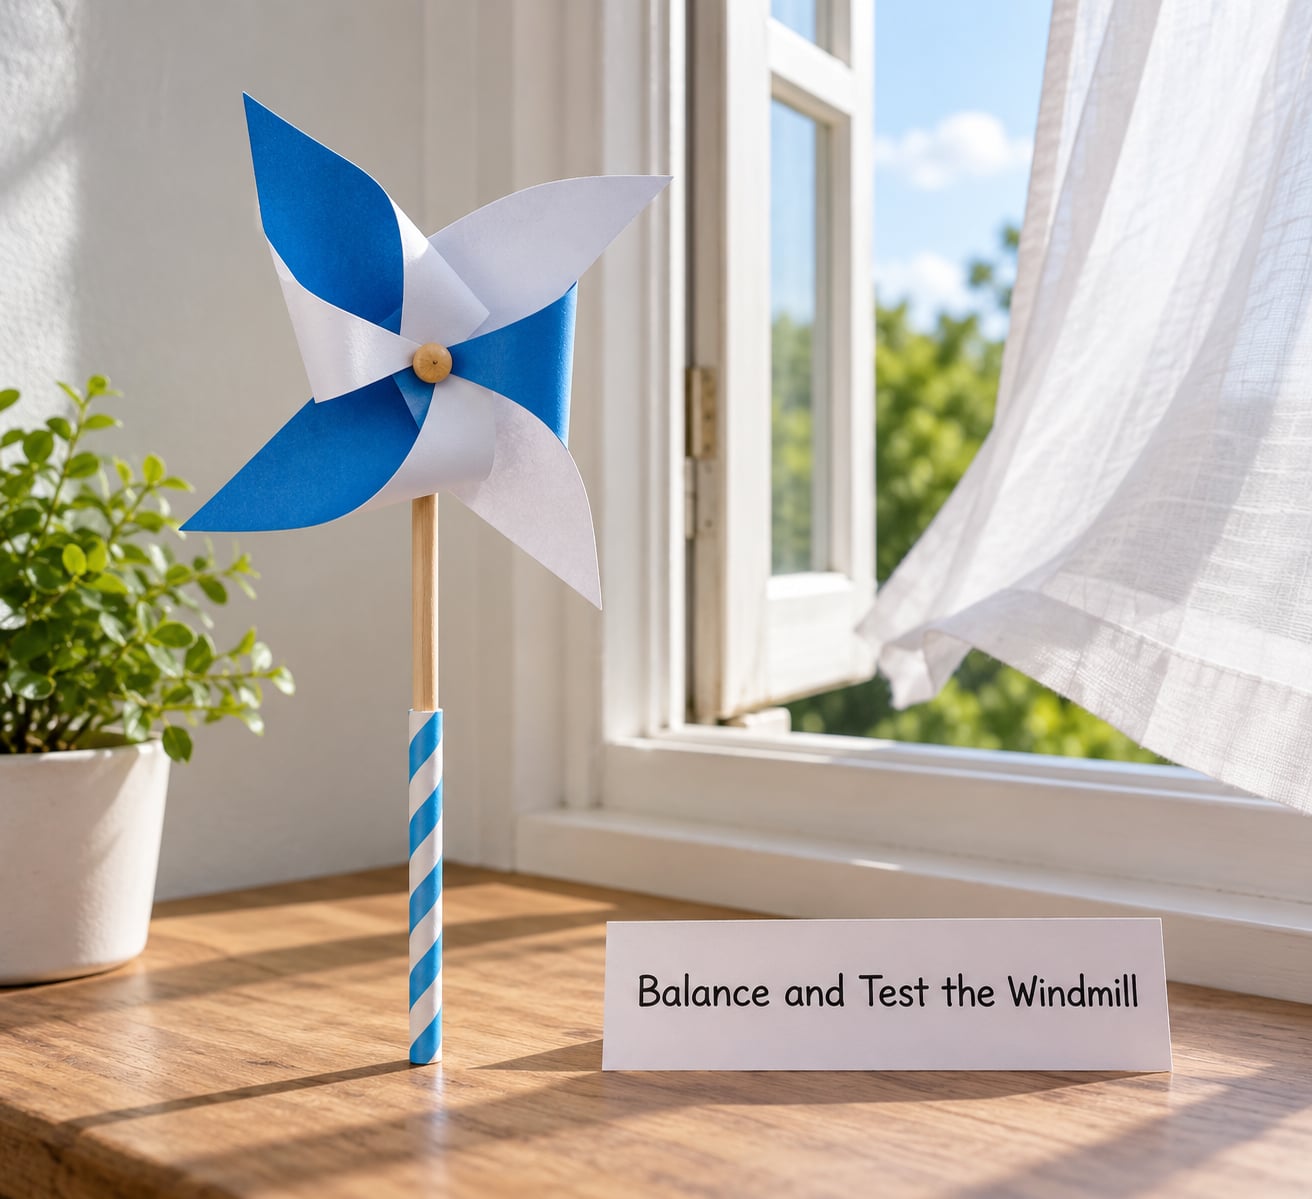
Hold the handle upright and blow across the blades, not down the pin. A healthy windmill spins low and smooth, with the blades passing over your hand in one steady direction.
If it pulls to one side and drifts instead of spinning, the pin is off centre or one blade is folded deeper than the others. Rotate the paper a quarter turn and blow again, and if it still drags, re-fold the stubborn corner so all four tips match.
Common Mistakes and Fixes
- Corners pop open during folding. Hold the point down with one finger while you crease with the other, and finish the last fold twice.
- Cuts stop short of the guide. The blades cannot open into a catch angle. Trim along the drawn line until each cut stops roughly a finger-width from the dot.
- Pin goes in off centre. Pull it out, look down from above, and re-push until all four tips sit at the same distance.
- Blades scrape the handle. Add clearance with a bead, a paper ring, or more thread on the pin before you test again.
- Windmill sits still in the air. Point the open side of the blades into the wind, lift the handle higher, or blow across the blades yourself.
Three habits that make it easier
Use thin paper. Heavier sheets fold more crisply but need a stronger breeze to move. Work on a clean, flat table so the square does not lift and skew the cuts, and once you have one working, make a batch at two or three sizes so there is a small one for little hands and a big one for the garden.
Safety Tips for a Paper Windmill
The pin is the only real hazard in this craft. Use a pin with a rounded or plastic-capped head, cover the sharp end with a small piece of masking tape, or hand the windmill to an adult to hold while the children play with it.
Let an adult handle the hole punching and the skewer, and supervise cutting with scissors for ages three to five, cutting away from the body rather than toward it. Keep finished windmills away from toddlers and small children, since a spinning stick in face height is exactly the accident nobody wants at a birthday party.
Bamboo skewers need the same care. Round the point with tape, or push it through a cork first, and never leave a windmill standing up in a pot indoors where someone might brush past it.
How to Make the Windmill Turn Better
A paper windmill turns for one reason: every folded blade sits at an angle instead of lying flat against the paper. Air moving across that angled surface pushes it sideways, and that sideways push travels straight to the hub and around the pin. Blades that sit flat catch nothing, which is why the fold shape matters more than the paper you choose.
Printweight paper around 80 gsm spins fastest and is easiest to fold. Cardstock keeps its crease and survives being carried outdoors, but you will need a firmer breeze. Patterned or double-sided craft paper works well, and it makes the folds much easier to see, which helps small hands aim for the dot.
Once the blades are folded right, four things give you a faster spin:
- Open the blade corners slightly after folding so more surface faces the air.
- Keep the pin loose enough to turn with a fingertip but not floppy.
- Leave the full clearance gap between the paper and the handle.
- Test from different angles and heights — a windmill that stalls at shoulder height often runs at full height.
Strong airflow makes lightweight blades spin very fast, sometimes fast enough to blur, so hold the handle low and keep faces back. Outdoors on a windy day, or in front of a fan on a wet afternoon, is the fastest way to see the whole thing work.
Frequently Asked Questions
What kind of paper works best for a windmill that turns?
Lightweight printer paper around 80 gsm spins the fastest and folds without tearing. Cardstock holds a crisper crease and stands up outdoors, but it needs a firmer breeze to move. Patterned craft paper is the easiest for children because the print makes the centre dot visible. Avoid anything glossy or very thin, since both slip and the folds spring open.
Can I make a paper windmill without a wooden skewer?
Yes. A pencil, a drinking straw, or a lollipop stick all work as the handle, and the pin itself can be pushed straight into the top of the straw. If you would rather skip the sharp pin entirely, punch a small hole with a hole puncher and push a brad fastener through it. The windmill spins exactly the same way on any of these.
Why is my paper windmill not spinning?
Three causes account for most stalled windmills. The blades are lying flat instead of standing at an angle, the pin is too tight, or the blades rub the handle. Re-fold the corners so all four tips meet on the dot, loosen the pin a fraction, and add a bead or paper ring for clearance. Then blow across the blades rather than down the pin.
Can I decorate the windmill before assembling it?
Colouring first is easier, because the flat square is far simpler to draw on than a folded windmill. Markers and crayon show on both sides once it is folded, which gives you two colours from one coat. Glitter and glue are fine before assembly, but skip heavy glue on the folds, since a stiff hinge stops the blades from catching air.
Will the windmill work outside in a strong breeze?
Yes, and this is where it looks best. Push a bamboo skewer into a garden pot or a piece of cork and stand the windmill in an open spot away from walls and fences. Strong airflow makes lightweight blades spin very quickly, so if the paper is light, use cardstock for anything that has to survive a whole day outdoors.
Can I make several paper windmills from one sheet?
One 8 inch (20 cm) square makes one full-size windmill. Cutting that sheet in half gives two roughly 14 cm (5.5 inch) squares, which work well and spin a little more slowly because the blades are shorter. For a whole class, four or five children can share one sheet if nobody minds smaller windmills, and a leftover offcut works as a blade-cutting scrap.
Make Your First Spinning Paper Windmill
Start with the marks, not the scissors. A clean centre dot and four cuts of the same length give you blades that open evenly, and evenly angled blades are the whole difference between a windmill that turns and one that just flops.
Pin it dead centre, leave a small gap above the paper, then take it outside and let the air do the rest. Once the first one works, repeat it in a bigger square, a smaller square, and a colour the children pick themselves.