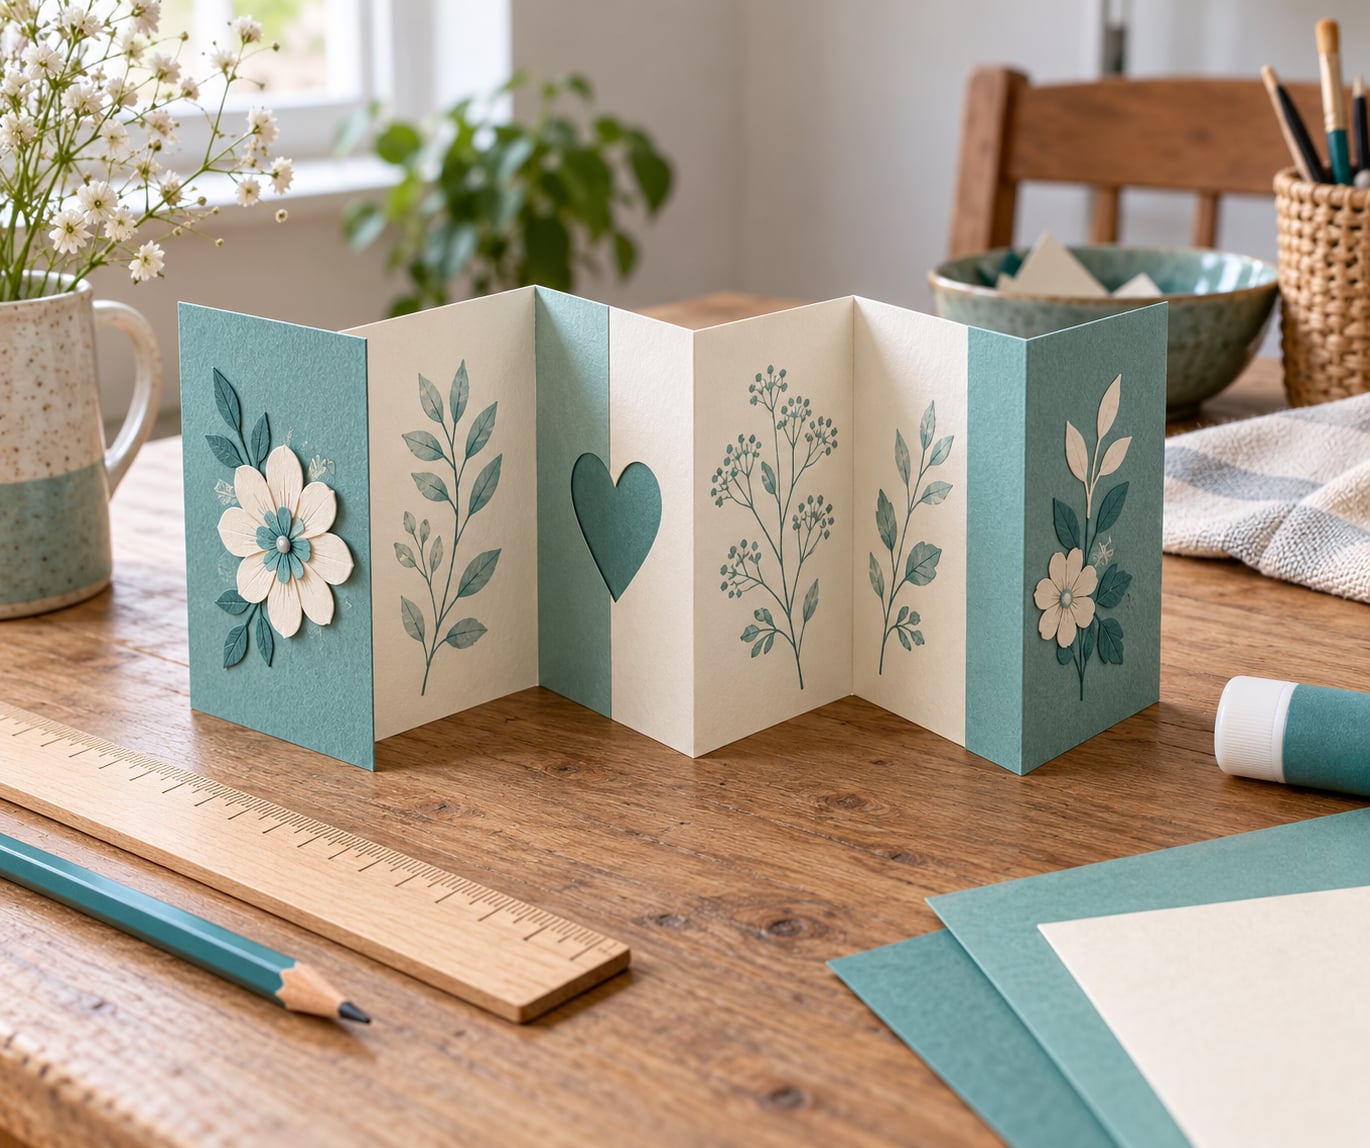
An accordion card is one long strip of cardstock scored at even intervals and folded back and forth so it fans open and stands up on a table. To make an accordion card you cut the strip, mark the fold lines, crease each one firmly, glue on your panels and add your message, which takes about 30 minutes and only really needs care with the first measurement.
You will also see this fold called a fun fold card or a concertina card, and the accordion card measurements are the part beginners get wrong. Get the score lines even and everything else falls into place.
Table of Contents
- 1What You Need
- 2Step-by-Step
- 3Choose the Card Size and Paper
- 4Mark the Fold Lines
- 5Fold the Paper into an Accordion
- 6Add Decorations to Each Panel
- 7Finish and Display the Card
- 8Common Mistakes
- 9Uneven panels
- 10Weak or rounded creases
- 11The card will not stand up
- 12Decorations that fight the fold
- 13Torn score lines
- 14Frequently Asked Questions
- 15What paper is best for making an accordion card?
- 16Can I make an accordion card without a bone folder?
- 17How do I make the folds even on an accordion card?
- 18How many panels should an accordion card have?
- 19How can I make an accordion card stand up when displayed?
- 20What decorations work best on an accordion card?
- 21Conclusion
What You Need
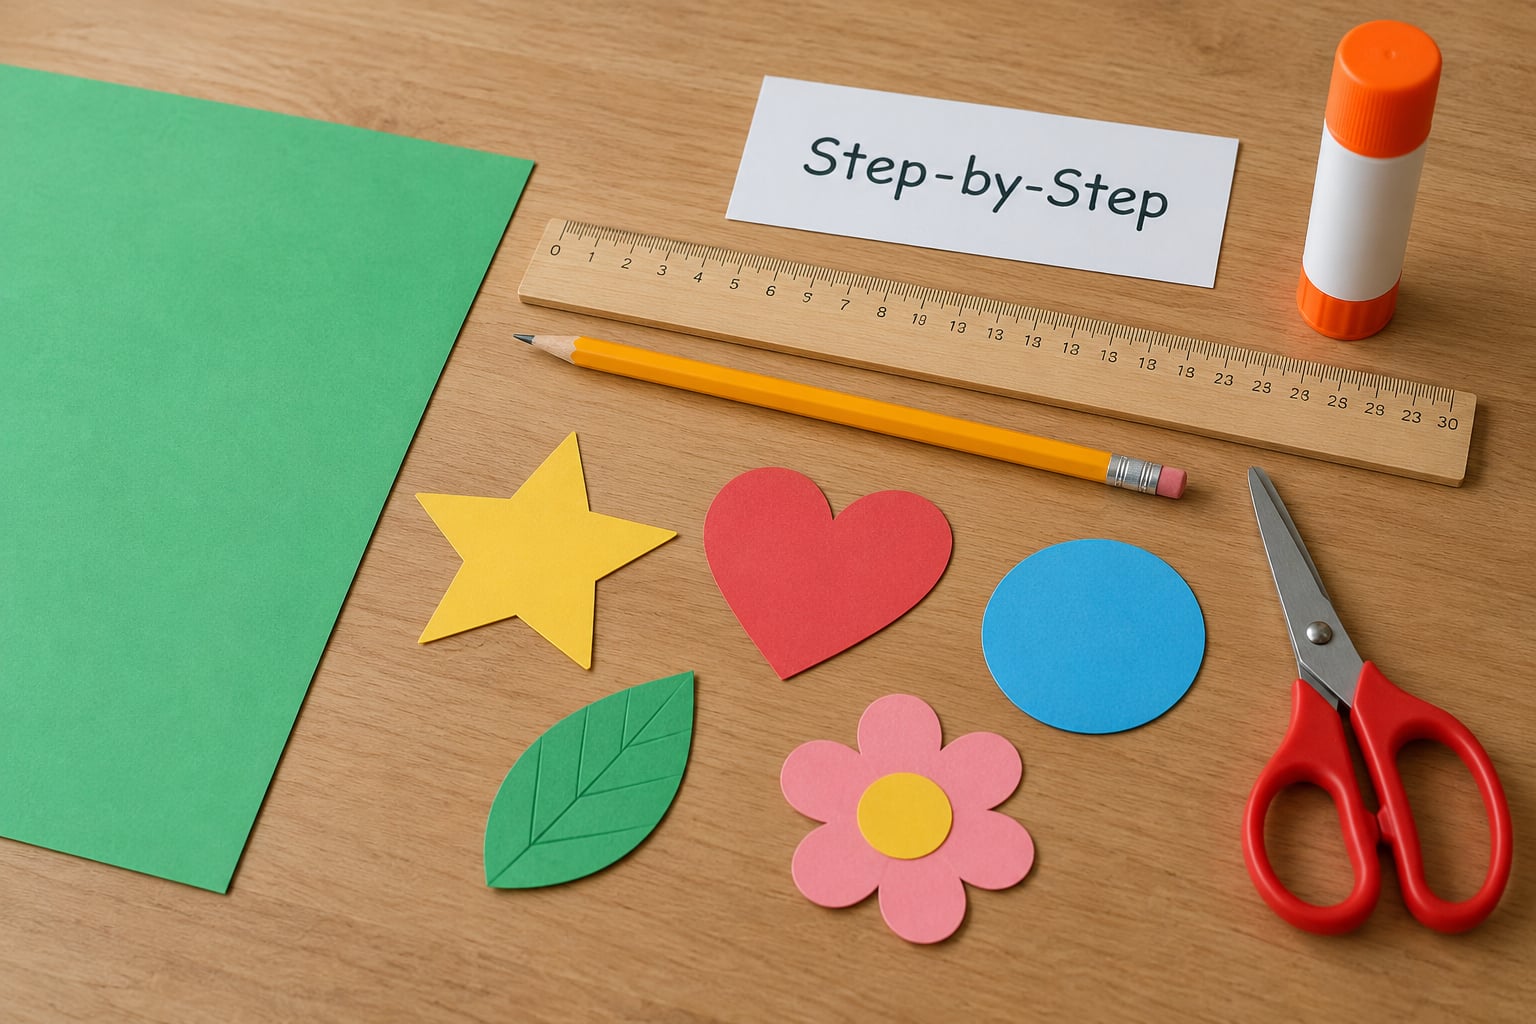
Here is the short list. Everything except the paper itself is optional in the sense that a ruler and your fingers will get you a finished card.
- Cardstock in a 12 x 12 inch (30.5 x 30.5 cm) sheet, or one A4 sheet, for the card base
- Patterned or coloured paper for the decorative panels, roughly half a sheet
- A metal ruler or plastic ruler and a pencil
- A craft knife with a fresh blade, or a paper trimmer with a scoring blade
- A bone folder, or the straight edge of a metal ruler to press creases with
- Adhesive: a tape runner for quick, even coverage, or a glue stick for children
- Optional: a corner rounder, a 1/4 inch (6 mm) ribbon, chipboard or matboard for a sturdier cover, gel pens and stickers
If a child is making this, swap the craft knife for blunt-tip scissors and the tape runner for a glue stick. Folding is the same either way.
Step-by-Step
Choose the Card Size and Paper
The simplest starting point is a strip 10-1/2 x 4-1/4 inches (26.7 x 10.8 cm) with score lines every 1-1/2 inches (3.8 cm), which gives you seven panels and a card that folds flat into a standard envelope. Working from A4? Cut a strip 11-7/8 x 4 inches (29.7 x 10.2 cm) and score every 3.8 cm for the same result.
Cardstock around 80 lb (270 gsm) holds a crisp fold and stands up on its own. Printer paper works too, but fold it lengthwise against a flat edge first so the creases are sharp enough to hold, and expect the card to be more fragile over time.
Check before you cut: hold the strip on its long edge and stand it up in a shallow fan. If it collapses, the strip is too thin for that panel width, so go heavier or make the panels narrower.
Mark the Fold Lines
Lay the strip flat and measure 1-1/2 inches (3.8 cm) in from one short edge and make a light pencil mark. Measure 1-1/2 inches again from that mark and repeat until you reach the far edge.
Run the craft knife along the ruler at each mark to score the line, without cutting through the paper. Scoring is what keeps the fold from tearing and from looking crushed. If you only have scissors, press hard with the ruler edge instead and skip the knife entirely.
Checkpoint: count your marks. Seven marks on a 10-1/2 inch strip means eight equal sections, and a leftover sliver at the end means one section is off, so remeasure before cutting.
Fold the Paper into an Accordion
Now pre-fold every score line, and this is the step that decides whether the card stands. Fold the first line one way, the second line the other way, and keep alternating: mountain, valley, mountain, valley, all the way down.
Run the bone folder along each crease after every fold. A crisp crease looks like the ridge of a mountain or the dip of a valley, and the folds should all run parallel to each other when you hold the strip up to the light.
Open the strip partway and look down the row of folds. If one crease points the wrong way, flatten the whole strip and refold from the beginning, because one bad fold throws the rest out.
Add Decorations to Each Panel
Decorate the panels while the strip is still flat, then glue them on. Cut each panel 1/4 inch (6 mm) narrower and shorter than the base section so a clean border of cardstock shows all round, and keep the panel edges square with the score lines.
Line the first section, add the cover, and work down the strip. Stagger the panel sizes by a small amount on each side and you get the stepped look that most accordion card tutorials show. A 1/8 inch (3 mm) step is subtle; a 1/4 inch step is easy to see.
Keep glue and heavy embellishments away from the crease lines. Die cuts, chipboard letters and thick foam stickers stiffen the paper, and the fold springs open or cracks right where the card needs to move. Stick them on near the middle of a panel instead.
Finish and Display the Card
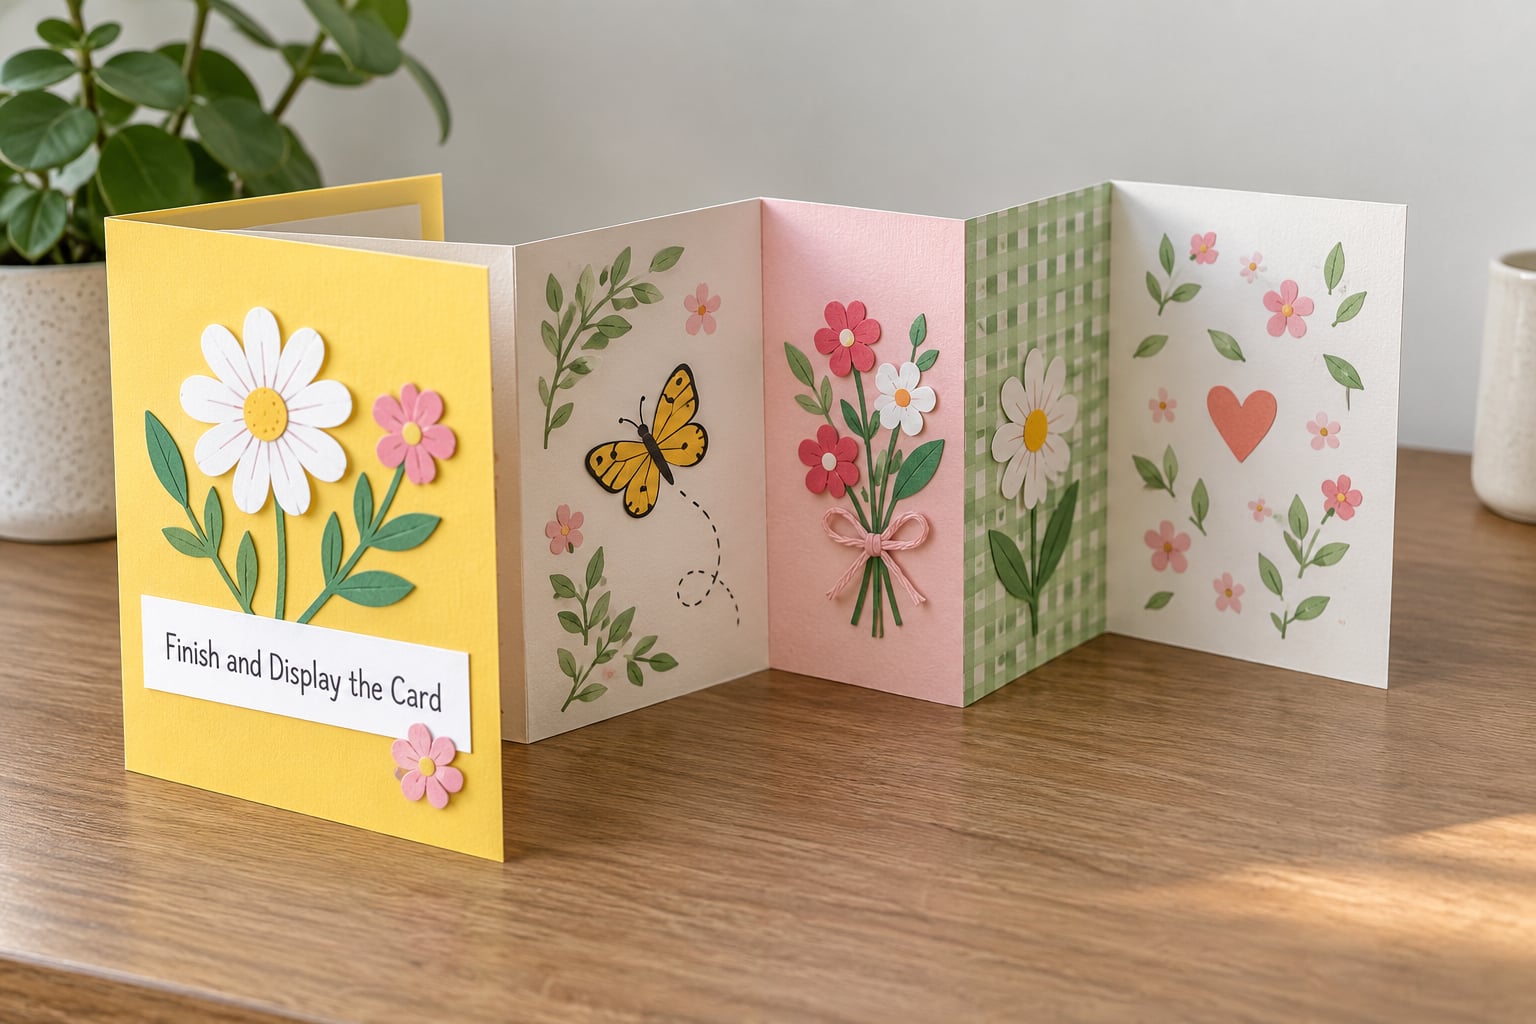
Write your message last, when the panels are already in place. One short message per panel reads best when the card is fanned out, so keep each line to about six or seven words and let the panels carry the story.
Stand the card up and press the first and last fold in slightly toward each other, which makes the whole thing sit like a tent. Test it by pinching the middle panel gently: it should open and close without the outer panels touching.
A chipboard cover cut to the size of the first section gives you a firm front and a natural place for the greeting, and a ribbon threaded through small holes at the ends holds a finished card closed for posting.
Common Mistakes
Uneven panels
Marking from a slightly wavy edge is the usual cause. Measure every panel from the same original mark rather than from the line before it, and check the arithmetic before you make the first crease.
Weak or rounded creases
A crease made with fingers alone will soften and the card will sag. Press each fold twice with a bone folder or ruler edge, and score before folding rather than creasing straight through heavy cardstock.
The card will not stand up
Light paper and narrow folds both cause this. Fold the strip fully so the base is trained into a fan shape, then angle the two end panels in a few degrees. A chipboard cover is the other fix.
Decorations that fight the fold
Foam tape, chipboard letters and glue pools near a crease make the card jam as it opens. Move them to the panel centres and keep glue thin.
Torn score lines
A blade dragged more than once, or a fold against the grain of the paper, wears the line through. Score once with light pressure and turn patterned paper so its grain runs the long way, matching the direction the strip runs.
Frequently Asked Questions
What paper is best for making an accordion card?
Cardstock around 80 lb (270 gsm) is the sweet spot: it takes a crisp score, folds without tearing and stands up without a cover. Patterned or coloured paper works well for the decorative panels glued onto each section. Plain printer paper gives you a lighter, more fragile card, so fold it against a flat edge first and expect to crease it again after a few weeks.
Can I make an accordion card without a bone folder?
Yes, and most first cards are made without one. The straight edge of a metal ruler pressed firmly along each score line does the same job as a bone folder. A folding bone made from a folded strip of cardstock, or the back of a butter knife, also works. What matters is that you press each crease twice rather than bending it once with your fingers.
How do I make the folds even on an accordion card?
Measure every panel from the same starting mark instead of measuring along from the previous fold, and check the spacing once before you crease anything. If the last section is wider or narrower than the others, your arithmetic is off and a pencil eraser fixes it cheaply. Pre-folding mountain, valley, mountain from one end also keeps the folds parallel and the card even.
How many panels should an accordion card have?
Five to eight panels is the useful range. Seven panels of 1-1/2 inches (3.8 cm) from a 10-1/2 inch (26.7 cm) strip is a good starting point because the folded card still fits a standard envelope. Fewer than four panels looks more like a folded note than a fan, and more than ten gets wobbly unless you use heavier cardstock or add a chipboard cover.
How can I make an accordion card stand up when displayed?
Open the card fully and press the first and last folds inward a few degrees so it sits in a tent shape, then pinch the middle panel gently to set the shape. Heavier cardstock holds a display angle much better than printer paper, and a chipboard panel glued to the cover adds the weight the base needs. Stand it on a flat surface rather than a shelf edge.
What decorations work best on an accordion card?
Flat and light decorations work best, because the card has to fold without resistance. Stickers, die-cut paper shapes, stamps, photos trimmed to size and thin gel pens all sit well on a panel. Leave chipboard letters, foam tape and thick embellishments off the crease lines, or off the card entirely, since they stiffen the paper and stop it folding flat.
Conclusion
Start by cutting one straight strip and marking seven score lines at equal 1-1/2 inch (3.8 cm) intervals. Crease every line firmly with a ruler edge, alternating mountain and valley, and let the card rest in a fan shape for a minute before you glue anything.
Once the base folds cleanly, decorate the panels lightly and keep thick embellishments off the crease lines. How to make an accordion card well comes down to two habits: measure once from the same mark every time, and press every crease twice.