A homemade card for grandparents is made by folding a sheet of cardstock in half, decorating the front with drawings, paper cutouts or handprints, and writing a short personal message inside. The whole project takes 20 to 30 minutes with basic craft supplies, and children as young as three can finish it with a little help.
The part that makes these cards matter isn’t the decoration, it’s the effort a child puts in. Grandparents tend to keep handmade cards for years and often prop them on a mantel or tape them inside a photo album. A slightly wonky line of crayon reads as care, not as a mistake.
In the US, Grandparents Day falls on the first Sunday after Labor Day, and in the UK it’s the first Sunday in October. Plenty of families make these cards a week or two ahead so they arrive on time, but the process is identical for a birthday, a Christmas card or a thank-you note.
Table of Contents
- 1What You Need
- 2Step-by-Step: How to Make a Homemade Card for Grandparents
- 3Plan the Card and Choose a Message
- 4Fold the Card and Mark the Layout
- 5Decorate the Cover of a Homemade Card for Grandparents
- 6Add the Message Inside
- 7Finish and Check the Card
- 8Common Mistakes
- 9Frequently Asked Questions
- 10What is the easiest way to make a homemade card for grandparents?
- 11What kind of paper is best for a child’s homemade card?
- 12What can I put on a card for grandparents besides a drawing?
- 13How can young children add a message if they cannot write independently?
- 14Should I use glitter, paint, or thick glue on a homemade card?
- 15How large should a homemade grandparent card be?
- 16Conclusion
What You Need
Gather everything onto one tray before the child starts. Crafting goes sideways fast when a supply has to be hunted for halfway through.
- Cardstock or heavy paper — one sheet per card. A cereal box panel cut in half works, and so does the back of a reused grocery bag if you flatten it first.
- Coloured paper — a small pack of plain construction paper is enough for cutouts, borders and collage.
- Glue stick — a glue stick glues without soaking through the cardstock and gives a child about a minute before it sets.
- Child-safe scissors — blunt-tip scissors make cutting shapes independently possible for most preschoolers.
- Crayons, coloured pencils or washable markers — pick one, not all three, so the card reads as a design rather than a scribble.
- Pencil and eraser — for lightly marking the fold and planning where the message will go.
Optional extras change the look without changing the difficulty: a small paper punch, foam stickers, ribbon or yarn scraps, a single photo, and scrap fabric or felt. If you have none of those, the card still works. Cardboard from a cereal box, a bottle cap or a torn strip of patterned wrapping paper gives kids something to cut and glue that costs nothing.
Skip anything slippery or breakable for the two-to-four-year-old set. Small buttons, beads and dry pasta go in mouths, and glitter ends up on the child, the table and the carpet for weeks.
Step-by-Step: How to Make a Homemade Card for Grandparents
Plan the Card and Choose a Message
Decide the format first. A single fold gives you a card that fits a standard envelope and is the easiest option for a first-timer, while a card cut from two sheets glued back to back opens flat and gives twice the drawing space.
Then pick the message before any decorating starts. It is much harder to write three sentences into a cover that is already covered in stickers. Write the greeting and the sign-off on a scrap of paper first so you know how much room the inside needs.
Memory prompts help when a child stalls. Try the name they call their grandparent, the last thing they did together, a food the grandparent always shares, or a garden, pet or game that comes up in conversation. One specific detail makes a card feel written for that person rather than for anyone.
Fold the Card and Mark the Layout
Fold the cardstock in half with the printed or plain side facing out. Press the fold flat with the edge of a ruler or your thumbnail, then run a pencil lightly along the crease — that scored line is what keeps the card folding straight instead of drifting open.
Set the fold at the top for a portrait card or at the side for a landscape one, then mark where the message will sit with a light pencil box. The rule of thumb is to leave about an inch of clear space around every edge so nothing important gets swallowed when the card closes.
Open the card flat and check it from above. If the writing area looks too tight, cut a fresh sheet now rather than shrinking the writing later.
Decorate the Cover of a Homemade Card for Grandparents
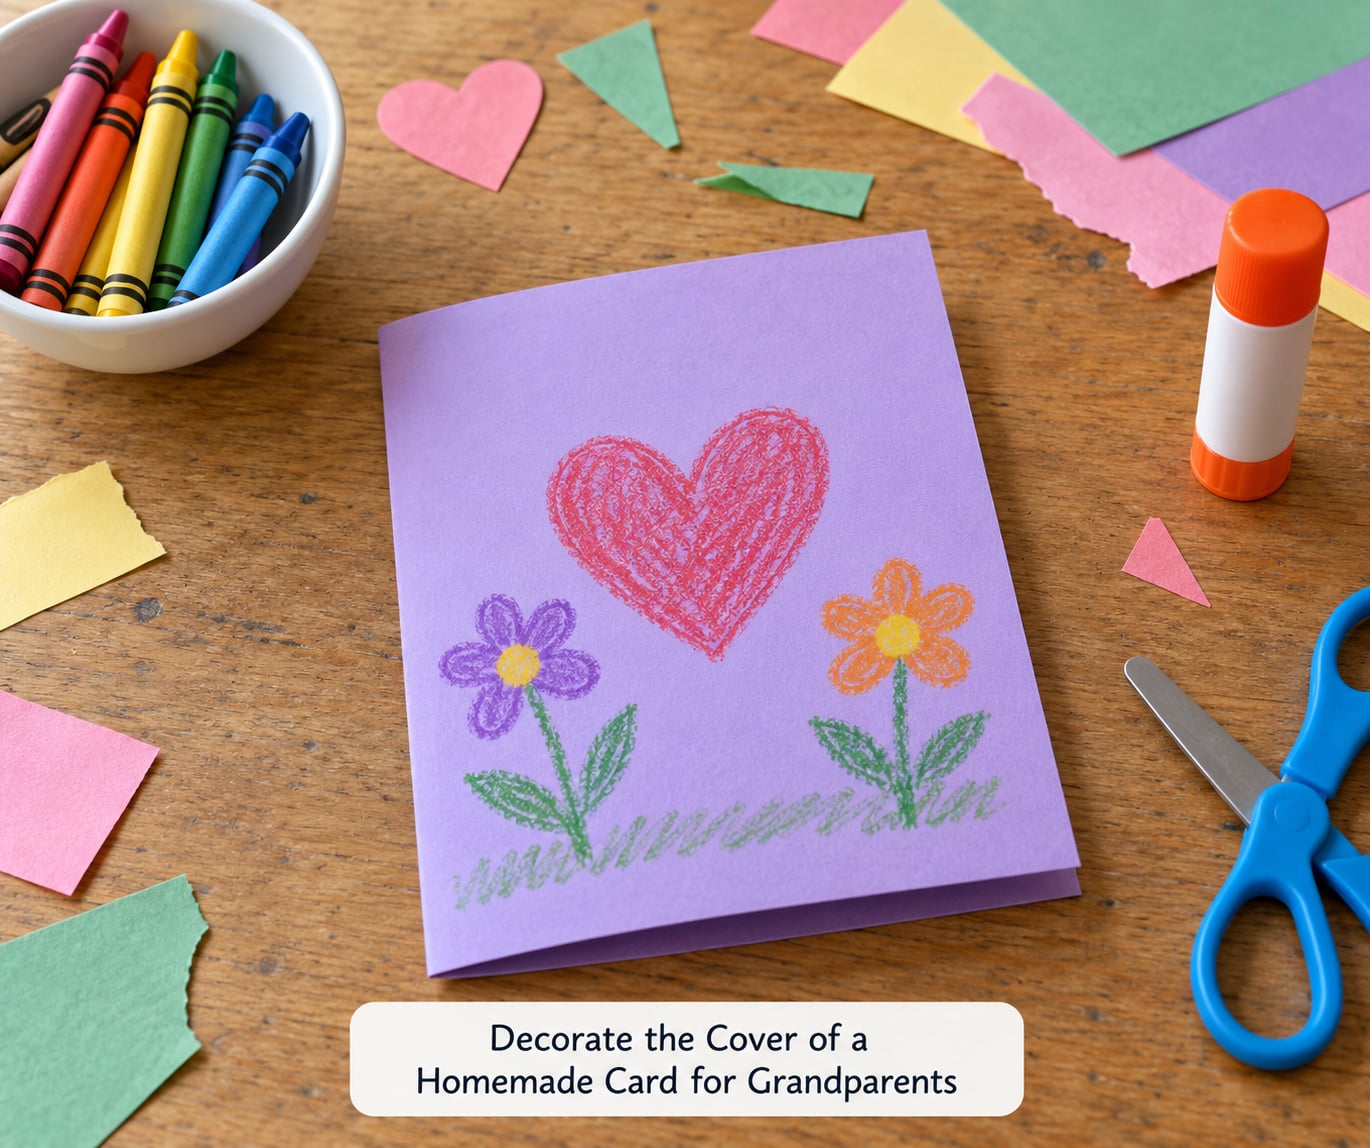
Keep the cover simple and let the child own it. A title across the top, one big shape in the middle and a border around the edge is a complete design. Cramming in every sticker on the sheet is the most common reason a kid’s card ends up looking unfinished.
Three decorating routes work well with this project:
- Draw it — crayons on cardstock, or markers on the flat inner side of the paper so the ink doesn’t bleed through.
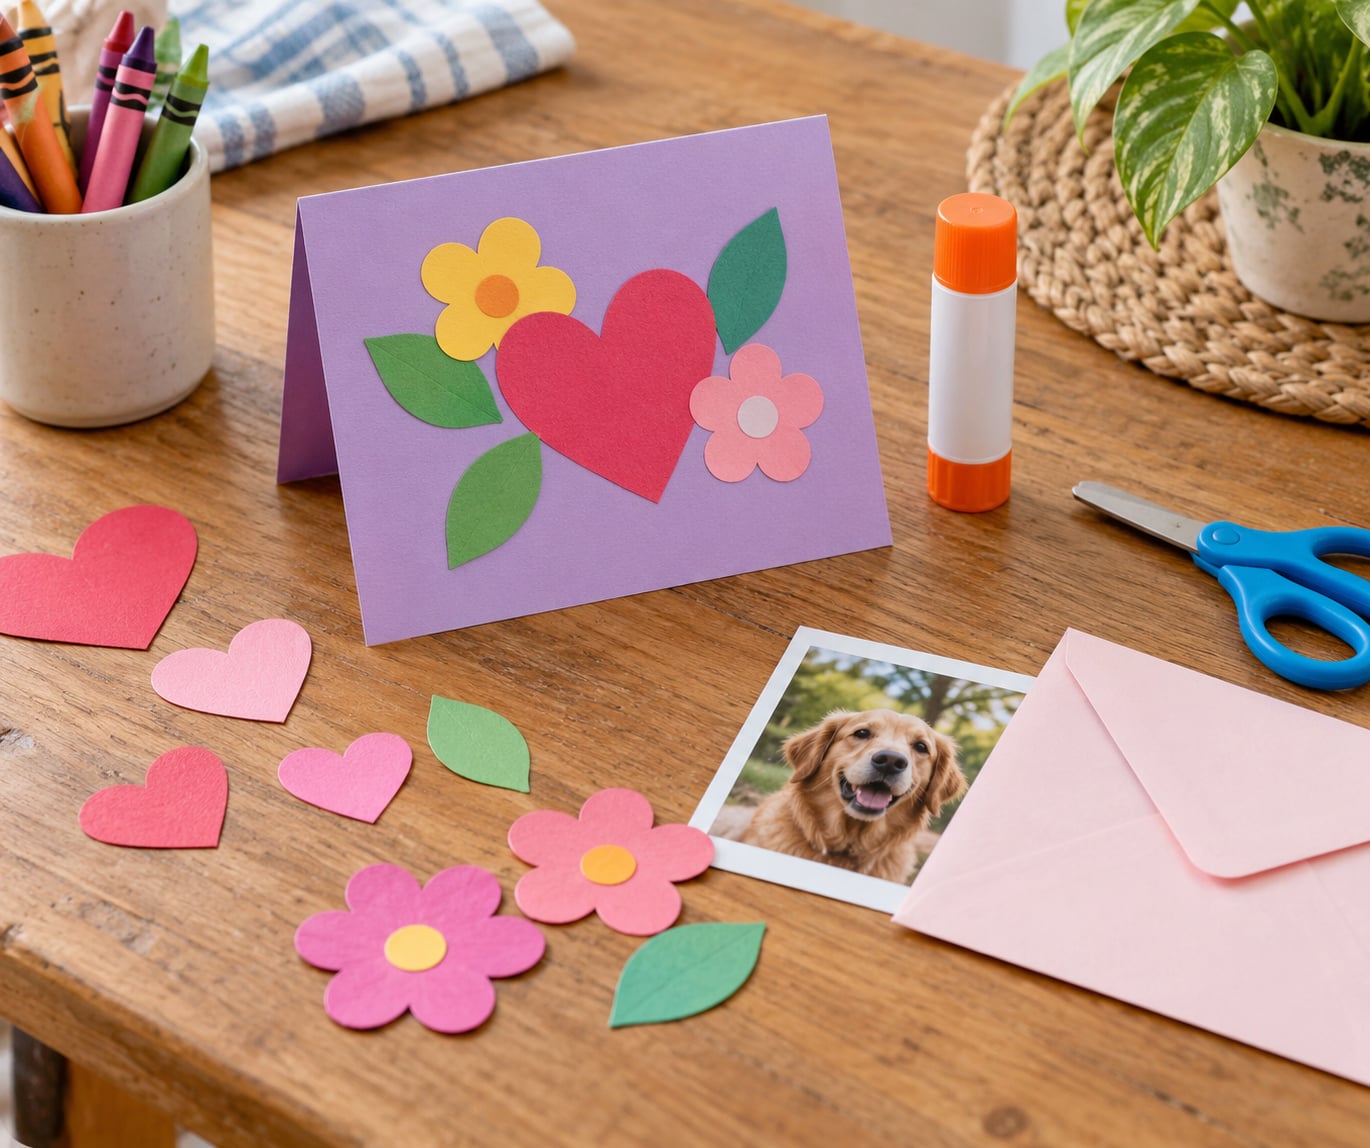
- Cut and paste it — a heart, a flower, a house or a simple tree cut from coloured paper and glued on.
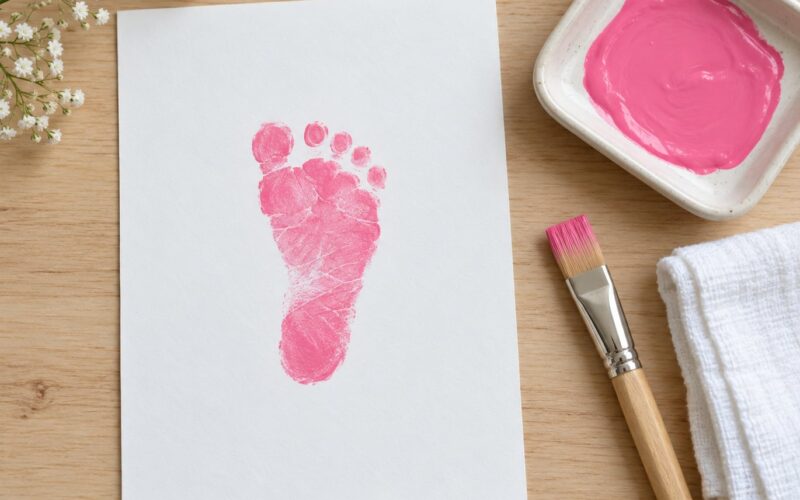
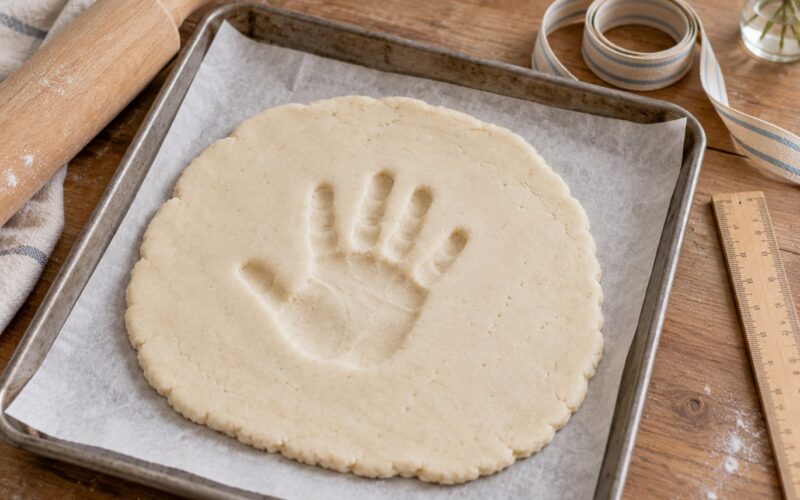
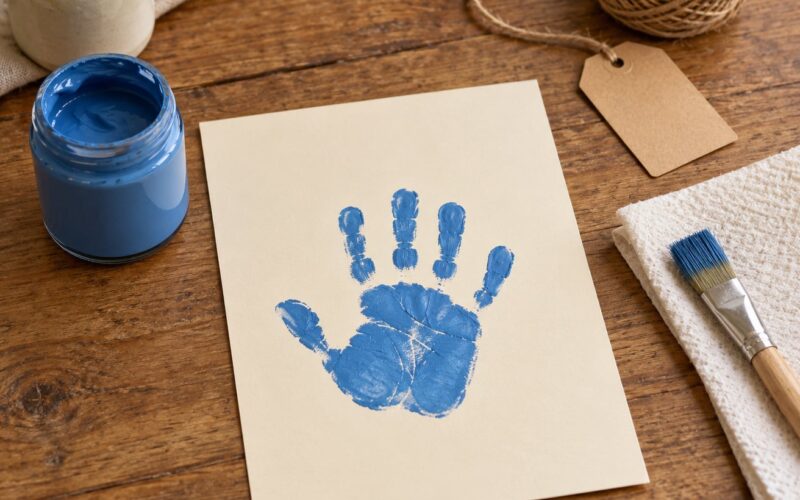
- Stamp it — a handprint, thumbprint, leaf or shell pressed onto the card makes an instant focal point.
For a handprint, have the child rest their palm face down on a folded scrap of paper, trace around the fingers, cut it out, paint the palm side with a thin coat of washable paint, and press it onto the card. Wipe the hand immediately and let the print dry flat for ten minutes before folding.
Fill an otherwise empty background with one of three cheap tricks: a torn-paper border, a band of masking tape painted in one direction, or a half-page of loose crayon scribble in a single colour with the drawing sitting on top.
Add the Message Inside
Fold the card open and write in the marked area. Three to four sentences is the sweet spot — long enough to feel personal, short enough that a young child can manage the spelling.
Read the message aloud together before it goes in. Children frequently dictate perfectly good sentences and then replace them with something shorter once they see the pencil move.
For a child who cannot write yet, let them draw the message as a picture and have an adult write the words underneath. For a slightly older child who has just learned to spell their own name, have them write only that and an adult handles the rest.
Finish and Check the Card
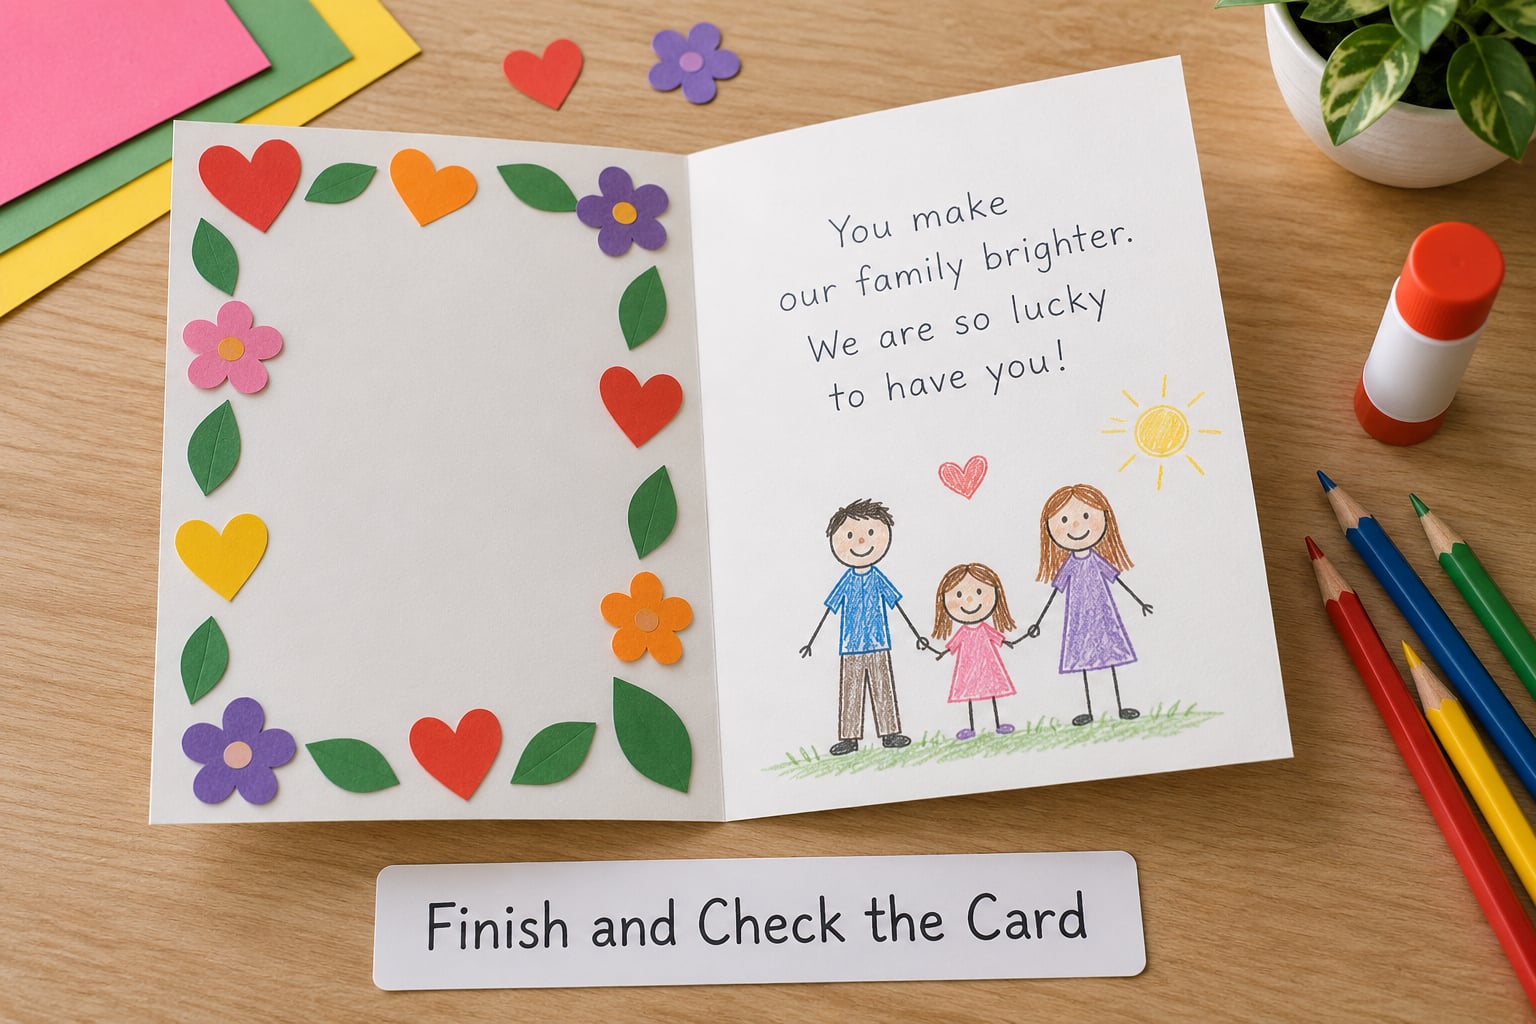
Let any wet glue or paint dry fully before folding — ten minutes for a glue stick, longer for paint or a thick blob of glue. Folding early is the reason the two halves stick together and the card arrives ruined.
Have the child check their own work: spelling read out loud, loose pieces pressed down firmly, folds run along the edge of a ruler, and stray glue wiped off the surface with a barely damp cloth. Then let them sign the bottom corner.
Put it in an envelope rather than handing it over flat. Grandparents open envelopes carefully and tend to keep the card in good condition, which matters if it’s going to be a keepsake.
Common Mistakes
The fold won’t hold straight. Score the crease properly with a pencil and a ruler before folding, and always fold in the same direction. If the card keeps springing open, glue the two halves’ top edges together once the inside is finished.
Decoration looks crooked or unbalanced. Mark the centre of the cover with a light pencil line before drawing anything and use it as a guide. If a shape sits too low, peel it off while the glue is still soft and reposition it.
Glue bleeds through the cardstock or makes the card bulge. Use a glue stick, apply it to the back of the cutout rather than the card, and press with the flat of the hand for ten seconds. Liquid glue on cardstock is the usual culprit.
The message looks crowded. Leave a full inch of margin, write slightly larger than feels natural, and cut the sentence to three lines. If it still doesn’t fit, the card is too small — start over with a fresh sheet rather than shrinking the words.
Marker ink bleeds through to the back. Draw on the flat inner side of the paper instead of the printed side, or use crayons and coloured pencils, which do not penetrate. Test any pen on a scrap corner first and let it sit for a minute.
The card arrives flat and bent in the post. Sandwich it between two slightly larger pieces of cardstock, tape them together with masking tape, and use a padded envelope. This also protects handprint cards that grandparents plan to display.
Frequently Asked Questions
What is the easiest way to make a homemade card for grandparents?
Fold one sheet of cardstock in half, decorate the front with crayons or three paper cutouts, then write three sentences inside. That version takes about 20 minutes, needs nothing beyond paper, glue and something to draw with, and suits children from preschool age upward. Skip glitter, heavy glue and multi-layered collage, which are what usually turn a simple card into a slow or ruined one.
What kind of paper is best for a child’s homemade card?
Cardstock or any paper heavier than printer paper works best, because it folds crisply and does not tear when a child presses down hard with a glue stick. A flattened cereal box panel is a good free substitute. Thin printer paper tears at the fold, and construction paper is too floppy to hold a shape once it is covered with glue.
What can I put on a card for grandparents besides a drawing?
Photo cutouts, torn-paper collages, leaf and shell collections from a walk, fabric or felt scraps, pressed flowers, ticket stubs from a shared outing, and written memory prompts the grandparent can answer are all strong options. A handprint, thumbprint or footprint in paint gives a keepsake feel, and recycled cardboard, bottle caps or buttons cost nothing.
How can young children add a message if they cannot write independently?
Let the child draw the message as pictures and write the words underneath as captions, or have them dictate the sentence while you write it in pencil for them to trace over. Another option is to have them write only their name and the sign-off, which most children can manage by age four or five, and leave the rest to you.
Should I use glitter, paint, or thick glue on a homemade card?
A glue stick is the safest default. Paint works well for a handprint if you use a thin coat and leave ten minutes of drying time. Skip glitter on cards going through the mail or into a classroom bag, because it transfers onto everything it touches, and avoid thick glue on any card a child will need to fold, since it bulges the paper.
How large should a homemade grandparent card be?
Standard letter paper folded in half gives a 5.5 by 8.5 inch card, which fits a normal envelope and has enough room for a message and a drawing. A4 works equally well outside the US. For very small children, half a sheet of paper folded into quarters gives a book-style card they can hold closed more easily than a large flat one.
Conclusion
Start by choosing the shape: one folded sheet for a simple card, two glued together for a flat one that opens fully. Gather the paper, a glue stick and one drawing tool, and let the child add a single detail that belongs only to them — a handprint, a photo, a name they wrote themselves, or a memory they pick out loud.