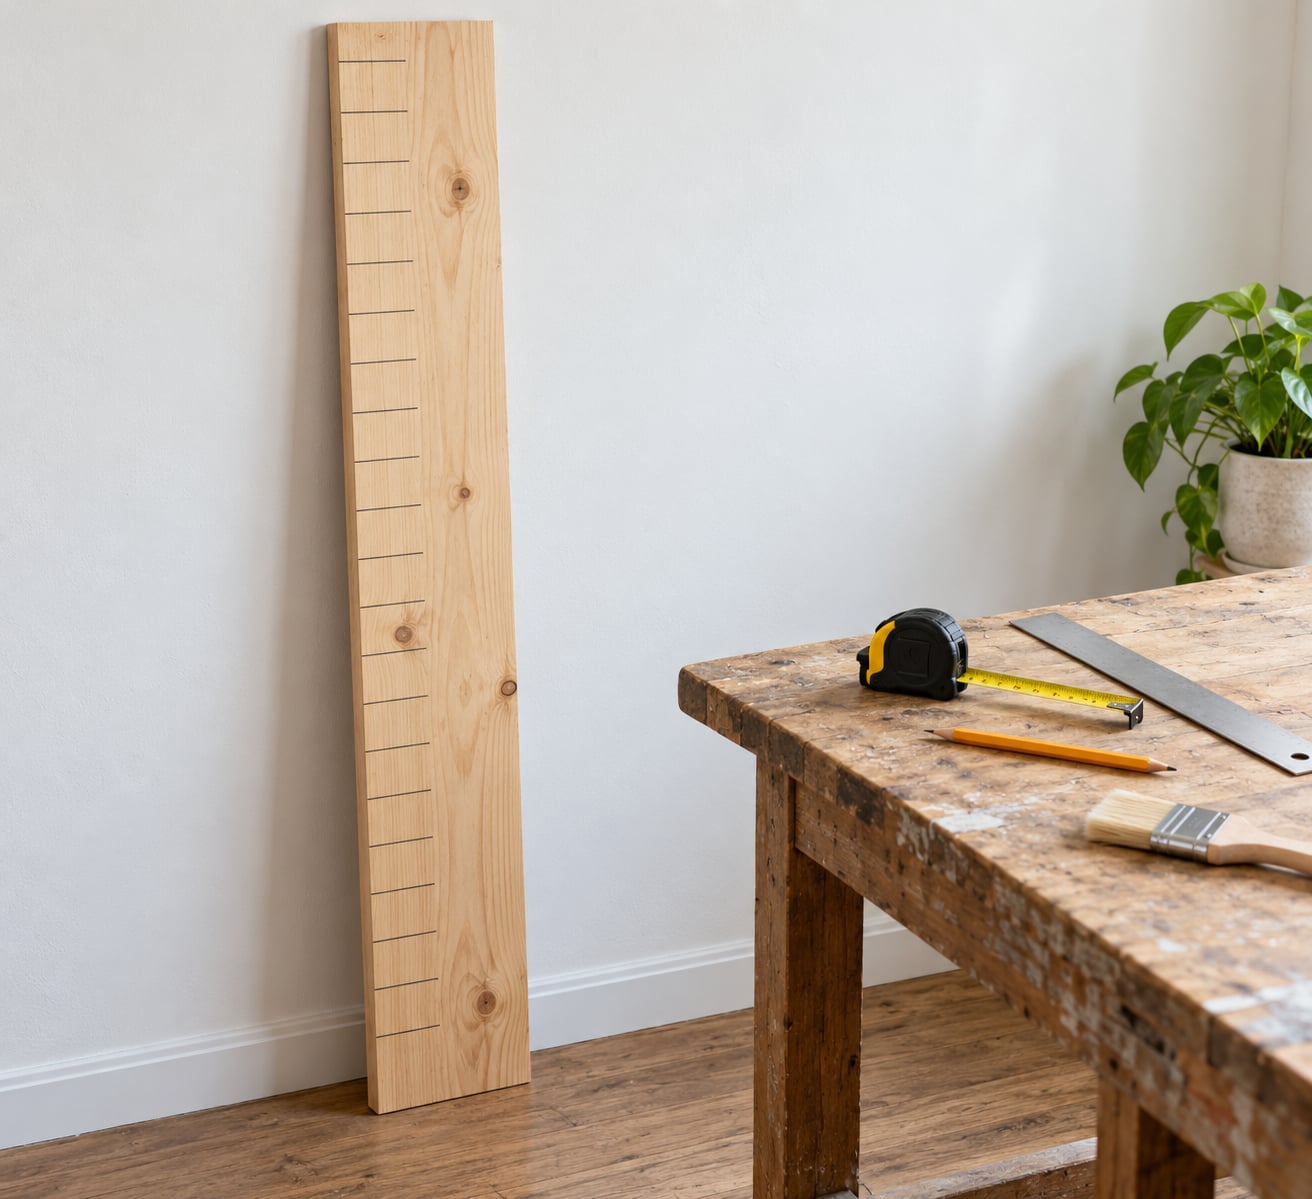
Learning how to make a growth chart ruler for kids takes one afternoon of active work plus about two days of drying. You cut and mark a long board, seal it, hang it level, and then mark where your child’s head lands each year.
A growth chart ruler is a long wooden board, usually four to six feet of pine, marked with accurate inch lines and numbered foot lines so you can measure and record a child’s height over time. It replaces erasable pencil marks on the baseboard and survives the move to the next house.
Updated for October 2026.
Most families get through this with a tape measure, a pencil, and a strip of pine board. The part that trips people up is not the staining or the decorating. It is getting the zero point right, because a board mounted above a baseboard will read every height wrong if you measure from the wrong spot.
Table of Contents
- 1What You Need
- 2How the four base options compare
- 3How to Make a Growth Chart Ruler for Kids
- 4Choose the Ruler Base and Measurement Scale
- 5Mark the Starting Point and Measurement Lines
- 6Add Height Labels and Decorative Details
- 7Finish and Display the Growth Chart
- 8Common Mistakes
- 9Frequently Asked Questions
- 10What is the best material for a homemade kids’ growth chart ruler?
- 11How do I make a growth chart accurate for a child who is not standing straight?
- 12Should a kids’ growth chart use centimeters, inches, or both?
- 13How high should a growth chart ruler be for a young child?
- 14How do I mount a growth chart without damaging the wall?
- 15Can I make a growth chart ruler from a paper printout?
What You Need
You only need four things to build a working chart: a straight board, a way to measure and mark it, a finish, and hanging hardware. Everything else is optional decoration. Most of this list is already sitting in a garage or a craft drawer.
- Board. A 6-foot pine board, roughly 1×4 or 1×6. A 4-foot board works fine for toddlers and preschoolers under about 48 inches.
- Tape measure and pencil. A tape measure beats a ruler here because you can hook it into a corner and walk it up in one go.
- Straightedge. A metal ruler or a small level for snapping straight inch lines across the grain.
- Sandpaper. 120 grit is smooth enough to take pencil marks later and rough enough to clean up rough stock.
- Stain or paint, plus pre-stain conditioner. Conditioner is optional on MDF but close to essential on pine, which drinks stain unevenly without it.
- Clear finish. Matte polyurethane brushed on, or a clear spray coat applied outdoors.
- Number stencils or a paint pen. Stencils give even numbers; a paint pen lets you add dates beside each line.
- Hanging hardware. A D-ring or picture frame hanger for studs, or removable strips if you rent.
How the four base options compare
| Base | Cost | Difficulty | Lasts | Works if you rent |
|---|---|---|---|---|
| Pine board | Low, a few dollars for materials | Moderate, sanding and finishing | Decades | Only with removable strips |
| Paper printout | Lowest, one sheet and a printer | Easy, print and tape | Months | Yes |
| Vinyl decal | Moderate | Easy, peel and stick | Years if the wall allows it | Usually, adhesive comes up cleanly |
| Fabric measuring tape | Low | Easy, nail a strip up | Ages | Yes |
The paper version is worth knowing even if you plan to build the wooden one. Print the scale on large paper, tape the edges together, laminate it or cover it with clear packing tape, and you have a chart that works for a first year and then folds into a drawer.
How to Make a Growth Chart Ruler for Kids
The build breaks into four parts: choosing the board and scale, setting the zero point and drawing the marks, labelling it, and finishing and hanging it. Take the whole project across a weekend so the finish has time to cure between coats.
Choose the Ruler Base and Measurement Scale
Pick a board long enough for where your child will be, not where they are now. Most people start with an 8-foot length and cut it down; cut a 6-foot board and hang it so the bottom edge sits one foot above the floor, which puts your numbering in the middle where you can reach it.
Decide on inches, centimeters, or both before you draw anything. Adding a metric scale costs nothing if you plan for it: mark every inch line as usual, then convert with the 2.54 multiplier and space the centimeter ticks in the margin, or run a centimeter ruler along the opposite edge.
Set the zero point before you mark the first line. Most baseboards are taller than people assume, often three to eight inches, so a board butted against the wall and measured from its top edge will under-report every height. Measure from the actual floor with a tape measure hooked into the corner.
Mark the Starting Point and Measurement Lines
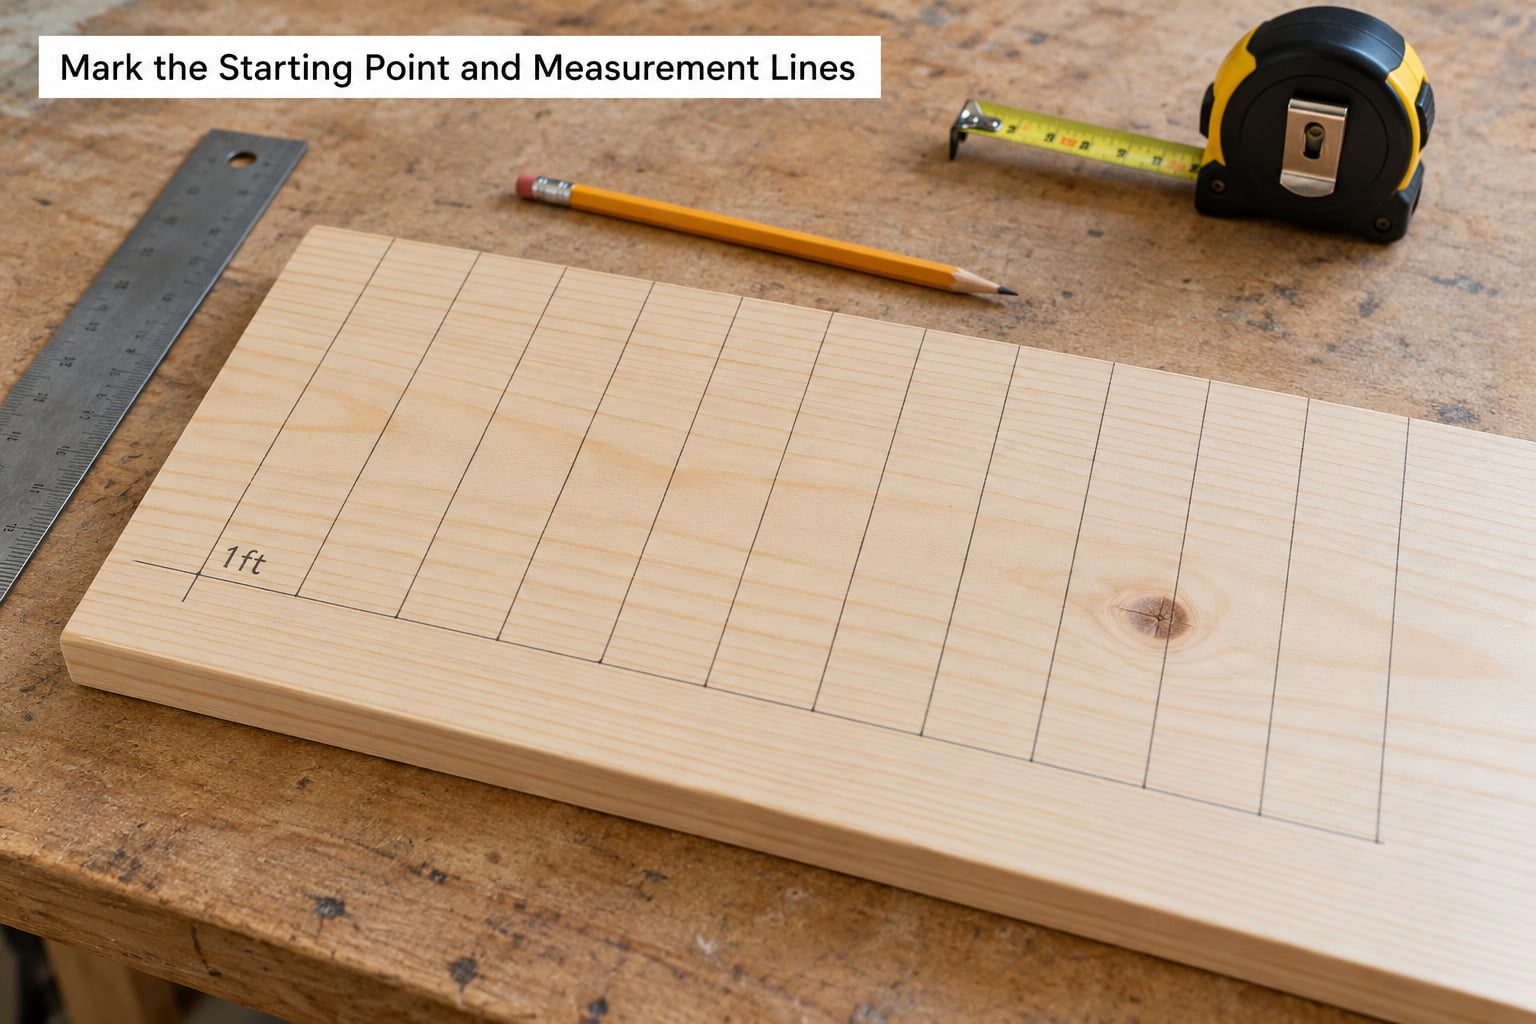
Measure twelve inches straight up from the floor and draw your first numbered line there. Everything else hangs off that single number, so getting it right is worth more than any other step in this guide.
- Hook the tape into the floor at a wall corner and pull it straight up to twelve inches.
- Mark a short line there and write a small “1 ft” beside it.
- Add eleven more lines at one-inch intervals to reach the 2-foot line.
- Repeat the same twelve-inch span up the board, measuring each span separately rather than carrying one long measurement past four feet.
- Make the inch lines short, the six-inch and twelve-inch lines medium, and every numbered foot line run the full width of the board.
Short segments beat one long measurement. A tape that stays kinked or sags past four feet will drift, and a drifted mark means every number above it is wrong. Twelve one-foot runs stay flat and take about the same time.
Add Height Labels and Decorative Details
Add the numbers after the finish is fully dry, or stencil them on the final coat if you want them sealed under the top coat. Stencils give even spacing; a paint pen gives you a handwritten look that suits a farmhouse board.
Personalise the margin, not the scale. A name at the bottom, a birth date, and a dated line beside each measurement turn it into a keepsake your child can take when they move out.
- Write the child’s name and birth date near the zero end.
- Add a date and age beside each new height mark.
- Add a handprint or footprint near the first year mark if you have one.
- Keep paint pens and glitter out of the measuring column so the numbers stay readable.
Finish and Display the Growth Chart
Seal the board only after the numbers are on and the ink has fully dried. Two or three thin coats of matte polyurethane with a light sanding between each gives a surface you can wipe with a damp cloth for years.
Brush-on polyurethane gives you control but makes a sticky floor if you spill. A spray clear coat is faster and even, so take the board outside and work on a drop cloth with the wind behind you.
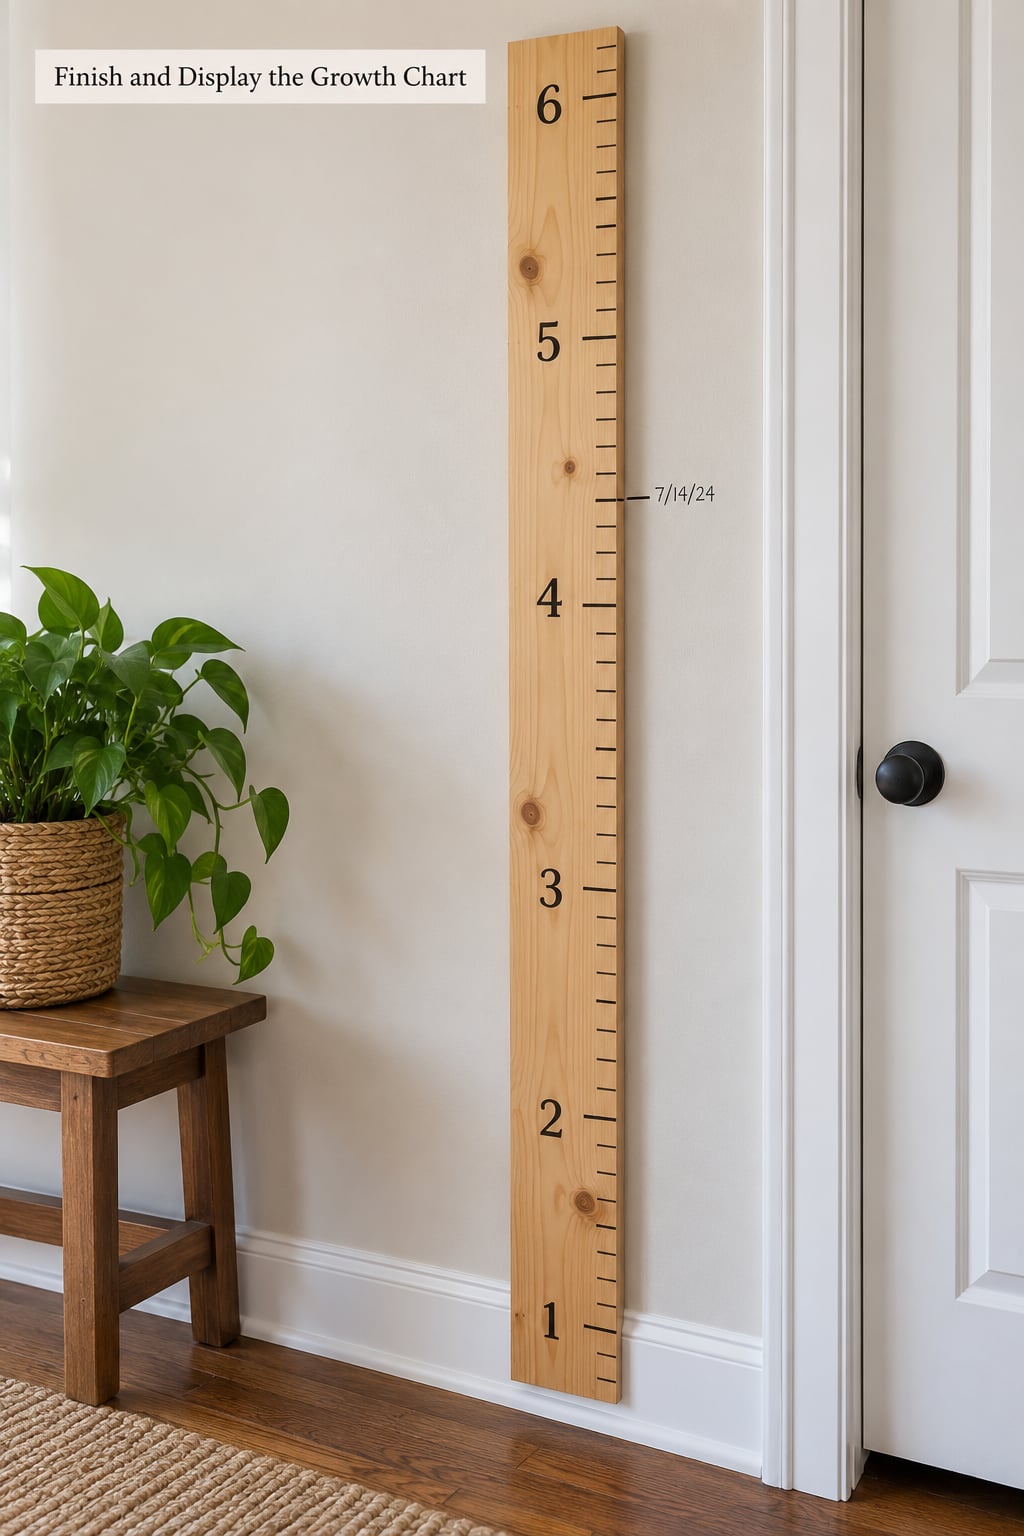
Hang it level, because a tilted ruler makes a growing child look crooked. Find two studs with a stud finder, attach a picture frame hanger or D-rings about two inches from the top edge, and check the drop with a level before you finish.
If you rent or move often, use removable mounting strips rated well above the board’s weight and never trust a strip on a textured wall. When you take the board down for a move, patch the nail holes before you repaint, and photograph each height mark before the board goes in a box.
Common Mistakes
Nearly every wrong height on a DIY chart traces back to one of six mistakes. All of them are fixable before you start, and four of them cost nothing.
Measuring from the top of the baseboard. The fix is to hook the tape into the floor and measure twelve inches up from there, then hang the board so its own zero point lands on that floor line.
Marking lines freehand. Use a straightedge for every line. Freehand inch lines drift enough to add an inch of error over four feet.
Skipping pre-stain conditioner on pine. Soft pine raises its grain after staining and leaves the board blotchy and hard to mark. Conditioner first, then a quick sand with 120 grit, takes fifteen minutes and saves the whole finish.
Using one long measurement instead of short spans. Break the board into twelve-inch runs. A sagging tape above four feet is the usual reason a homemade chart runs wrong.
Sealing before the numbers are done. Clear coats over pencil and paint pen smear the markings. Mark, dry, then seal, or seal the bare board and add numbers on top afterwards.
Hanging without a level. Even a quarter inch of tilt across six feet looks wrong forever. Check the top edge and both ends before you walk away.
Frequently Asked Questions
What is the best material for a homemade kids’ growth chart ruler?
Pine board is the best all-round choice because it is cheap, light, easy to sand, and takes stain and paint well. Beech, birch and maple look nicer and take a clear coat more smoothly. MDF and plywood work for paint but need sealing on the edges. A paper printout is fine for the first year and a fabric measuring tape strip is the easiest option if you rent.
How do I make a growth chart accurate for a child who is not standing straight?
Stand your child with shoes off, heels together and back against a flat wall, then have them look straight ahead rather than up at you. Use a flat book or a piece of cardboard pressed gently on top of the head until it is level, and mark where the book meets the head. Measure twice on the same day and record the larger reading if they shift.
Should a kids’ growth chart use centimeters, inches, or both?
Inches with numbered feet works well if your family thinks in inches, and centimeters work well if you compare readings with a clinic. Both is the best option when you travel or split time between countries. Mark the inch scale first, then multiply every inch by 2.54 and add a centimeter tick in the margin so both scales line up on the same board.
How high should a growth chart ruler be for a young child?
A four-foot chart covers most children up to about 48 inches, which is past the height of most four year olds. A six-foot chart gives you years of use and can still be reached while hanging. If you buy an eight-foot length and cut it down, hang the cut piece so its bottom edge sits one foot above the floor, which puts the numbered range within easy reach.
How do I mount a growth chart without damaging the wall?
Use removable mounting strips rated well above the weight of the board, and stay clear of textured walls because adhesive strips hold poorly on them. Attach the strips to the back of the board before you finish it so you are not leaning a heavy board against a wall while you work. Push each strip along the wall for about thirty seconds and wait a full day before hanging anything.
Can I make a growth chart ruler from a paper printout?
Yes, and it is the quickest option. Print the scale at full size on large paper, confirm a twelve-inch span measures twelve inches on the printout, then tape the edges together to make a long strip. Laminate it or cover it with clear packing tape so it wipes clean. Paper works well for the first year or two, and you can mount it the same way as a wooden board.
Stand your child against the finished chart with shoes off, heels together, and a flat book resting on the head. Mark that spot, measure twelve inches up from the floor for your first numbered line, and label each new measurement with its date. Everything else on the board is decoration.