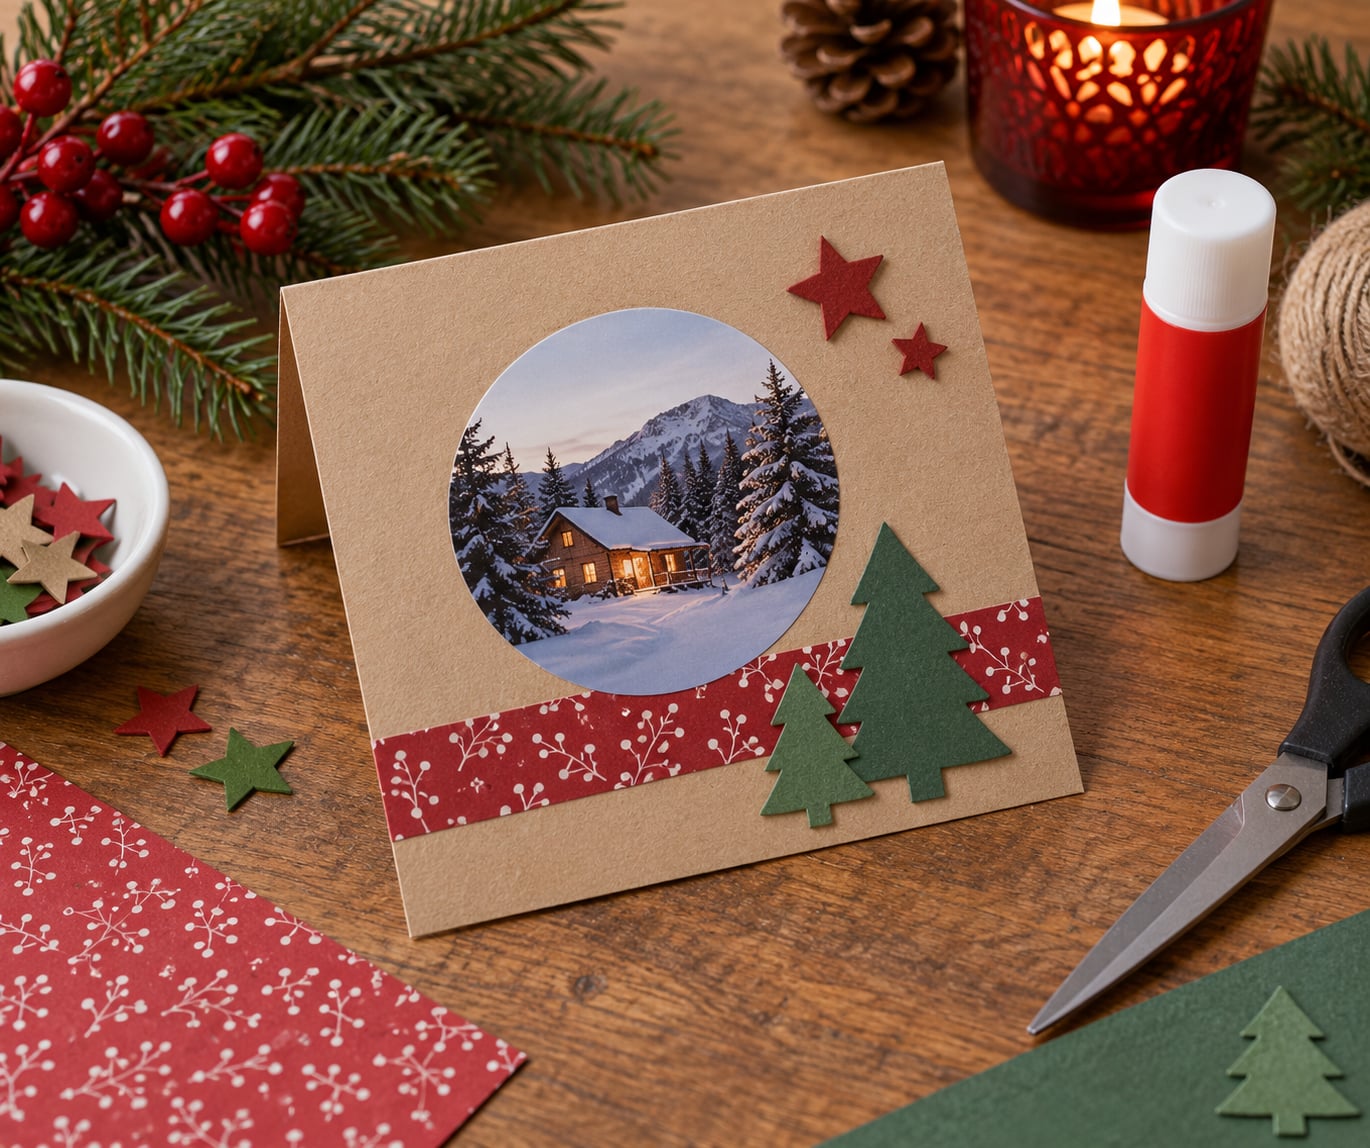
A photo Christmas card is a folded card with a printed picture of your child glued or printed onto the front, finished with a border or a few paper details and a short handwritten message inside. To make one, pick one clear photo, print it to match your card size, mount it on card stock, and add two or three festive touches – about 30 minutes of work for the whole list.
If you have a long list of relatives to send to, make the first one carefully and then repeat the same design with different photos. Grandparents tend to keep those cards in a drawer year after year, so the effort is worth it.
Table of Contents
- 1What You Need
- 2What photo size fits which card?
- 3Step-by-Step: How to Make a Christmas Card With a Child’s Photo
- 4Choose and Prepare the Photo
- 5Create the Card Background
- 6Cut and Attach the Photo
- 7Add Christmas Details
- 8Write the Message and Finish the Card
- 9Common Mistakes and Easy Fixes
- 10Common Mistakes to Fix Before You Mail the Card
- 11Frequently Asked Questions
- 12What kind of paper should I use for a Christmas card with a child’s photo?
- 13How do I print a child’s photo at the right size for a handmade card?
- 14What materials are safe to use when making this card with a young child?
- 15Can I use a rectangular photo instead of cutting it into a circle or oval?
- 16What should I write on a Christmas card made with a child’s photo?
- 17How can I make the finished card last longer without laminating it?
- 18Conclusion
What You Need
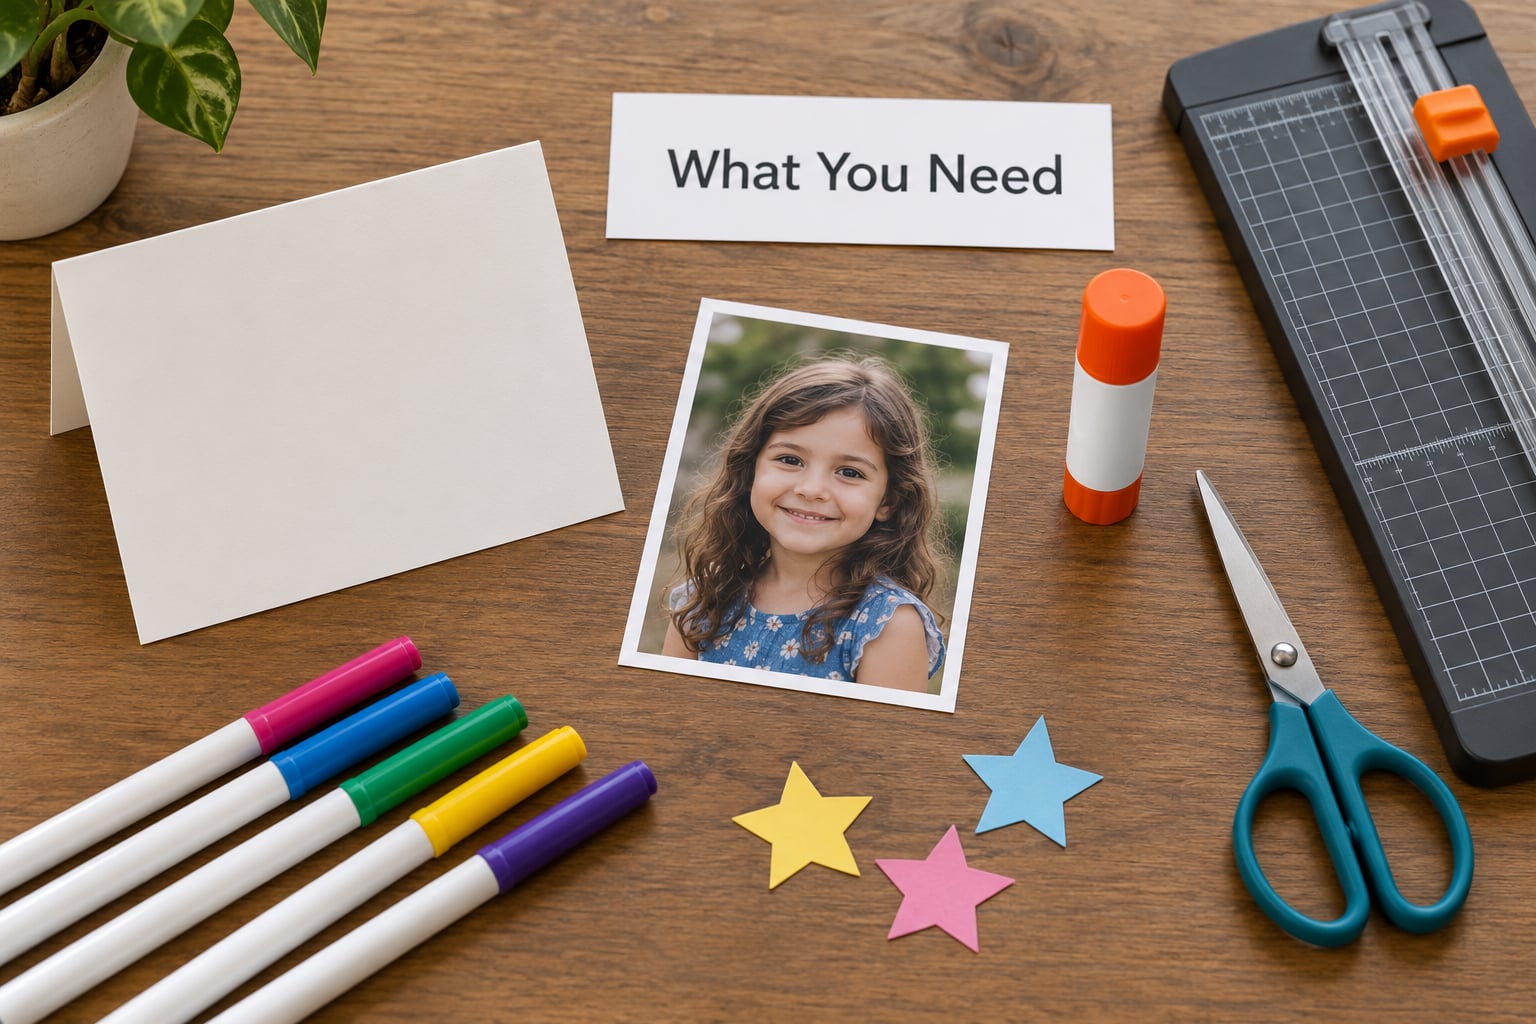
Gather everything before you start. Most of it is already in a craft drawer, and you can substitute freely.
- One clear photo of your child. Head and shoulders, eyes open, plain or uncluttered background. Avoid busy scenes, hard shadows across the face and photos taken at an angle.
- A printed copy of that photo. Most home printers do a 4x6in or 5x7in photo well. If the image is digital, size it to fit the card before printing rather than printing full size on a sheet and cutting blind.
- Card stock. A folded blank card around 5x7in or A6 works for most photos. Heavier card feels better but can show ink bleed-through on an inkjet printer.
- Scissors or a craft knife with a cutting mat and ruler. Use a craft knife only if you are comfortable with it, and cut away from your body.
- Glue. A glue stick works best on card stock. Craft glue gives a stronger hold but needs longer to dry and can warp thin paper.
- Decorative paper or cardstock offcuts. For a border, a strip of Christmas pattern, or punched shapes.
- Markers or a fine pen for any hand-lettered greeting.
- Small embellishments. Foam dots, sequins, tiny stickers, ribbon or buttons. Keep them under about 5mm near the photo.
What photo size fits which card?
| Card size | Photo size to print | Notes |
|---|---|---|
| 5 x 7 in folded card | 4 x 6 in | Leaves a slim border on all four sides |
| A6 folded card | 3 x 4 in | Best for a mailing list of many cards |
| A5 folded card | 5 x 7 in | Photo nearly fills the front; add a border strip |
| A6 postcard, single sided | Round crop, about 3 in across | Glue the round photo flat and add a punched shape behind it |
The photo usually needs to be smaller than the card front, not the same size. Leave a border of paper on every side so the photo does not look squeezed against the fold.
Step-by-Step: How to Make a Christmas Card With a Child’s Photo
Choose and Prepare the Photo
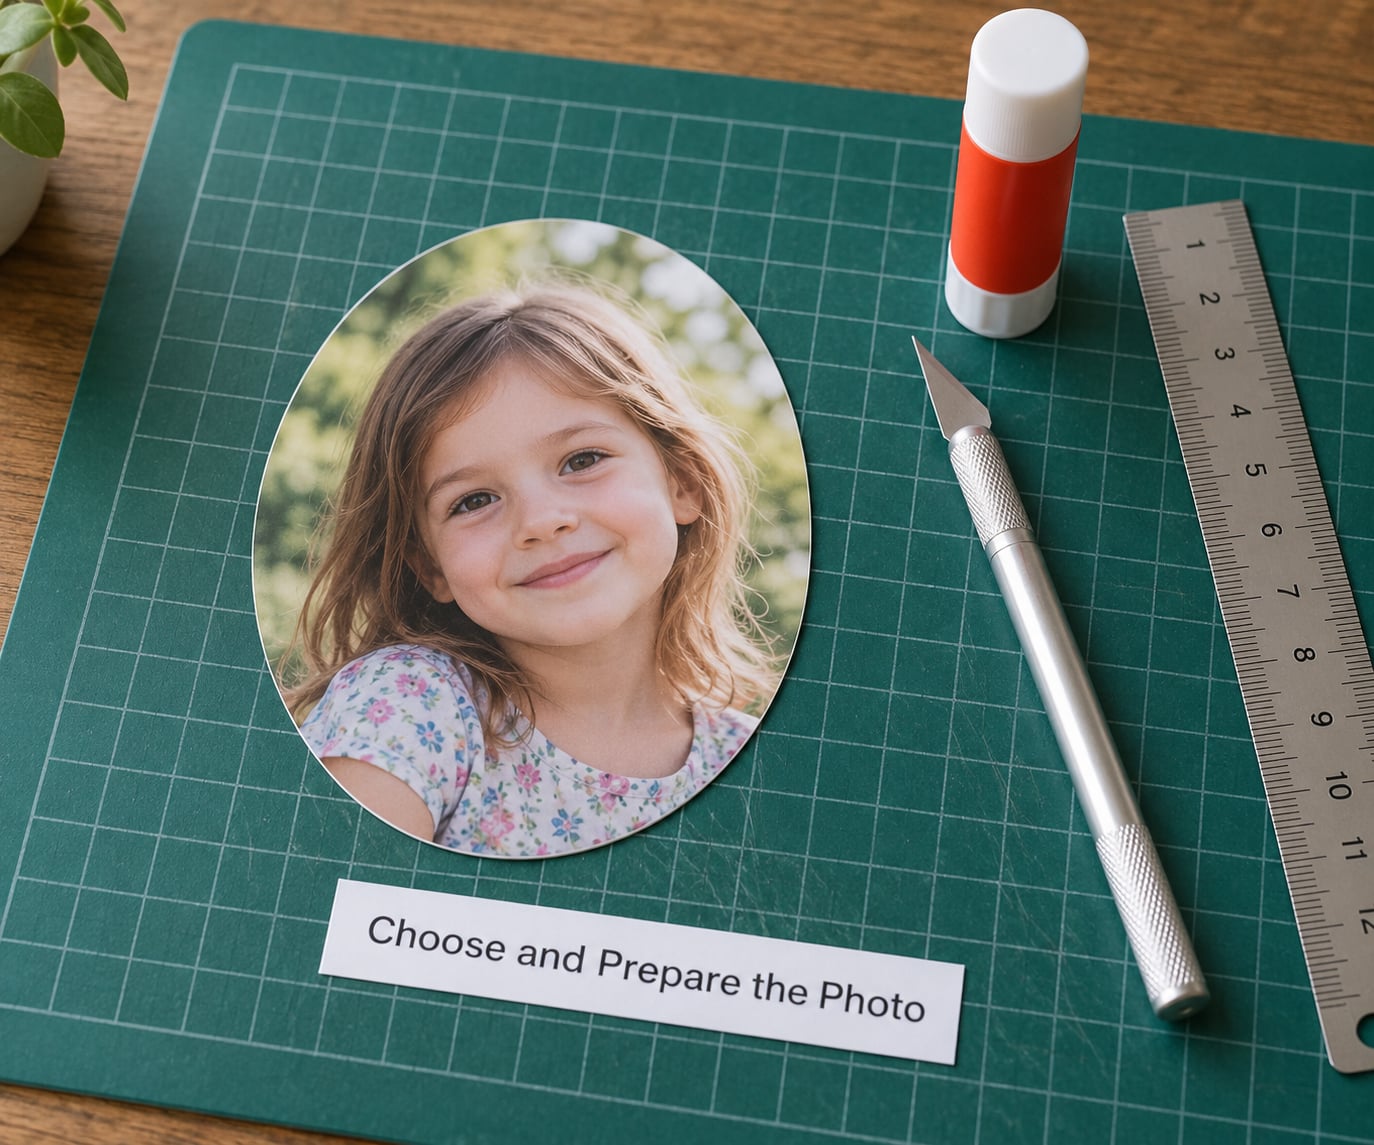
Choose the photo on the basis of what will still look good in ten years: a smiling face, eyes toward the camera, and a background you can crop away.
Match the orientation to the card. A child standing up usually crops well to a vertical rectangle for a portrait card; a child lying down or sitting on the floor reads better in a landscape crop.
Print the photo, then trim it. For an oval or circle, trace the shape lightly in pencil, cut just outside the line, then sand or trim the edge again. You want the face centered with a little breathing room above the head.
If the photo is only on your phone, email it to yourself and print from a phone, or upload it to a free card maker and download the finished design at print size. Do not blow a small screenshot up to card size – it prints pixelated.
Create the Card Background
Open the card so the front lies flat, and score the fold if the card does not fold cleanly. Lay the photo on the front before you stick anything down and nudge it around until the margins look even.
Two background approaches work well. A plain card in a deep red, forest green or kraft brown lets the photo carry the design. A patterned card with a busy print needs the photo to sit on a plain mat, which hides the pattern right at its edges.
Keep the lower third of the front clear if you plan to write the greeting on the card itself. Skip that if the message goes inside.
Cut and Attach the Photo
Have an adult handle any cutting with scissors or a craft knife. Children can help with the gluing instead, which keeps them involved in a job they can actually finish.
Apply glue in a thin spiral or dots on the back of the photo rather than a solid coat. Too much glue soaks through and leaves a wavy, permanently bumpy card.
Press the photo down from the centre outwards with a clean sheet of scrap paper, then leave it under something flat for ten minutes. It is ready when it lies completely flat with no lifted corners.
Add Christmas Details
Now the festive layer goes on, and the rule is simple: everything stays away from the eyes and mouth.
- A strip of patterned paper or a hand-drawn border frame in the empty margin around the photo.
- Punched or die-cut shapes: stars, trees, snowflakes, a small holly sprig, tiny silver sequins.
- A torn strip of kraft paper along the bottom as a “snow” edge.
- A paper frame mat cut slightly larger than the photo and layered behind it.
- A ribbon or twine bow at one corner of the front, not across the middle.
Two details beat six. A crowded card hides the photo, which is the entire point.
Write the Message and Finish the Card
Write the message inside in your own handwriting, even if it is uneven. Handwriting is what makes the card read as handmade rather than printed.
Keep it short. Options that work: “Merry Christmas from the whole family, and a hug from [name].” “Still laughing at everything, even after the third bad night.” “One year older, three times as loud. Merry Christmas.” Or simply a dated line for a baby’s first Christmas, which grandparents keep forever.
Check spacing before you sign: no message pushed tight into the fold, no name running into the last word. Then address the envelope, add the child’s name and age on the back if you like, and mail them with enough time for delivery before Christmas.
Common Mistakes and Easy Fixes
| Mistake | Why it happens | Fix |
|---|---|---|
| Busy card background | Pattern competes with the photo | Put the photo on a plain mat |
| Uneven cut line | No guide, freehand cutting | Trace first, cut outside the line, trim again |
| Wavy, rippled photo | Too much glue or not dried flat | Thin glue layer, press under a flat weight |
| Embellishments over the face | Decorating straight onto the photo | Move every detail into the border area |
| Message fills the whole card | Writing too much for the space | Cut to four lines, write in pencil first |
| Photo edges lift in the post | Card stock flexes and glue dries out | Use a full glue stick layer and press edge to edge |
Common Mistakes to Fix Before You Mail the Card
Most disappointing handmade cards come down to the same handful of problems, and every one has a quick correction.
- A cluttered photo. Crop tighter until the background is plain. The tighter crop also hides a blurry background you cannot fix.
- Covering the face. Decide where the decoration goes before you glue anything down, and keep to the margins.
- Over-decorating. Pick three details and stop. Empty card is not a problem; a card that looks homemade on purpose is.
- Rushing the message. Draft it in pencil, copy it in pen, then put the pen down. This is the step most parents say they get stuck on, not the craft itself.
- Starting too late. If you are printing at home, allow an evening for printing, an evening for cutting, and a week of buffer for the post. Late cards still get read, but they arrive after the day.
- Forgetting the envelope size. A trimmed circular photo needs an envelope that fits the card; check before you seal anything.
Two habits make the rest easier. Reuse one card design across the whole year and swap only the photo and the date line, and you get a growth record out of what would otherwise be a chore. And keep the finished cards flat in a folder rather than propped in a basket, since card stock bows under its own weight and the photo corners lift.
With toddlers, do the cutting and gluing yourself and let them stamp, tear paper or stick foam shapes on. School-age children can cut pre-drawn shapes and choose the border pattern.
Frequently Asked Questions
What kind of paper should I use for a Christmas card with a child’s photo?
Use a folded card blank in card stock, ideally around 300gsm or heavier, because a thin sheet curls and lets glue show through. Print on matte stock rather than glossy if you are using an inkjet printer; glossy card tends to smudge while the ink is still wet. A neutral or plain front is easier to decorate than a heavily printed one.
How do I print a child’s photo at the right size for a handmade card?
Measure the card front first, then print the photo about half an inch smaller in each direction so you have a border to work with. In your printer settings, set the paper type to card stock, switch quality to the highest setting, and turn off borderless printing unless you want the photo to run to the edge. Always print one test on scrap paper before the whole sheet.
What materials are safe to use when making this card with a young child?
Give the child the glue stick, stickers, stamps, torn paper and colouring, and keep scissors, craft knives and small beads out of reach. Non-toxic washable markers and finger paints are the usual choices for anything a child might put near their mouth. Anything small enough to swallow is not a good material for a card project.
Can I use a rectangular photo instead of cutting it into a circle or oval?
Yes, and for a lot of people it is the easier option. Mount the rectangle on a slightly larger sheet of coloured paper to make a simple mat, then glue that to the card. Corners only need rounding with a corner punch or the tip of your scissors, so there is no fiddly curved cutting involved at all.
What should I write on a Christmas card made with a child’s photo?
Keep it short and specific rather than a generic greeting. Name the child’s age, mention something that happened this year, and add a line about the family. For a baby’s first Christmas, a dated line plus a short promise for the coming year is plenty. Handwriting matters more than the wording.
How can I make the finished card last longer without laminating it?
Press the photo down thoroughly and let it dry fully under a flat weight before the card goes into an envelope, then keep the cards flat in a folder rather than standing them in a basket. A thin coat of clear craft sealant over glue joints adds protection without the plastic look, and archival photo corners hold the photo if its edges lift in storage.
Conclusion
Start with one clear photo printed slightly smaller than a plain card blank. Glue it down, keep the decorations in the margins, and write four honest lines by hand. Once that first card works, keep the same layout for the rest of the list.