If you’re wondering why do dyed Easter eggs turn out blotchy, it usually comes down to three things: the dye bath had too little vinegar to bond with the shell, the eggs were still wet or cold when they went in, or dye settled in the bottom of the container and touched some eggs harder than others. None of that means the eggs are ruined.
Most blotchy batches happen on the first try, in a kitchen, with kids waiting. The good news is that the fix is almost always a ratio, a temperature, or a drying step rather than a brand-new kit.
Table of Contents
- 1Why Do Dyed Easter Eggs Turn Out Blotchy?
- 2Why do dyed Easter eggs turn out blotchy at each step?
- 3What Causes Uneven Color on Dyed Easter Eggs?
- 41. Not enough vinegar in the dye bath
- 52. Dye that settled, or was too concentrated
- 63. Shells with residue or a cuticle film
- 74. Eggs that were not fully cooled and dried
- 85. A rapid temperature change during boiling
- 96. Oily or wet hands
- 107. Dye that has been used before
- 11How Can You Tell Whether the Problem Is the Egg or the Dye?
- 12How Do You Fix Blotchy Easter Eggs?
- 13How Do You Prevent Blotchy Easter Eggs Next Time?
- 14What Dyeing Method Gives the Smoothest Easter Egg Color?
- 15Frequently Asked Questions
- 16What does vinegar do when dyeing eggs?
- 17Can I re-dye eggs that came out blotchy?
- 18Why do my dyed eggs look patchy only after they dry?
- 19Are blotchy dyed eggs safe to eat?
- 20Will gel food coloring work for dyeing eggs evenly?
- 21Why does dye bubble on the eggshell and leave white marks?
- 22Conclusion
Why Do Dyed Easter Eggs Turn Out Blotchy?
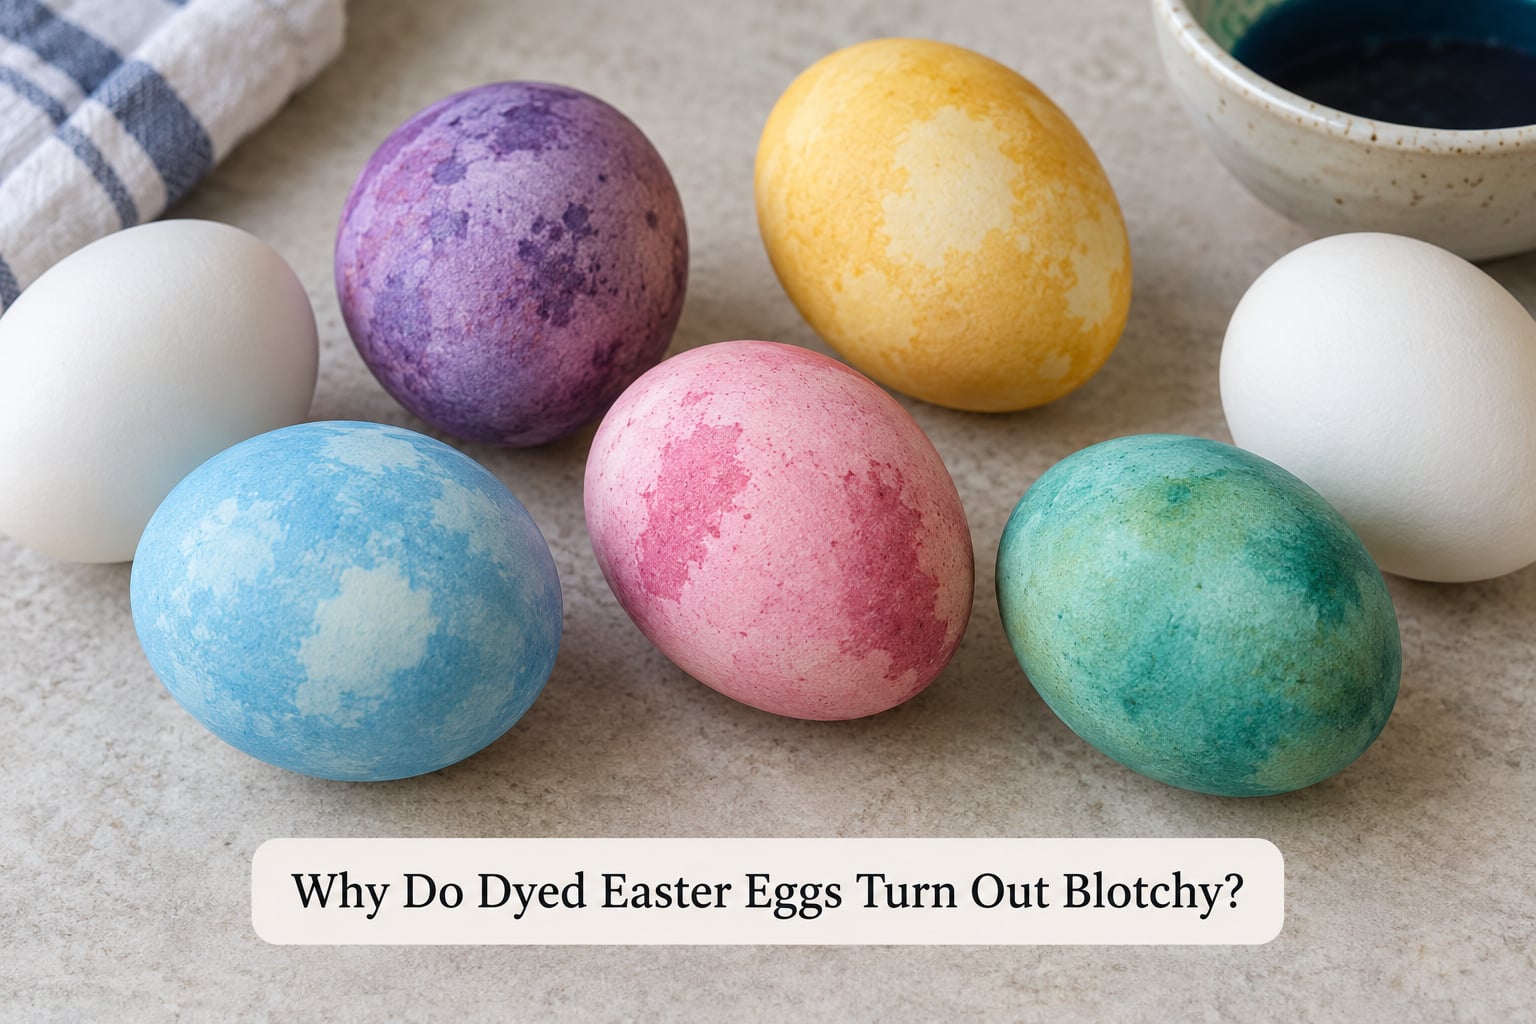
Dyed Easter eggs turn out blotchy when the color does not spread evenly across the whole shell. Some areas absorb pigment and others barely take any, so you end up with pale patches, dark spots, or streaks that look like a failed dye job.
That uneven uptake can start at four different points, and it helps to know which one you’re dealing with:
- Boiling: eggs dropped into rapidly boiling water, or cooled under running water too fast, can develop hairline cracks that let dye concentrate along the lines.
- Cooling and drying: a wet shell holds a film of water, and dye settles into that film in patches instead of spreading.
- Mixing the dye: food coloring poured in without stirring sinks, and the concentrated layer at the bottom leaves dark patches on whatever rests there.
- Application: a hand slipping in the bowl, or dye dripping from a spoon back onto the shell, deposits a concentrated drop that dries as a hard spot.
Why do dyed Easter eggs turn out blotchy at each step?
Experience with this failure points at mixing and surface prep far more often than at the eggs themselves. If the same bath colors nine eggs well and leaves one strange, that egg had a different surface, not a different dye.
What Causes Uneven Color on Dyed Easter Eggs?
Here are the causes in the order you usually notice them.
1. Not enough vinegar in the dye bath
Eggshell is calcium carbonate, an alkaline surface. Food coloring needs a little acid to stick to it, and that acid comes from the white vinegar in the bath. Skip it or use too little, and the dye slides off or pools instead of spreading, which shows up as pale and patchy color.
2. Dye that settled, or was too concentrated
Food coloring is heavier than water. Stir it properly and the color comes out uniform; skip the stirring and the bottom of the bowl holds a syrupy pool. Eggs sitting on that pool pick up dark blotches that look almost burned, while eggs near the surface stay faint.
3. Shells with residue or a cuticle film
Commercially washed eggs carry a thin protective coating, sometimes called a cuticle or bloom. It sits on the shell and repels liquid, so dye beads up and skips those areas. An uneven wash, a damp carton, or a shell that was handled a lot before boiling is usually why one egg in a batch behaves differently from the rest.
4. Eggs that were not fully cooled and dried
Water on the shell dilutes the dye right where it sits, producing pale blotches with sharp edges. A fridge-cold egg dropped into a warm bath does the same thing: the temperature shock makes the surface contract unevenly, so color grips some patches harder than others.
5. A rapid temperature change during boiling
Going straight from fridge-cold to boiling water cracks shells, and crack lines channel dye into hard streaks. Warm the eggs gradually in cool water, bring the pot up to a boil, then hold it there for ten to twelve minutes.
6. Oily or wet hands
Fingerprints are oil, and oil is a natural resist. Eggs handled with damp or greasy hands dye unevenly right where you grabbed them, and the same applies to shells with any residue from the carton or from unwashed hands.
7. Dye that has been used before
A bath that has already soaked one batch of eggs is diluted and uneven by the time you dip again. Egg dye baths can be saved in sealed bags for a couple of days, but always make a fresh one for a clean, even second batch.
How Can You Tell Whether the Problem Is the Egg or the Dye?
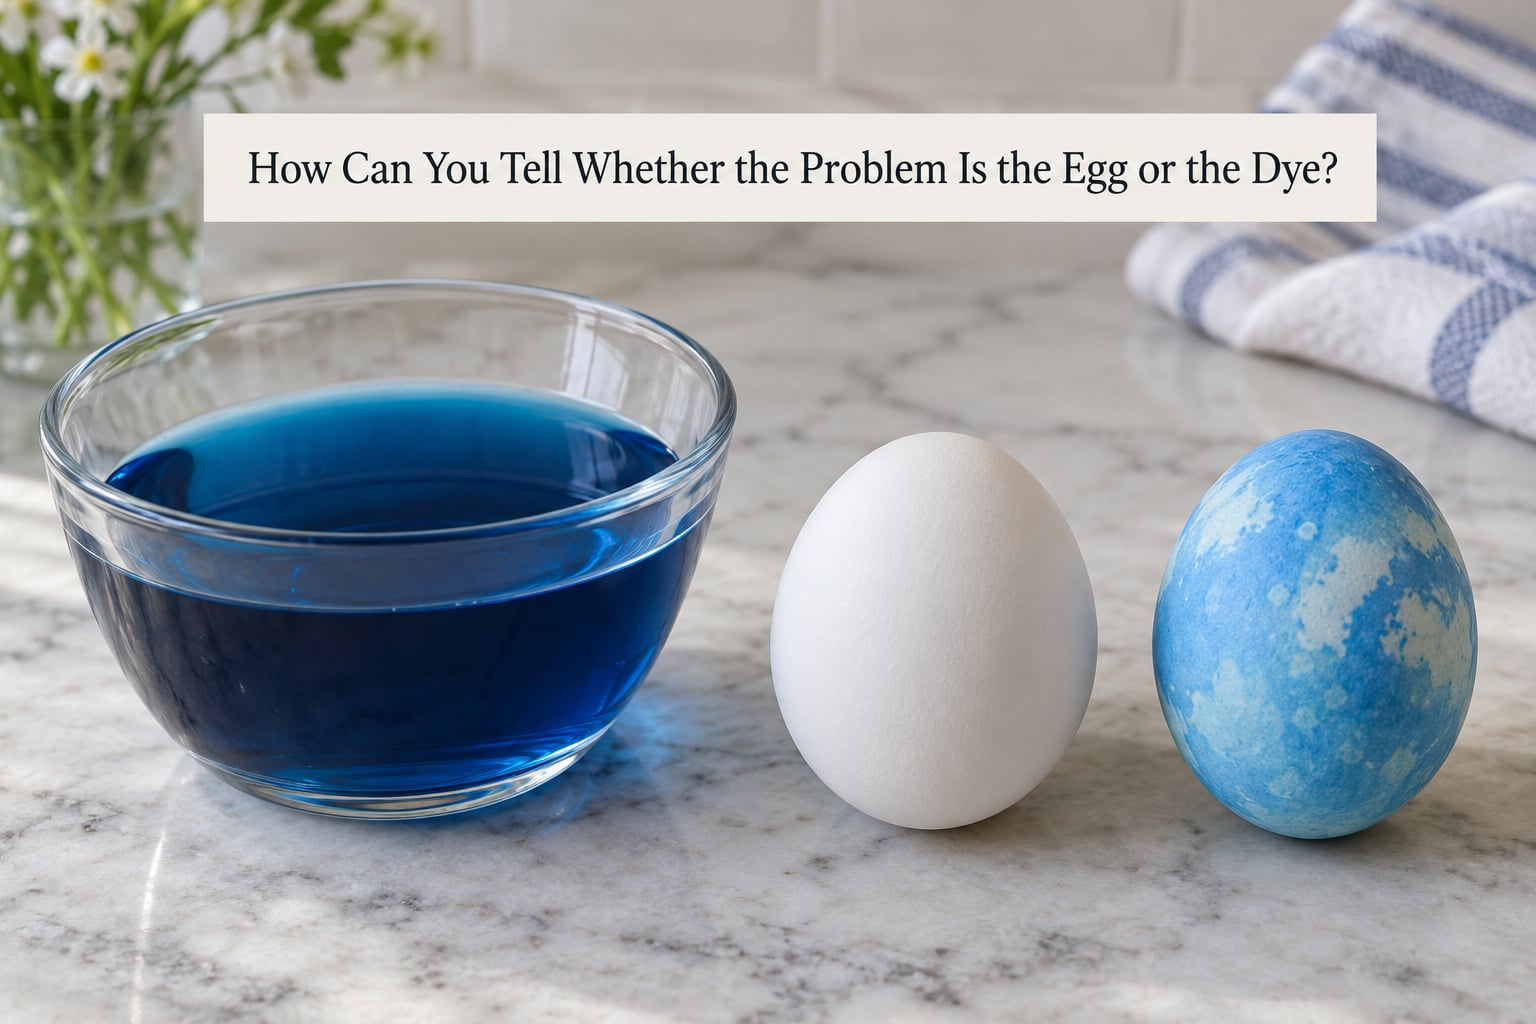
Look at where the blotches sit before you change anything. Patches that follow shell texture point at the egg; dark pools and drips point at the dye or at handling.
| What you see | Most likely cause | What to do |
|---|---|---|
| Pale washed-out patches | Not enough vinegar, or water still on the shell | Add 1 teaspoon white vinegar per cup of water, dye fully dry eggs |
| Dark concentrated spots | Unstirred dye settled at the bottom of the bowl | Stir before every dip and lift eggs slowly with a spoon |
| White rings or bubble marks | Bubbles clinging to the shell while soaking | Stir gently during the soak, use 1 tablespoon vinegar per cup for natural dyes |
| Streaky smears along one direction | Dripping or splashing concentrated dye on the shell | Hold the egg under the surface and lift without letting dye fall back |
| Dull color that never darkened | Dye bath too diluted or soak too short | Use 10 to 20 drops per half cup of water and soak 20 to 30 minutes |
| One odd egg in an even batch | Shell residue, cuticle film, or an older cracked egg | Wipe shells with a vinegar solution before boiling |
| Mottled swirls you actually wanted | Oil, salt, or shaving cream resist working as intended | Nothing to fix, that is the design |
Two quick tests will tell you where the fault sits. Dip one egg in plain warm water for five minutes: if pale patches appear as the water evaporates, the shell itself is the problem. Then dip a second egg into a small cup of freshly stirred dye with a full teaspoon of vinegar: an even result there means your original bath was the issue.
How Do You Fix Blotchy Easter Eggs?
You cannot take color back off a shell, but you can make the eggs look deliberate instead of accidental.
- Give it a second, even coat. Make a fresh dye bath at full strength, stir it well, and soak the eggs for another 15 to 20 minutes. A second coat over blotchy color reads as depth rather than as a mistake, especially in a darker shade.
- Go one shade darker or try a complementary color. Blotchy yellow covered in a deep orange looks like a design. Blotchy red dipped in blue looks like marbling, and that is the easiest fix when you have kids watching.
- Lean into it with a pattern technique. Dye the whole batch one flat color, then add shaving cream swirls, a salt speckle finish, or dye blockers such as rubber bands and stickers. The uneven base stops being visible.
- Peel and use the eggs for crafts. Once dyed, the shells are not food safe in most cases anyway. Peel them for deviled eggs or egg salad, and use the shells for a mosaic, a garland, or a necklace for the kids.
How Do You Prevent Blotchy Easter Eggs Next Time?
- Wash the shells first. Wipe each egg with a 1:1 vinegar and water solution before boiling. That removes the cuticle film and any carton residue. A quick rinse helps, but soaking too long can etch the shell.
- Bring eggs up to temperature slowly. Warm them in cool water, then bring the pot to a boil. Never put fridge-cold eggs straight into rolling water.
- Cool completely and dry thoroughly. An ice bath is fine, but drain the eggs and air dry them on a rack or paper towel for at least 30 minutes. Dye goes on bone dry.
- Mix the bath with real ratios. For liquid food coloring, use half a cup of warm water, 1 teaspoon white vinegar, and 10 to 20 drops of color. For natural dyes like onion skins or red cabbage, use 1 tablespoon of vinegar per cup of strained liquid.
- Stir before every dip and during the soak. Dye settles fast. Stir the bath, lower each egg under the surface with a spoon, then lift slowly and set it on a rack so nothing drips back.
- Pick your soak time deliberately. Five minutes gives a pastel, 10 to 15 minutes a medium tone, 20 to 30 minutes a deep color, and overnight the boldest result. Longer soaking does not fix an already uneven surface.
- Dry without touching. Set dyed eggs on a rack or folded paper towel and let them air dry. Rubbing them is what smears a wet surface into a streak.
- Use eggs that are one to two weeks old. Older eggs have more porous shells and take dye more evenly. Store them in the carton, unwashed, until the night before.
One food-safety note: if the eggs are meant to be eaten, use food-safe dye, refrigerate them within two hours, and keep them in the fridge rather than on a counter. Non-food craft glitters and markers are not for the inside of a shell you plan to peel and serve.
What Dyeing Method Gives the Smoothest Easter Egg Color?
| Method | How evenly it colors | Watch for |
|---|---|---|
| Liquid dye bath with food coloring | The most even result when the vinegar ratio and drops are measured | Unstirred dye pooling at the bottom |
| Store-bought dye tablets | Consistent, because vinegar and dye are pre-measured | Water too cool slows the color; pale patches mean under-soaking |
| Foam or shaving cream dye | Even base color, intentionally patterned on top | Patterns look blotchy but are the point |
| Onion skin dye | Smooth amber to gold, simmered color | Weaker earth tones if the vinegar is skipped |
| Red cabbage or beet dye | Deep blue and pink on clean, warm shells | Color shifts with pH, so patchiness reads as marbling |
For families and classrooms, the plain liquid bath wins. Measured vinegar, measured drops, warm eggs and a stir before each dip is the shortest route to a solid single color, and every other method can produce an intentional pattern when you want one.
Frequently Asked Questions
What does vinegar do when dyeing eggs?
Vinegar supplies the acid that lets dye bond to calcium carbonate, the mineral that makes up eggshell. Without enough of it the dye beads up and washes off unevenly, which is why a missing or scant vinegar shows up as pale patches. A teaspoon per cup of water works for liquid food coloring; natural dye baths use closer to a tablespoon per cup.
Can I re-dye eggs that came out blotchy?
Yes. Make a fresh, well-stirred dye bath at full strength and soak the eggs again for 15 to 20 minutes. The second coat evens out the look because fresh dye covers the uneven patches evenly. Dyeing a second time cannot strip the first color, so work one shade deeper or try a complementary color if you want the result to look deliberate.
Why do my dyed eggs look patchy only after they dry?
Wet dye keeps moving, so blotches do not fully show until the shell dries and the color sets. Streaks that appear on a rack are usually dye that dripped back onto the egg while it was still wet. Hold each egg under the surface while dipping, lift it slowly, and set it on a rack where the drips cannot land on another egg.
Are blotchy dyed eggs safe to eat?
Blotchy color on its own does not make an egg unsafe. What matters is whether the dye was food-safe and how the eggs were stored. Use food-safe dye, refrigerate within two hours, and avoid craft glitters or non-food markers. Eggs dyed with water and food coloring are fine to peel and eat once refrigerated.
Will gel food coloring work for dyeing eggs evenly?
Yes, and gel coloring often colors more evenly because the pigment is already well dissolved with no watery layer. Start with fewer drops than liquid coloring, roughly five to ten per half cup of water, and add more if the color looks thin. The vinegar ratio does not change with gel, so keep a teaspoon per cup of water.
Why does dye bubble on the eggshell and leave white marks?
Air bubbles stick to the shell during the soak and block dye from reaching the spots underneath. Stir the bath gently a few times, keep the eggs fully submerged, and use enough vinegar to keep the bath properly acidic. Natural dye recipes often call for a tablespoon per cup of strained liquid, which keeps bubbles from forming on the shells.
Conclusion
Start with clean, completely dry eggs and a freshly stirred dye bath. Wipe the shells in vinegar and water, bring eggs up to temperature slowly, measure a teaspoon of vinegar per cup for liquid dye, stir before each dip, and air dry on a rack without touching.
Irregular shells, marbled methods, and wax-resist patterns will always produce variation, and that variation is fine. True pooling, streaks and uneven patches are usually a mixing, moisture or acid problem, and all three are easy to correct. If a batch already looks blotchy, dip it again in fresh dye and the mess becomes the pattern.