A cardboard Halloween mask is a cut face shape given depth, decorated however you like, and held on with elastic or ribbon. The basic method takes about an hour of active work plus drying time, needs no sewing and no special tools, and works just as well for a seven-year-old as for an adult.
The part that trips people up is depth. Flat cardboard cut into a face is just a flat face, and it sits stiffly a few centimetres away from the wearer’s features. Fix that with scoring, pre-soaking and a few layers of glue, and the same sheet of cardboard starts to curve around a real head.
I build these the same way every year with my kids, and we start about four days ahead so paint and papier-mache have time to dry. Plan it as a weekend project rather than an October 30 evening project.
Table of Contents
- 1What You Need
- 2Step-by-Step: How to Make a Cardboard Halloween Mask
- 3Step 1: Choose and Flatten the Cardboard
- 4Step 2: Trace the Mask Shape
- 5Step 3: Cut the Eyes and Face Shape
- 6Step 4: Add Straps or Elastic
- 7Step 5: Decorate the Mask
- 8Common Mistakes and Quick Fixes
- 9Frequently Asked Questions
- 10What is the best cardboard for a Halloween mask?
- 11How big should a cardboard Halloween mask be?
- 12Can I make a cardboard mask without wearing it?
- 13How do I attach the mask so it stays on?
- 14How long should I let a painted cardboard mask dry?
- 15What decorations are safe to use on a cardboard mask?
- 16Start This Weekend and Finish Before Halloween
What You Need
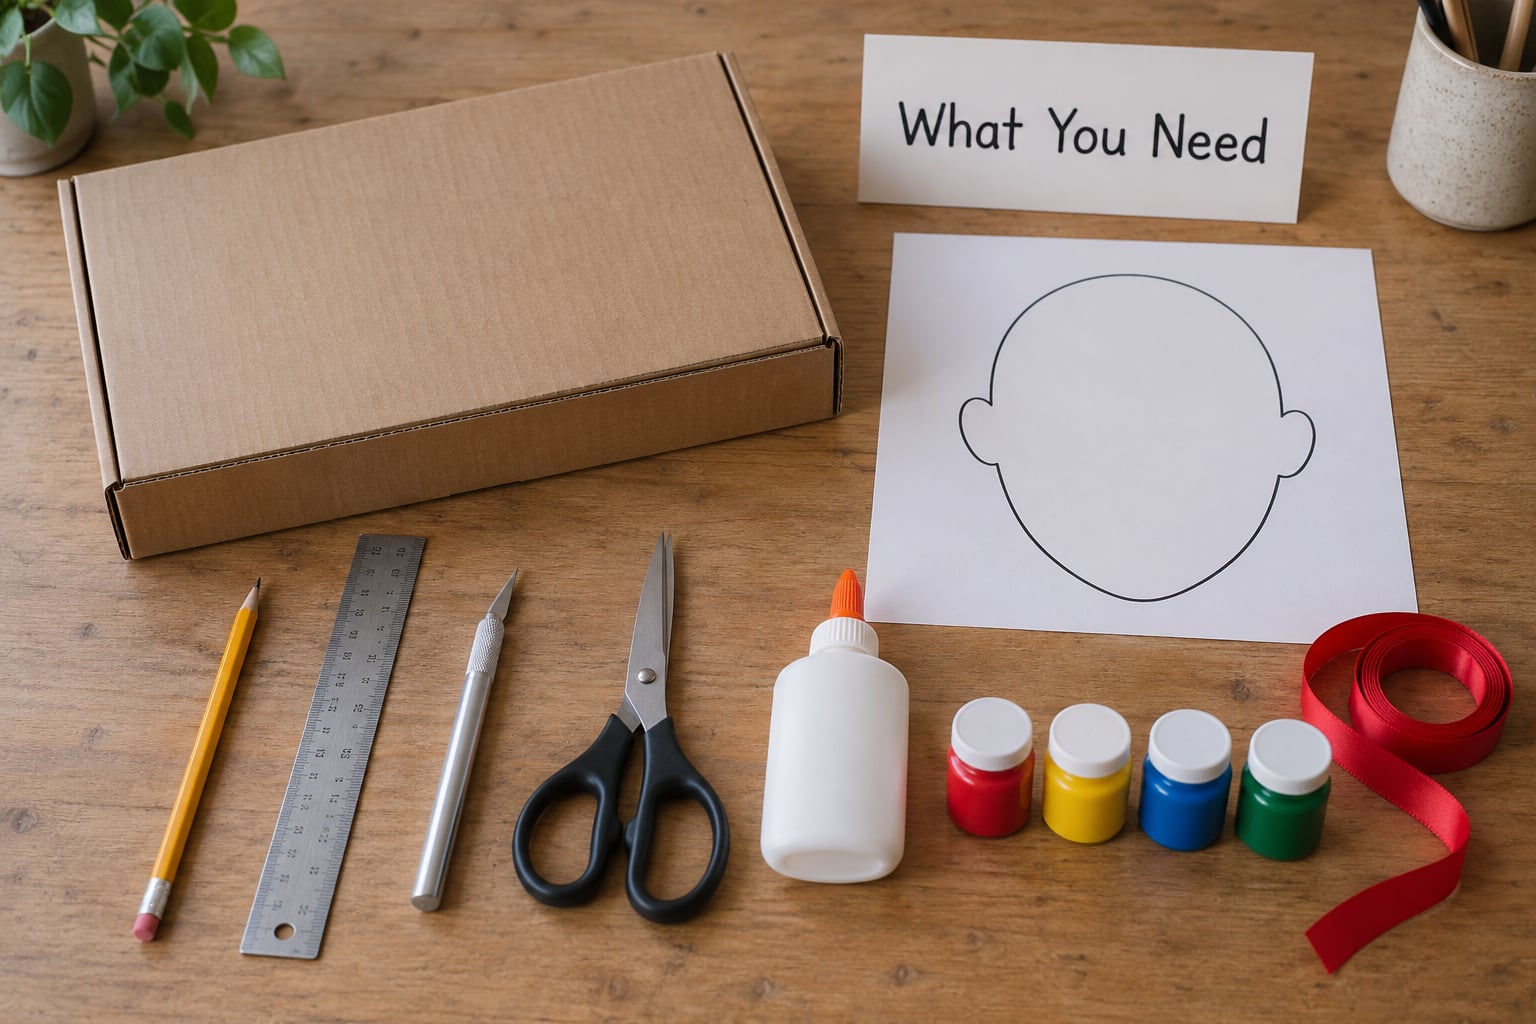
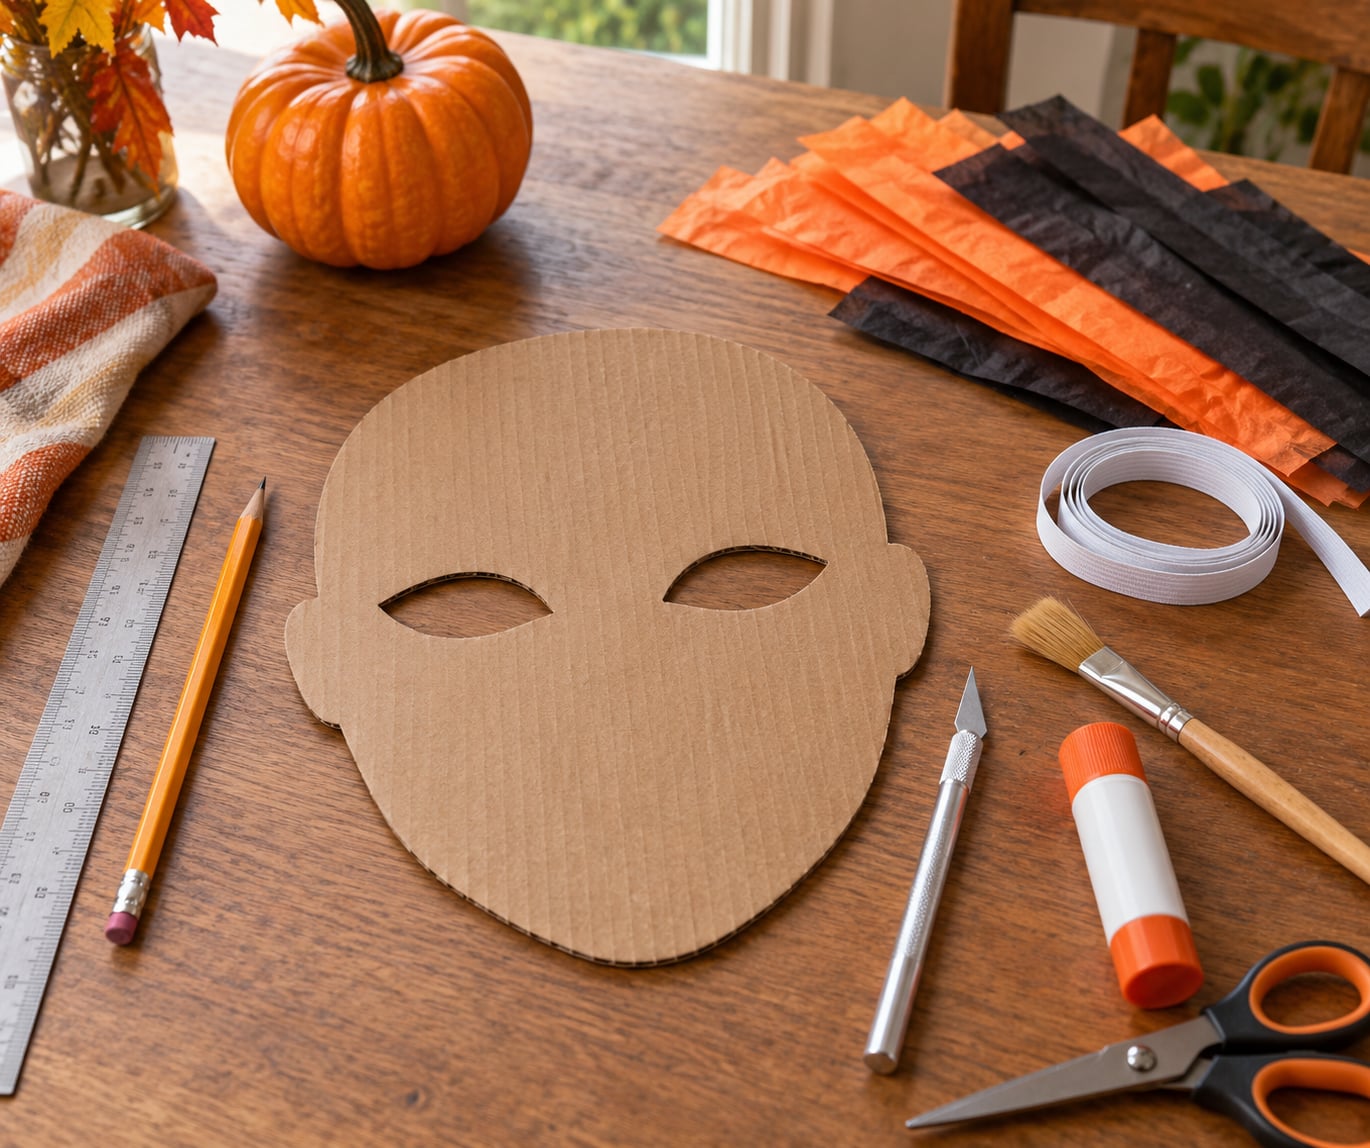
Most of this comes out of a recycling bin. A single corrugated box gives you a base layer and a spare panel for reinforcing the strap points.
- Corrugated cardboard — two or three single-wall boxes, or one double-wall box for a sturdier mask. Single-wall is easier to cut and curve; double-wall holds more shape and resists warping.
- A craft knife or utility knife for clean eye openings, plus scissors for the outer shape.
- Pencil and a flexible measuring tape — measure the wearer, never guess at the size.
- PVA craft glue for layering, and a hot glue gun if you have one for thicker builds.
- Paper towel roll or cardboard tube segments for depth on the cheeks, nose and brow.
- Scoring tool or blunt knife to press fold lines without cutting through the liner.
- Elastic, wide ribbon or a thick rubber band for the strap.
- Acrylic paint, markers and paintbrush, plus tape, paper, feathers or craft foam to decorate.
- Optional: papier-mache strips, a clear water-based sealant, craft foam for padding, and safety goggles for kids.
On the box size: a mask needs to clear the wearer’s face from chin to hairline and temple to temple. Measure that width and add 3 to 5 centimetres on each side for the strap attachment and the border. A pizza-sized box is usually plenty for a child, and a large moving box panel handles an adult.
If you want a mask that survives being worn rather than being held up for a photo, add the papier-mache strips and the sealant to the list. Three or four paper mache layers over a cardboard base is plenty, and you go thicker only where the strap pulls.
Step-by-Step: How to Make a Cardboard Halloween Mask
Step 1: Choose and Flatten the Cardboard
Pick a box that is clean, dry and free of deep tears. Open the flaps, pull out every staple with the edge of the knife, and peel packing tape slowly so the corrugated layer doesn’t tear with it.
Flatten the panels by pressing along every fold with the flat side of the knife. You know it worked when the panel lies genuinely flat on the table with no bubble in the middle.
If the panel curls back up, press it under something heavy for an hour. A panel that fights you here will fight you at every later step.
Step 2: Trace the Mask Shape
Wrap the measuring tape around the wearer’s head to get the width, then measure from the top of the forehead down past the chin for the height. Write both numbers on the cardboard with a pencil before you cut anything.
For the outline, place the panel on the face with the long edge level with the brow, trace around the hairline and jaw, and keep the shape generous. You want clear space around the eyes and enough room at the nose that it doesn’t press inward.
Fold the cardboard in half, pin it at the nose bridge, and trace one half. Cutting through two layers gives you a symmetrical mask in one pass, and symmetrical is the difference between homemade and deliberate. Make the eye holes before the outer shape is fully freed, while the cardboard is still pinned and easy to hold.
Symmetry is also the point where a cardboard Halloween mask starts looking like a character instead of a sack with holes in it.
Step 3: Cut the Eyes and Face Shape
Cut the eye openings last, and cut them on the fold so both sides match. For round eyes, trace a bottle cap. For a creature or superhero look, use angular slits or tall almond shapes that slant slightly upward at the outer corners.
Work the knife from the edge of the hole outward, taking short slices. Long cuts dig in and tear the corrugation. You know the hole is clean when the edge shows the wavy flute layer rather than a crushed, hairy rim.
Size the openings so you can see straight ahead without straining. If the wearer has to peer through a letterbox slot, the mask is finished but unwearable, and no amount of decorating fixes that.
Add depth next. Cut rings from a paper towel roll and glue them behind the cheeks, nose and brow, or hot-glue rolled-up strips of cardboard to build the nose out. Small rolled paper tubes work well for ears and horns. Test the shape by holding the mask against the face before the glue sets.
Then give the whole shell a curve. Score a shallow line a few centimetres inside each side edge with a blunt knife, bend it gently, and glue the overlapped flap to the inside. Score several parallel lines instead of one for a smoother curve that is less likely to crack.
If you want a much closer fit, soak the traced panel in a sink of water for a minute, press it gently over the wearer’s face, let it dry in that position overnight, then cut it. Pre-soaking bends the fibres so the curve stays put, and it is the single trick that most improves the fit.
Step 4: Add Straps or Elastic
Mark the strap holes roughly 5 centimetres in from each side edge, level with the top of the ears. Punch the holes with the knife, then reinforce each one from the inside with a small square of cardboard and a bead of hot glue.
Without that reinforcement the first tug tears a long rip straight through the side of the mask. With it, the panel just creases.
Three ways to hold the mask on:
- Elastic threaded through both holes and knotted inside. The most secure and the easiest to adjust.
- Wide ribbon glued or tied at each side. Comfortable and looks more like a costume strap.
- A thick rubber band hooked through the holes. Quick, and fine for a mask that mostly hangs around the neck between trick-or-treating runs.
For a strap that will not slide, run the elastic around the back of the head rather than across the forehead, and place foam or felt pads inside the mask where the strap meets the temple. Padding the face area, the same soft foam used inside a bicycle helmet, is what stops a mask from digging in after twenty minutes.
Step 5: Decorate the Mask
Paint in thin coats. Acrylic on raw corrugation soaks in and goes patchy, so a coat of white primer or gesso first gives you a surface that takes colour evenly. Let each coat dry before the next one.
Decoration ideas by theme:
- Skull or skeleton — white primer, black paint, and drawn bone lines or glued-on black cardstock teeth.
- Animal — fur-textured paper or glued-on yarn for a bear or wolf, plus cut cardstock ears and a painted nose.
- Insect or spider — black base with white highlights, pipe-cleaner legs bent around the sides, and mesh over the eyes so it still reads as a face.
- Superhero — flat colour blocks, a painted emblem, and eye shapes that stay wide and open so the wearer can see.
- Scary or haunted — torn brown paper for aged texture, dry brush in the creases, and warm shadow paint under the brow.
- Nature collage — real dry leaves and seed pods from a walk, glued on with craft glue.
Keep decorations light. Tissue paper, paper shapes, feathers and thin cardstock are fine; anything heavy on the cheeks or brow makes the mask sag and pull the strap tight. If a mask must work outdoors in rain, brush on a water-based clear sealant or a thin coat of Mod Podge and let it cure fully overnight.
Finish with a papier-mache upgrade if you want a smoother shell: three or four strips of newspaper or tissue over the front, following the curves, with a coat of primer on top. Skip it for the eye and mouth openings so nothing narrows them.
Common Mistakes and Quick Fixes
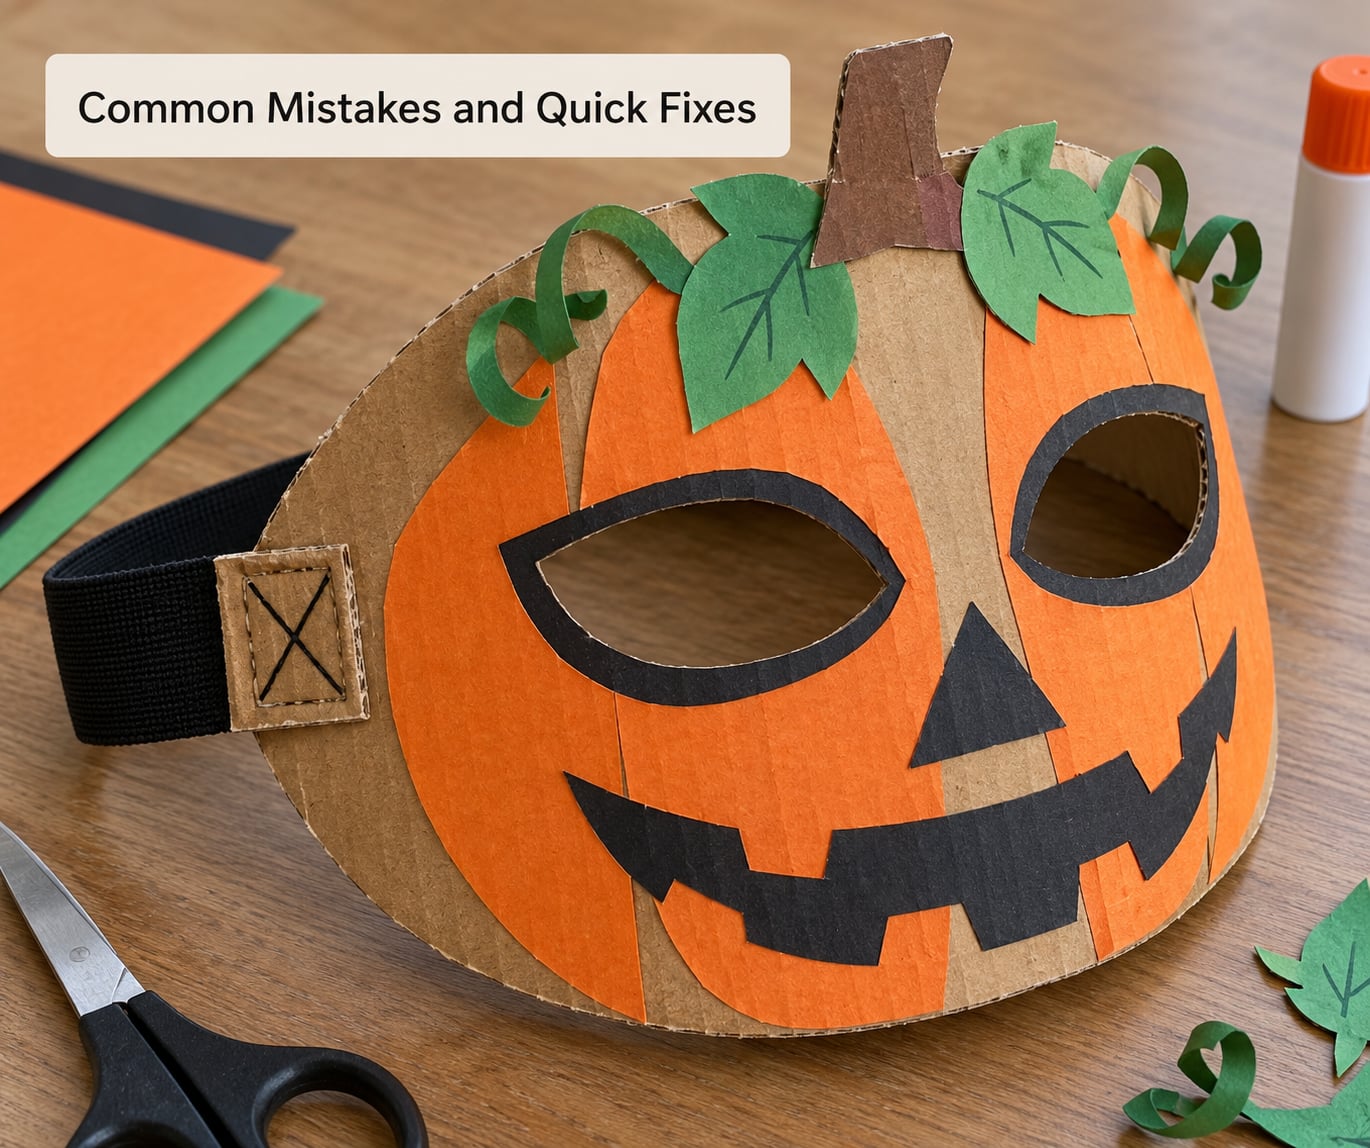
The mask is too small. Measure the head before you trace, then add 3 to 5 centimetres on each side. If you already cut it too small, add side panels of cardboard before the eye holes rather than re-cutting.
Eye openings that rub or blur the view. Cut them wider and higher, and line the inside edge with a strip of tape to stop the corrugation scratching. Keep eyes open and upward-slanted for anything that needs to be seen through.
Straps that tear loose or slip. Reinforce both sides with an interior cardboard patch and hot glue, and add grommets if you have an eyelet tool. Head-worn elastic beats a strap across the back of the neck, which slides the moment someone bends down.
Cardboard curling or warping. Too much water or glue and the panel buckles. Press it flat under heavy books while it dries, and glue a second layer to the back of any area that has started to ripple.
Cracks along the scored curve. You bent one line too sharply. Cut the panel back to the score and redo it with three or four shallow parallel scores instead.
Paint bleeding or going patchy. Raw cardboard drinks it. Prime first with gesso or white acrylic, then paint in thin coats rather than one heavy one.
Decorations too heavy. If the mask droops, peel off anything on the cheeks and brow and move that detail to the forehead or chin, where the mask carries weight better.
Mask finished the night before. Paint and sealant need 12 to 24 hours to cure, and papier-mache wants overnight. Starting on the weekend before October 31 removes the panic entirely.
One safety note for kids: an adult should handle the knife and the hot glue gun, and the work happens on a table, not the floor. Use non-toxic acrylic paint, and open a window if you use any solvent-based sealant.
Frequently Asked Questions
What is the best cardboard for a Halloween mask?
Corrugated single-wall cardboard from a recycled delivery box is the best all-round choice: it cuts easily with a craft knife, bends into a face curve without cracking, and costs nothing. Use double-wall or two glued-together layers when you want extra rigidity or when the strap attachment takes a lot of pulling. Avoid thin cardstock, which tears and cannot hold depth.
How big should a cardboard Halloween mask be?
Measure around the wearer’s head temple to temple for the width, and from the top of the forehead past the chin for the height, then add 3 to 5 centimetres on each side of the flat panel for the strap and border. If the mask will be worn over a hat or wig, measure with those on too.
Can I make a cardboard mask without wearing it?
Yes, and plenty of people do. A flat cut-out mask works as a costume prop, a classroom display, a photo-booth prop or a wall decoration, and you can skip the reinforcement, elastic and padding entirely. Cut on the fold for symmetry and the flat version takes about twenty minutes from box to finished piece.
How do I attach the mask so it stays on?
Punch one hole about 5 centimetres in from each side edge, level with the top of the ears, then reinforce the inside of each hole with a small cardboard square and hot glue. Thread elastic, ribbon or a thick rubber band through the holes and knot or glue it inside. Elastic worn around the back of the head slides far less than a neck strap.
How long should I let a painted cardboard mask dry?
Acrylic paint needs 12 to 24 hours to dry to the touch, and a water-based clear sealant or Mod Podge finish needs a full overnight cure before you handle the mask much. Papier-mache layers want at least overnight as well. If the mask will be worn and moved around, give it two full days between painting and Halloween.
What decorations are safe to use on a cardboard mask?
Lightweight materials work best: tissue paper, construction paper, cardstock cut-outs, craft foam, yarn, dry leaves and feathers, all attached with PVA craft glue. Skip anything heavy on the cheeks or brow, since it sags the mask and tightens the strap. Mesh or tulle over the eyes is a good choice when the design should still read as a face.
Start This Weekend and Finish Before Halloween
Open a box today, flatten the panels, and trace a face shape. Everything else follows from that first cut: score and curve the sides for depth, cut eye holes you can actually see through, reinforce the two strap points, prime and paint in thin coats.
Give the paint overnight and the sealant a full night to cure, and you will still have a few spare days before 2026 ends. Keep the decorations light, pad the inside with foam, and the mask will hold up through an entire night of trick-or-treating rather than lasting twenty minutes.