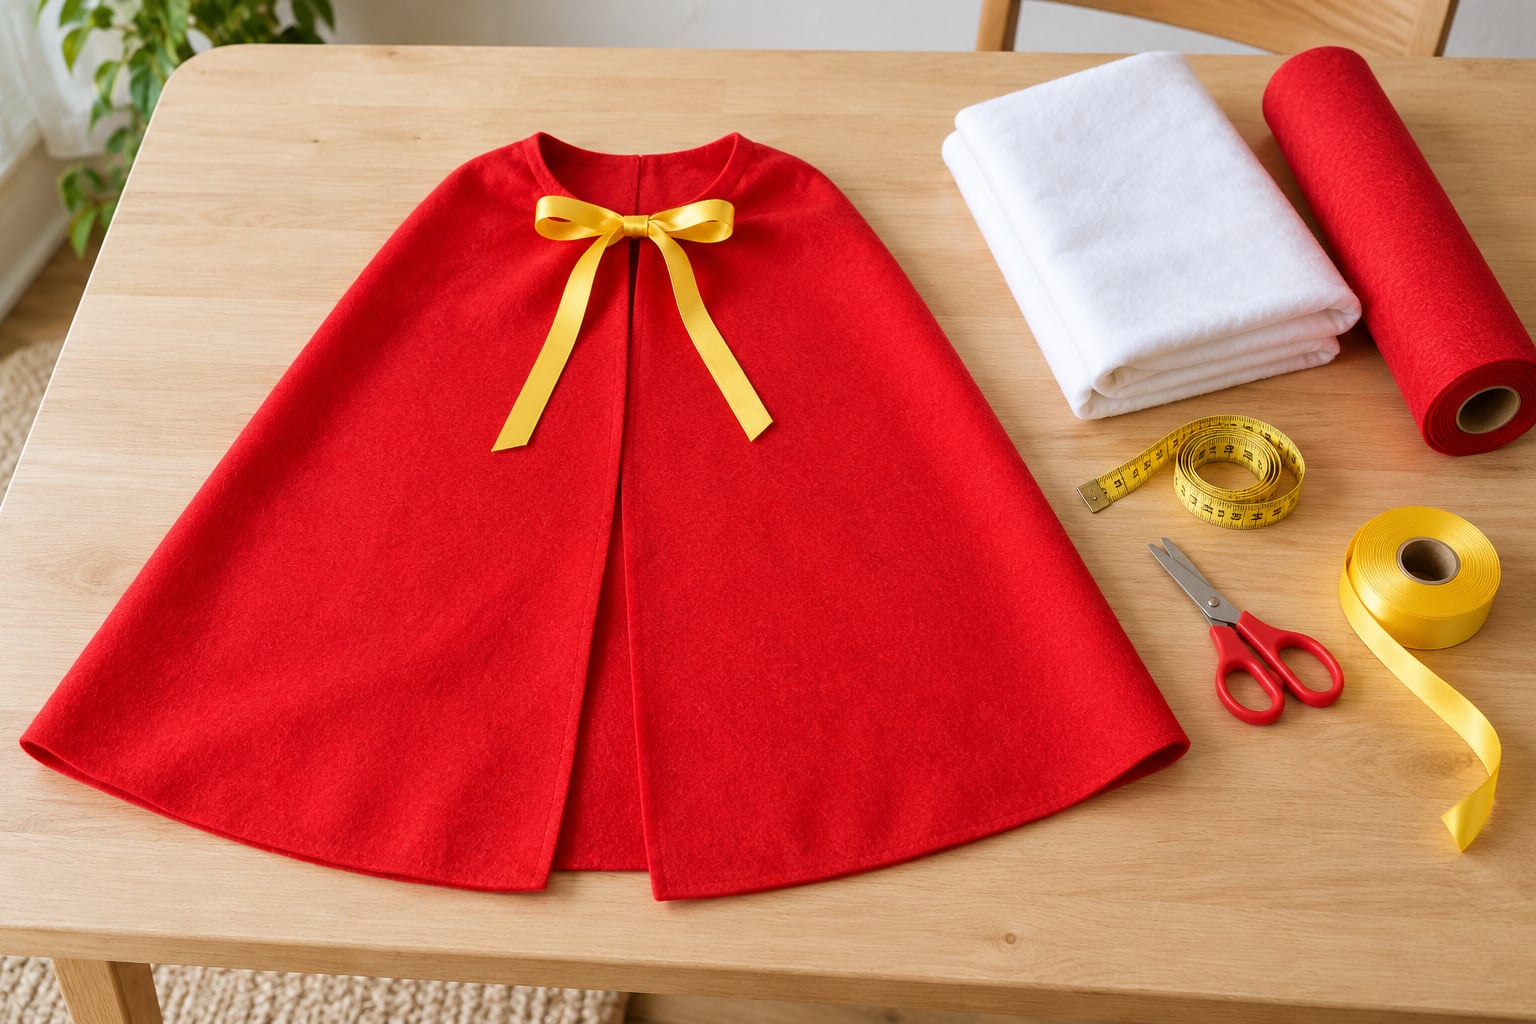
The easiest way to make a cape without sewing is to take one large piece of fabric you already own, shape it with a few straight cuts or a single fold, and close it at the neck with ribbon, hook-and-loop tape or a large safety pin. No machine, no needle, no thread. Most capes take 15 to 30 minutes once the fabric is out.
Parents ask for this the night before Halloween or the morning of fancy dress, so everything below assumes scissors, tape measure and about half an hour. The same methods scale up cleanly to teens and adults, just with a bigger piece of cloth. I’ve kept this guide updated for 2026 as the versions keep circulating with no safety check in them.
Table of Contents
- 1What You Need
- 2Step-by-Step: How to Make a Cape Without Sewing
- 31. Choose the Fabric and Cape Style
- 42. Measure the Child and Mark the Fabric
- 53. Cut or Fold the Basic Cape Shape
- 64. Add the Neck Opening
- 75. Fasten the Cape Without Sewing
- 86. Decorate and Finish the Cape
- 97. Check the Fit and Let the Child Try It On
- 10Common Mistakes and How to Fix Them
- 11Frequently Asked Questions
- 12What is the easiest way to make a cape without sewing?
- 13What material is best for a no-sew children’s cape?
- 14Can I make a cape without cutting the fabric?
- 15How do you make a cape fit a child’s shoulders?
- 16How can I decorate a no-sew cape safely?
- 17Conclusion
What You Need
You need very little, and most of it is already in a drawer somewhere in the house.
- A large piece of fabric. A single bed sheet, a tablecloth, a fleece blanket, a duvet cover, a length of fleece or craft felt, or an old oversized T-shirt. A twin sheet is usually enough for a child; a queen or king sheet covers an adult.
- Fastening options. Fabric ties or a long piece of ribbon, hook-and-loop tape, large snaps, or safety pins with a plastic head. Pick two if you can, so a cape has a backup closure when one gapes open mid-afternoon.
- Child-safe cutting tools. Sharp fabric scissors for adults, or blunt-tip scissors for a child who is helping. A rotary cutter with a mat is worth it if you’re cutting through layers of blanket.
- Measuring equipment. A soft tape measure, plus tailor’s chalk or a washable marker for marking lines you can actually see on dark fabric.
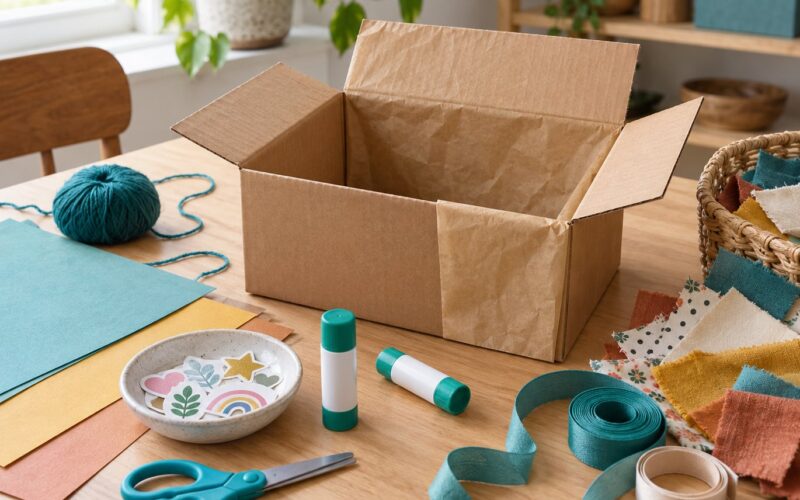
- Adhesive, only if you want a cleaner edge. Fabric glue or a glue gun with a clear glue stick. On fleece and felt you need almost none.
- Decorating extras, optional. Washable fabric paint, large felt shapes, ribbon, stickers, a yarn tail and a fabric marker.
How much fabric you need depends on two things: the child’s size and the style. A short superhero cape covers a lot less body than a floor-length wizard cloak, and a toddler’s cape that fits today will be short by next month.
Step-by-Step: How to Make a Cape Without Sewing
The whole process is measure, shape, fasten, decorate. Follow it in order and each step is checking the one before it, so nothing gets cut twice.
1. Choose the Fabric and Cape Style
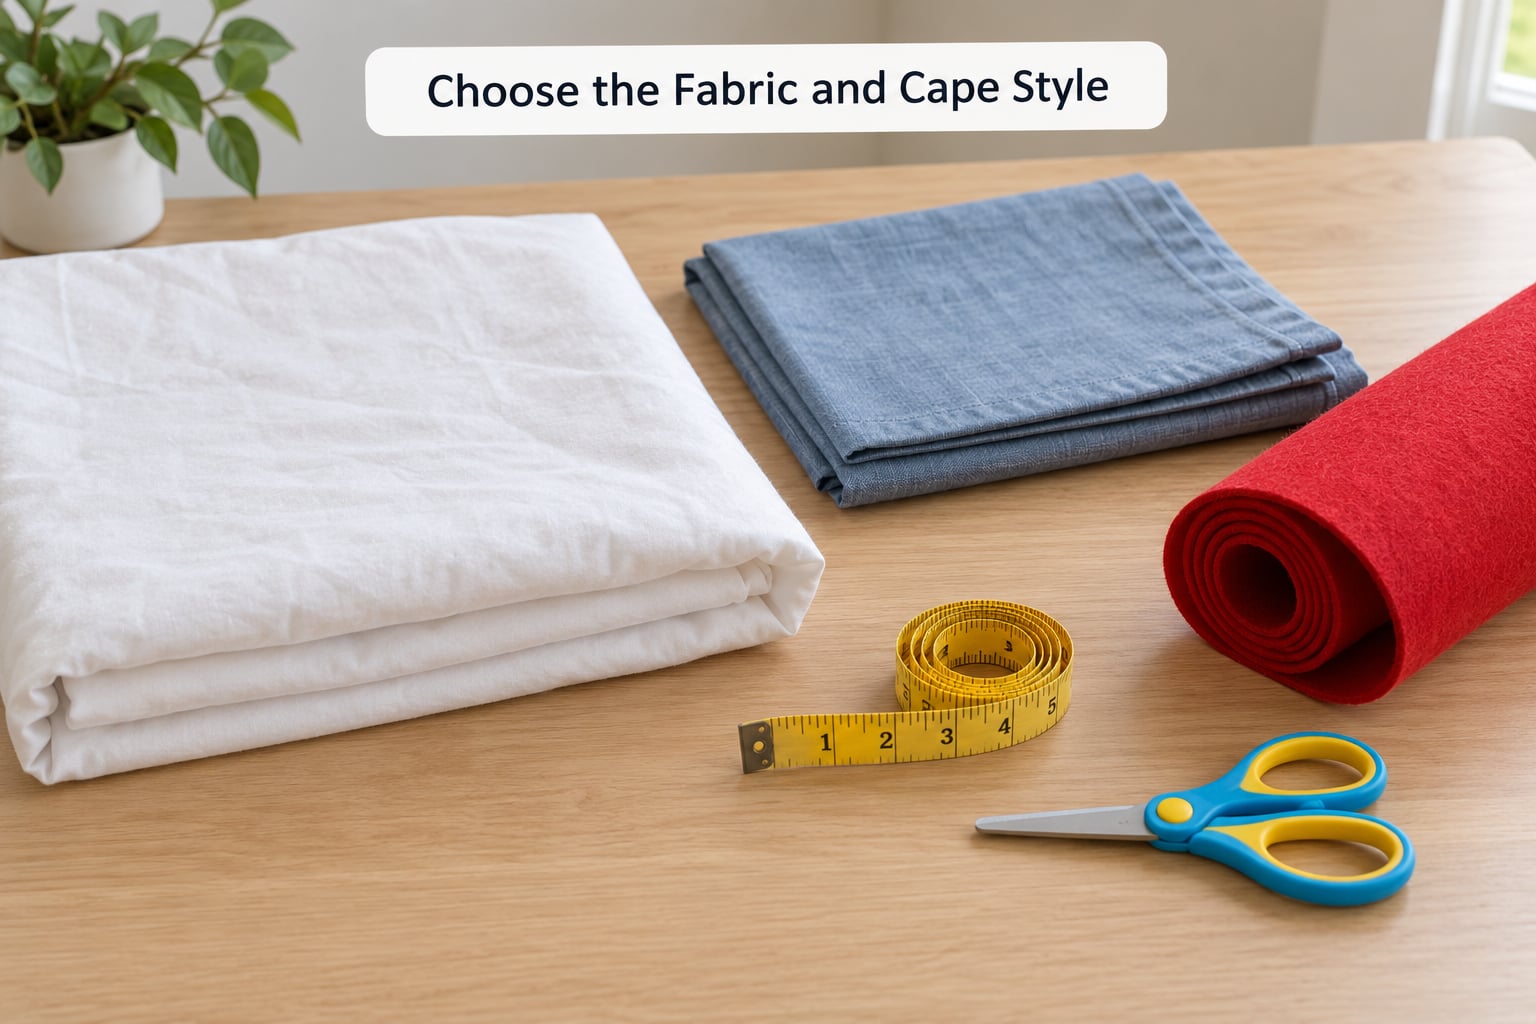
Pick the fabric that matches the character, not the one that looks nicest on the bed. Fleece and felt are the forgiving choices because their cut edges don’t fray, which is exactly why they need no hem. A bedsheet or tablecloth is smooth and drapes beautifully but frays, so plan on hem tape or a glued edge if you choose one.
For style, a plain rectangle with a straight top edge gives you a clean superhero look. A V-shaped front reads as vampire or wizard, a rounded neckline reads more princess, and a wide rectangle with two small ear points turns into a bear or a cat. Start simple and add the shape after the fit works.
2. Measure the Child and Mark the Fabric
Measure across the child’s shoulders from shoulder point to shoulder point. That number plus 2 inches is the width of the top edge, and the fabric at the hem should be about 1.5 times the child’s shoulder width so the cape spreads into a triangle rather than hanging in a narrow column.
Next, measure from the top of the shoulder down to where you want the hem to land. Mid-thigh is the sweet spot for a superhero cape; the knee works for a cloak. Add 3 to 4 inches of extra length for a growing child.
Lay the fabric flat with the fold running down the middle and mark the outline with tailor’s chalk or a washable marker. Mark one half, then mirror it by folding the fabric on the marked line and cutting through both layers. That symmetry is the difference between a cape and a triangle.
3. Cut or Fold the Basic Cape Shape
If you’re happy with a rectangle, you can skip cutting entirely. Fold the fabric in half, pin the top corners together, and the fold becomes the centre front of the cape. Draping the folded fabric over the shoulders and fastening at the neck gives you a no-cut rectangle in about a minute.
For a shaped cape, cut through the folded layers so both halves match. A single straight cut across the bottom gives a flat hem. Two gentle curves from the neck out to the hem make a rounded, witch-style cape. A V at the front means cutting the centre point of the top edge down 6 to 8 inches, then rounding the two resulting points.
Fold the fabric with the right side facing out before you cut, so what you see on the finished cape is the outside. Test a corner fold on a scrap: if it curls or stands up on its own, press it flat or choose a lighter fabric.
4. Add the Neck Opening
The neck opening decides how comfortable the cape is, so make it slightly larger than the child’s neck and never smaller. There are a few ways to get there without a needle.
A short straight slit in the folded top edge is the fastest option: cut 3 inches, open it, and the fabric spreads across the shoulders with no hole to fray. For a rounded neckline, cut a shallow half-circle out of the folded edge instead. For a costume collar, buy a pre-made fabric or craft-foam collar and attach it at the neck with fabric glue or safety pins.
Hook-and-loop tape lets you open the neck for dressing and hair, then close it again. Cut two short strips, stick one on each side of the neck opening, and let the tape grab. It is the most comfortable closure for a child who wears the cape for more than an hour.
Keep any pins closed and pointed away from skin, and check them again after the child has been running around. Loose small fasteners are the one genuine hazard in this project.
5. Fasten the Cape Without Sewing
Fabric ties are the most forgiving. Cut two 18-inch lengths of ribbon or soft jersey, tie a knot in each corner of the top edge, and the child ties them under the chin. Add a third tie at the back of the neck so the cape sits higher and does not slide.
Hook-and-loop tape is the most secure and the least fiddly, and it opens for dressing. Large snaps are the tidiest but take the most force to set with pliers, so they suit older children who can fasten their own costume.
Safety pins work in a pinch. Use the biggest pins you can find, add a dab of fabric glue where the pin enters the fabric so it cannot work loose, and cover the pin head with a felt circle or a sticker.
Test the closure the way a child will use it: arms up, running, sitting down, and bending forward. If the cape rides up to the ears or gapes open at the front, the neck opening is too small. Widen it before you decorate.
6. Decorate and Finish the Cape
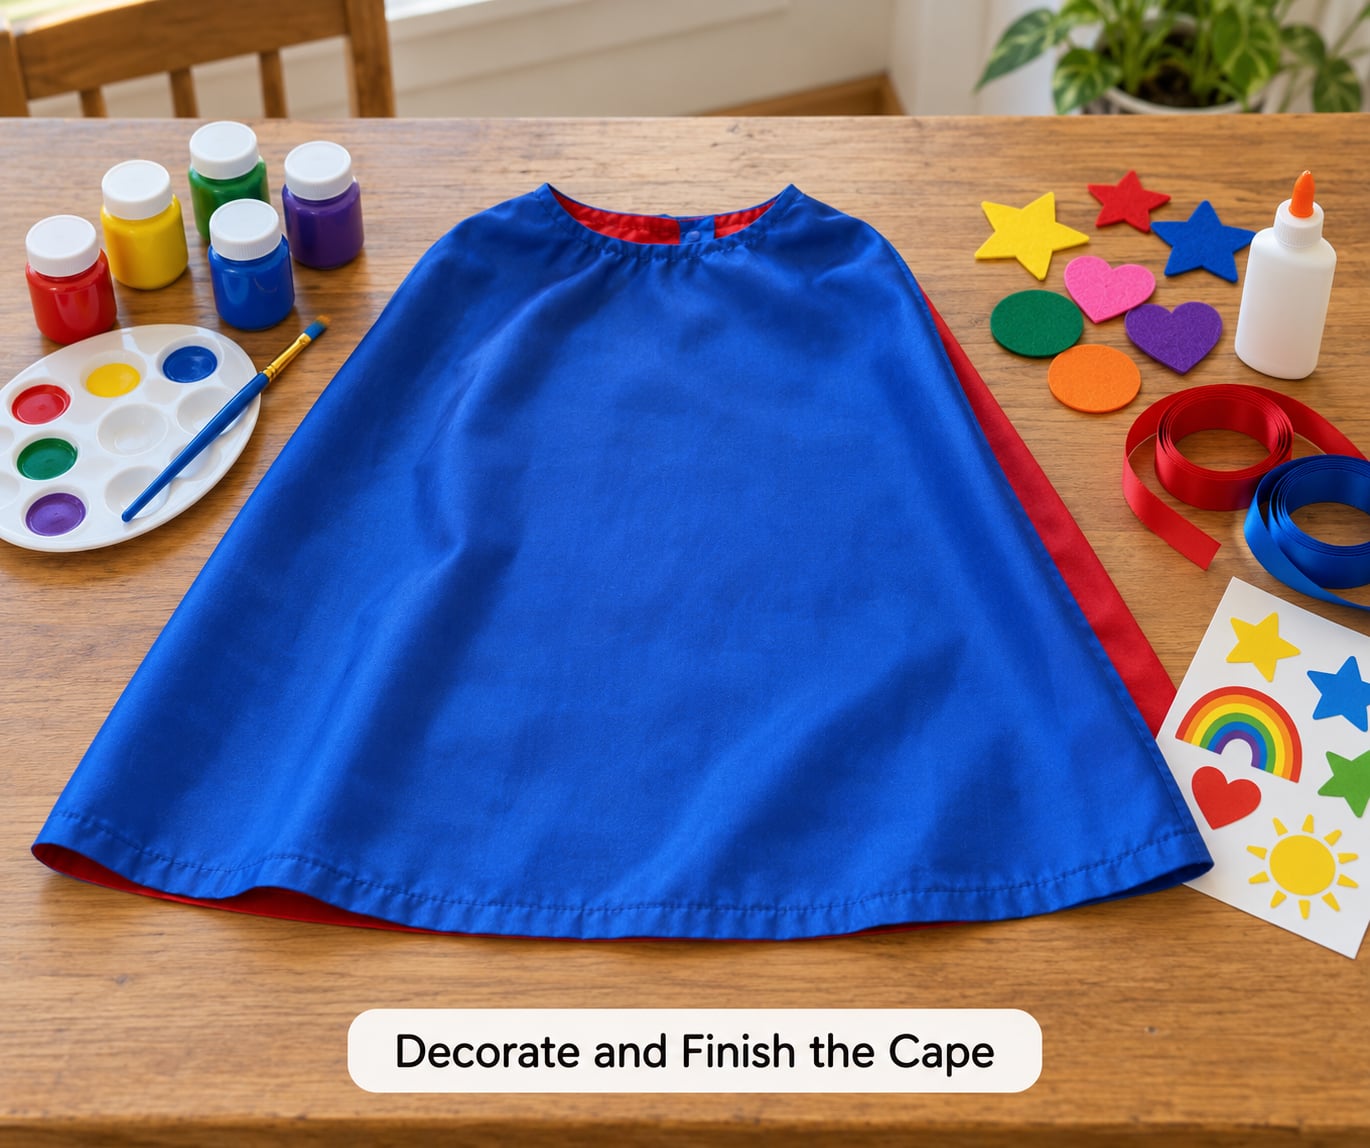
Decorate on the floor, not on the sofa. Washable fabric paint and large felt appliques are the two safest options for a child’s costume, and both work without glue if you use iron-on patches.
For a superhero cape, iron a shield or letter patch to the upper back. For a spiderweb cape, paint webs from one corner outward with a thin brush and a white or silver paint. For an animal, cut two large felt circles for ears and glue them to the top edge, with a smaller circle for the nose.
Skip loose glitter, which sheds into skin and clothes, and skip small glued pieces like buttons or flat-backed gems, which come straight off in a pocket. Ribbon trim along the hem and a fabric marker signature are safer and usually look better.
For a hood with no stitching, fold a square of felt into a triangle, glue or pin the seam, then fasten it to the neck opening with a brooch or two safety pins. A large scarf worn over the shoulders does the same job in about ten seconds.
7. Check the Fit and Let the Child Try It On
Before the child puts it on, run your hand along every cut edge and check the corners for hard points. Confirm the cape clears the child’s hands and that no strap is long enough to catch on a door handle or a climbing frame.
Then watch the child walk, sit and reach. A cape that stays on the shoulders is working. One that slides to the elbows needs a back neck tie, and one that sits too low needs a shorter hem or a second tie higher up.
Finally, make sure the child can get out of it alone. Anything tied under the chin should open with a single pull, and hook-and-loop strips should be reachable without help. That last check is the one that makes a no-sew cape work on a real school day.
Common Mistakes and How to Fix Them
The cape is too small. Children grow, and a cape that fits on Tuesday is short by the following Halloween. Measure to the shoulder top, not the shoulder point, and add 3 to 4 inches of length as free growth room.
The neckline came out uneven. Almost always because the fabric was cut with only one layer marked. Fold the fabric, mark one half, and cut through both layers so the mirror is automatic.
The safety pins work loose. A closed pin through fleece is a friction fit, not a lock. Add a small dab of fabric glue at the entry point, cover the head with a felt circle, and have the child check them after the first half hour.
The fabric is scratchy or too heavy. A cheap fleece blanket can be stiff, and a thick cotton blanket is genuinely uncomfortable for a small child. Test it against your own cheek. If it is scratchy, use a lighter sheet or felt on the neck area only.
Arms cannot move. A cape narrower than 1.5 times shoulder width pulls the shoulders inward. Widen it by adding a strip of fabric down each side and fastening the strip to the body with hook-and-loop tape.
Small decorations come loose. Glitter, flat-backed gems and glued buttons all end up in pockets and mouths. Use large felt shapes, iron-on patches, and ribbon, and skip anything a child could swallow.
The raw edge is fraying. Felt and fleece are the fix, since they do not fray at all. For a sheet or tablecloth, run a strip of iron-on hem tape along the hem and press it, or zigzag the edge with pinking shears.
The cape slides off the shoulders. Add a third tie or a strip of hook-and-loop tape across the back of the neck, and shorten the hem by a few inches so the weight pulls the neck straight rather than the shoulders.
Frequently Asked Questions
What is the easiest way to make a cape without sewing?
Fold one large piece of fabric in half, fasten the two top corners together with a ribbon, a brooch or hook-and-loop tape, and you are done. The fold becomes the centre front of the cape and the fastener becomes the neck closure. Fleece or felt work best because the cut edges do not fray. The whole job takes about 15 minutes with no equipment beyond scissors and a tape measure.
What material is best for a no-sew children’s cape?
Fleece is the safest all-round choice because it is light, warm, soft against skin and does not fray when cut, so you need no hem at all. Craft felt is even easier for small children since it is stiffer and holds a pointed shape, but it is less comfortable for a long costume. A bed sheet drapes beautifully and is free, though its cut edges need hem tape.
Can I make a cape without cutting the fabric?
Yes, and it is the fastest method there is. Fold a large piece of fabric in half, place it on the child’s shoulders with the fold at the front, and join the two top corners with a brooch, ribbon or hook-and-loop strip. The fabric drapes into a triangle on its own. This works well for photos, a school assembly, or a cape the child may want to wear again quickly.
How do you make a cape fit a child’s shoulders?
Measure across the shoulders from shoulder point to shoulder point and make the top edge that width plus 2 inches. The hem should be about 1.5 times the shoulder width so the cape spreads into a triangle. Make the neck opening slightly bigger than the child’s neck, never smaller. Then check the fit with the child’s arms up, because a cape that only works standing still will not survive a playground.
How can I decorate a no-sew cape safely?
Use washable fabric paint, large felt shapes, iron-on patches, ribbon trim and a fabric marker. Put a sheet or newspaper underneath and work on the floor, since paint bleeds through thin fabric. Avoid loose glitter, flat-backed gems, small buttons and glued baubles, which shed or come loose and end up in pockets and mouths. Check all decorations by pulling gently before the child wears the cape.
Conclusion
The simplest cape is one large piece of fabric, a single fold or a handful of straight cuts, and one secure fastening at the neck. Start by measuring the child’s shoulders and deciding how long you want the hem, then check that every pin, tie and decoration is too big to swallow before the cape goes on.