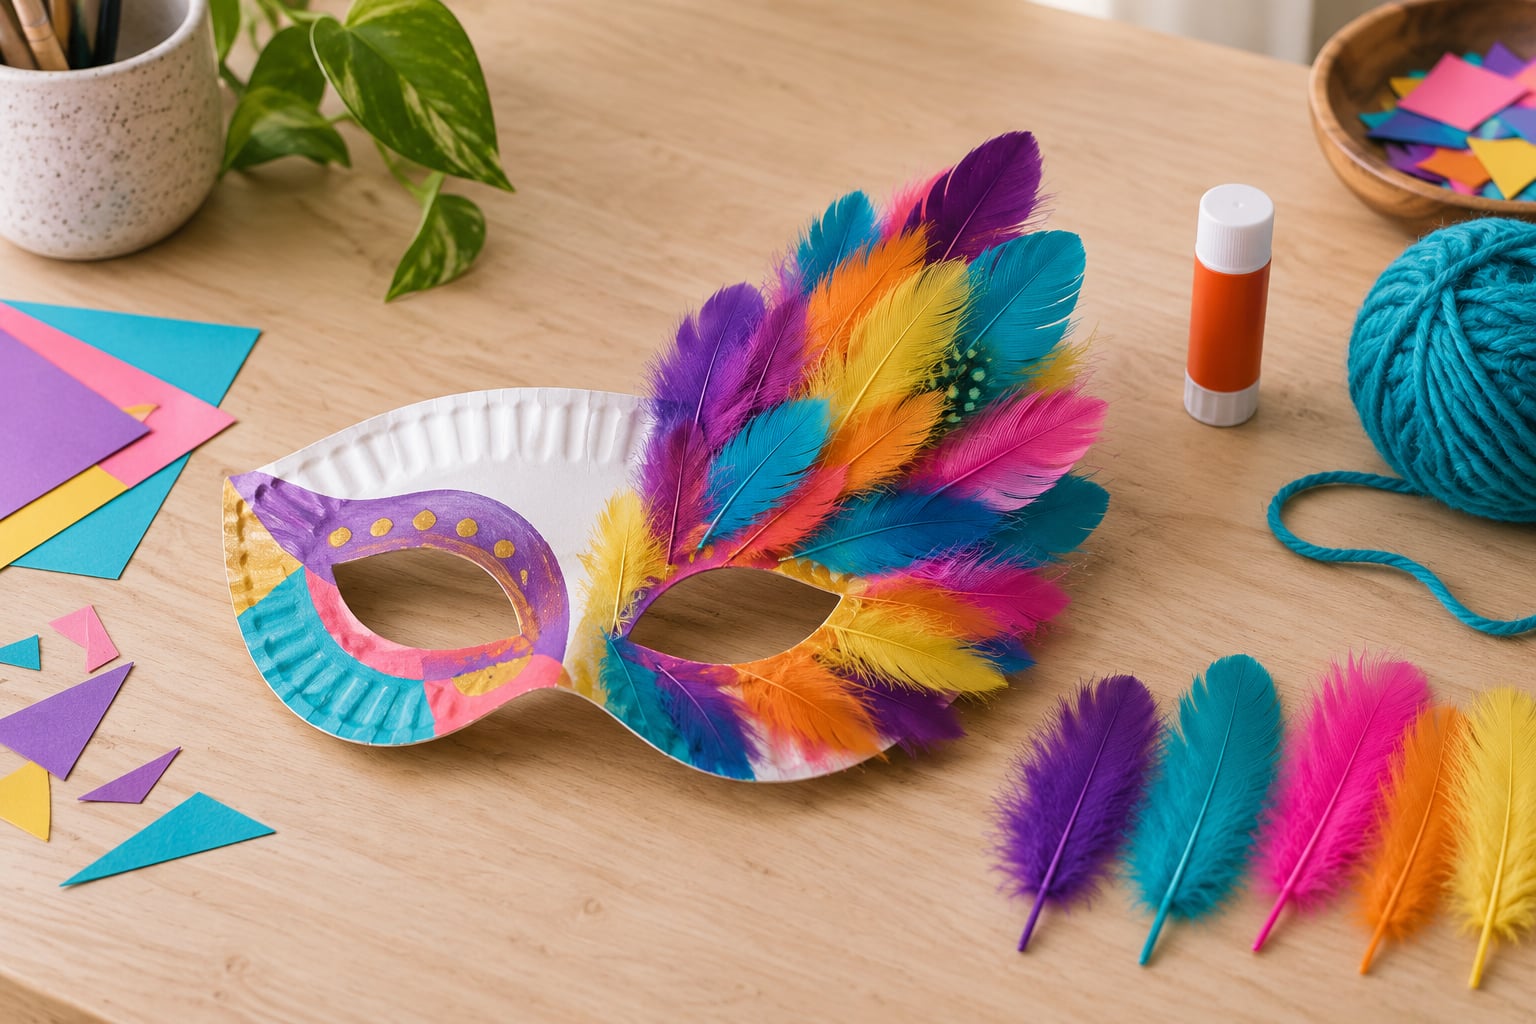
A feathered carnival mask takes about 45 minutes and needs nothing more than a paper plate, a handful of craft feathers and a glue stick. Cut the base, fan the feathers along the outer edge, cover the glue line with glitter, and thread elastic through the sides. This is the version I use with kids: it needs no sewing, no hot glue and almost no cleanup.
The paper plate keeps the whole mask lighter than a sheet of craft foam, which matters when a six-year-old wears it for an hour. If you want the more polished look, follow the same steps on craft foam or cardstock — the only thing that changes is the base.
Table of Contents
- 1What You Need
- 2Step-by-Step
- 3How to Shape the Mask and Eye Openings
- 4How to Decorate and Attach the Feathers
- 5Common Mistakes
- 6Frequently Asked Questions
- 7What are those feather masks called?
- 8How many feathers do I need for a mask?
- 9How do I attach feathers so they stay on?
- 10How do I make a carnival mask fit a child’s head?
- 11Can I make a carnival mask with cardboard?
- 12What glue is best for feathers on a mask?
- 13Conclusion
What You Need
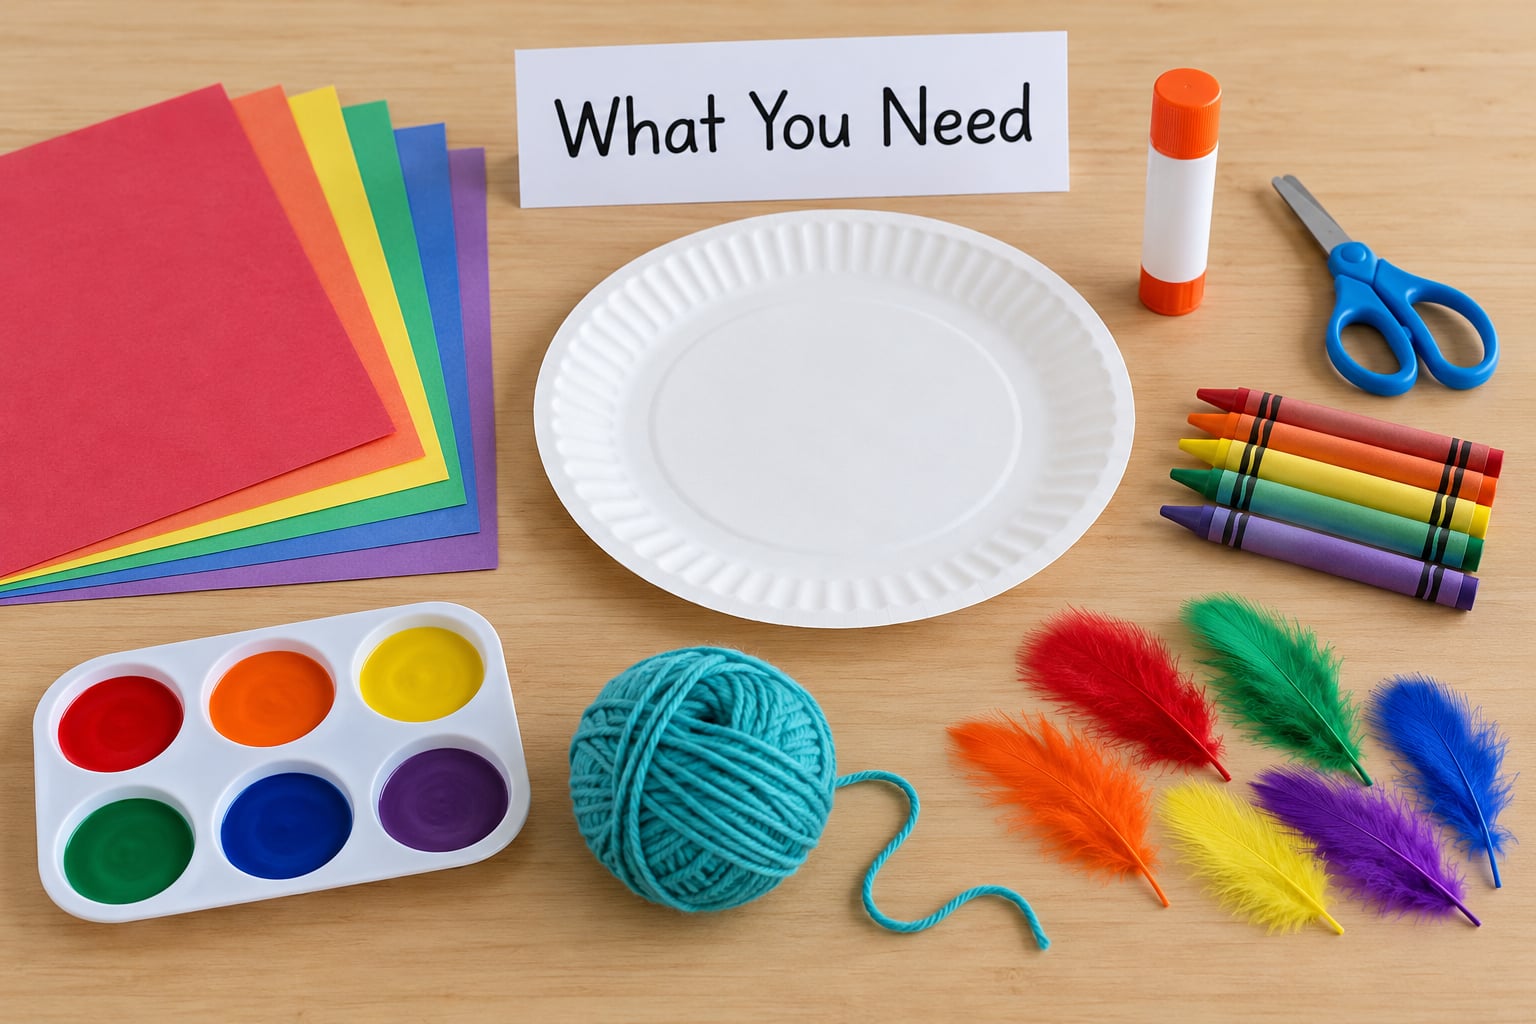
You can find every item on this list in a craft aisle or a dollar shop, and most of them are things you already own.
- Paper plate, or one sheet of craft foam or cardstock — the mask base. A 9-inch plate fits a child aged about 5 to 9.
- 10 to 14 craft feathers for a child-sized mask, 16 to 24 for an adult one. A mixed pack beats a single colour.
- Glue stick for a no-heat project. Add a hot glue gun if an adult is doing the mounting.
- Child-safe scissors and a pencil for marking.
- Crayons, markers or washable paint for the base.
- Glitter or sequins to seal the feather line.
- Yarn or elastic thread plus a tapestry needle, or a strip of ribbon.
- Sticky tape for laying out feathers before gluing.
Pick the lightest supplies you can. Thin craft foam beats corrugated cardboard, and small feathers beat large ones, because weight is what makes a homemade mask end up on the table after two minutes.
Two easy substitutions: card cereal boxes flattened into two layers work as a sturdier base than paper plate, and crepe paper strips or pipe cleaners make convincing feather stand-ins for the smallest children.
Step-by-Step
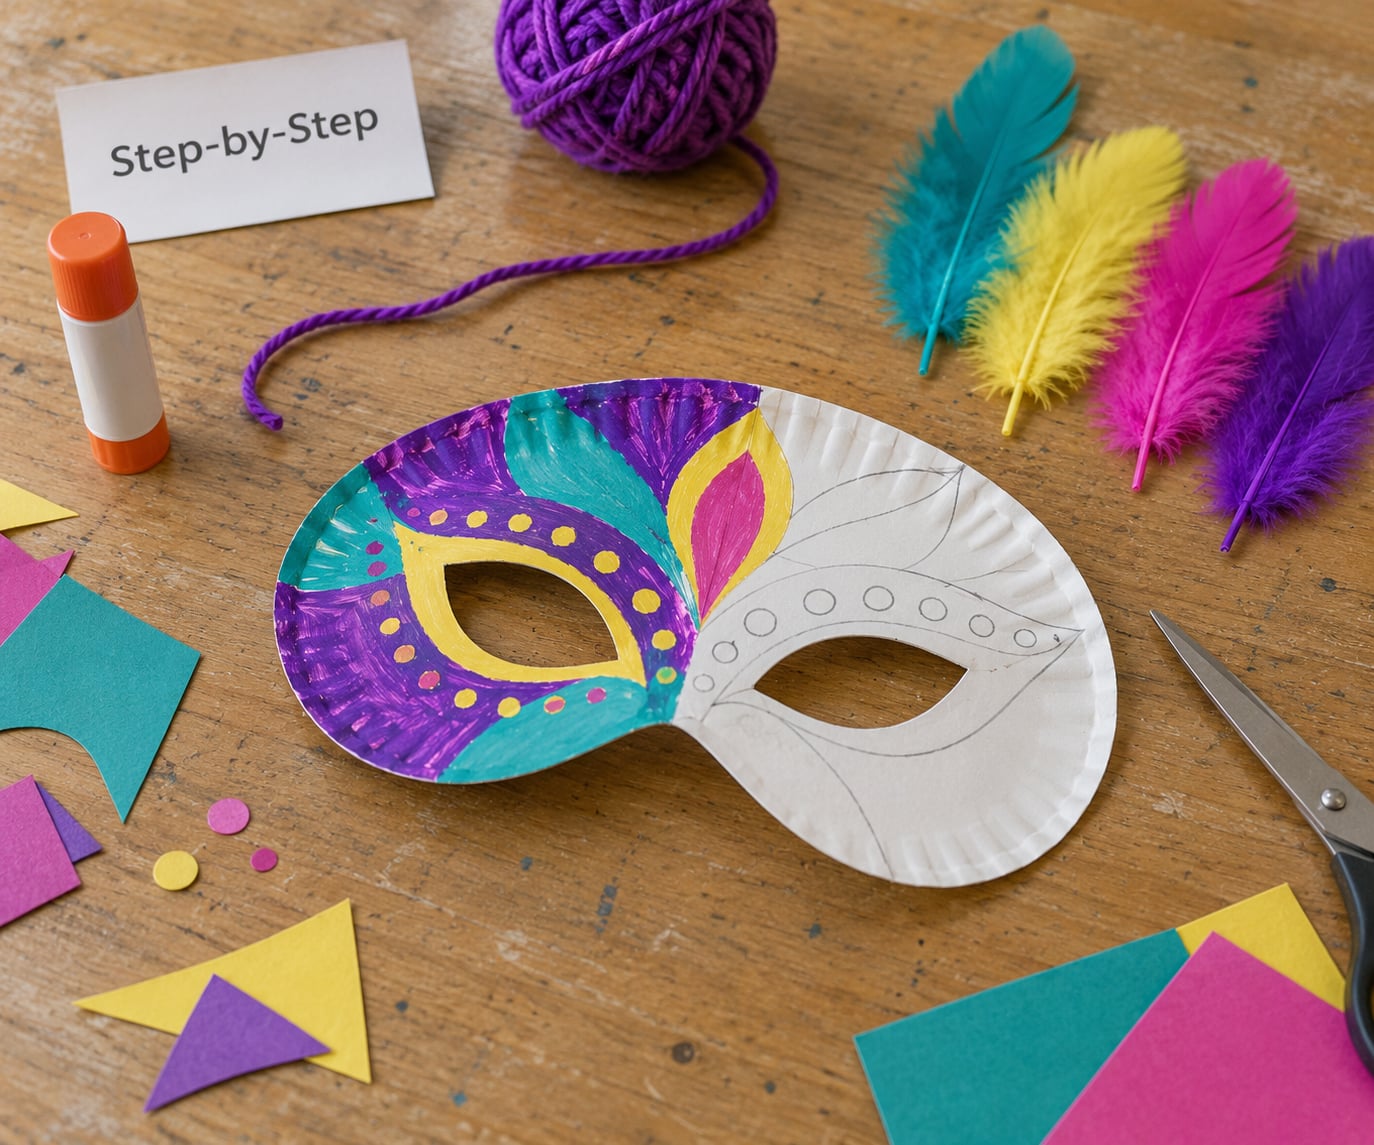
Set everything out before you start, and read the eight steps once so you know the order. Feathers go on last, after the base is fully dry.
- Mark and cut the base. Draw the eye openings on the paper plate or foam, then cut the mask shape out around them.
- Paint the base. One or two colours is plenty. Let it dry fully before anything else touches the mask.
- Mark the centre line. A light pencil line down the middle is your symmetry guide for every later step.
- Sort the feathers into pairs. Match them by length and width. Twins on each side are what make a fan look planned rather than accidental.
- Dry-fit the layout. Tape the feathers in place, largest at the outside, and step back a foot. Fix anything lopsided now.
- Glue the quills down. Work from the outer edge inward, pressing each quill flat so nothing creeps under the one beside it.
- Add the sparkle. Paint glue over the feather line and shake glitter into it, or dot sequins and paper petals over the same strip.
- Attach the elastic. Punch a hole at each side, thread the elastic through, and tie it to a head-width fit before trimming.
How to Shape the Mask and Eye Openings
Eye placement is the one thing that turns a fun mask into an uncomfortable one. Measure across the face and place the holes about one third of the way down from the top, slightly closer together than the wearer’s actual eyes so they can see out of the sides.
Cut the openings with short, gentle scissor strokes from the inside edge outward. Poking with a pencil first, then snipping the pencil hole, gives you a rounded shape that is far easier on cardstock.
Hold the cut-out base to the face before any glue or paint. If the wearer’s eyes fall at the top edge of each opening, move the holes down a finger’s width and cut again — reshaping after decorating means tearing feathers off.
How to Decorate and Attach the Feathers
Colour first, feathers second, sparkle third. Painting after gluing is how you end up with glitter ground into wet paint and a smudged finish.
Sort your feathers into three sizes: large for the outer edge, medium for the middle row, small to tuck between the bases of the larger ones. The small feathers anchored under the big ones are what stop the ends of the fan from drooping.
Glue the quill end, not the middle of the feather. Trim the quill to about half an inch so it sits low, then run a thin line of glue along it and press it onto the base. Working from the outer edge inward keeps the fan tidy and gives you a chance to hide each glue point under the next feather.
To hide the glue line, brush a thin coat of craft glue over the whole feather strip and shake glitter onto it while wet. Let it dry for about fifteen minutes before the mask goes anywhere near a face.
Keep feathers angled upward and outward, away from the wearer’s cheeks. Feathers that point down or inward will tickle, and a mask that tickles gets taken off in about five minutes.
Common Mistakes
Most disappointing masks come down to the same five problems, and all five are fixable before the glue dries.
- Uneven eye openings. Mark both holes from a folded paper strip rather than freehand, then cut them at the same angle. If one eye already feels low, it is too late to move it — cut a fresh base.
- Feathers falling off once dry. Hot glue beads instead of soaking in. Use a thin zigzag of glue across the quill, press for ten seconds, and add a small feather over the joint as a clamp.
- A mask too heavy to wear. Count the feathers. Twelve to fourteen is plenty for a child, and sticking to thin craft foam keeps the base light.
- Smudged paint. Wait a full hour between painting and gluing, and paint the back of the base too, since that is the side resting against the face.
- Cutting being the hardest part. Cut the outline with a craft knife and let an adult handle the eye holes, or start with a paper plate where the shape is already there.
One safety note for anyone crafting with children: an adult should handle any hot glue gun, and small feathers and sequins are choking hazards for children under three. Non-toxic craft glue and washable paint are the safer defaults for a kids’ table.
With the paper plate and glue stick version, the mask survives being folded into a pocket and reused, which is handy for a classroom set.
Frequently Asked Questions
What are those feather masks called?
Most people use the names interchangeably. Carnival mask, masquerade mask, Mardi Gras mask and Venetian mask all turn up for the same finished object in craft searches. Feathered Venetian masks are the narrower decorative style, with the plume sweeping to one side of the face. Searching feathered masquerade mask brings back the most printable templates and supply lists.
How many feathers do I need for a mask?
Plan on 10 to 14 craft feathers for a child-sized mask and 16 to 24 for an adult one, and work in matched pairs so the fan stays symmetrical. Small accent feathers take the place of larger ones in the inner row. Buy a mixed pack rather than a single colour, so you can swap anything that looks unbalanced before the glue goes down.
How do I attach feathers so they stay on?
Trim the quill to about half an inch, run a thin zigzag of glue along it rather than a blob, and press it onto the dry base for ten seconds. Glue from the outer edge inward so each feather partly covers the glue point of the one before it. A small feather tucked over the joint acts as a clamp and hides the shiny spot.
How do I make a carnival mask fit a child’s head?
Punch one hole at each outer edge, about a quarter inch in from the side, and thread elastic through both. Tie the ends to the head first, wearing the mask, then trim the excess and add a dab of hot glue to lock the knot. For a child who keeps pulling it off, glue a wooden dowel or chopstick to the back and make it a held handle instead.
Can I make a carnival mask with cardboard?
Yes, and it is the cheapest option. Flatten a paper cereal box, trace the mask shape onto two layers and glue them together so the cardstock is sandwiched between them. Cardboard will not bend or snap like craft foam, though it does add weight, so keep the feather count low and expect the mask to need a handle rather than a strap.
What glue is best for feathers on a mask?
For a kids’ craft, a glue stick works for mounting feathers to paper or foam, and it is the safest and cleanest option. A hot glue gun gives a stronger hold on craft foam but needs adult supervision and leaves blobs visible up close. School or craft glue is better than hot glue for sealing glitter, because hot glue beads and will not hold loose glitter down.
Conclusion
A feathered carnival mask is one evening of work: cut the base from a paper plate or craft foam, paint it dry, sort your feathers into matched pairs, tape the fan into place to check the symmetry, then glue it down and seal the line with glitter. Ten to fourteen feathers is the sweet spot for a child, angled upward so nothing tickles.
Start with the base and the eye fit, because everything else sits on top of those two decisions. Add the feathers last, when the mask is fully dry and you can see the whole shape laid out in front of you.