A face is in proportion when its features sit at the right size and distance from each other, measured against the head itself. The eyes land on the halfway line, the bottom of the nose sits halfway between the eyes and the chin, and the whole face is about five eye-widths wide. To teach a kid to draw a face in proportion, you draw an oval, mark a few faint guide lines across it, and place each feature inside that framework before adding any detail.
This takes about fifteen minutes at a kitchen table and needs nothing more than paper and a pencil. You do not need drawing training of your own, and you do not need your child to produce a portrait that looks like anybody in particular.
Table of Contents
- 1What You Need
- 2Step-by-Step
- 31. Start With the Head Shape
- 42. Divide the Face Into Proportions
- 53. Place the Eyes and Brows
- 64. Add the Nose and Mouth
- 75. Add Ears, Hair, and Details
- 86. Check, Correct, and Practice
- 9Common Mistakes
- 10Frequently Asked Questions
- 11At what age should a child be able to draw a face?
- 12Do kids’ faces have different proportions from adult faces?
- 13Is drawing from a mirror a good exercise for kids?
- 14Can my child practise face drawing on a tablet instead of paper?
- 15My child gets upset when I correct their drawing. What should I say?
- 16How often should a child practise drawing faces?
- 17Conclusion
What You Need
Gather these before your child starts, so the lesson does not stall halfway through:
- Paper — plain drawing paper or the back of a notebook. Slightly thicker paper takes an eraser better without tearing, which matters because you will be correcting lines.
- A pencil — an HB for the light guide lines, and a 2B or softer pencil for the final lines once the proportions check out.
- An eraser — a vinyl block eraser for lines, and a kneaded eraser if you have one, which lifts graphite without smearing.
- A mirror — a small one is fine. It turns drawing from memory into observation, which is the actual skill behind proportion.
- A ruler or a coin — for marking even spacing and the centre line without wobbling.
- A photo reference (optional) — a head-and-shoulders photo, or a grid printed on paper, for practising observation later.
- Tracing paper (optional) — useful for ages four to six who are not ready to freehand the proportions.
Keep the kit in one envelope or folder. A short setup is the difference between a drawing session that happens and one that gets skipped.
Step-by-Step
Work in this order and resist the urge to add hair, eyebrows or eyelashes early. The guide lines are the whole method; the features are just filling them in.
1. Start With the Head Shape
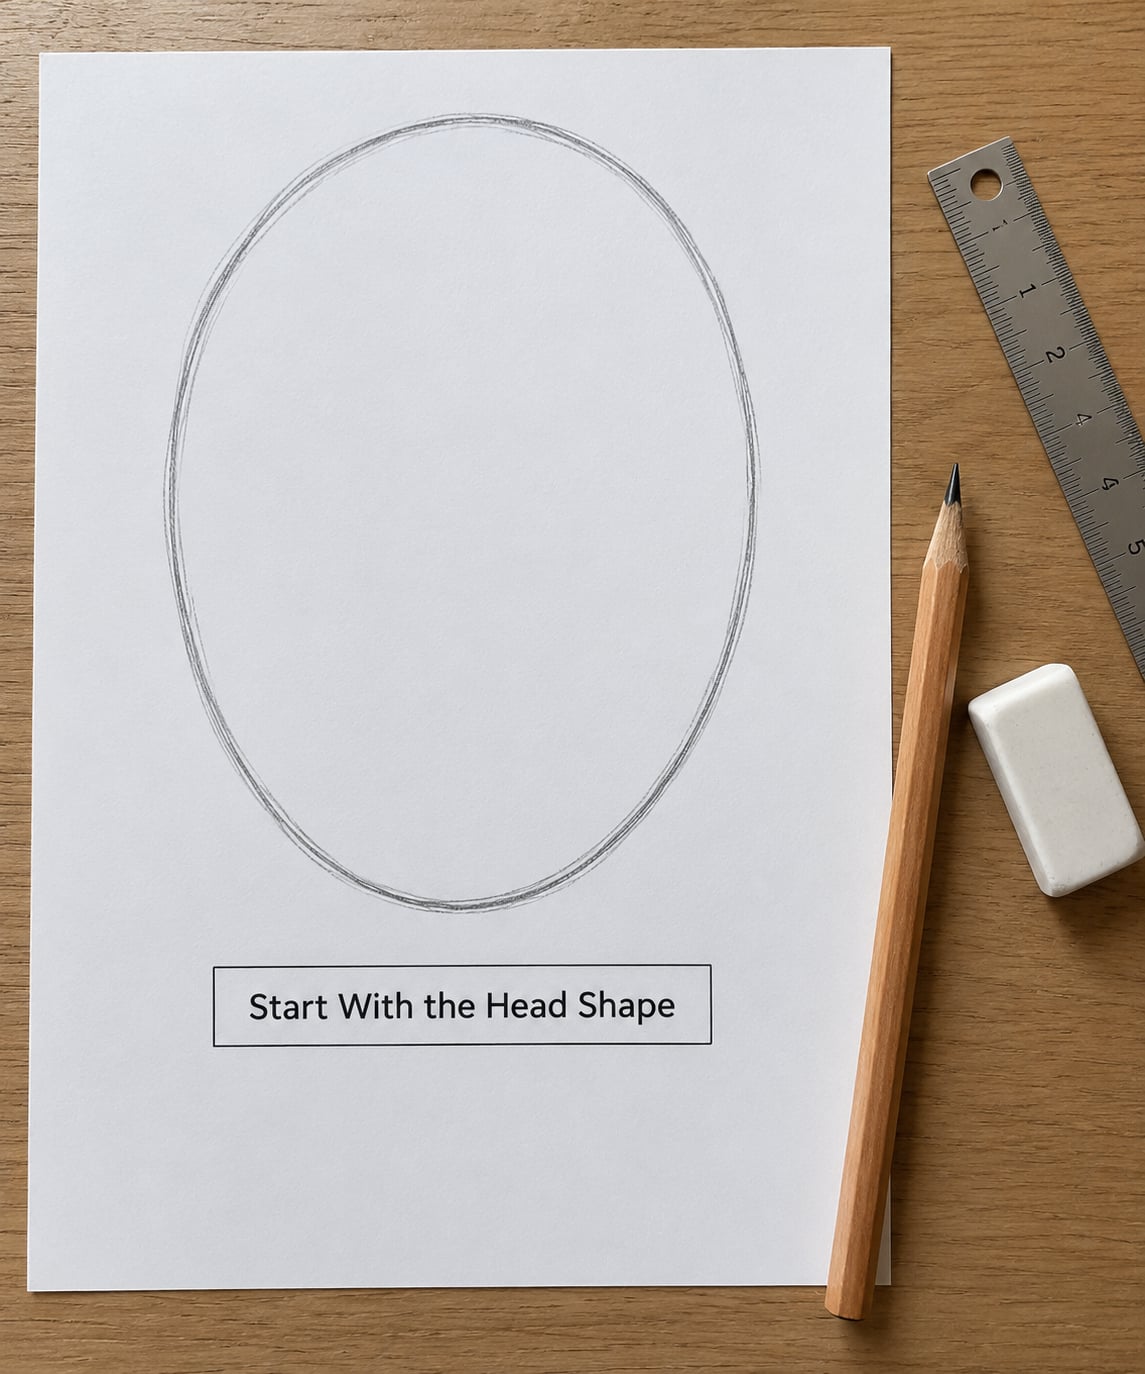
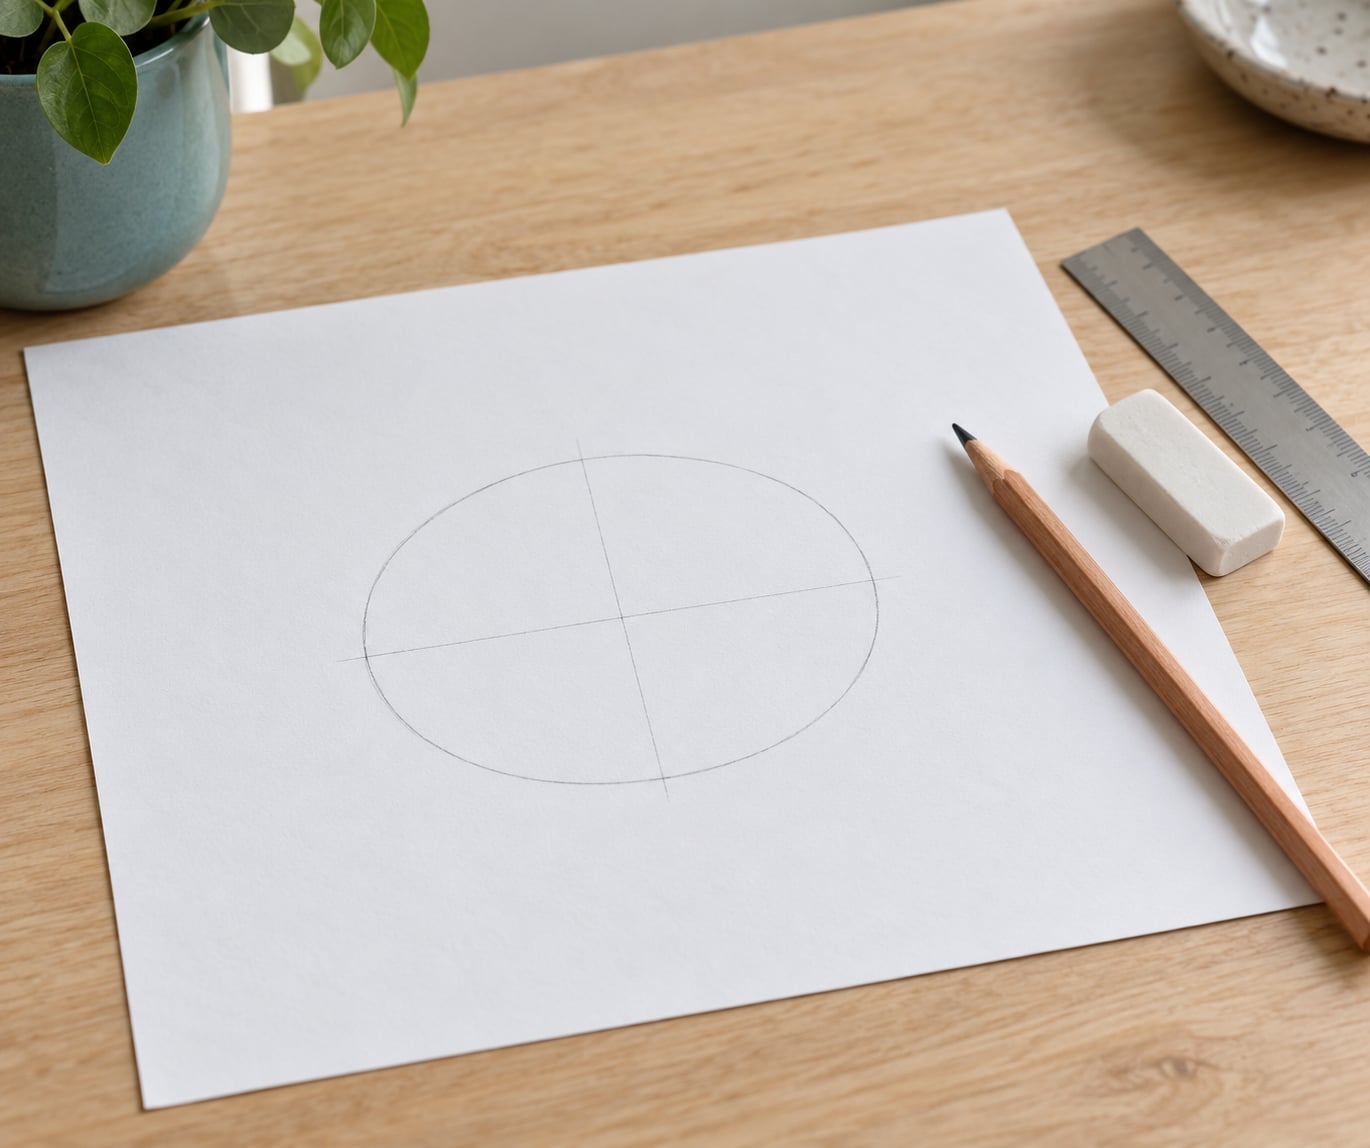
Draw a circle or an oval slightly taller than it is wide. That shape is the cranium and the skull; it is not the whole face, and treating it as the whole face is what makes most children’s drawings look top-heavy.
Then draw the jaw underneath, coming in slightly narrower than the widest part of the oval, and stop the chin. Leave a clear gap of empty paper below the chin.
Checkpoint: the chin should sit about halfway down the page, with room below it for a neck and shoulders. If the head fills the whole page, it is too big to leave anywhere to grow into. If it floats in the top corner, it is too small to place features inside accurately.
2. Divide the Face Into Proportions
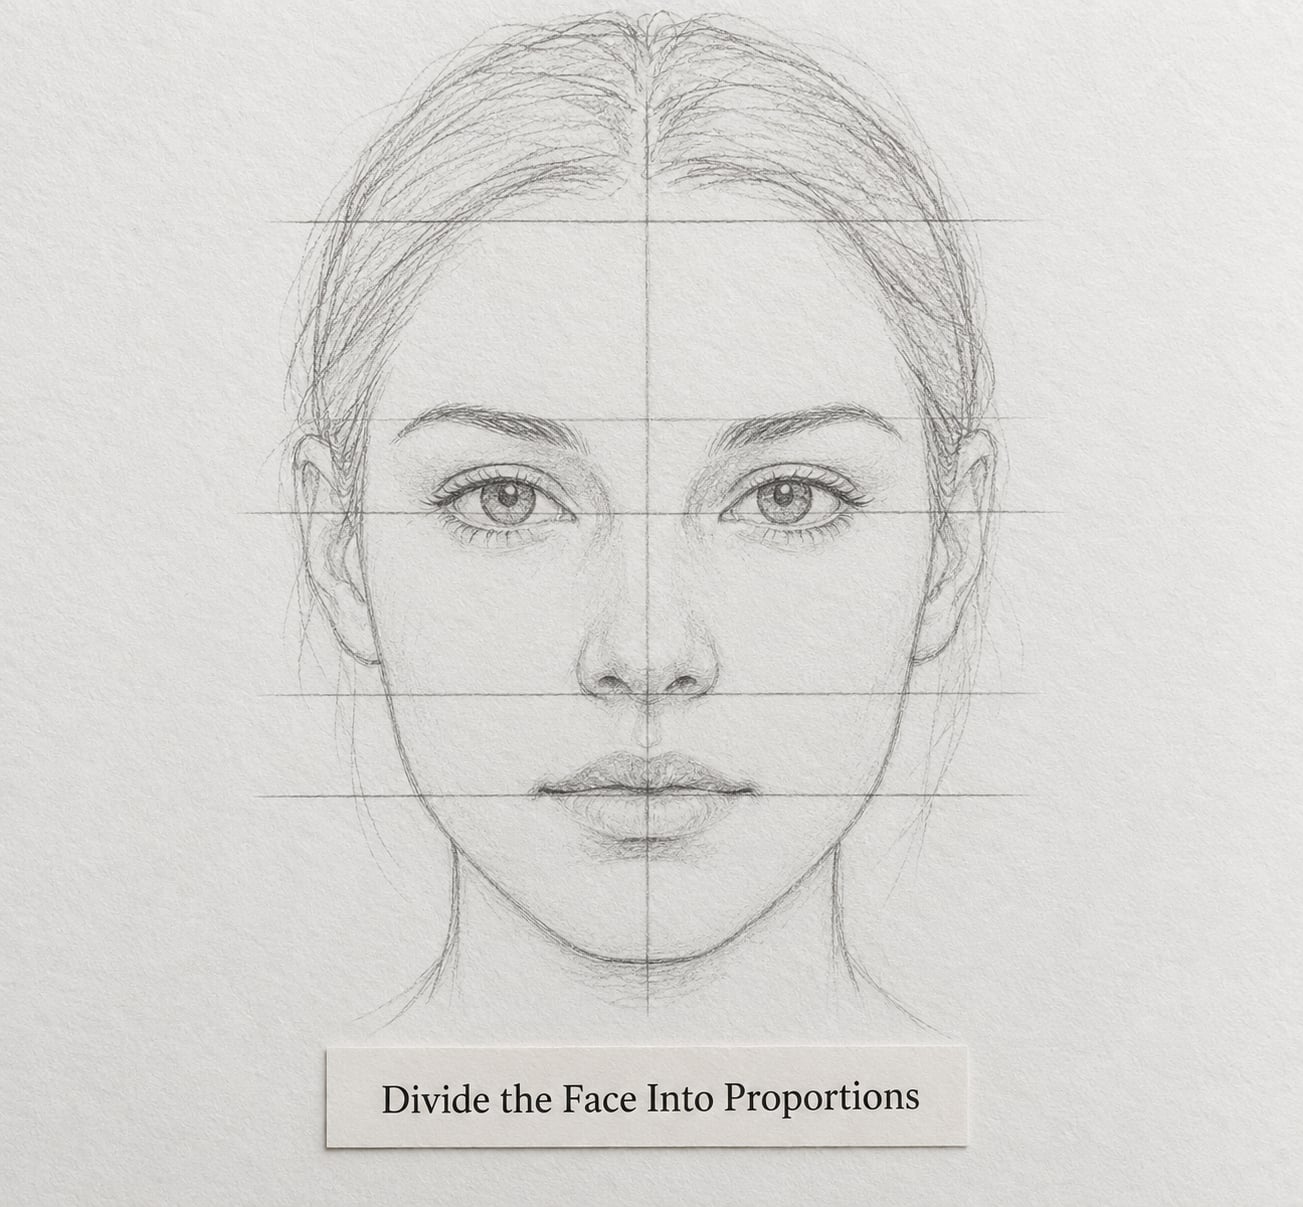
Press lightly here. Every line in this step is scaffolding you will erase later, and heavy pencil is the fastest way to make a child feel they have already made a mistake.
Mark the halfway point of the head, measuring from the top of the skull to the bottom of the chin. That horizontal line is the eye line, and it is the single most important measurement in the whole exercise.
Drop a short vertical line down the centre of the face. Then add a second horizontal line halfway between the eye line and the chin, which is where the bottom of the nose belongs. A third line, halfway between the nose line and the chin, marks the mouth.
The halfway rule is exactly this: the distance from the eye line to the nose line should match the distance from the nose line to the chin. Children who get this one relationship right usually get the rest of the face right too.
Checkpoint: the eye line is halfway, not high. If the eyes are placed in the upper third of the head, the forehead reads as huge and the face looks like a mask.
3. Place the Eyes and Brows
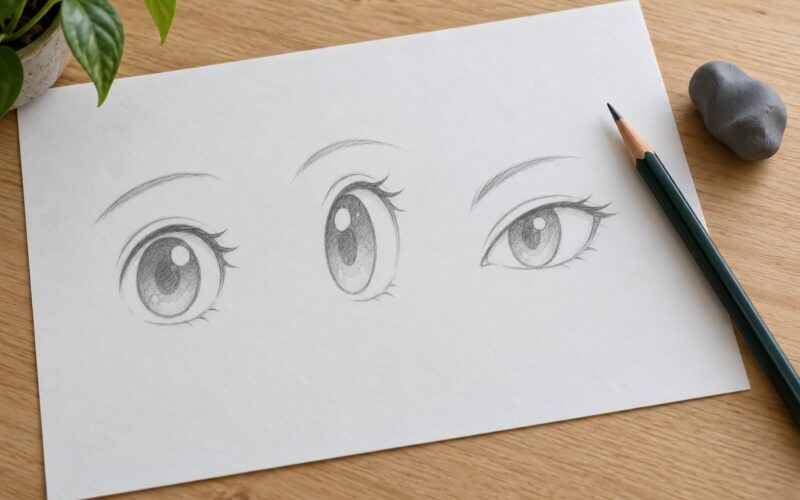
Measure one eye across and count it across the width of the face at eye level. You should get about five. That is the five-eye rule, and it is a spacing tool rather than a rule to memorise.
Leave exactly one eye-width of space between the two eyes, so the gap between them matches the width of an eye. Draw each eye as an oval or a lens shape sitting on the eye line, then add the lid line on top. That lid line is what stops the eyes from looking like they float on the surface.
Put the brows above the eye line, not on it, with a small gap. Brows set the expression, so a face with heavy low brows looks cross even when everything is in proportion.
Checkpoint: fold the page away from you or hold it up to the window and look at it as a silhouette. The features should stay aligned with the faint lines underneath.
4. Add the Nose and Mouth
Drop two faint vertical lines down from the inner corners of the eyes. The space between them is the width of your child’s nose and the width of the mouth at its widest. Children usually make both far too small when drawing from imagination and far too large when they copy a cartoon.
Draw the nose between those lines, ending on the nose line. A small triangle, a soft curve, or a single hook mark is plenty for a first attempt. Then place the mouth on the mouth line, centred on the vertical line.
Checkpoint: the mouth is wider than the nose but narrower than the gap between the eyes, and the chin still has room below the mouth line. Most proportion problems are really crowding problems.
5. Add Ears, Hair, and Details
Place the ears so they run from the eye line down to the nose line. That gives you an ear height of about one third of the head, which is what makes a head look like a head rather than an egg. Draw one and mirror it onto the other side.
Draw hair as one mass sitting on the skull, with a hairline across the top of the forehead. Individual strands placed straight on the outline flatten the head, which is the effect most children call spaghetti hair, and it is easy to fix by erasing back to the mass underneath.
Now, and only now, go over the guideline parts of your drawing with the darker pencil. Add the neck first, then shoulders, because a face with no neck looks pasted on.
Checkpoint: step back an arm’s length. If any feature jumps out as darker or busier than the rest, that is the part to simplify before adding anything else.
6. Check, Correct, and Practice
Have your child hold the drawing next to the mirror and compare. Then turn the page sideways or upside down, which makes an obvious mistake obvious without you having to say a word about it.
Erase and redraw whatever sits off its line. Redrawing the same feature three times on one sheet teaches more than three separate drawings, because the corrections are visible side by side.
Match the method to the age, roughly:
- Ages 4-6 — trace the oval and the guide lines, then place large simple features inside them. Accuracy of placement matters far more than neatness.
- Ages 7-9 — draw the guide lines unaided, and introduce the five-eye check as a self-check rather than a rule.
- Ages 10-12 — add the grid method for drawing from a photo, and let them set their own measurements with the pencil-and-thumb technique.
For a daily routine, fifteen minutes beats an hour once a week. Spend five on guide lines, seven on features, and the last three on erasing corrections, which is the part children skip.
Common Mistakes
Every one of these is normal at some age, and each has a one-line fix:
- Eyes placed too high. The forehead takes up most of the head. Move both eyes down to the halfway line you drew in step 2.
- Eyes too far apart or too close. The gap between them should equal one eye’s width. Measure with your thumb on the pencil and count it across.
- Eyes that float. No lid or socket line above the oval. Add a heavier line along the top edge of each eye.
- Features crowded into the centre. The mouth sits almost on the chin. Re-check the halfway rule; the space below the mouth line is doing work.
- Head too small on the page. Everything crammed in with no room to adjust. Draw the head larger and give yourself paper margins.
- No neck. The face looks pasted on. Draw the neck before the hair, starting at the jaw corners, not at the chin tip.
- Details before alignment. Eyelashes and shading are covering a proportion problem. Erase back to guide lines first, then add detail.
Say it as a question about the next drawing rather than a verdict on this one. “Let’s move the eyes down on the next one and see how it feels” lands very differently from “your eyes are too high”.
Frequently Asked Questions
At what age should a child be able to draw a face?
Most children can place facial features roughly in the right spot by age six, using an oval and simple shapes rather than accurate outlines. Between seven and nine they can usually draw the guide lines themselves and start using them to check their work. By ten to twelve they are ready for the grid method and for drawing from a photo. Younger children are not failing at this; drawing from a symbol rather than from observation is simply the normal stage.
Do kids’ faces have different proportions from adult faces?
Yes, and this is where most parents chase the wrong target. A child’s cranium is proportionally larger and the lower third of the face, from the bottom of the nose to the chin, is shorter relative to the whole head than an adult’s. That shortened lower third is the single biggest reason a drawn face reads as a child rather than as a small adult. Draw the proportions the child actually has, not the ones in a figure drawing manual.
Is drawing from a mirror a good exercise for kids?
It is one of the best, because it turns drawing from memory into observation, and observation is the skill behind proportion rather than a bonus on top of it. A child looking in a mirror has to track left to right the same way the page does, which fixes a lot of reversed-feature confusion. Keep it to a few minutes rather than the whole session, since holding still and checking gets tiring for younger children.
Can my child practise face drawing on a tablet instead of paper?
Yes, and the guide-line method translates almost directly. Have them set a light pencil layer or a faint stylus line that can be lowered in opacity, and keep the layers separate so corrections are easy. What matters more than the device is whether they can erase without destroying everything underneath. A single finger smudge is harder to undo than one clean eraser stroke, so a stylus of some kind helps.
My child gets upset when I correct their drawing. What should I say?
Describe the observation, not the verdict. Try naming one thing that is working, one adjustment framed as a trial for the next drawing, and one thing you are curious about. Avoid the word wrong entirely and avoid comparing their face to a photo of somebody else. At young ages, process and enjoyment matter more than how good the finished drawing looks, and regular, low-pressure drawing time does more for progress than formal lessons.
How often should a child practise drawing faces?
Fifteen minutes a few times a week is more useful than one long session, because proportion is learned by correcting and redrawing, and that takes repetition rather than endurance. Steady, low-pressure drawing time on its own produces steady, natural improvement, with no formal classes needed to see it. Skip the routine entirely when the child is tired or frustrated; a session that ends well is worth more than one that ends in tears.
Conclusion
Start today with an oval, one faint horizontal line at the halfway point, and two eyes one eye-width apart. That single exercise teaches the measurement that everything else depends on, and it takes under five minutes.
How to teach a kid to draw a face in proportion is mostly patience with a pencil: mark lightly, place the eyes on the halfway line, keep the gap between features even, and check against the guide lines before any detail goes on. Once that habit is in place, how to draw a face in proportion stops being a puzzle and starts being a skill they own.