Learning how to make a toilet paper roll craft takes about half an hour and costs almost nothing, because the whole structure is the empty cardboard tube. Cut it, wrap it or paint it, glue your details on, and the roll holds its own shape while you decorate. It suits ages three and up with an adult nearby, and a craft knife or hot glue gun is the only part that should stay in adult hands.
The trick nobody tells you at the start: most of the fiddly decisions go away once you know whether your craft is a standing shape or a handheld one. Standing shapes need a flat base or a cross at the bottom, handheld shapes such as binoculars or a puppet do not. Decide that first and the rest is decoration.
Before you start, put a sheet of newspaper or a craft mat down. Washable tempera paint and glue stick mean cleanup is a wipe, but paint will warp damp cardboard, so a roll that has been sitting in a bathroom is worth drying on a rack first.
Table of Contents
- 1What You Need
- 2How to Make a Toilet Paper Roll Craft Step by Step
- 3How to make a toilet paper roll craft: flatten and shape the roll
- 4How to make a toilet paper roll craft: add the main colour
- 5How to make a toilet paper roll craft: decorate the details
- 6How to make a toilet paper roll craft: finish and display it
- 7Common Mistakes
- 8Frequently Asked Questions
- 9What is the easiest toilet paper roll craft for young children?
- 10Can I make a toilet paper roll craft without glue?
- 11How do I make a cardboard roll stand upright?
- 12What paint is best for decorating a toilet paper roll?
- 13How long does this craft take to complete?
- 14Can children make this craft independently?
- 15Conclusion
What You Need
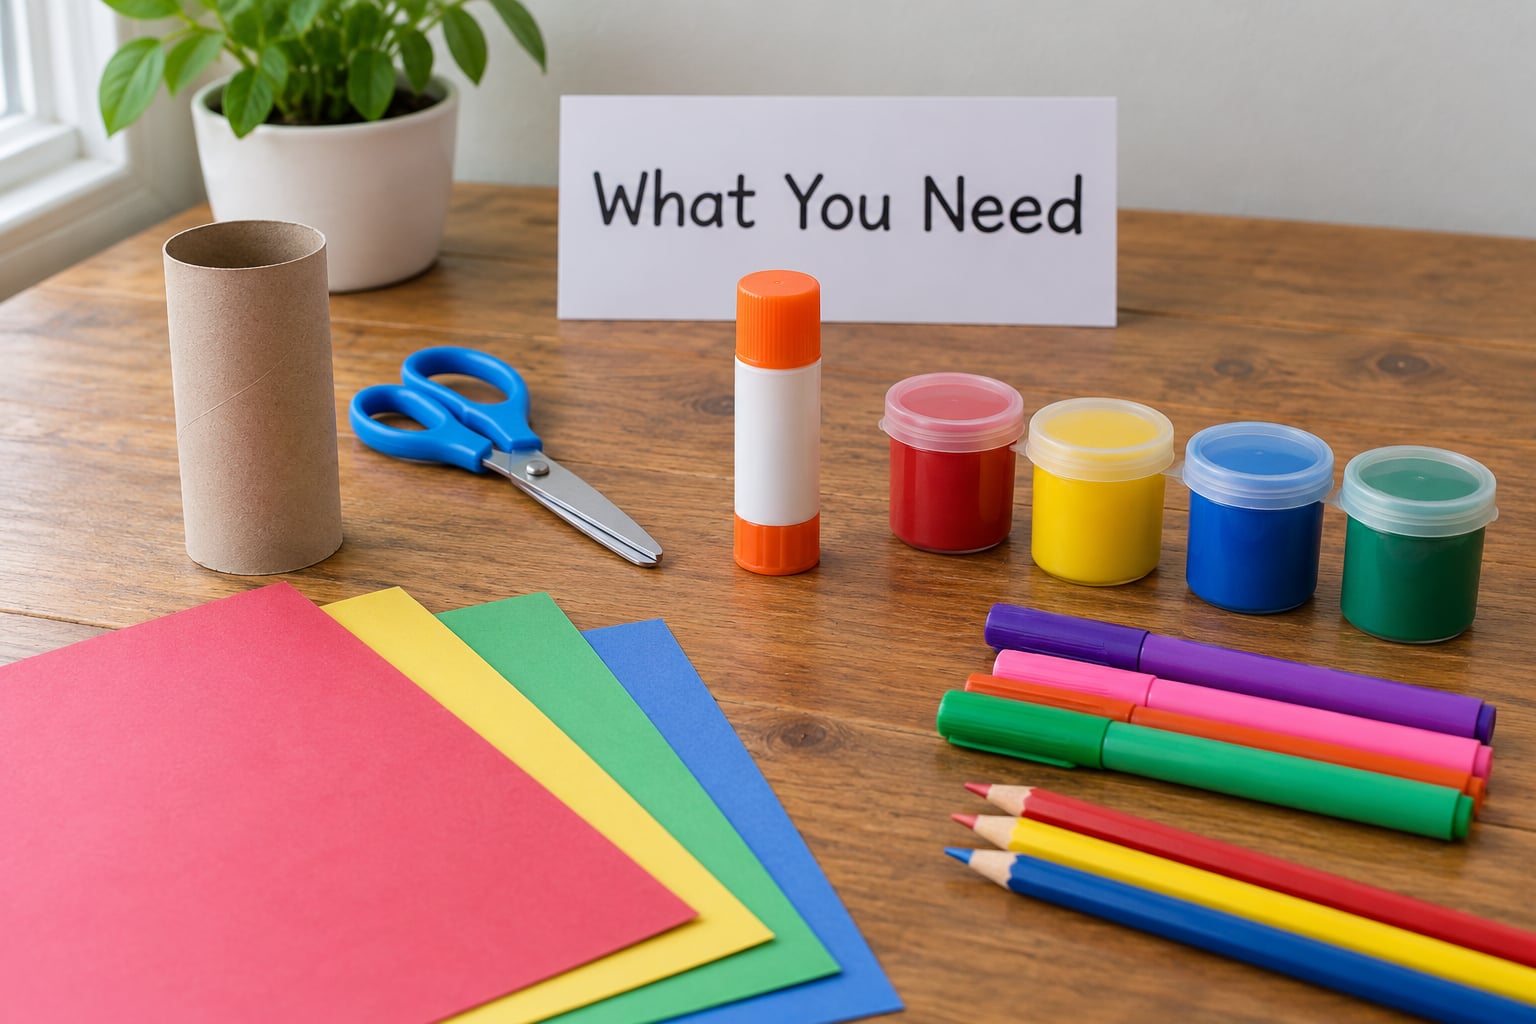
You need very little, and most households already have it. Gather the roll and the basics before you sit down, because hunting for a pencil mid-step is what turns a calm craft into a negotiation.
- The base: one empty toilet paper roll, or a paper towel roll cut into a shorter ring if you want a thicker tube. One roll is genuinely enough for most projects.
- Cutting: child-safe blunt scissors for the child, and a craft knife for an adult to pre-cut anything square or fiddly.
- Adhesive: a glue stick for paper and cardstock, white school glue for anything heavier, and a hot glue gun that stays in adult hands only.
- Surface: washable tempera paint and a brush, or coloured paper or cardstock and a pencil for the glue-free wrapping method.
- Details: construction paper, cardstock, googly eyes, pom-poms, yarn or string, pipe cleaners, and markers or pencils.
- Surface to work on: newspaper, a craft mat, or a clean table you do not mind wiping paint from.
An adult should handle cutting the roll, using a hot glue gun, and any small embellishment under three years old, since buttons, pom-poms and loose googly eyes are a choking risk. Put a sheet of paper towel over the table if you are using paint, and stand the roll upright between two books while it dries so the wet paint does not pool on one side.
How to Make a Toilet Paper Roll Craft Step by Step
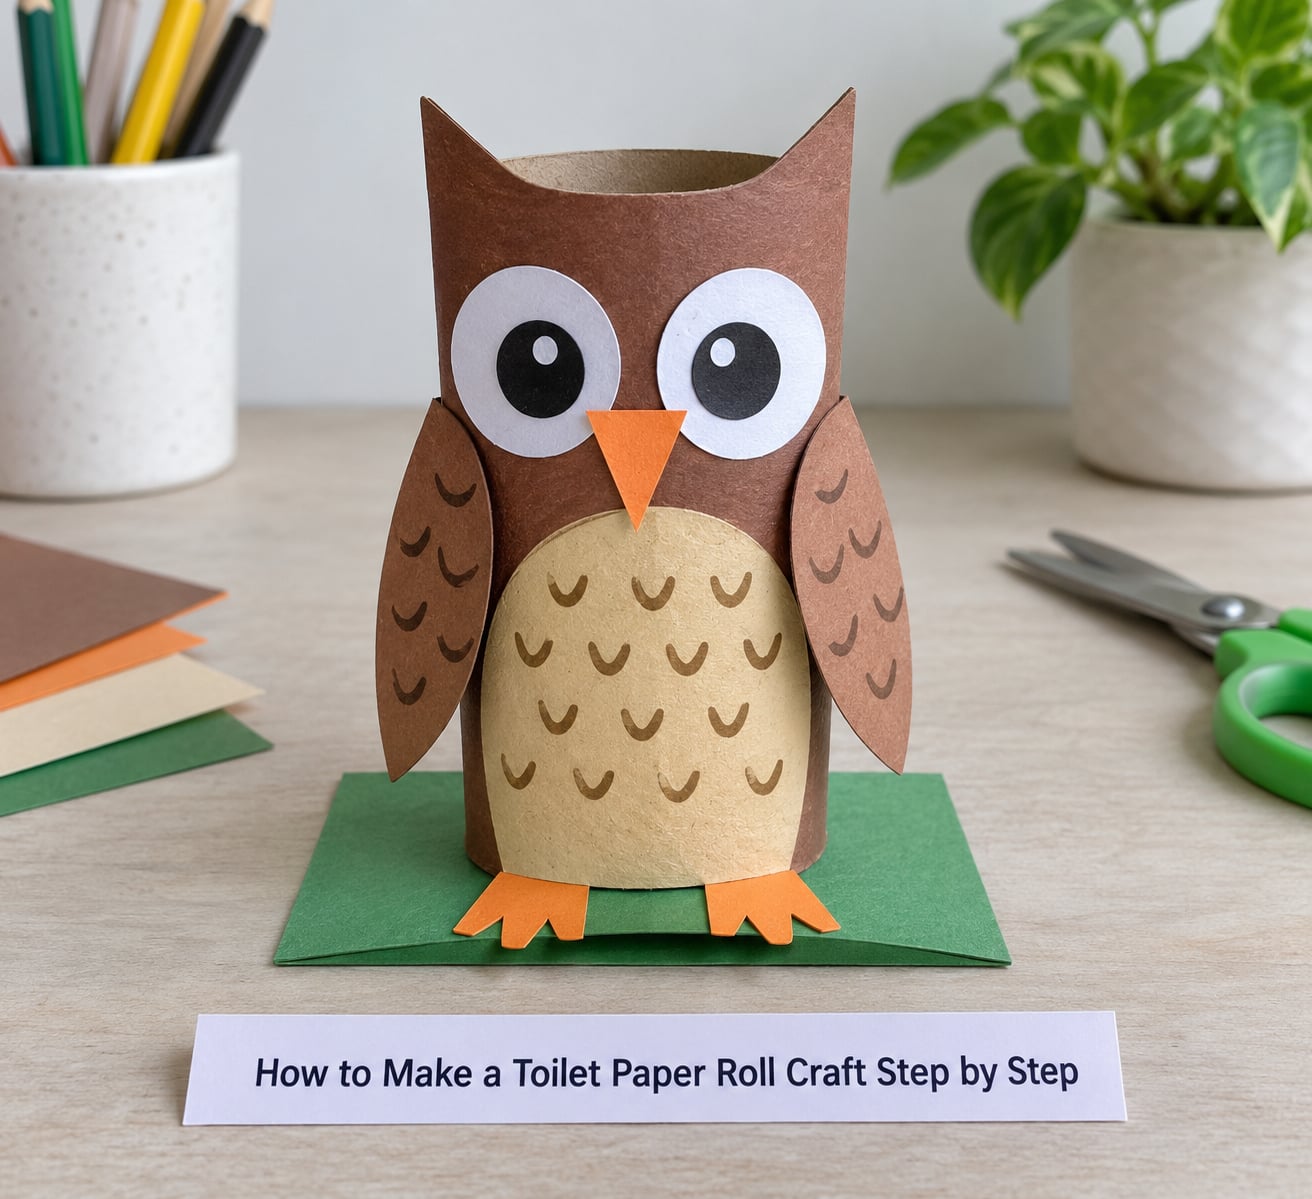
Difficulty is easy, total time is 20 to 40 minutes of active work plus drying time, and the method suits ages three and up with help on the cutting. The following four stages work for almost any toilet paper roll craft, whether you are building an animal, a puppet, a pen holder or a party favour box.
How to make a toilet paper roll craft: flatten and shape the roll
Flatten the roll by pressing it down along its length, run the seam flat with your fingers, and glue the loose flap shut so the tube does not spring open again. Leave it to dry while you sort your paper, because the seam needs a minute to set.
Now decide on the shape. For a standing craft, mark a shallow rectangle on the base and cut it out with a craft knife, so the tube stands with a flat foot. For a handheld craft such as binoculars, a puppet or a pen cup, leave the roll as a full open cylinder and skip this stage entirely.
Look for even edges and a seam that no longer lifts. If the tube wobbles on the table, the foot is off-centre, so shave a thin slice off the inside edge of the taller side rather than sanding the base flat.
How to make a toilet paper roll craft: add the main colour
To paint, tape the base first, apply a thin coat of washable tempera with a light touch, and let it dry fully before adding details. A first coat of white or cream paint helps when the colour is dark, because bare kraft cardboard drinks pigment and lets it bleed through to the other side.
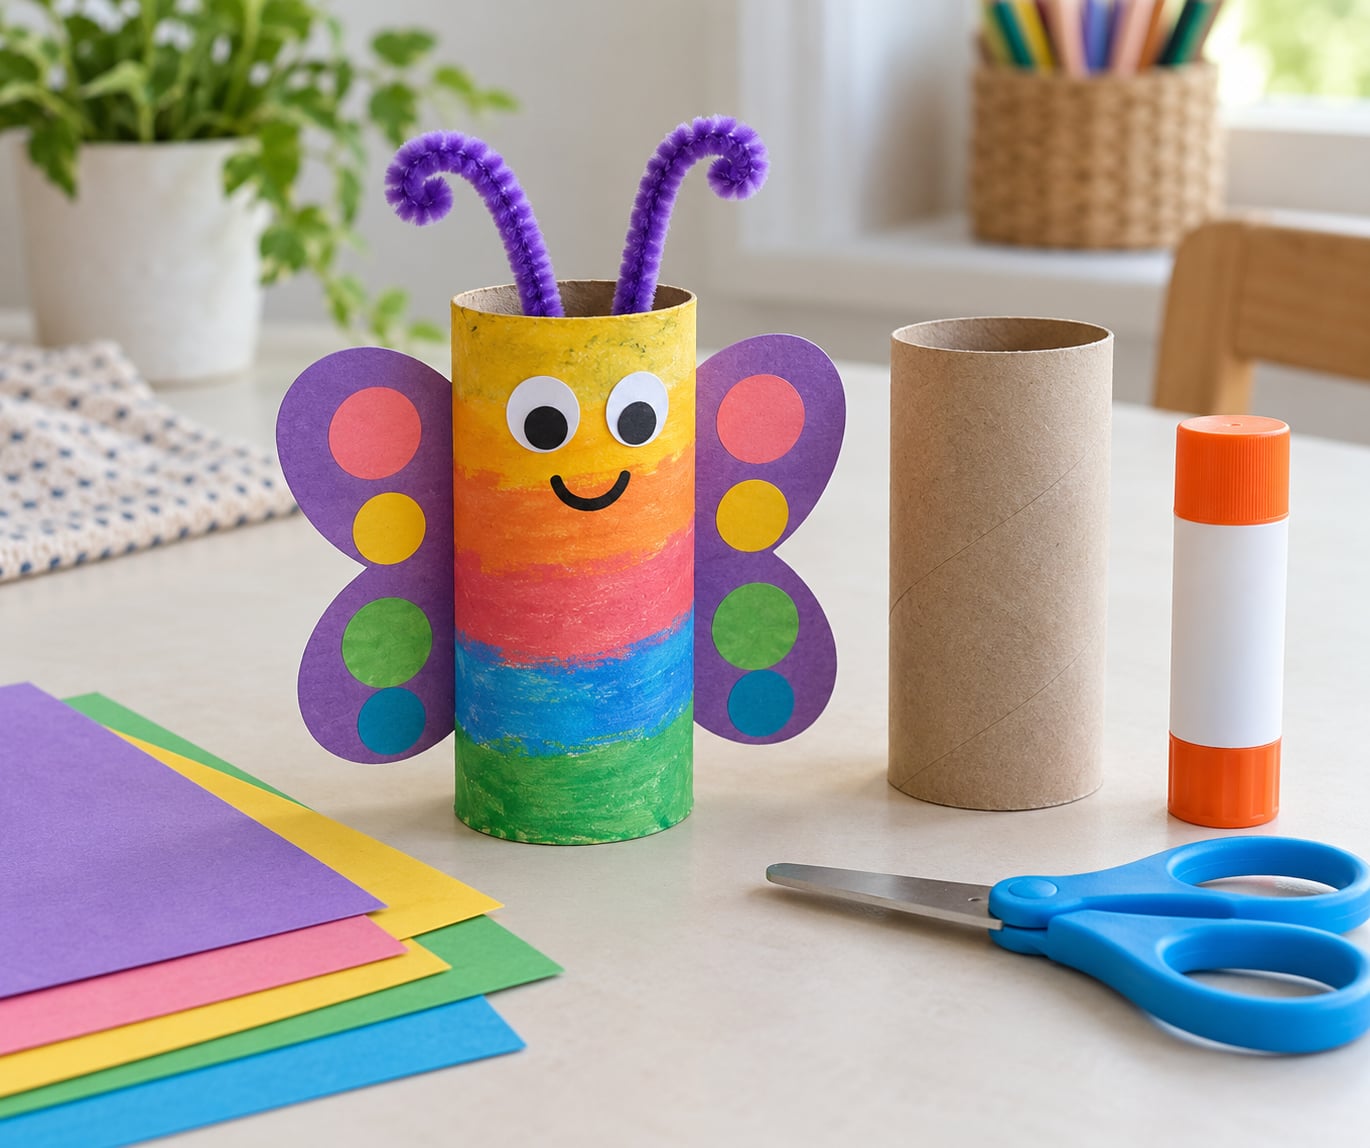
To skip paint entirely, wrap the roll in coloured paper instead, which is faster, dries instantly and suits a toddler. Measure the paper to the circumference plus about two centimetres, wrap it so the seam sits at the back, and secure the overlap with a glue stick. Trim the excess and the child can go straight to decorating.
Check that the colour covers edge to edge with no kraft showing through at the rim, and that nothing is tacky. Paint needs 20 to 30 minutes to dry to the touch; the paper method only needs the glue to set.
How to make a toilet paper roll craft: decorate the details
Work in order of size, heaviest piece first. Glue on the large paper shapes, let them dry, then add eyes, and finish with the small bits, so each layer gets its own grip.
For eyes, two googly eyes or two drawn circles with a black dot turn a plain tube into a character. For a face, cut a mouth and cheeks from cardstock, which stays crisp where construction paper tears at the edges. For limbs, pipe cleaners or yarn taped inside the rim stay put better than paper strips glued to the outside.
Test each piece with a small tug once the glue has set. If it moves, add more glue underneath rather than on top, since a top layer of glue just slides off the cardboard when the craft is picked up.
How to make a toilet paper roll craft: finish and display it
A flat disc glued to the bottom works on card and light paper. A cross base works better: cut two identical card circles, slit one to the centre, slot the other through at right angles, and glue that cross into the foot of the roll. It takes an extra minute and stops the craft tipping over.
Set the finished craft on a shelf rather than a windowsill, since window colour fades paper. To store a batch, stand crafts in a box with tissue paper between them, or lay them flat in a single layer. For the empty rolls themselves, flatten them and thread them onto a skewer in a dry cupboard, so the next project is not waiting on the recycling.
One more roll turns into something larger. Two rolls side by side make a village tower, and four pinned in a cross make a base for a whole cardboard city.
Common Mistakes
The cardboard tears while cutting. Cardboard splits along its grain, so pinch the roll with the grain and cut with it, using short scissor strokes rather than one long cut. A blunt craft knife on an adult’s knee, or a pre-cut shape from an adult, removes the problem entirely.
Too much glue is used. Excess glue soaks into the kraft paper, dries hard, and makes the craft brittle, and it shows up as a smear on everything it touches. A thin spiral of glue on the back of the piece, then pressed down, holds far better than a blob in the middle.
Details are added before the paint is dry. The finish picks up and smears, and the cardboard stays soft underneath for days. Wait for the surface to feel dry rather than just not-wet, or use the paper-wrap method if drying time is the problem.
Paint bleeds through to the back. Two thin coats with a drying break in between beat one heavy coat, and a white primer coat blocks the fibre from taking the colour.
The craft will not stand up. Most tippy crafts have a centre of gravity above the base. Move the flat foot under the heavy part, widen the base, or glue on the cross base, which is stable in both directions.
Details are too heavy for the roll. An animal with six full-size pompom paws tips forward every time it is moved. Use drawn details or half-pieces of paper instead, or rest the paws on a wider base.
Three habits cover most of the rest. Cut everything to size before gluing anything down, work in thin glue layers, and give each stage a drying break while the child sorts the scraps. That sorting time is not wasted either, since the craft takes noticeably less effort once the pieces are ready.
Frequently Asked Questions
What is the easiest toilet paper roll craft for young children?
A painted animal made from one roll is the easiest: wrap the tube in coloured paper instead of painting it, glue on two googly eyes, a paper snout and two pipe cleaner ears. There are no cuts for the child to make and nothing to weigh down the finish. It takes about 15 minutes and works well from age three.
Can I make a toilet paper roll craft without glue?
Yes, and the no-glue version suits a toddler or a messy afternoon. Use a slit cut partway down the roll and slide cardstock shapes into the slit instead of gluing them, and secure pipe cleaners by twisting them around the tube. Masking or washi tape also holds paper reliably on cardboard without any glue at all.
How do I make a cardboard roll stand upright?
Cut a shallow rectangle out of the base to create a flat foot, keeping the foot on the side away from any heavy details. If the craft still tips, add a cross base: cut two card circles, slit one to the centre, slot the second through it at right angles, and glue that cross inside the bottom of the roll.
What paint is best for decorating a toilet paper roll?
Washable tempera paint is the easiest choice, because it cleans off skin and surfaces with a damp cloth and it does not need rinsing out of brushes. Acrylic works too and gives a stiffer finish, but it is permanent, dries fast and smells strongly, so it is better for a project an adult handles.
How long does this craft take to complete?
Expect 20 to 40 minutes of active work, plus 20 to 30 minutes of drying time if you paint. The paper-wrap method has no real drying stage, so it is a genuine half-hour project. Group crafts take longer only in the setup, since setting out trays of materials and tape on the table takes several minutes itself.
Can children make this craft independently?
Ages five and up can usually manage the paper-wrap method alone, with scissors and a glue stick. From age three to four, an adult should cut any shape the child cannot manage and handle the paint stage. Anyone using a craft knife or hot glue gun needs an adult on that step, whatever their age.
Conclusion
Start by pressing one roll flat and checking whether your craft needs a flat foot, because that single decision removes most of the trial and error. Once you know how to make a toilet paper roll craft, the same tube becomes a puppet, a pen holder, a party box, a bird feeder or whatever your child decides it is today, and the whole project still costs next to nothing.
Hand over the paper choice, let them pick the animal or the character, and step back. The roll supplies the structure, so the making is mostly deciding, which is exactly the part worth letting a child lead.