You can make a Halloween costume from clothes you own in 20 to 30 minutes by starting with one recognizable base garment, adding two or three identifying accessories or painted details, and skipping the sewing machine entirely. The trick is picking a character whose silhouette you already own, then changing only the parts that give it away.
I keep a bin of craft supplies for exactly this reason. When the invite arrives on a Tuesday and the costume is due on Friday, the difference between a panic and a finished outfit is usually a black T-shirt, a cardboard box and about an hour.
Table of Contents
- 1What You Need
- 2Step-by-Step: How to Make a Halloween Costume From Clothes You Own
- 31. Choose the Character and Find the Clothes
- 42. Test the Fit and Plan the Changes
- 53. Cut or Remove Unwanted Parts
- 64. Add Color, Patterns and Character Details
- 75. Build the Accessories
- 86. Put the Costume Together
- 97. Try It On and Check Safety
- 10Common Mistakes
- 11Frequently Asked Questions
- 12Do I need to know how to sew to make a Halloween costume from clothes you own?
- 13Which clothes are easiest to turn into a costume?
- 14How can I make an adult costume work for a young child?
- 15How do I undo temporary changes to my clothes?
- 16What do I do when nothing in my closet looks like the character?
- 17How do I make a homemade ghost costume that stays comfortable?
What You Need
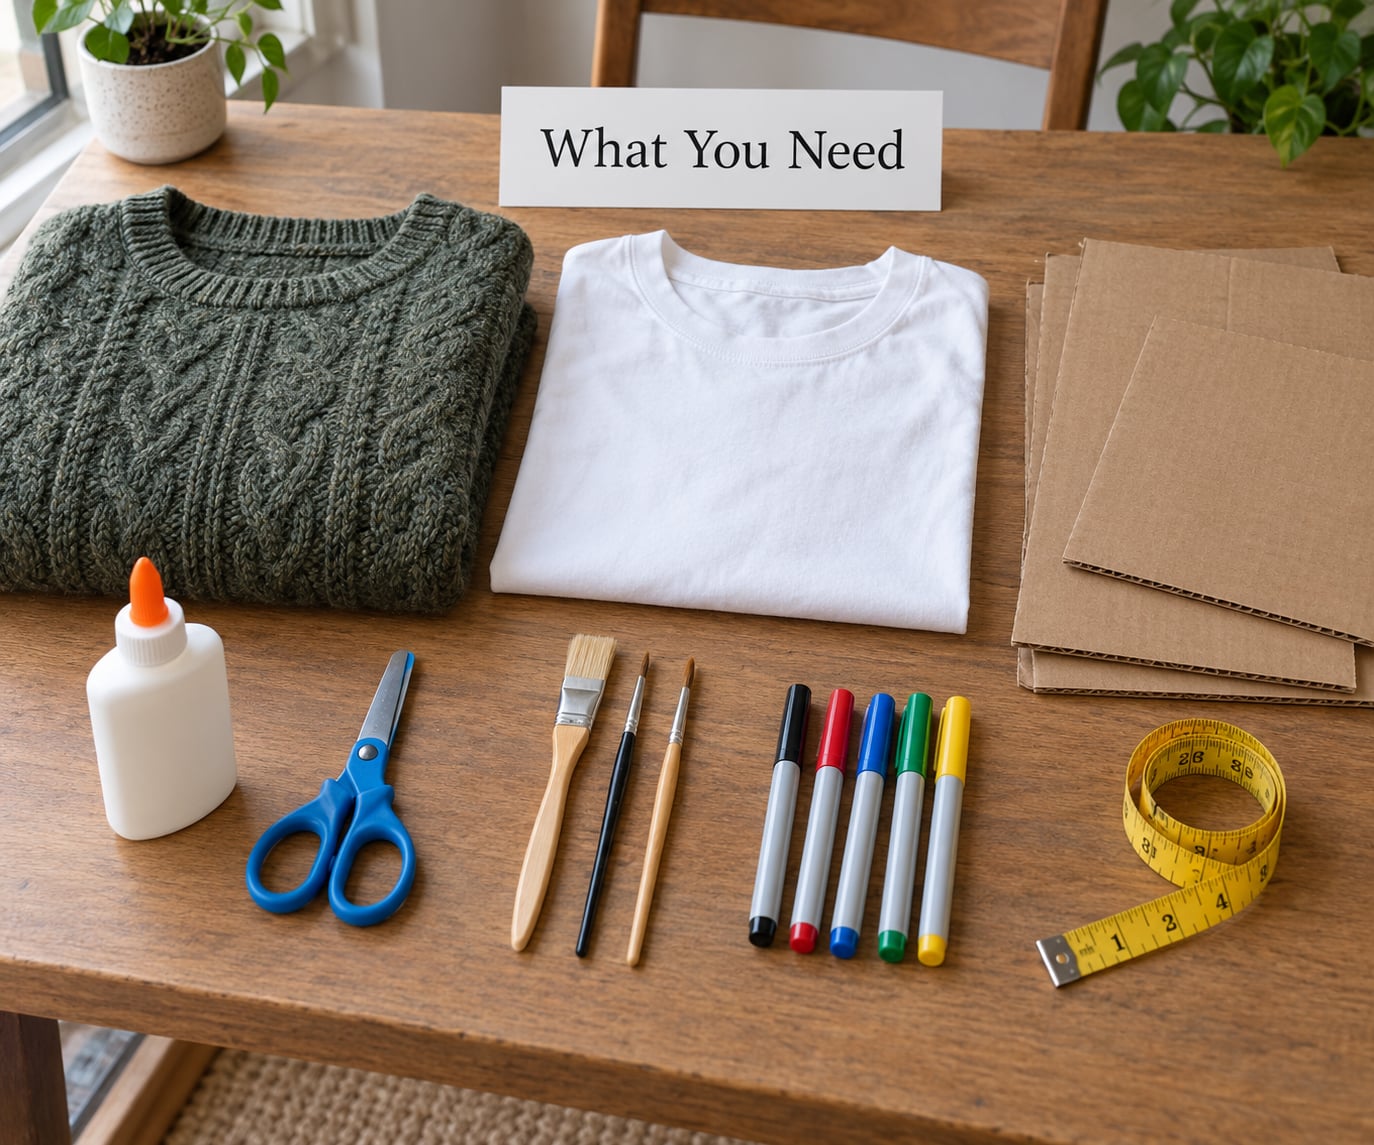
Start with a base garment you already own, then add a small supply kit. That is the whole list.
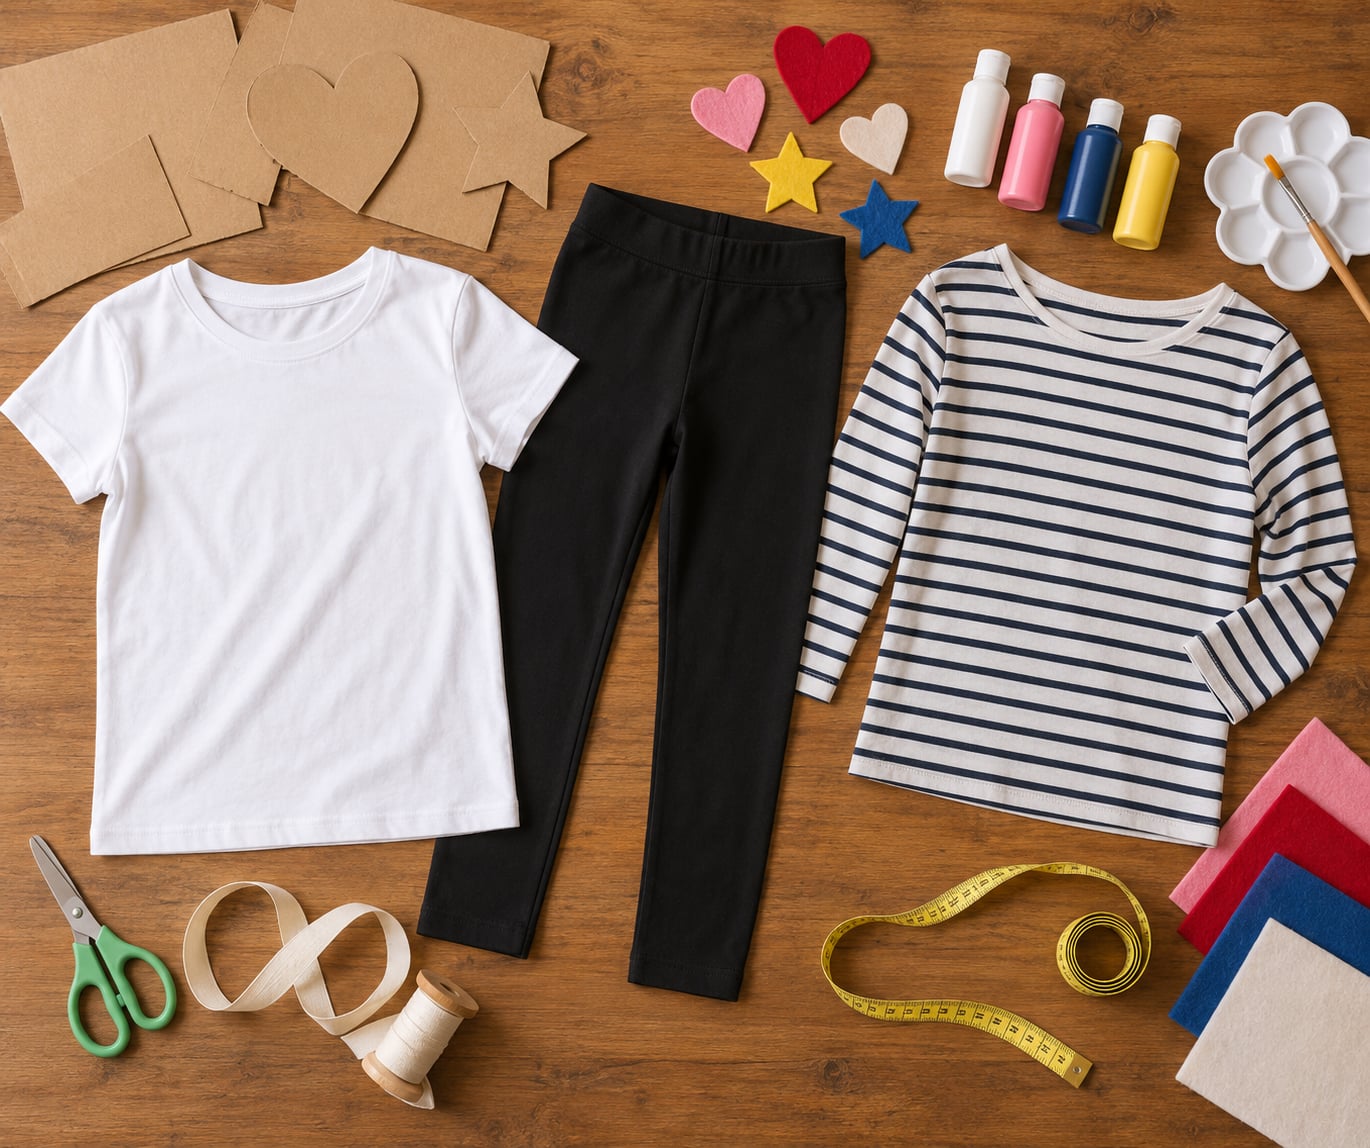
- A base garment: a plain T-shirt, white button-down, striped shirt, black leggings, denim overalls, flannel shirt, turtleneck, blazer, maxi dress or apron. Plain colors repaint and restyle best.
- A second layer: a cardigan, vest, sweater or scarf that fits over or around the base.
- Fabric glue or double-sided tape: for attaching cardboard, felt and appliques without stitching.
- Fabric paint and markers: for stripes, patches, scales, spider webs and lettering.
- Cardboard, paper and felt: the raw material for cat ears, capes, crowns, wings and masks.
- Packing tape, safety pins, hook-and-loop tape and laces: for fastening and for no-sew fitting changes.
- Safety scissors, a measuring tape and a pencil: for marking before you cut.
Two safety notes before anyone picks up scissors. An adult handles all cutting, hot glue and ironing, and children work alongside rather than alone. And keep the costume itself simple: no cords tight at the neck, no small detachable pieces for a toddler, and nothing that catches on a sleeve when you reach.
Step-by-Step: How to Make a Halloween Costume From Clothes You Own
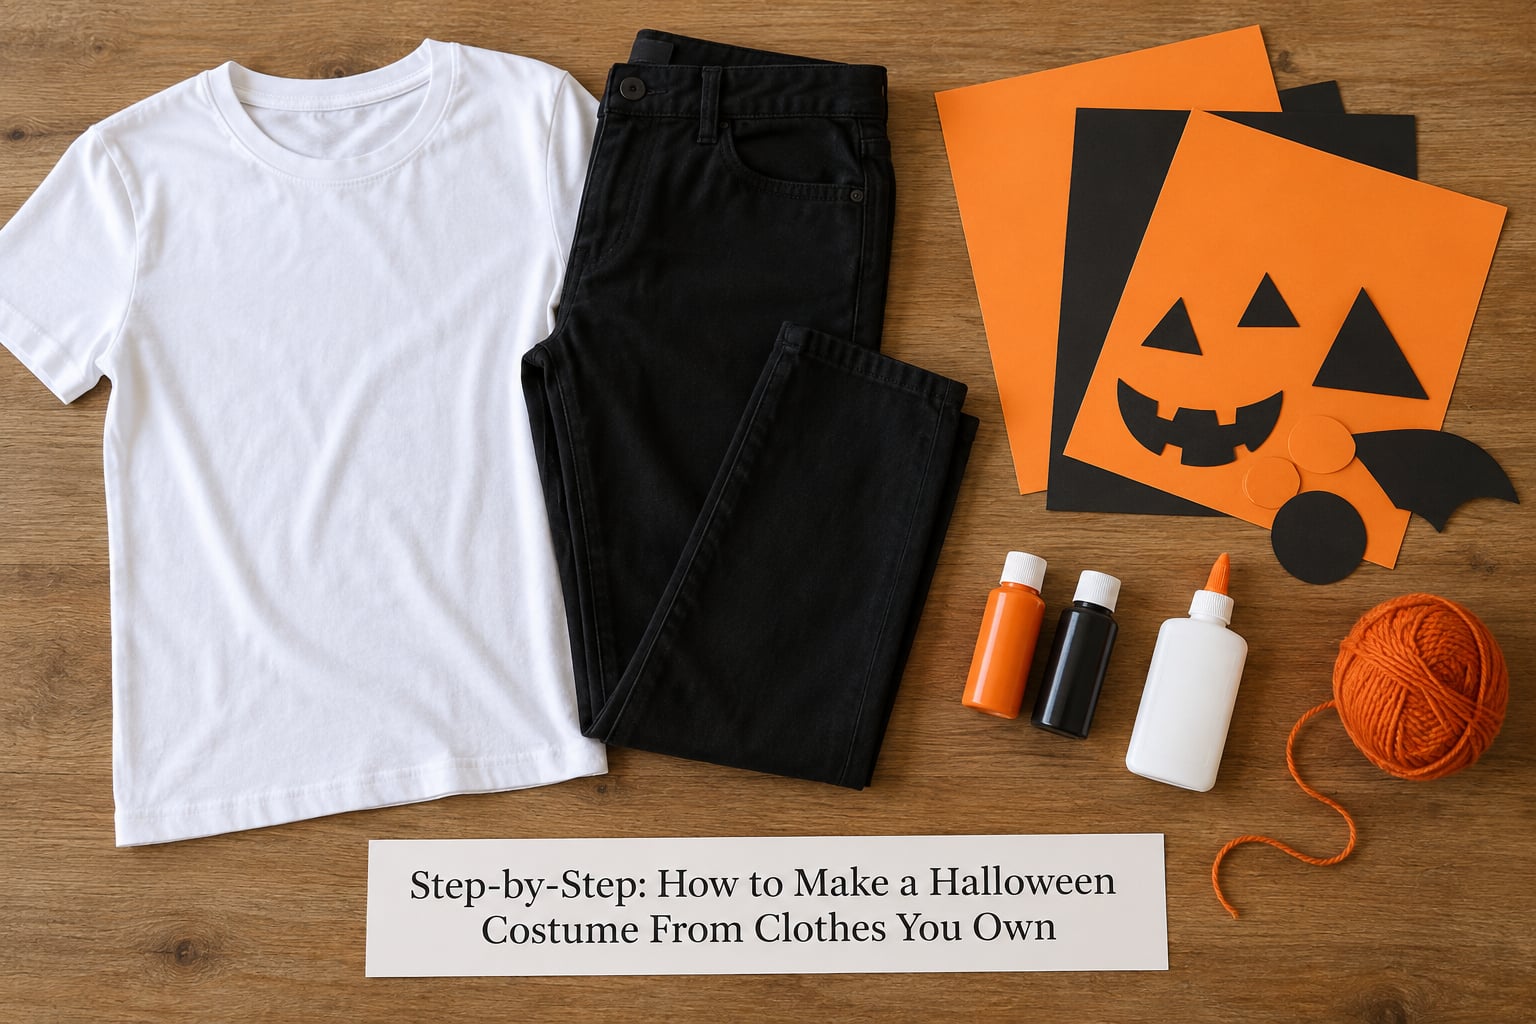
Follow these seven steps in order and you will have a finished costume in one sitting. Most of the work happens in steps one and four — choosing the right clothes and adding the details that make the character readable from across a room.
1. Choose the Character and Find the Clothes
Match the character to what you already own, not the other way around. A striped shirt becomes a clown with suspenders and a red nose, a dark jumper becomes a vampire with a collar cut from white felt, and denim overalls become a farmer, a mechanic or a manga character with a change of shirt and glasses.
It works in reverse too. When nothing in the closet matches, pick the accessory first and let it dictate the clothes: a headband with cat ears wants a black top, a painted cardboard box wants plain brown trousers, and a fake stethoscope wants a plain white shirt. If you do not own the accessory, cardboard and felt will build it in a few minutes.
2. Test the Fit and Plan the Changes
Put on the base clothes and mark what needs to change, then step out of them before cutting. Most fixes are shorter sleeves, a hemmed jacket, a narrower waist or a tighter collar, and all of them are easier to mark while the garment is on the body.
Leave real room to move. Sit down, squat, climb a stair and lift both arms before you cut anything, because a costume you cannot sit in for a full evening fails no matter how good it photographs. Check that the shoes, hood and any hanging pieces clear the floor and do not drag where a step or a playground slide might catch them.
3. Cut or Remove Unwanted Parts
Remove what breaks the illusion: a sports logo, a hood, a pocket, an oversized collar or a patch you do not want. Work with an adult, mark the line in pencil first, and cut with fabric scissors in long steady strokes rather than short snips.
You rarely need to stitch anything back together. Fold a hem over and secure it with hook-and-loop tape, tuck a shirt into waistband to shorten it, tie a knot in the side of an oversized shirt, or gather fabric with a length of ribbon. Safety pins work for a fitted look and come out in seconds, though an adult should place anything a child will wear for a long evening.
4. Add Color, Patterns and Character Details
Painted details carry the character more than any single accessory. Fabric paint and stencils give you stripes on a white T-shirt, patches on denim, spider webs in a corner and scales that catch light under party lighting. Markers are faster for lettering, numbers and thin lines, and paper cutouts glued on with a thin layer of fabric glue are ideal for shapes that will not need washing.
Let every painted or glued section dry fully before dressing, and follow the drying time printed on the paint rather than guessing by touch. If the garment may need washing later, favour markers, fabric tape and removable tape stencil work over permanent paint.
5. Build the Accessories
Most costume characters are recognized by one prop, and that prop rarely costs anything. A cardboard box becomes a delivery parcel or a homemade video-game character, a wooden spoon becomes a spoon-wielding villain, a garden hose coiled at the waist becomes a tentacle, and a shopping bag becomes a courier or a suspicious package.
Keep accessories light, secure and rounded. Tape down or sand any sharp cardboard corner, fasten a mask with elastic rather than glue, and check that nothing dangles far enough to be grabbed by someone else’s sleeve. If you are painting a face, keep the eye area thin and let it dry before it goes near your child’s eyes.
6. Put the Costume Together
Attach the pieces with fabric glue for fabric, double-sided tape for paper and cardboard, and safety pins or safety fasteners for quick fitting changes. Working right to left, and testing each join as you go, means you catch a weak spot while the costume is still flat on the table.
Two habits make dressing easier on the night. Either put the whole thing on in the order a child can manage — trousers, shirt, then headwear last — or use wide hook-and-loop closures along one side so it opens in a single motion. Avoid anything tight at the neck, waist or wrists, and disguise visible fasteners with a strip of felt or a matching ribbon.
7. Try It On and Check Safety
Wear the finished costume for ten minutes and move through it properly: walk across the room, sit on the floor and a chair, climb stairs, and eat a snack. Comfort problems show up in that test and never show up in a photograph.
Then check the details that matter outdoors. Make sure you can see where you are going, that trouser hems and sleeve cuffs do not catch, and that breathing is easy in a hood, a mask or a tight collar. For trick-or-treating in the cold, layer long underwear under leggings and add tights and a coat to the plan from the start rather than bolting a costume over a winter coat on the night.
Common Mistakes
Most homemade costume failures come from one of four things: too much detail, a poor base garment, rushed drying or a design that ignores comfort. Each has a simple fix.
- Building something too complicated. Pick one character with a clear silhouette and stop there. A cardboard box and a brown jumper take fifteen minutes; a half-finished spaceship takes three evenings.
- Starting with a garment that does not fit. Choose clothes that fit well now and change only what is essential. A costume that must be pulled tight to work will be uncomfortable within an hour.
- Using too much glue. A thin, even layer holds far better than a thick one that soaks through and dries stiff. Wipe the excess before it sets.
- Forgetting to sit down. Do the sit, walk and stair test before the night. A costume that cannot be sat in will be abandoned on a chair by the second hour.
- Painting and dressing too soon. Wet paint transfers onto skin and onto the next garment. Give it the full drying time the paint specifies.
- Making the character unreadable. Add one clear signal — a striped top, a red accent color, a distinctive hat shape. If a stranger needs the whole backstory, the idea is not visible enough yet.
A few working habits pay off across many costumes. Mark before you cut, test paint on the inside seam first, and keep the craft bin stocked with cardboard offcuts, ribbon and safety pins so nothing has to be bought mid-project. For children, hand them the paint brush or the felt ears while an adult handles the glue gun and scissors, and accept that a little mess is part of the deal.
Afterwards, wash painted garments separately the first time, check a spot hidden inside the hem, and unpick or pull off any glued cardboard while it is still loose. Clothes that come back into rotation are the real win of building a costume from what you own.
Frequently Asked Questions
Do I need to know how to sew to make a Halloween costume from clothes you own?
No. Most closet costume ideas work with folding, tucking, knotting, ribbon and hook-and-loop tape or safety pins. Sewing is only helpful if you want a fitted collar or a shaped cape, and fabric glue handles most appliques and cardboard pieces just as well.
Which clothes are easiest to turn into a costume?
Plain garments in solid colors: a white T-shirt, a white button-down, black leggings, a striped shirt, denim overalls or a plain maxi dress. They take paint cleanly and let accessories do the character work. Avoid heavily printed or stretchy shiny fabrics, which fight fabric paint and glue.
How can I make an adult costume work for a young child?
Shrink the idea, not the detail. Use the same character with safer, simpler pieces: a cardboard box with smooth corners instead of a broken one, no long cords or loose ribbons, elastic instead of ties, and full-length tights or leggings instead of adult trousers. Skip face paint with glitter near the eyes.
How do I undo temporary changes to my clothes?
Pull out safety pins, peel off hook-and-loop tape slowly to avoid pulling fibres, and untie any knots. Fabric glue usually comes out with a little oil or soap and a warm wash, but test a hidden spot first. Avoid iron-on or permanent glue on anything you want back to normal.
What do I do when nothing in my closet looks like the character?
Start from a prop instead of a garment. Choose a hat, a mask or a painted headband, then find the plain clothing that matches it. A white shirt, dark trousers and a striped tie will carry almost any accessory, and a striped top will cover an idea on its own.
How do I make a homemade ghost costume that stays comfortable?
Take a white sheet or two white T-shirts and cut arm holes that leave your shoulders free, then add eye holes cut from black felt or painted with fabric paint. Leave the hem above the ankle so you can walk without tripping, and add black trousers underneath so nothing shows when the wind lifts it.
Start with the character, then go through the closet before you go near a craft supply. The right base garment is almost always already hanging there, and the costume takes shape once you add the one or two details that make the character obvious.