Learning how to make watercolor paint from scratch takes about fifteen minutes of mixing and a day of drying, and you need nothing more than a bowl, a spoon and three kitchen staples. You stir a simple starch or flour base with water, add a little washable colour, thin it to the texture of cream, and spread it shallowly so it dries into a pan you can reuse for weeks.
Most parents get here for one of two reasons: the boxed washable paint costs more each month than they expect, or a child wants a specific colour nobody sells. Both are solved by the same recipe. The only real decision is whether you want a soft, chunky-friendly paint for small hands or a smoother one that spreads like a proper wash.
Table of Contents
- 1What You Need
- 2Step-by-Step
- 31. Mix the base with water
- 42. Cook or skip the cooking, depending on your base
- 53. Add the colour
- 64. Pinch in the salt and adjust the body
- 75. Test a dab on scrap paper
- 86. Fill the tray shallowly
- 97. Let it dry undisturbed
- 10How to Make Watercolor Paint from Scratch with Natural Colors
- 11How to Make Watercolor Paint from Scratch: Simple 3-Ingredient Recipe
- 12How to Make Watercolor Paint from Scratch for Different Painting Styles
- 13Common Mistakes
- 14Frequently Asked Questions
- 15What is a good binder for homemade watercolor paint?
- 16Can I make watercolor paint with acrylic paint and water?
- 17Can you make watercolors out of regular paint?
- 18How long does homemade watercolor paint take to dry?
- 19How do you make watercolor paint without gum arabic?
- 20Is homemade watercolor paint safe for toddlers?
- 21Conclusion
What You Need
The short list is short on purpose. Everything below is either in a kitchen cupboard or sold in the art aisle of a discount store.
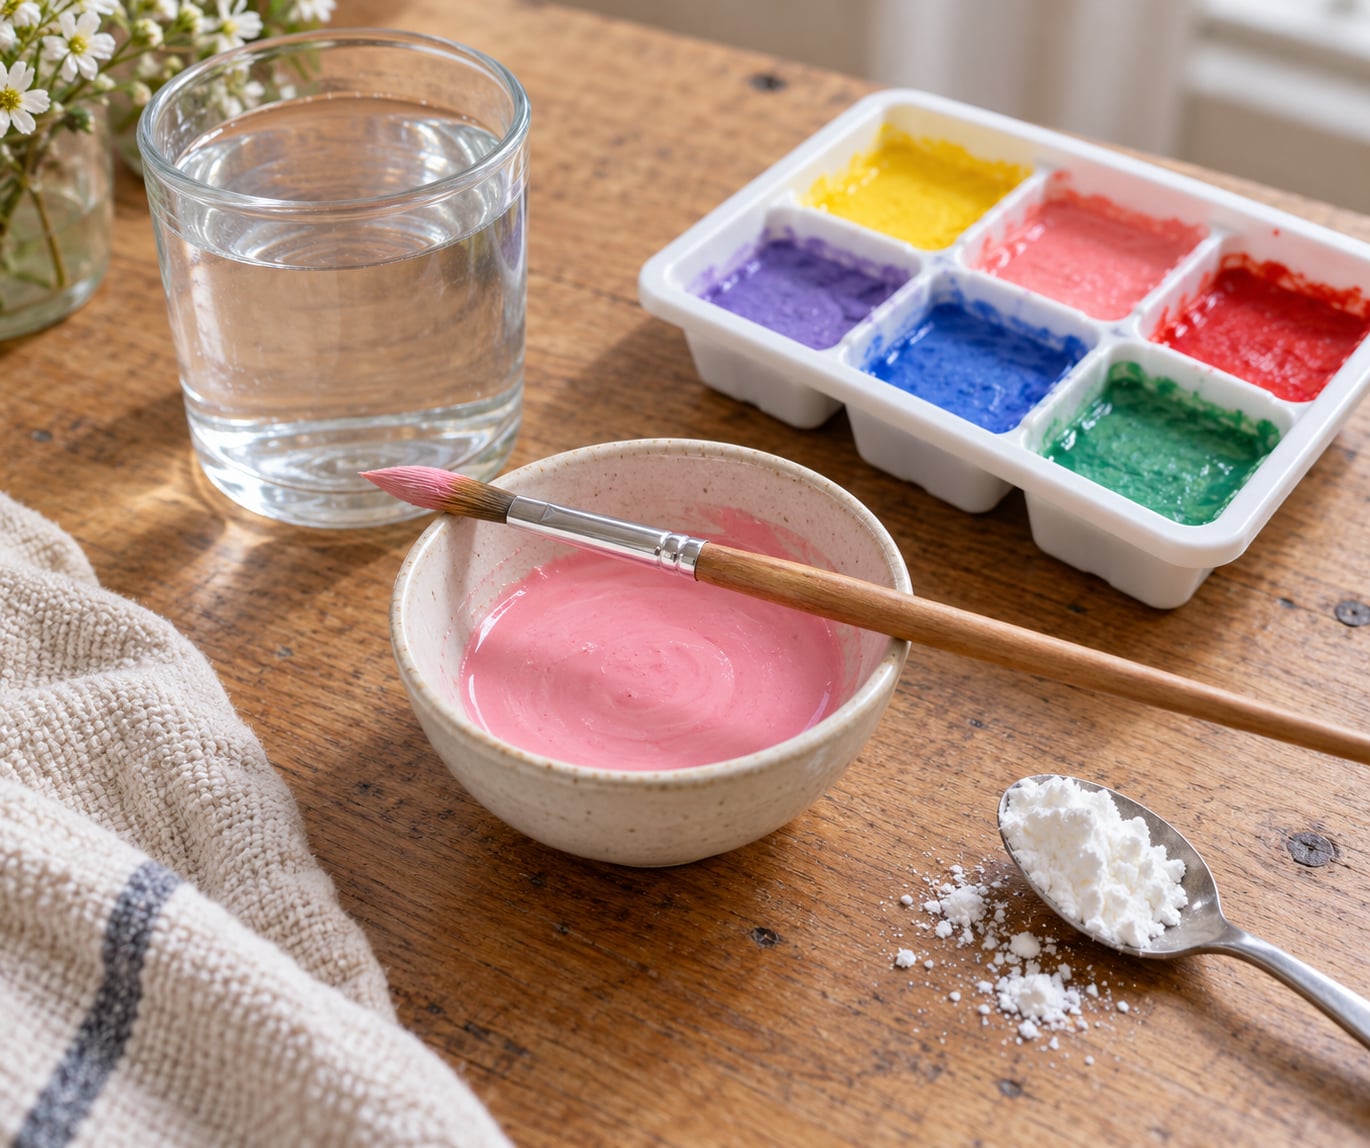
- A base — cornstarch, flour or powdered laundry starch. Cornstarch gives the smoothest, most paper-like paint. Flour works but leaves a slightly chalky film once dry. Powdered starch sits in between and dissolves more cleanly than wheat flour.
- Water — cold tap water is fine for the kitchen recipe. If your supply is very hard, filtered water keeps the colours brighter.
- Colour — washable liquid food colouring for beginners, or icing gel for older children because the gel does not bleed when a toddler adds too much water.
- A salt — one pinch of ordinary table salt. It thickens slightly and helps the colour stay put in the paint instead of migrating.
- A shallow tray — a silicone ice cube tray, a muffin tin, a lid from a tub, or small lids from jars. Depth matters more than width: a film no deeper than a few millimetres dries into a usable pan.
- A spoon or small whisk — for breaking up lumps before you add colour.
- A paper towel or cloth — this is not optional. This paint stains surfaces while it is wet.
A few optional extras help if you want to push further. A drop of white vinegar thins a mixture that has gone gluey. A splash of glycerin keeps dried paint soft enough to rewet weeks later, and you can pick it up in the baby aisle. Corn syrup works the same way if glycerin is not to hand, though it is stickier to handle.
Skip the gum arabic for now. It is the real binder in artist-grade paint and it is wonderful, but it needs hot water and precise ratios, and it is a poor fit for a recipe a seven-year-old is pouring. Come back to it once the basic version works reliably.
Step-by-Step
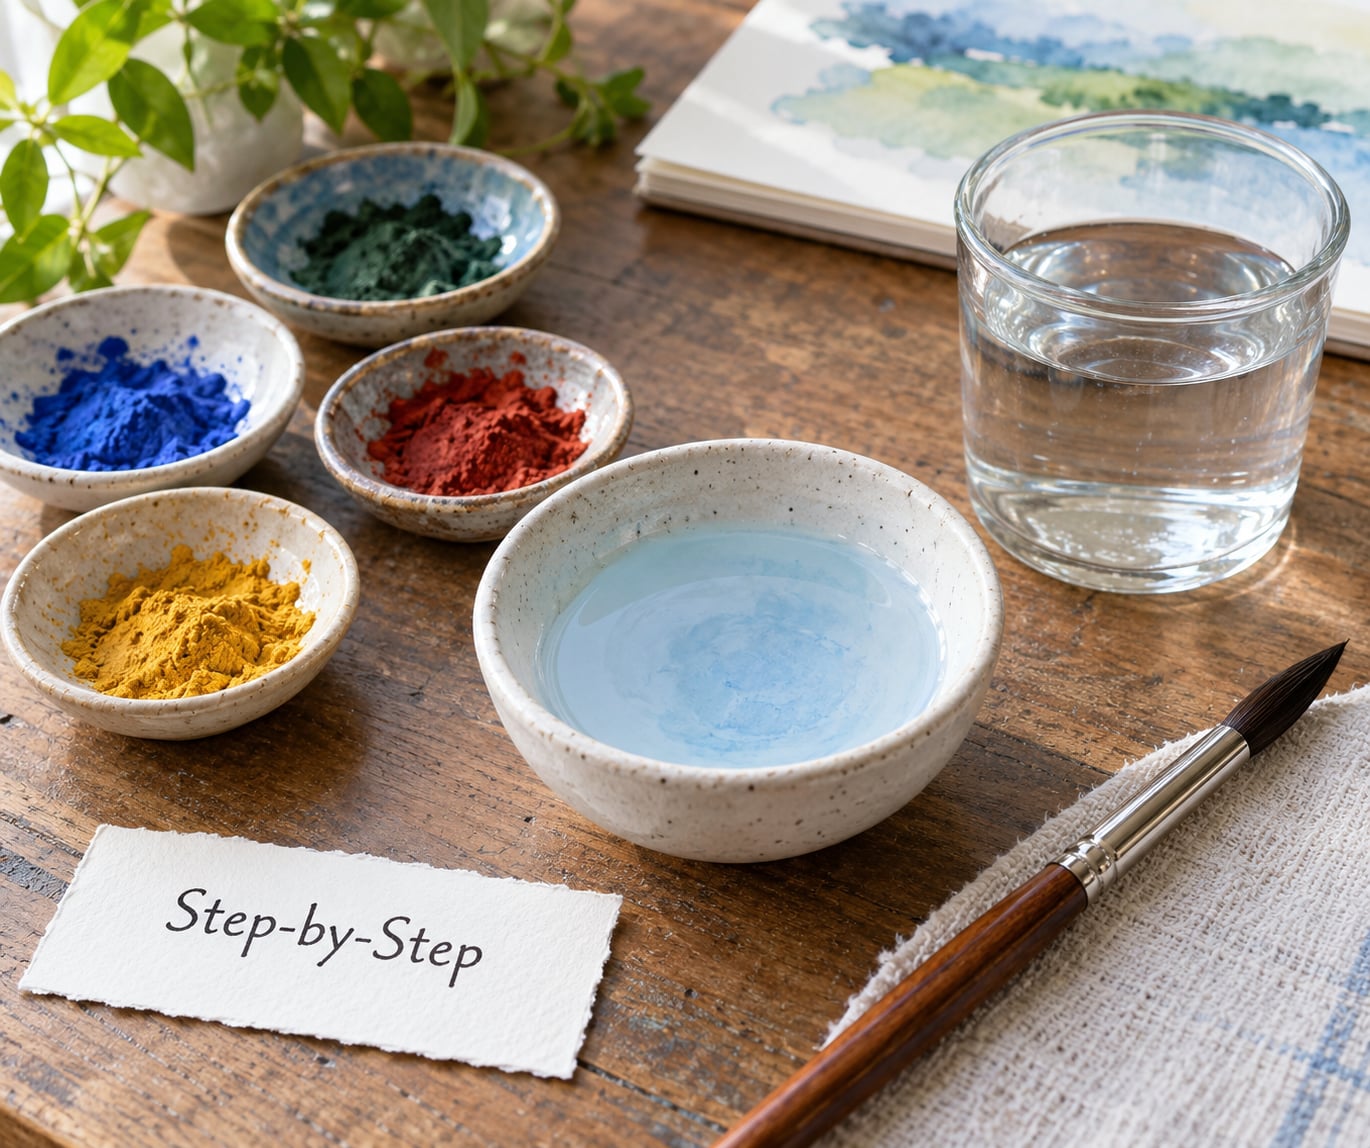
1. Mix the base with water
Stir two tablespoons of cornstarch into a quarter cup of water in a bowl. Keep it slow, because cornstarch clumps where the water hits first. You are looking for a smooth white liquid with no gritty bits at the bottom, and it should pour in a slow ribbon rather than run like milk.
2. Cook or skip the cooking, depending on your base
For the smoothest result, heat the mixture: set the bowl in a shallow pan of water, stir for two to three minutes until it turns translucent, then cool it to room temperature. That step gelatinises the starch and gives you paint with real transparency. If you would rather not heat anything, use a little less starch and accept a slightly chalky finish.
3. Add the colour
Add one drop of washable colouring at a time and stir it all the way through. Stirring after every drop keeps the colour even, whereas adding four drops at once and stirring once gives you a speckled mess. The paint should now look like thin milk rather than a full-strength crayon.
4. Pinch in the salt and adjust the body
Add a single pinch of salt and stir. If your child prefers thicker paint for sponge stamps and handprints, add another teaspoon of cornstarch. If the mixture has gone stiff and rubbery, splash in water a little at a time until it runs off the spoon in a slow ribbon.
5. Test a dab on scrap paper
Dip a clean brush into the mixture and paint one stroke on a scrap sheet before you fill any tray. It should flow off the brush, leave no visible lumps, and settle into the paper’s texture rather than sit on top like glue. If it beads up, add more water. If it soaks straight through, add more starch.
6. Fill the tray shallowly
Pour each colour into its own compartment, filling no more than a few millimetres deep. Deeper pours take days to dry and crack as they shrink. Tap the tray gently on the counter to release air bubbles, which otherwise dry as little craters.
7. Let it dry undisturbed
Set the tray somewhere flat, out of sunlight, and try not to touch it for twelve to twenty-four hours. The paint is dry when it feels matte and lifts off the paper as one flexible film rather than crumbling to powder. Peel the dried piece out and drop it into a small jar.
How to Make Watercolor Paint from Scratch with Natural Colors
Natural pigments behave differently from food colouring. You push a little harder on the colour and you accept more variation, because soil and plant pigments shift with the batch in ways a factory dye never does.
Red from beets or red cabbage is the easy one: simmer roughly a cup of chopped vegetable in two cups of water for thirty minutes, strain, and stir a teaspoon of the liquid into your base. Beet gives a soft pink to deep red depending on how concentrated you go. Cabbage gives pink to lavender as it cools, which makes it useful for skies that you would rather not buy.
Yellow comes from a handful of yellow onion skins boiled the same way. Yellows are the most fragile of these, fading faster than reds or blues, so use them for short-term art rather than anything you plan to keep for years.
Blue is the fussiest natural option. Blueberries give a dull grey-blue and a few weeks of colour life. Indigo powder or shiso leaves give a truer blue, and shiso has the advantage of a leaf colour that deepens as the water sits.
One honest warning: natural results vary with the produce you buy, the season and the soil. If you need a specific colour for a lesson or a matching set, store-bought washable colour is the more predictable option and worth the extra step.
How to Make Watercolor Paint from Scratch: Simple 3-Ingredient Recipe
This is the version I keep coming back to, and it uses three things you already have: two tablespoons of cornstarch, a quarter cup of water and a few drops of washable food colouring. Combine them in a bowl, stir slowly, warm gently on the stove or in the microwave in twenty-second bursts, and stir again between each burst.
The heat step is what separates good homemade paint from sad grey sludge. Warming the paste until it turns translucent and slightly thicker is the whole trick, and it takes about a minute in a microwave. Let it cool before colouring, because hot paste dulls the colour as it thins.
Once cool, add colouring drop by drop and thin with water to the texture of heavy cream. That cream consistency is the target for every style: thinner for washes, thicker for stamping. Spoon it into a tray in a thin layer and give it a day.
If you only have flour, use one tablespoon of flour to a quarter cup of cold water, whisk until no lumps remain, then warm it the same way. The difference is real but small: flour paint dries chalkier and needs a second coat to look even.
How to Make Watercolor Paint from Scratch for Different Painting Styles
Every style below is the same mixture with a different amount of water. Add water in small increments and test on scrap paper each time, because the difference between “too thin” and “right” is smaller than you expect.
Wash painting — the loosest style, where a wide brush floats colour across wet paper and you tip the sheet to move it. Aim for paint that runs off the brush in a steady thread and settles into the paper in under a second. Too thick and the wash sits in a puddle and dries with a hard edge.
Stamping — sponge, cookie cutters or leaf prints pressed straight down. You want paint thick enough to leave a full mark in one press, so add starch a teaspoon at a time until the mixture sits on the sponge rather than running off it.
Finger painting — thicker again, and warmer. Mix in a few drops of glycerin so the paint glides across skin and rinses off more easily. Put down an old sheet first, since even washable colour will mark a floor if it sits.
Brush painting on paper — close to the cream consistency, with a soft round brush rather than a flat one. Test the flow by dragging the brush a few inches: the stroke should spread slightly and lose its edges, which is the mark of real watercolor behaviour.
Common Mistakes
Paint that is too watery. It soaks through the paper and the colour washes out to nothing. Fix it the other way: add a teaspoon of dry cornstarch and break it in with a fork, then rest the mixture for ten minutes so the starch hydrates fully before you judge it.
Paint that is too thick. It dries to a hard plastic film and will not rewet when you brush water on it. Add water a spoonful at a time, and add a drop of vinegar if it has gone gluey and resists mixing.
Lumpy paint. Almost always the cornstarch hitting water too fast. It is much easier to strain the whole mixture through a fine sieve or a clean, unbleached stocking than to try to beat the lumps out afterward.
Chalky, dusty pans. Two causes: too little base, or too much flour. Add another teaspoon of cornstarch to the wet mixture and pour a fresh, thin layer over the pan once the old one has dried. Let the second layer dry fully before testing.
A cracked pan that breaks into pieces. The fill was too deep. Break it up, remix with more base, and pour a thinner layer. Fill half a pan, let it dry, then top it up; the second layer binds to the first instead of fighting it.
Mould or an odd smell after a few weeks. The mixture had no preservative, or your kitchen is humid. Add two to three drops of clove essential oil when mixing, keep the jars closed, and store them somewhere cool and dark. If a batch smells off, throw it out rather than painting with it.
Two habits make most of the above disappear. Strain everything before it goes into a tray, and always swatch onto scrap paper before painting for real, because paper weight changes how thin the paint should be. Heavy card needs a thinner mixture than printer paper.
Frequently Asked Questions
What is a good binder for homemade watercolor paint?
Gum arabic is the binder used in almost all artist-grade watercolor, and it is what you use if you want paint that rewets cleanly after weeks. Dissolve the powder in hot distilled water, then stir it into your pigment. For a child-friendly kitchen recipe, cornstarch and salt do the job instead. They cost almost nothing and keep the paint safe to handle, at the cost of a slightly chalky finish.
Can I make watercolor paint with acrylic paint and water?
Diluting acrylic with water gives you a thin wash, not watercolor. Acrylic particles are far larger than watercolor pigment, so the mixture beads, dries opaque and chalky, and eventually peels off the paper in sheets. It also carries the acrylic binder, which does not rewet once dry. If you want a washable translucent paint for children, use washable food colouring with a starch base instead.
Can you make watercolors out of regular paint?
You can turn any liquid paint into a wash by thinning it, but it will not behave like watercolor. Poster paint and tempera dry matte and tend to sit on the surface, and once dry they lift off paper with a rub. Tinting and thinning a regular paint is fine for finger painting or a quick background wash. For anything you want to layer, blend or rewet later, mix your own from a starch base.
How long does homemade watercolor paint take to dry?
A thin layer in an ice cube tray dries in twelve to twenty-four hours in a normal room. Deeper fills take two to three days and tend to crack as they shrink, so pour shallow. Humid kitchens and closed cupboards stretch that to several days. Wait until the film lifts off the paper as one flexible piece. If it crumbles, it is still damp and will mould in the jar.
How do you make watercolor paint without gum arabic?
Use cornstarch, flour or powdered laundry starch as the base instead. Cornstarch produces the smoothest and most transparent result, flour dries chalkier, and powdered starch sits between the two. Add a pinch of salt to help colour stay in place, and a few drops of glycerin if you want the dried paint to stay soft and rewettable for longer.
Is homemade watercolor paint safe for toddlers?
Yes, when you use food colouring and a starch base, and you supervise the activity properly. Choose washable colouring, keep the mixture away from eyes and mouths, and expect some staining on skin, clothes and worktops while it is wet. Wiping a hand with a damp cloth and a drop of washing-up liquid removes most of it. Put down a sheet you do not mind ruining and let the puddles dry before you move the child.
Conclusion
Start with one small test batch rather than filling the whole ice cube tray, then adjust the water on scrap paper until the stroke spreads just a little. Once that mixture behaves, pour a bigger tray and let it dry a full day before anyone opens it.
From there it gets fun. Mix a drop of blue into a drop of yellow and see what green you land on, or keep two pale washes side by side on wet paper to watch them meet. The recipes barely change from there.