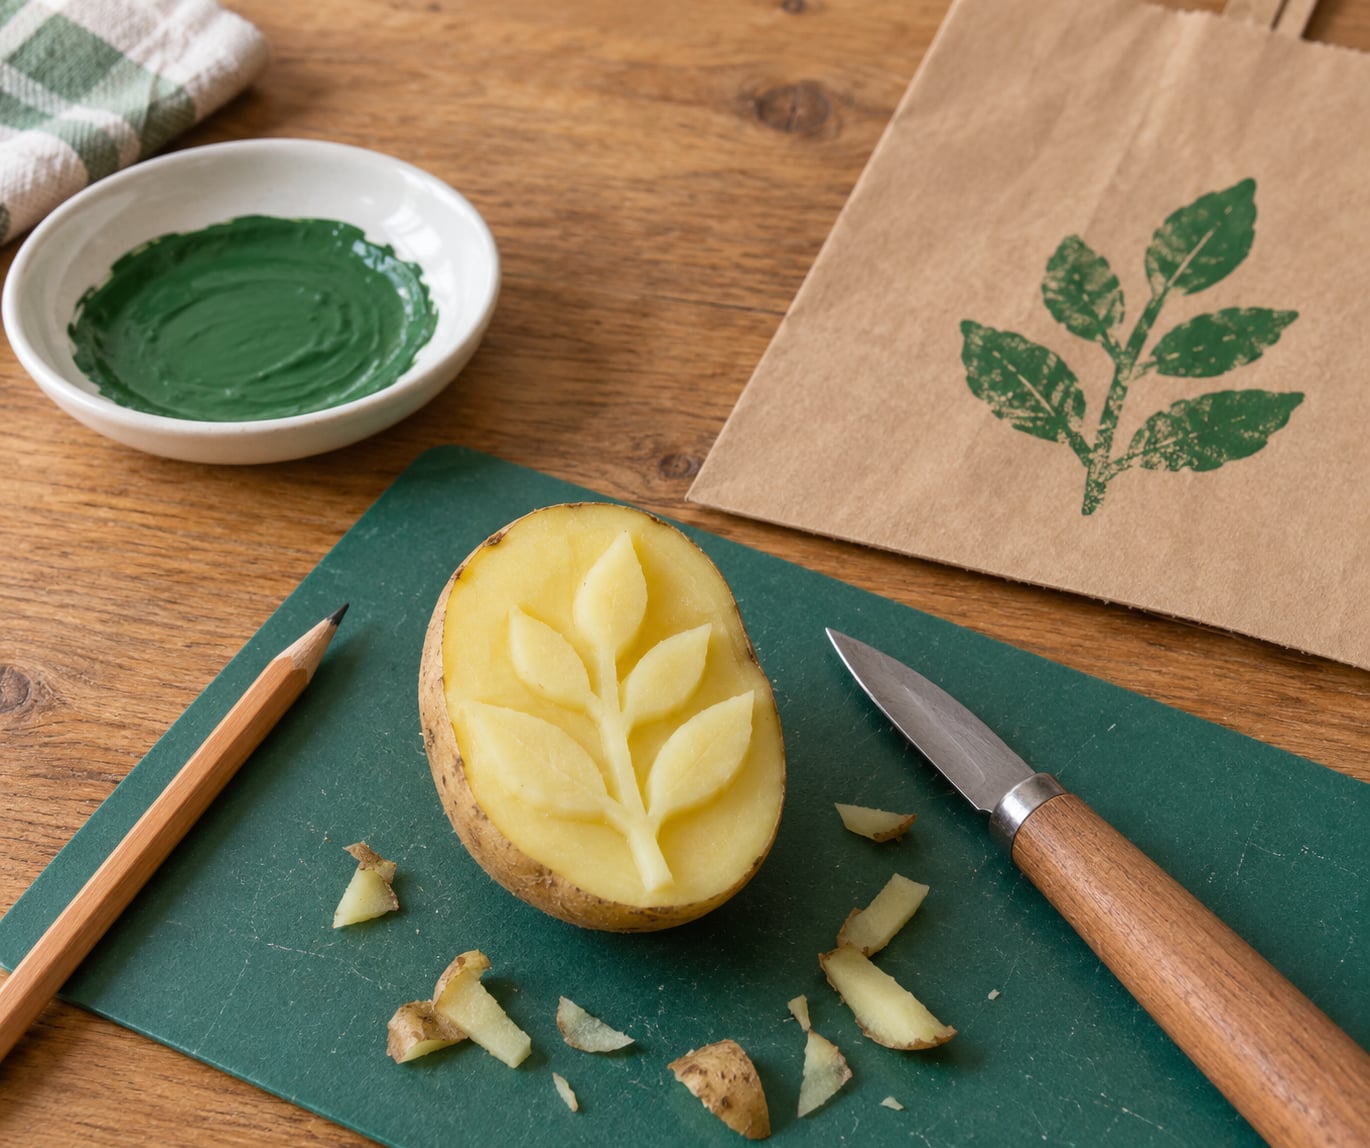
A potato stamp is a printing block you carve yourself: cut a potato in half, carve away the background so your design stands up off the flat face, then press that face into paint and onto paper. Knowing how to make a potato stamp takes about ten minutes of carving and an afternoon of printing, and it works beautifully for kids as young as two.
It is also a good way to use up potatoes that have started to sprout or softened in the back of the cupboard. Nobody is going back to the kitchen convinced they need a fresh potato when the finished page looks like a real print.
This guide covers the supplies, the carving itself, the printing, and what to do when the prints come out smudged, which they will at least once.
Table of Contents
- 1What You Need
- 2How to Make a Potato Stamp Step by Step
- 3How to Make a Potato Stamp from a Potato
- 4Carve the Potato Stamp Design
- 5Ink and Use Your Potato Stamp
- 6Common Mistakes
- 7Frequently Asked Questions
- 8What is a potato stamp?
- 9How long does a homemade potato stamp last?
- 10What paint works best for potato stamps?
- 11Can I make a potato stamp with a cookie cutter instead of a knife?
- 12Why do my potato stamp letters print backwards?
- 13What other vegetables can I use to make stamps?
- 14Conclusion
What You Need
You need very little, and most of it is already in a kitchen drawer. A single potato makes two stamps, one from each flat face.
- One firm, medium-sized potato. Russets or any floury variety hold a raised edge better than a waxy new potato.
- A small paring knife or a blunt table knife. A paring knife with a short blade is much easier to control than a chef’s knife.
- Optional: a metal cookie cutter or a craft knife for simple shapes, which removes the fiddly precision work.
- A pencil for sketching the design on the cut face, and paper towels for blotting.
- Washable tempera paint, acrylic craft paint, or a stamp pad. Tempera rinses out of most surfaces; acrylic is tougher but permanent once dry.
- A sponge, foam brush, or small roller to spread the paint in a thin, even layer.
- Paper, cardstock, a paper bag, or plain fabric to print onto. Kraft paper and the back of a cereal box work well.
One safety note before you start, since this craft is aimed at children. An adult should do the cutting and carving, and children do the painting and printing. Children under about six should not handle a knife at all; give them a cookie cutter to press into a halved potato instead, or let them scoop out the recessed background with a plastic spoon.
How to Make a Potato Stamp Step by Step
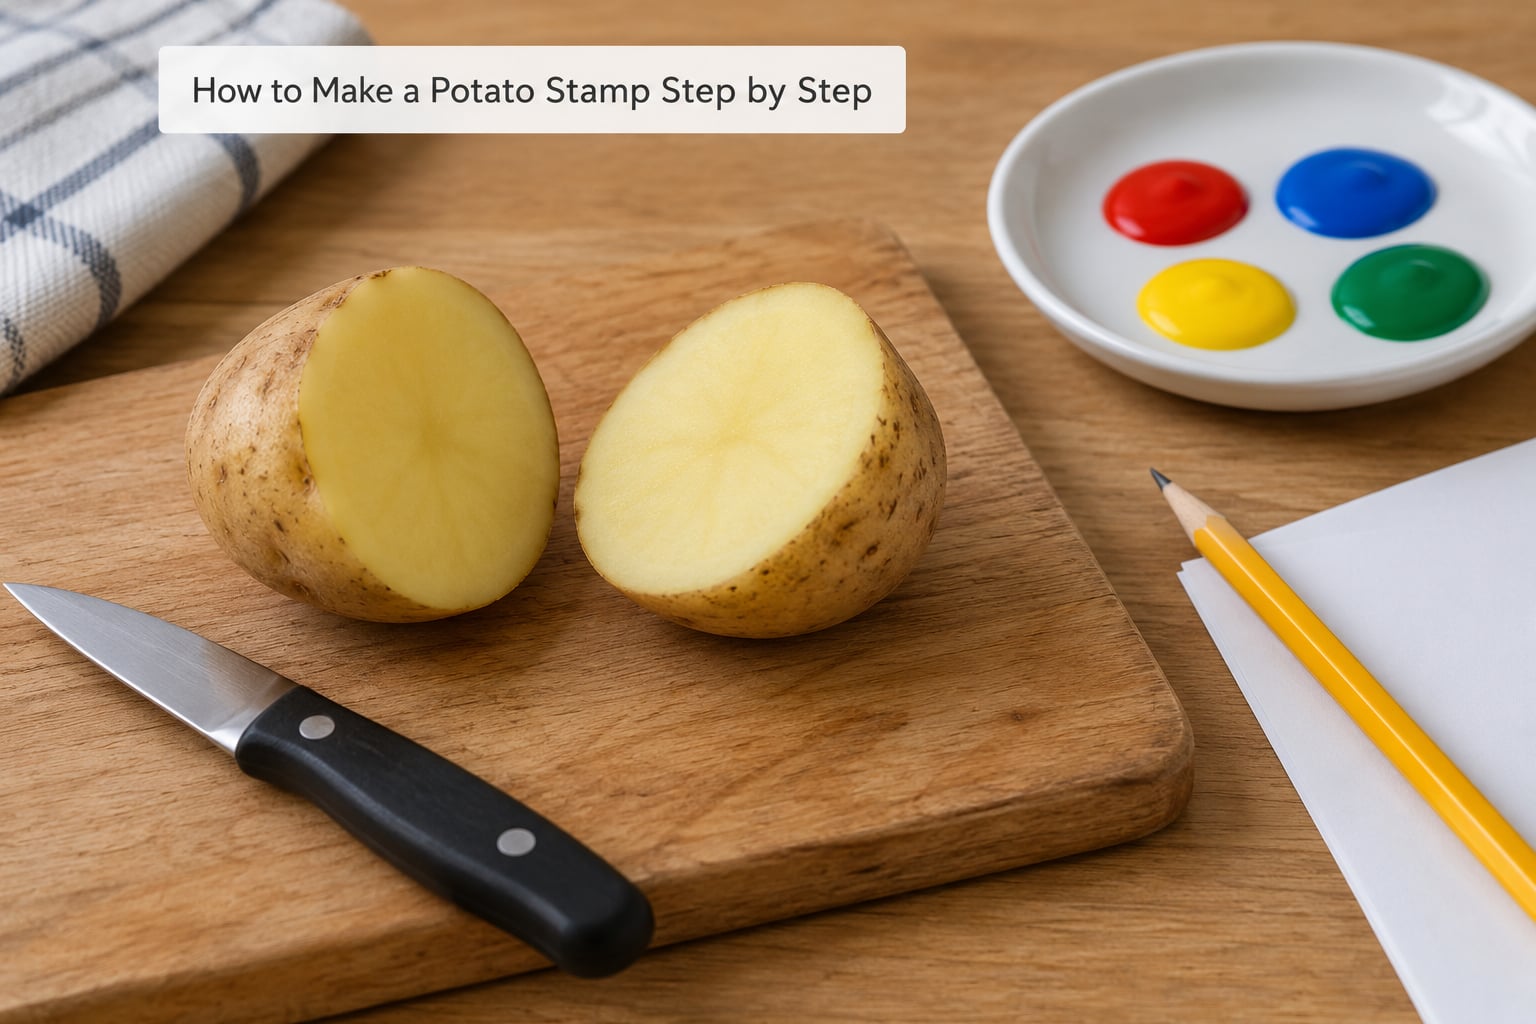
How to Make a Potato Stamp from a Potato
Choose a potato that is firm and roughly round, with a flat enough face that it will sit still on the table when you press it. Soft or very sprouted potatoes tear and crumble once you start removing material, so save those for the compost.
Slice it in half across the middle, straight or lengthwise, then turn each half cut-side down and check that the cut face sits flat without rocking. Wobble is the reason prints come out blurry, and you can fix it now by taking a thin slice off the bottom of the potato, not off the face you are carving.
Draw your design on the flat face with a pencil before you cut anything. Anything that stays raised on the potato prints onto the paper; anything you carve away prints as blank paper.
Simple shapes work best on a first attempt: a heart, a leaf, a star, a fish, a paw print, a lightning bolt. Straight lines and sharp corners are easier to carve than curves, because the blade can go straight down rather than being turned around.
Carve the Potato Stamp Design
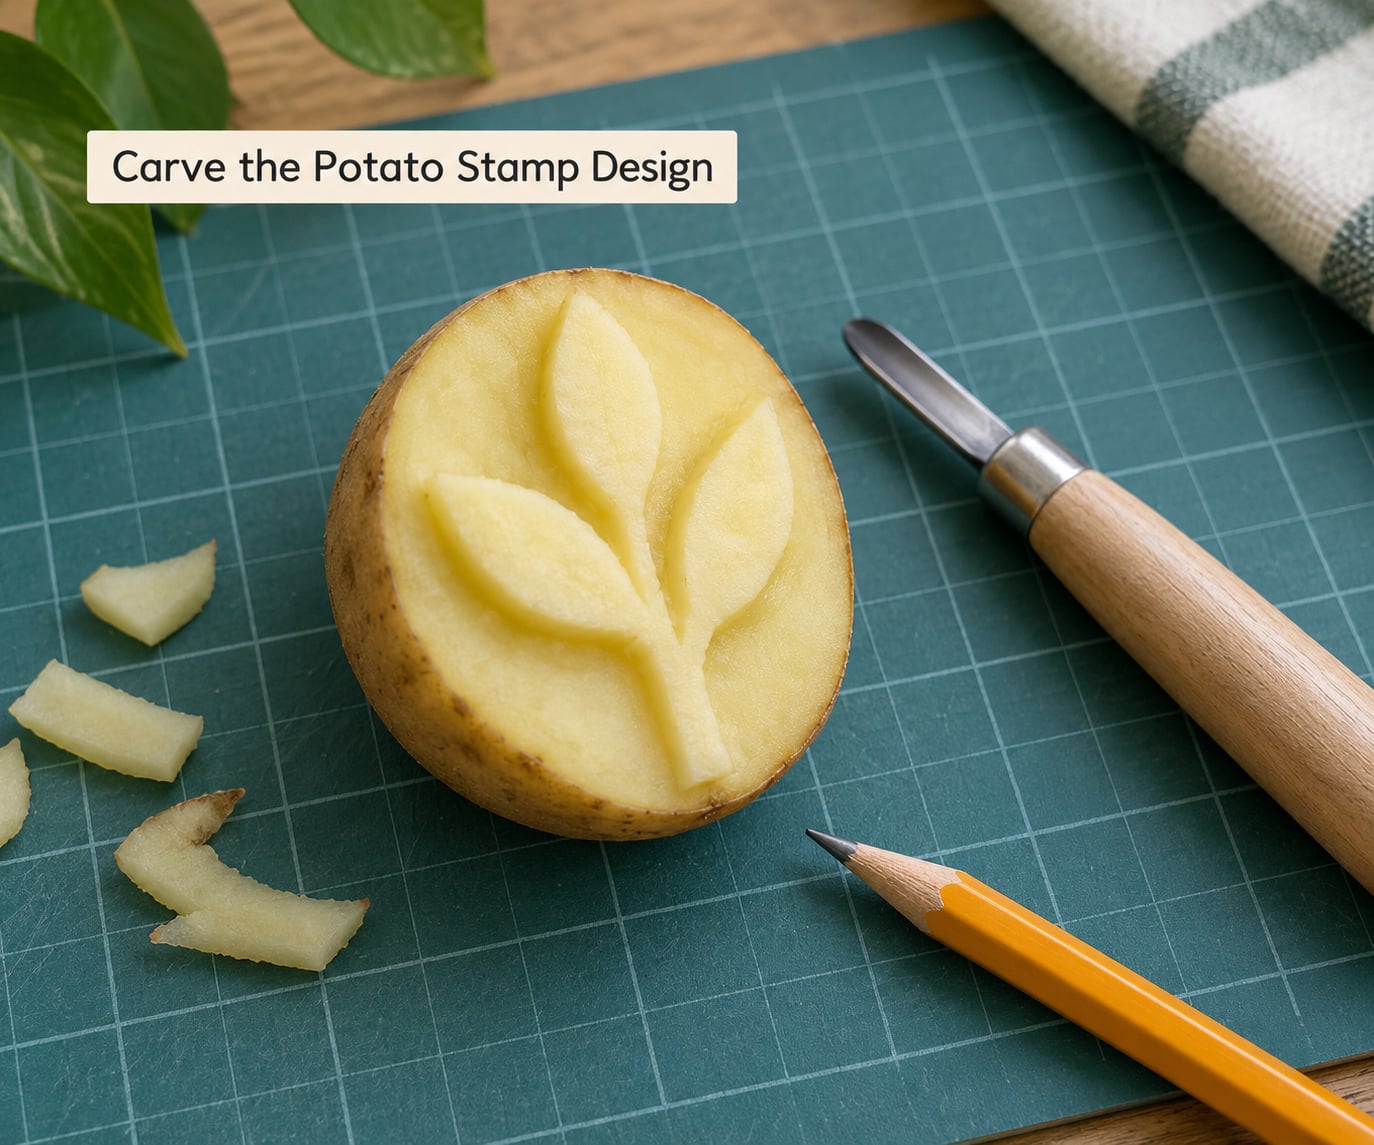
Hold the potato steady and cut away the background around your drawing, leaving the design standing roughly 3 to 5 mm proud of the surface. Work from the outside of the shape inward in shallow slices rather than trying to lever out big chunks, which is what makes a potato burst.
To keep it from slipping, wrap the potato in a folded damp paper towel for a few minutes first, then sit it in a shallow bowl of water while you carve. A towel wrapped around the sides gives your fingers something to grip, and a damp surface grips whatever it is resting on.
Turn the potato a quarter turn after every few cuts. You will be holding the blade at a right angle to the face much less often, and that is what keeps fingers out of trouble.
For children, use the cookie cutter method. Press a metal cookie cutter straight down into the flat face until you are through the skin, slice the potato away from around the outside of the cutter down to the cutter’s edge, then lift the cutter off. You are left with a raised shape and no precision carving at all, which is why it comes up again and again as the easiest route for preschoolers.
If you are stamping letters and words, carve them in mirror image, because the print comes out reversed. That is the single most common reason word stamps look wrong. The letters that read correctly either way are B, C, D, E, H, I, K, O, S, X and Z, so those never need flipping.
Ink and Use Your Potato Stamp
Pat the carved face dry with a towel. Moisture left on the potato dilutes the paint, and diluted paint prints as a pale smear instead of a solid shape.
Load the stamp with a thin, even layer. Tap the sponge or brush against the side of the dish so no thick blobs are sitting on the raised parts, then press it onto plain paper. Too much paint is the number one cause of muddy prints, and adding more paint almost never helps.
Press straight down with even pressure and rock slightly rather than sliding the stamp, which smears the edge. Hold it for a second, then lift it straight up. Sliding drags the paint sideways and gives you a comet tail instead of a shape.
Reload the stamp every print or two, and lay finished pieces flat so nothing transfers onto the sheet underneath. The same stamp works on cardstock, on a paper bag for gift wrap, on the inside of a homemade card, and on cotton or linen with a little thinner paint. For fabric, rub a little of the paint out with a finger after stamping so it sets into the weave rather than sitting on top.
Rinse the stamp under cold water as soon as you are done and dry the face with a towel. Paint left to dry on a stamp becomes part of the stamp, and it will print every edge but the one you wanted.
Common Mistakes
Most disappointing first prints come down to the same handful of problems. Nearly all of them are fixable in under a minute.
- Blurry or smudged print. The potato was rocking, or you slid it while lifting. Flatten the base with a thin slice, then press and lift without moving sideways.
- Muddy paint that fills in the gaps. Too much paint on the stamp. Wipe the face on a paper towel before each press and you will get a sharp edge.
- Weak edges that barely print. The design was carved too shallow, so the raised part is nearly flush with the background. Take another 2 mm off the background.
- The potato slipping or splitting. A dry potato on a dry board. Dampen it, wrap the sides in a paper towel, and slice more gently.
- Prints that tear the paper. You are pressing hard onto thin stock. Use cardstock, or press with two fingers at the edges instead of your palm.
- Designs too complicated to carve. Thin gaps between shapes snap off and fill with paint. Fewer shapes, thicker gaps, and it suddenly works.
One more thing worth knowing. A wet potato prints like a wet potato, so if the print looks pale and washed out and the design is unclear, dry the face properly before blaming your carving.
Turn the whole thing into a set and it lasts longer: one stamp per shape, lined up on a shelf, one colour each. Children who own their own stamp use it far more willingly than children handed a shared one.
Beyond potato, the same method works on the cross-section of okra, the base of a lettuce or romaine heart, half a bell pepper, a halved lemon or orange, broccoli stems, and the underside of a mushroom cap. Those need no carving at all, which makes them the right choice for a session with a two-year-old.
Frequently Asked Questions
What is a potato stamp?
A potato stamp is a homemade printing block made by cutting a potato in half and carving a raised design into the flat face, then pressing that face into paint and onto paper, fabric or cardboard. The raised areas take the paint and print as your shape, and the carved-away background stays blank. It is the cheapest, fastest printmaking tool in most kitchens.
How long does a homemade potato stamp last?
An unwashed stamp at room temperature starts to brown, dry out and lose its edges within a day or two, and by the third day the paint has usually dried into the surface. If you rinse the stamp, blot the face dry and bag it, it stays usable for roughly three to four days in the fridge. Most people get a full afternoon of good prints out of one potato.
What paint works best for potato stamps?
Washable tempera paint is the easiest all-round choice: thin, cheap, spreads in a smooth layer and rinses out of clothes and most surfaces. Acrylic craft paint gives a bolder, more permanent print but needs soap to wash off brushes and hands. A standard stamp pad works well for crisp repeated patterns on paper, and edible paint or icing is the option if a child might lick the potato.
Can I make a potato stamp with a cookie cutter instead of a knife?
Yes, and it is the safest method for young children. Press a metal cookie cutter straight down into the flat face of a halved potato until you cut through, then slice the potato away from the outside of the cutter down to its edge, and lift the cutter off. You are left with a raised shape and no precision carving, so there is no reason for a child to touch a blade at all.
Why do my potato stamp letters print backwards?
Because a stamp prints a mirror image of whatever is carved into it. Trace your letters the wrong way round before carving and the print reads correctly. The letters that look right either way are B, C, D, E, H, I, K, O, S, X and Z, so those never need flipping. Check a reversed word on scrap paper before carving the whole sheet.
What other vegetables can I use to make stamps?
The cut face of okra gives a rosette, the base of romaine or lettuce gives a leafy print, and halved bell peppers, chillies, lemons and oranges give clean rings and star shapes. Broccoli and cauliflower stems slice into small repeating florets, and the underside of a mushroom cap prints a fine speckled texture. None of these need carving, so they suit very young children perfectly.
Conclusion
Start with a heart, a star or a single leaf on a potato from the back of the cupboard. Carve away the background so the shape stands about 3 to 5 mm proud, blot the face dry, load it with a thin layer of washable paint, and press it onto a scrap sheet first to test the depth.
Once that first print looks right, make a set. Wrap the paper around a present, stamp a border along a card, or line the stamps up on a shelf so the next session takes five minutes to set up instead of half an hour.