The quickest way to make fake snow for crafts is a two-ingredient snow: stir 1 cup of baking soda into about 2 tablespoons of ice water until it clumps like damp powder, then add liquid one drop at a time until it packs into a snowball. For snow that stays on a card, canvas or miniature, mix baking soda with white glue and a little white acrylic paint instead, because that version dries hard. Pick by surface and by audience: play snow for small hands, drying snow for keepsakes.
Five recipes follow, each with exact quantities. Most take under ten minutes and use ingredients already in the pantry, so a snow sensory bin or a whole shoebox diorama costs about the same as a single cup of flour.
Table of Contents
- 1What You Need
- 2Step-by-Step: How to Make Fake Snow for Crafts
- 3How to Make Fake Snow for Crafts with Baking Soda
- 4Shaving Cream Fake Snow
- 5Flour and Salt Fake Snow
- 6Cornstarch Fake Snow
- 7Instant Snow or Packed Powder Snow
- 8Common Mistakes
- 9Frequently Asked Questions
- 10Is homemade fake snow safe for toddlers?
- 11Which fake snow recipe is best for paper crafts?
- 12How do I keep homemade fake snow soft longer?
- 13Can children eat fake snow made at home?
- 14What can I use if a child is allergic to flour or cornstarch?
What You Need
Everything here comes from a kitchen cupboard, a cleaning cupboard or a craft box:
- Baking soda — the base for three of the five recipes, including the hard-drying craft version.
- Water, ideally ice cold — ice water gives the two-ingredient snow a genuine cold feel.
- Shaving cream — unscented gives the most predictable result. Scented versions are fine but add a fragrance to the bin.
- Hair conditioner — the thick, coloured-leader option. White or pale conditioner keeps the snow looking white.
- Cornstarch — for the thickest, most sliceable snow.
- Flour — for doughy snow that can be rolled and modelled.
- White school glue or Mod Podge and white acrylic paint — these two turn a play mixture into a permanent craft coating.
- Table salt — optional, for a grainier texture.
- Optional sparkle — glitter, mica powder or a few drops of blue food colouring mixed with white paint for shadowed snow.
A mixing bowl, a spoon, a tray lined with paper and an old towel are enough. Wiping surfaces down afterwards takes a damp cloth, since dry powder gets into every groove of a kitchen.
Two substitutions matter most. Swap shaving cream for conditioner one for one, and swap conditioner for shaving cream if you run out, because both are soap-and-fat liquids doing the same job. Cornstarch thickens a runny mixture instead of thinning it, so add a teaspoon at a time. Anyone with a gluten or corn sensitivity can use the shaving cream version, which carries no flour or cornstarch at all.
Have an adult handle the mixing of wet mixtures and any sharp tools such as scissors or craft knives. Young children can shape the finished snow with their hands under close supervision, on a tray or towel rather than bare flooring.
| Recipe | Base and liquid | Batch | Dries hard? | Best for |
|---|---|---|---|---|
| Ice water snow | 1 cup baking soda, 2 tbsp ice water | About 1 cup | No, dries out | Sensory bins, cold-feeling play |
| Shaving cream snow | 3 cups baking soda, 1.5 cups shaving cream | About 3 cups | No, stays soft for days | Snowballs, snowmen, sensory play |
| Conditioner snow | 2 cups baking soda, 0.5 cup conditioner | About 2 cups | No | Packing, sculpting, small hands |
| Flour and salt snow | 1 cup flour, 1 tbsp salt, water | About 1 cup | No, or hard with glue | Modelling, paper mache hills |
| Cornstarch snow | 1 cup cornstarch, 1 cup water | About 1.5 cups | Yes, cracks as it dries | Dusting, sliced details |
| Drying craft snow | 0.25 cup baking soda, 1 tsp glue, 1 tbsp white acrylic paint | About 0.5 cup | Yes, matte and paintable | Paper, canvas, miniatures |
Step-by-Step: How to Make Fake Snow for Crafts
How to Make Fake Snow for Crafts with Baking Soda
This is the two-ingredient snow most people end up making, because it feels colder than any of the others. Freezing the measured baking soda in a sealed jar for an hour or two before you start is the single trick that lifts it above the rest: the cold transfers straight from the powder to your hands, and children notice it immediately.
Measure 1 cup of baking soda into a bowl. Add 2 tablespoons of ice water and stir with a spoon until the powder forms small damp clumps the size of coarse breadcrumbs. It should look like the top layer of a dropped cookie, not like wet cement.
Now the squeeze test. Press a handful firmly in your palm. If it holds its shape and opens without crumbling into dust, the snow is ready. If water drips between your fingers, sprinkle in another tablespoon of baking soda and mix again. If it turns to loose powder in your hand, add a few drops of ice water. Small adjustments of a teaspoon are much easier to undo than a splash of water poured in at the start.
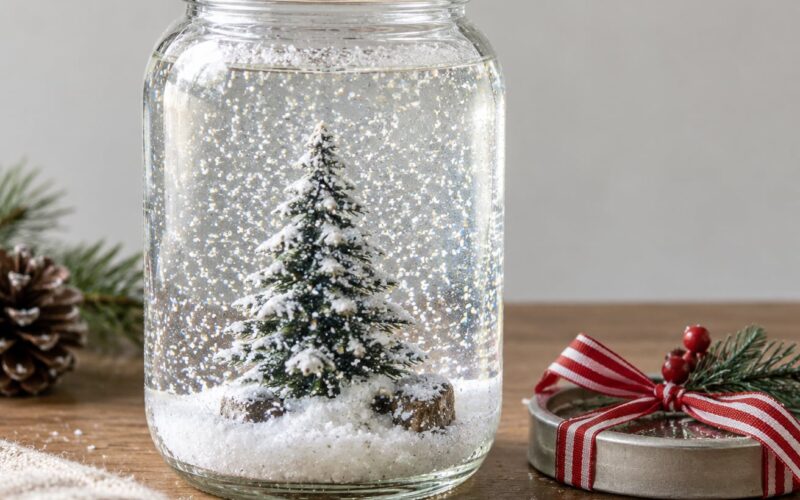
Pack it into snowballs, press it into a jar for a snow globe effect, or spread it 2 cm deep in a tray. A sealed tray stays workable for two or three days; after that it goes chalky and pale.
Do not let anyone taste it. Baking soda is a food-grade substance but it is not food, and swallowing a spoonful makes the mouth and throat feel soapy and can cause vomiting. This snow also becomes slippery the moment water hits a floor tile, so keep it on a towel or tray from the start.
Shaving Cream Fake Snow
This is the fluffy one, and it stays soft longer than any other play recipe because the fat in the shaving cream keeps the baking soda suspended.
- Put 3 cups of baking soda in a large bowl and add 1.5 cups of unscented shaving cream.
- Fold with a spatula rather than stirring, cutting down through the bowl and turning up, until no dry pockets remain.
- Knead briefly with clean hands until the mixture feels like soft serve ice cream and holds soft peaks.
Do not add extra water. Shaving cream snow is finished the moment the streaks disappear, and adding liquid is what turns it to paste. The same rule applies to conditioner snow, which uses a much smaller amount: 2 cups of baking soda to roughly half a cup of conditioner, mixed in the same way.
Cut the peak with a butter knife to see if it springs back slowly. This texture packs into a snowman, holds the edges of a small cardboard tray, and gives you the best surface for glitter. Because it barely dries, it is the right choice for a sensory table but the wrong one for a card you want to keep flat and dry.
Shaving foam is not edible, and the surfactants can irritate skin and eyes. Keep it out of reach during the activity rather than cleaning up at the end.
Flour and Salt Fake Snow
Flour snow is the modelling option. It behaves less like snow and more like a soft, short-lived dough, which makes it useful for hills, tracks and shapes that hold a fingerprint.
Whisk 1 cup of flour with 1 tablespoon of salt in a bowl. Add water one tablespoon at a time and knead until the dough stops being sticky and holds a ball. More salt than that makes it grainy rather than snowy; leave it out if you are making this for a child under three, since salt is an unnecessary risk in a material that gets handled and sometimes mouthed.
For a version that lasts as a permanent diorama piece, mix 1 cup of flour with 1 cup of white glue and knead that directly into a putty. It dries hard, takes paint, and stays put on cardboard scenery for years.
Wet flour leaves a paste that soaks into wood, cardboard and paper. Work over a tray or a sheet of plastic, and scrape dried flour off with a stiff dry brush rather than a wet cloth, which spreads it into the grain.
Cornstarch Fake Snow
Cornstarch snow is the thickest of the mixtures and the fastest to dry out. Its value is that it stands up in peaks and can be cut with a knife, which is what you want for small details on a model base or the edges of a collage.
Mix 1 cup of cornstarch with about 1 cup of water, adding water gradually until the mixture is the thickness of soft-serve. Test it by lifting a spoonful: it should hang off the spoon in a slow ribbon before dropping. If it drips like milk, add a tablespoon of cornstarch and let it sit a minute before testing again.
Apply it with a small spatula or a squeeze bottle and spread it 3 to 5 mm thick. Thin layers dry clear and matte; thick layers crack as the water leaves. Use it straight from the bowl, because any leftovers are stiff within an hour and eventually turn into a hard lump in the container.
Instant Snow or Packed Powder Snow
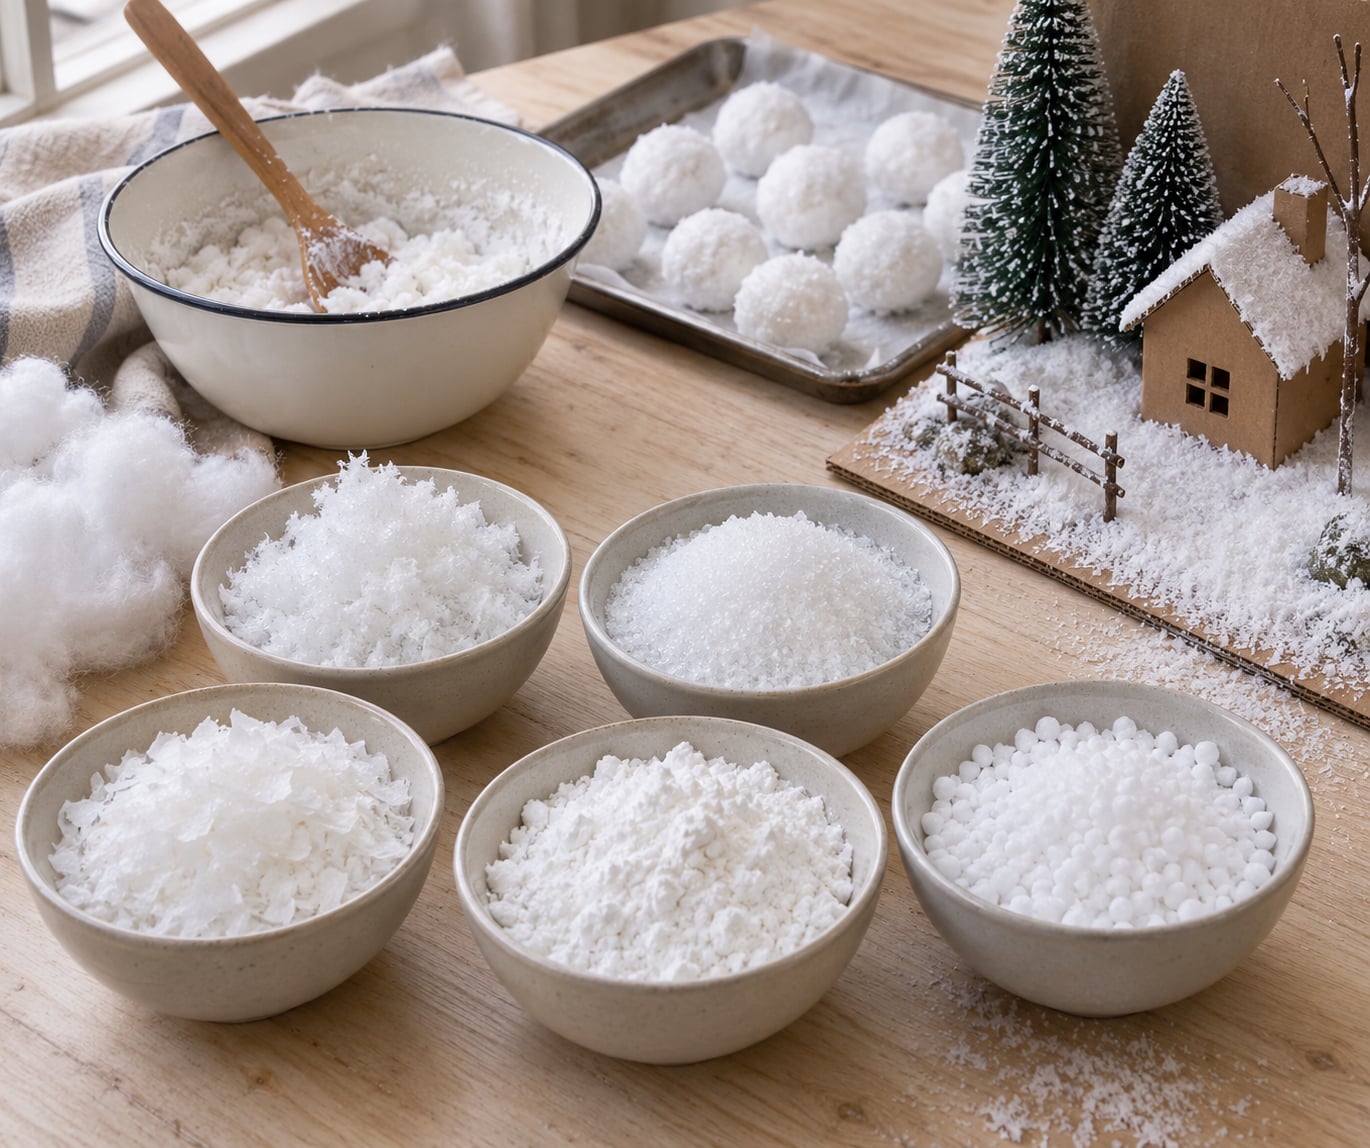
If you have bought fluffy craft snow, the block that arrives as one dense brick, you do not need to make anything. That kind of snow is usually starch fibres held together with water. Break it up by hand inside the bag, or roll it between your palms, and it crumbles into loose material you can scatter over a winter scene.
This is the opposite of the mixtures above. It is short-lived and it is not a sensory material, because the fibres do not pack and it crumbles when a child squeezes it. What it does well is volume: it covers a shoebox diorama, a window display or the base of a model at almost no effort, and the crumbs are easy to sweep up.
Read the label before you use it with small children and look for a non-toxic or AP-certified marking. Commercial snow is not all the same product, and the additives differ between brands.
Three more snow materials need no mixing at all: torn cotton batting for clouds and snowmen, laundry soap flakes for a falling-snow effect in front of a camera, and punched paper holes glued down in layers for a collage. All three dry and stay put, which makes them the sensible choice for a card that has to survive being carried home.
Common Mistakes
Almost every failed batch comes down to the same handful of problems. Work through this list before you mix again.
- Too runny, or it dissolves into a wet paste. Baking soda dissolves once you go past its capacity to bind the water, and no amount of stirring brings it back. Add a tablespoon of dry baking soda, wait a minute, and test again.
- Too dry and powdery. It collapses the moment a child presses it. Work in a teaspoon of water, or a squirt of shaving cream, at a time and re-test.
- It will not hold a shape. The snowball breaks in half when you lift it. You have either too much liquid or too little solid; both are fixed the same way, one spoonful of baking soda at a time.
- It dries out too fast. Cover the tray with a lid or plastic film, press the film gently onto the surface, and keep it away from radiators and sunny windows.
- Mould on stored snow after a few days. Any food-derived ingredient means the mixture is not a long-term store item. Make a fresh batch instead of trying to scrape it clean.
- Yellowing on paper and canvas. Natural white glue and acrylic paint warm with age. If the piece matters, use a white pigment binder rather than plain school glue.
- Mess outside the activity area. Dry powder travels. Mix inside the tray, on a towel, and sweep rather than vacuum, which lifts the fine particles into the air.
Prepare the surface before you pour anything. A sheet of paper on a tray, a tablecloth on the floor or a rimmed baking sheet all work. Keep small plastic cups, twigs, a toy forest and a small figure to hand, because play snow gets boring after the first snowball and the crafts that hold attention for longer come from having something to build with.
Storage depends on the recipe. Baking soda and ice water snow lasts two or three days in a sealed container, and chilling that container helps it stay cold. Shaving cream and conditioner snow hold their texture for about a week sealed, and weeks in a refrigerator. Flour dough keeps in an airtight container for a week at room temperature. Glue and paint snow does not need storing at all, since it dries on the craft and stays there.
If play snow has gone pale and chalky, it has not spoiled. Add a spoonful of the wet ingredient again and knead, and it comes back within a minute.
Frequently Asked Questions
Is homemade fake snow safe for toddlers?
Most recipes are safe to handle, but none are edible. Baking soda, shaving cream, glue, conditioner and salt can all cause stomach upset or irritation if swallowed in quantity. An edible version uses heat-treated flour and vegetable oil instead: bake plain flour at 350F for 5 minutes to kill any bacteria, then mix 8 parts flour with 1 part oil until it forms soft clumps. Always supervise young children and keep the activity on a tray they cannot lick.
Which fake snow recipe is best for paper crafts?
Use the drying mixture of 1/4 cup baking soda, 1 teaspoon white glue or Mod Podge and 1 tablespoon of white acrylic paint. It dries to a matte white layer in a few hours, sits on top of the paper instead of soaking in, and takes further colour so you can shade it. Cornstarch snow works too for a lighter, powdery dusting, but it cracks as it dries and is better used on card than on thin paper.
How do I keep homemade fake snow soft longer?
Cover the surface directly with plastic film and press it down gently so no air sits against the snow. Keep the container sealed and out of direct sun and heat, which pull water out of the powder. For shaving cream and conditioner snow, a refrigerator slows everything down and the material keeps for weeks. You can also mix directly in the sensory bin so there is nothing to transfer, and simply add fresh material as children pour water into it.
Can children eat fake snow made at home?
Not the baking soda, shaving cream, conditioner, glue or salt versions, even though the ingredients come from a kitchen cupboard. Baking soda feels soapy in the mouth and causes vomiting in larger amounts, and shaving cream surfactants irritate skin and eyes. For a material a toddler can put in their mouth, use heat-treated flour with vegetable oil at a ratio of 8 parts flour to 1 part oil, and treat it as a supervised play dough rather than food.
What can I use if a child is allergic to flour or cornstarch?
Go with the shaving cream or hair conditioner snow, which contains neither. It needs 3 cups of baking soda and 1.5 cups of unscented shaving cream, folded together with no extra liquid. A single-ingredient version of baking soda and ice water also avoids both allergens entirely, though it is short-lived. Paper snow, torn cotton batting and punched paper holes work well for the same reason and need no ingredients at all.
If you are making something you want to keep, start with the glue and acrylic paint mixture and let it dry in place. If the plan is an afternoon on the floor with a tray and a towel, mix the baking soda and ice water, freeze the soda first, and hand it over cold.