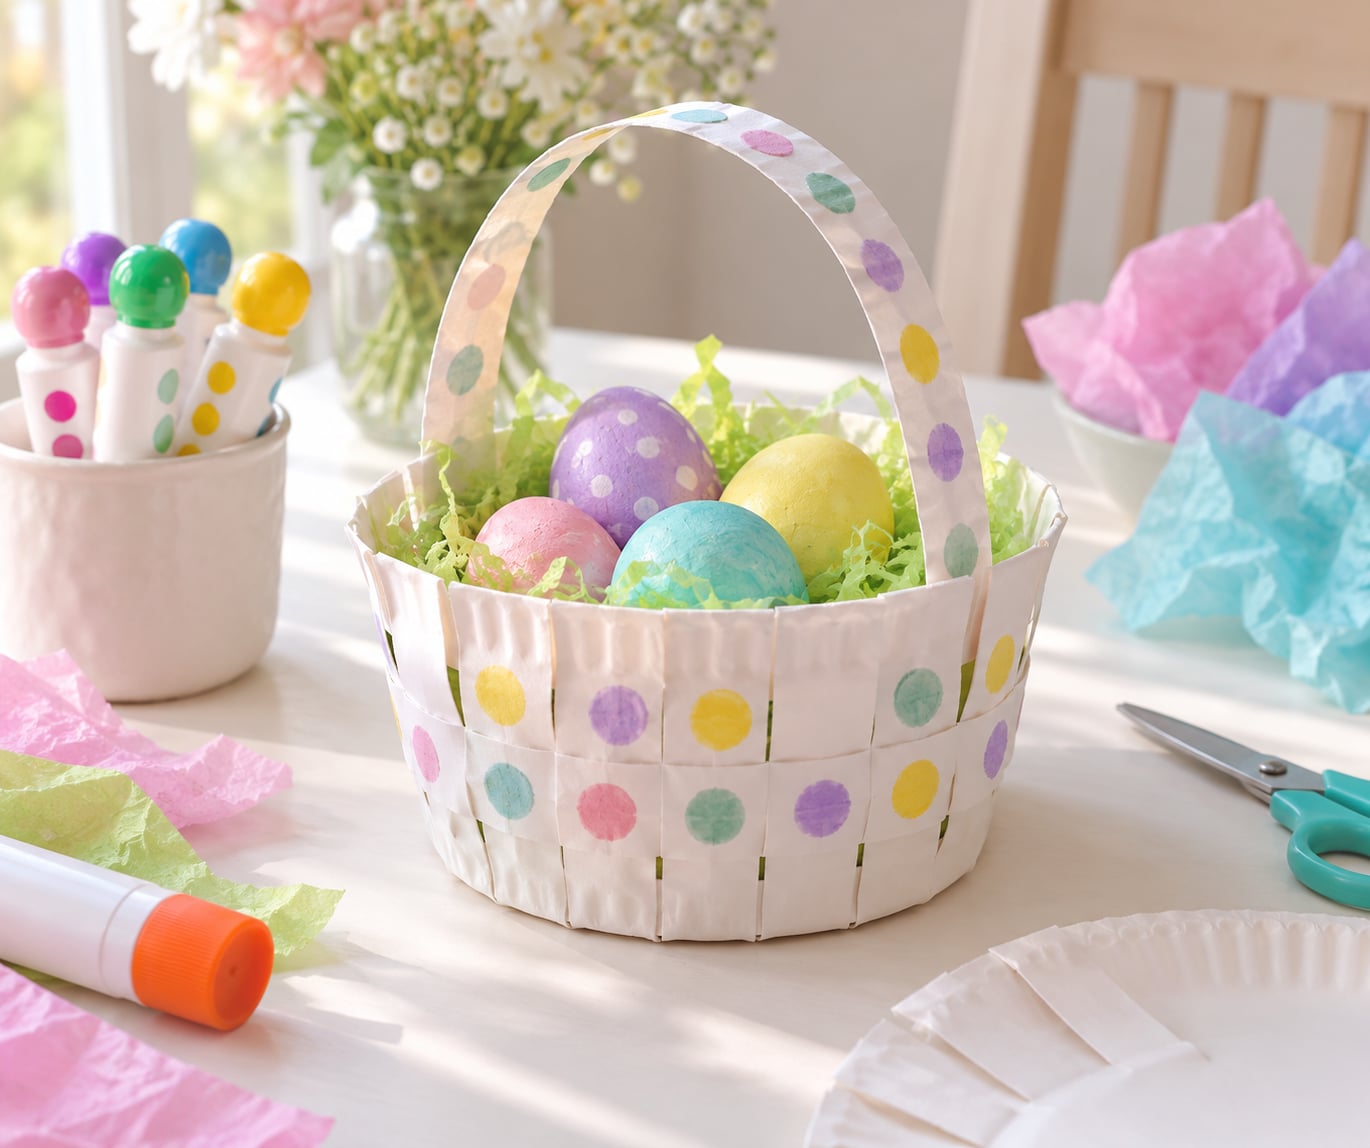
To make an Easter basket from a paper plate, cut four or five evenly spaced slits from the rim toward the middle, fold those flaps inward so they overlap like woven walls, and glue or staple them in place. Add a paper strip handle and you have a sturdy little treat basket in about 10 to 15 minutes.
The best part is the starting point. A plain disposable plate is headed straight for the recycling bin, and turning it into an Easter basket is a free upcycling project with almost no cleanup. There is no sewing, no hardware, and no glue drips if you use a glue stick instead of liquid glue.
It is a forgiving craft, which matters when a four-year-old is holding the scissors. Even a wonky basket still holds Easter grass and a handful of wrapped sweets, and that is the whole job. Kids can choose the colours and fill it themselves, which turns a cutting exercise into something they actually own.
Table of Contents
- 1What You Need
- 2Step-by-Step: How to Make an Easter Basket from a Paper Plate
- 3Step 1: Prepare the Paper Plate
- 4Step 2: Cut the Basket Shape
- 5Step 3: Fold and Shape the Basket
- 6Step 4: Add a Handle to Your Paper Plate Basket
- 7Step 5: Decorate the Basket
- 8Step 6: Fill and Use the Basket
- 9Common Mistakes and Helpful Tips
- 10Frequently Asked Questions
- 11How deep do you cut a paper plate to make an Easter basket?
- 12What size paper plate makes the best Easter basket?
- 13How do I help a young child make a paper plate basket?
- 14Can you make a paper plate basket without staples or glue?
- 15What can I put inside a paper plate Easter basket?
- 16How long does a paper plate Easter basket take to make?
- 17Conclusion
What You Need
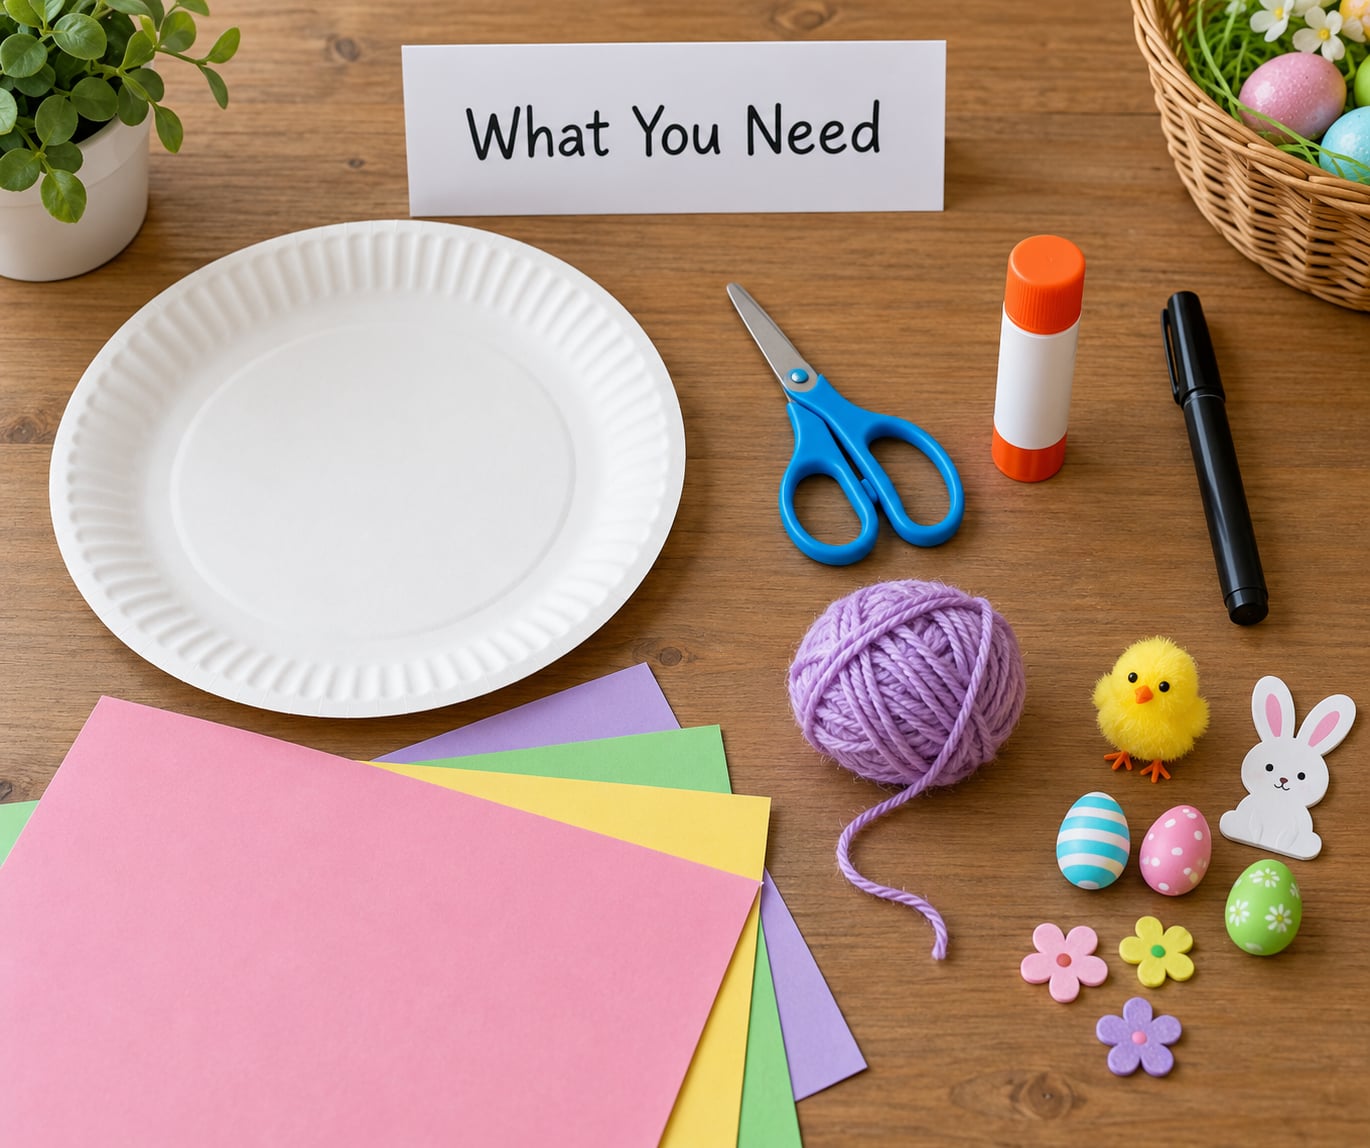
Everything below comes out of a kitchen drawer or a craft box. Nothing on the required list is specialised, and you probably already have spare plates in the cupboard if you are making more than one.
- 1 plain paper plate (white or coloured, uncoated). A 9 inch plate gives a roomier basket; an 8 inch or dessert-size plate works fine for a toddler.
- Scissors, ideally rounded-tip and sized for children.
- A pencil or black marker for marking the cut lines before you snip anything.
- Glue stick or tape, or a small stapler for a firmer hold.
- Optional: a second paper plate for the handle, a pipe cleaner, yarn or ribbon, dot markers, acrylic or watercolour paint, stickers, coloured construction paper, and pinking shears for a decorative rim.
Two safety notes before anyone starts. An adult should do the cutting, or sit alongside, because plate card is stiff enough to twist and send the blades somewhere unexpected. And paper plates are single-use items, so if you are short on plates, trace a plate onto a piece of cardboard and cut out the disc. The finished basket behaves the same way.
Step-by-Step: How to Make an Easter Basket from a Paper Plate
Step 1: Prepare the Paper Plate
Set the plate face down on a flat surface and trace around its inner circle with a pencil. That inner circle is the base of your basket, so it is the line you are working toward, not a line you cut along. If the plate is wavy or bent from the packaging, press it flat under a book for a few minutes first.
Now decide how big you want the basket to be. A full-size 9 inch plate folded this way ends up roughly palm-sized, which fits a standard egg hunt plastic egg or a small handful of treats. It is working correctly when the base circle sits flat and the rim stands up in a clean, even ring.
Step 2: Cut the Basket Shape
Mark four cut lines roughly at the 12, 3, 6 and 9 o’clock positions, then add a fifth if you want a rounder basket. Each line runs from the outer rim inward toward the inner circle, stopping about a centimetre short of it.
That stopping point is the single most common mistake. Cut through the base circle and the walls detach, the basket collapses, and everything falls out the bottom. Honey and Lime, one of the tutorials that ranks for this query, warns about it in bold for exactly that reason.
Match the cut depth to the plate you are holding, then check the line against a clock face before you start cutting:
- 8 inch (20 cm) plate: cut about 2 inches (5 cm) deep, with 4 or 5 cuts.
- 9 inch (23 cm) plate: cut about 2.5 inches (6.5 cm) deep, with 4 or 5 cuts.
- 6 inch dessert plate: cut about 1.5 inches (3.5 cm) deep, with 4 cuts.
Cut along the lines you marked and remove the wedges between them. You are working correctly when you have a round base with four or five tabs standing up around it like a crown.
Step 3: Fold and Shape the Basket
Push every tab inward toward the base so it lies flat inside the basket, the printed side facing in. Work around the circle one tab at a time so the overlap stays even, and finish by tucking the last tab under the first one.
The walls now interlock because each tab crosses the one before it. Push them into place with a fingertip, then run a glue stick around the seams where the tabs meet, or staple them if the plate is the heavy-duty grade. Pinch each corner for about ten seconds while the glue sets. It is working correctly when the basket stands upright on a table without the walls splaying out.
Step 4: Add a Handle to Your Paper Plate Basket
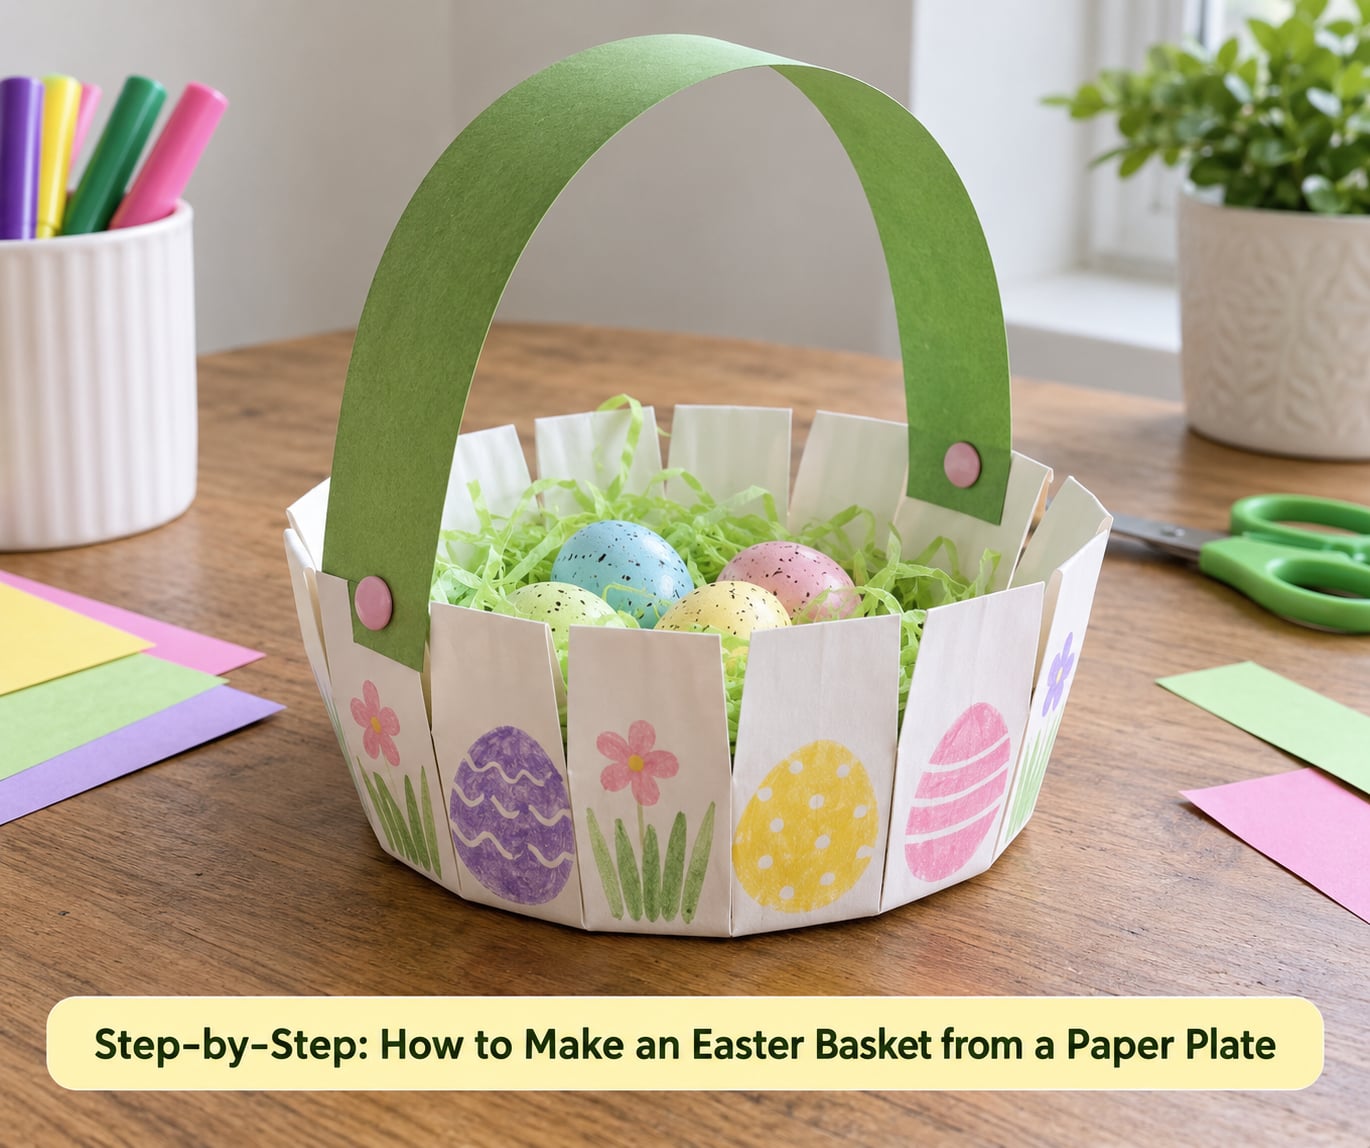
There are two handle options and both take under a minute. For the paper strip version, cut a ring from the rim of a second plate and snip it open to make a long strip, then curve it into an arch and glue each end to opposite sides of the rim, one inside the basket and one outside. For the pipe cleaner version, twist one chenille stem into an arch, push the two ends down between the tabs and secure them with tape.
Check it by lifting the basket with two fingers and giving it a small shake. If the handle stays put while the basket swings, it is strong enough for paper eggs, stickers and small wrapped treats. Skip anything heavy, and skip staples anywhere a child might reach it.
Step 5: Decorate the Basket
Decorate while the plate is still flat, before you fold, because once the tabs are in you only see the middle of your drawing. Patterns that survive the fold: stripes across the base, a ring of dots near the rim, zigzags, or egg shapes tucked on the inner face of each tab.
Dot markers need no cleanup and dry immediately. Acrylic and watercolour paint both work, though let them dry fully before you fold, or the colour will crack along the crease. Washi tape is the quickest option for older kids: wrap it around the handle and add a band at the rim.
Step 6: Fill and Use the Basket
Crumple up yellow, green or pink tissue paper and scatter it in until the base disappears. Lightweight fillers work best: paper eggs, wrapped sweets, small plastic eggs, stickers, foam pom-poms, or a stamped card naming each child at a party.
Beyond the egg hunt on the lawn, the same basket doubles as a party favour bag, a cookie holder, a gift bag for small toys, a seedling pot for a windowsill herb, or a table centrepiece holding one decorated egg per place setting.
Common Mistakes and Helpful Tips
The base tears or the walls come loose. You cut too deep. Aim for the cut depth listed for your plate size above and stop when the blade is about a centimetre from the pencil circle. A thicker plate or a doubled cardboard disc also helps.
The basket comes out lopsided. Your cuts were unevenly spaced. Mark all four or five lines first, check them against a clock face, and cut each one to the same depth. Working from a flat table rather than your lap fixes most wobble.
The walls spring open. The tabs are not tucked far enough. Push each one down until it lies flat against the base and crosses the neighbour, then glue the seams. Overlap direction matters: all tabs should travel the same way around the circle.
The handle tears off. Glue alone is not enough on plate card. Use a strip of tape over the joint on both the inside and the outside, or use washi tape wrapped around the rim where the handle attaches.
Marker colour bleeds onto the table or transfers to fingers. Paint before folding, keep watercolour damp work on a scrap sheet of card, and give paint and glue a full drying window before filling the basket.
One efficiency tip worth stealing for a classroom or a party: once you know how to make an Easter basket from a paper plate with a single plate, stack five or six of them, hold them together with a rubber band, and cut every one in a single pass. Then fan them apart and assemble them as you go. It turns a forty-minute activity into a ten-minute one, and the stack is also the easiest way to keep all the plates oriented the same way so the finished baskets match.
Frequently Asked Questions
How deep do you cut a paper plate to make an Easter basket?
Cut each slit about 2 inches (5 cm) deep on a 20 cm plate, or about 2.5 inches (6.5 cm) on a 23 cm plate, and always stop a centimetre short of the inner circle you traced. That inner circle becomes the base of the basket. Cutting into or through it is what makes the walls fall apart and the contents spill out, so mark the circle in pencil first and treat it as a boundary.
What size paper plate makes the best Easter basket?
A standard 9 inch (23 cm) plate gives you a roomy basket that fits a plastic egg and a few wrapped treats, which is what most egg hunts need. An 8 inch (20 cm) plate makes a smaller one that is easier for a toddler to carry. Dessert-size plates also work for favour baskets, but their base is narrow, so use fewer cuts and keep the fillings lightweight.
How do I help a young child make a paper plate basket?
Let a preschooler mark the lines, push the tabs in and decorate, while an adult handles the scissors and the stapler. Plate card is stiff enough to twist, and staples are a sharp hazard for small hands, so skip both around a two-year-old. A glue stick and a paper strip handle give you the same basket with no metal anywhere.
Can you make a paper plate basket without staples or glue?
Yes. Cut the slits slightly longer and push each tab well past the one before it so the friction alone holds the wall in place, then lock the last tab under the first. A handle with folded and twisted ends, tucked down between the tabs, also grips without adhesive. This version works well for a classroom or any setting where metal staples are restricted.
What can I put inside a paper plate Easter basket?
Keep it light: tissue paper or crinkled paper grass, paper eggs, wrapped sweets, small plastic eggs, stickers, foam pom-poms, or a folded card naming each child at a party. Paper plate baskets are not built for heavy items, so save real eggs and anything glassy for a sturdier container and use these for the fillings instead.
How long does a paper plate Easter basket take to make?
Budget about 10 to 15 minutes for one basket once the materials are out. Cutting and shaping takes the first few minutes, the handle is under a minute, and decoration adds whatever time the child wants to spend on it. If you are making a batch, stack the plates and cut them together, then assemble them one at a time.
Conclusion
Start by tracing the inner circle of a plain paper plate and marking four evenly spaced cut lines that stop just short of it. Everything after that is folding, sticking and decorating. Let the child pick the colours and decide what goes inside, and the basket becomes theirs rather than another thing made for them.