A kids’ dress-up box is simply a container that holds costumes, accessories and pretend-play props where a child can reach them and put everything back afterwards. Learning how to make a dress up box for kids takes one afternoon of craft time, needs no sewing and no power tools, and usually costs little more than the paper and glue you already own. Here is the whole build, from choosing a box to the safety check at the end.
Quick note on wording, because it trips people up: a dress-up box is a storage box full of costume pieces. A box costume is the wearable cardboard shell a child dresses up as. This guide is about the first one.
What you end up with is a play station, not a wardrobe. Kids choose the doctor kit, the pirate hat and the fairy wand, mash them into whatever story they are running today, then dump it back in the box when they are done. If the container is easy to open, easy to see into and easy to sort, children will do the tidying themselves. That last part is the real payoff.
Budget roughly an hour of active time for cutting and gluing, plus drying time between stages. Difficulty is easy, and an adult handles the cutting and any hot glue.
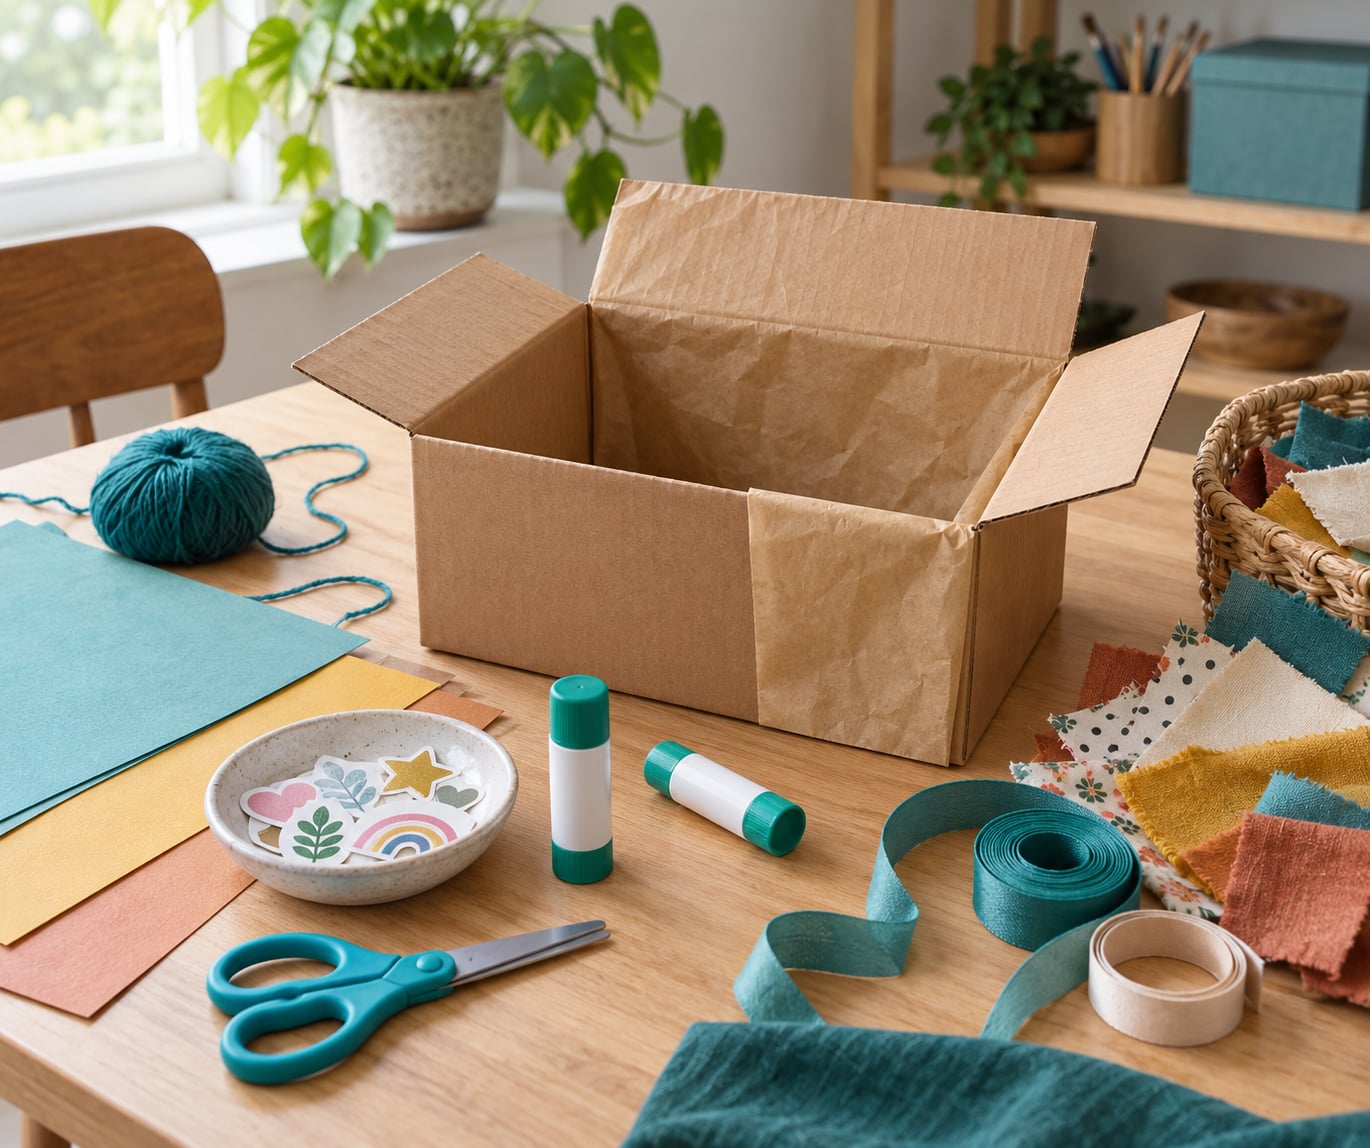
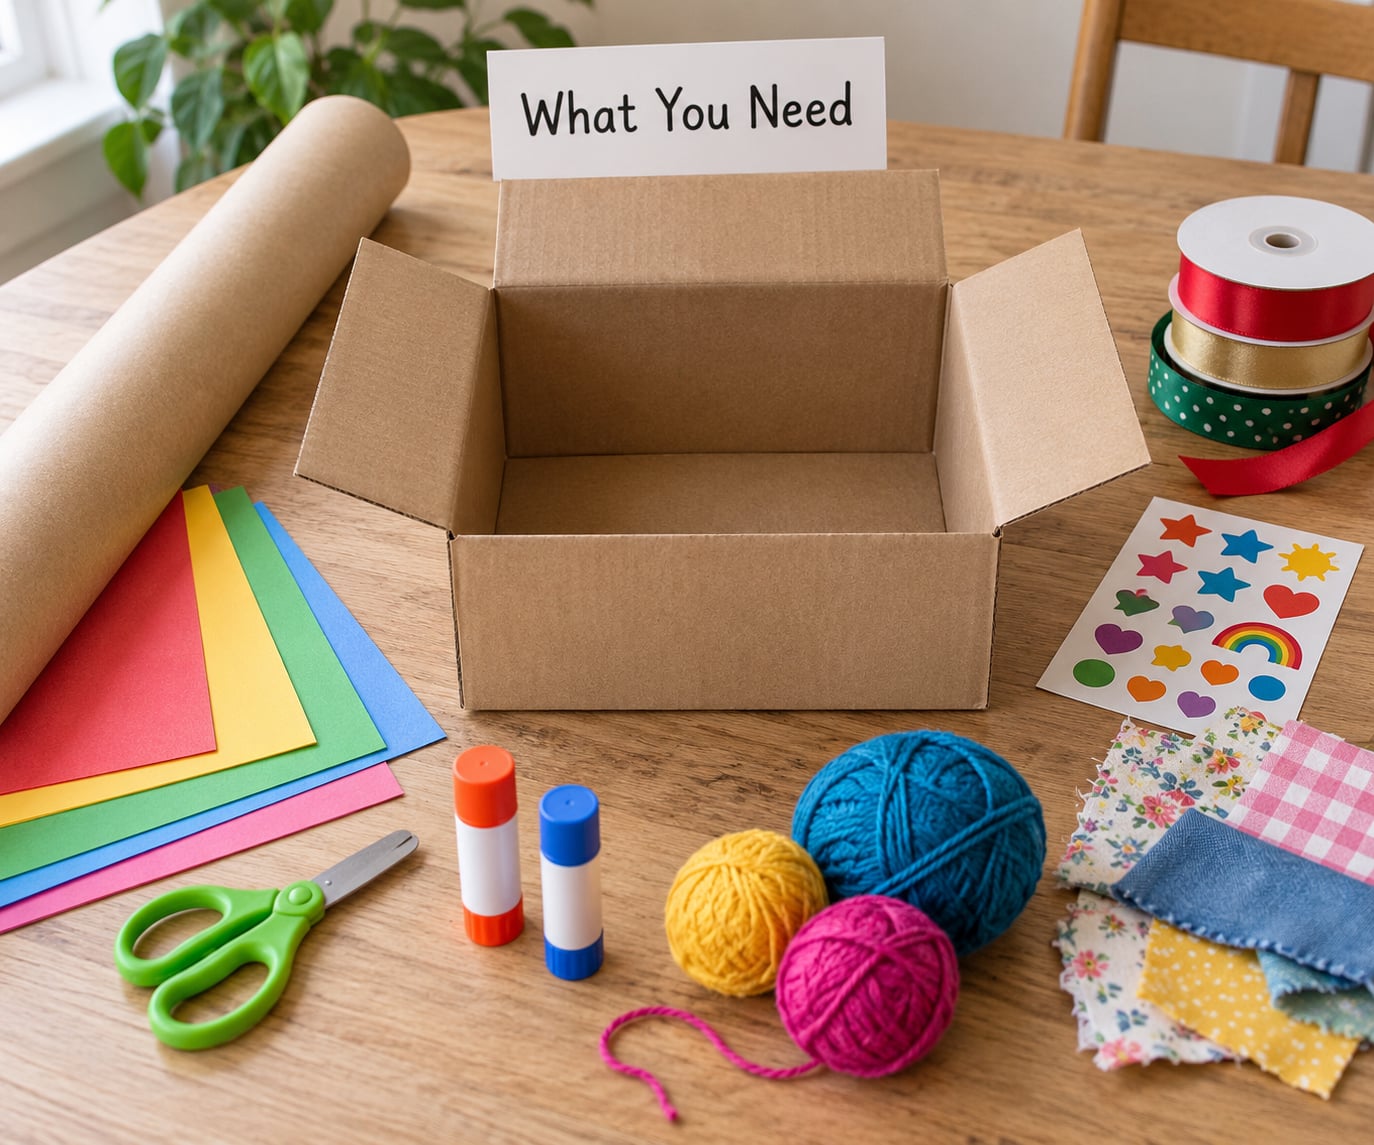
Gather everything onto the table before you start, because the build stalls the moment you realise you need more glue halfway through covering the base.
The container
One sturdy corrugated cardboard box, roughly shoebox to washing-machine size
A flap or lid you can turn into a back panel, or a separate piece of cardboard the same width as the box
Double-wall boxes are worth hunting down at a grocery store or appliance pickup point, since they hold their shape when a child yanks the lid off mid-play.
Craft supplies
Kraft paper or plain wrapping paper for covering
Colored paper, cardstock, or leftover wallpaper for decoration
Child-safe scissors and a craft knife for the adult
Glue sticks for paper, and either fabric glue or double-sided tape for fabric
Yarn, ribbon, string or yarn ribbon
Stickers, washable markers, or a glue-on letter sheet
Fabric scraps, felt, and an old sheet or shower curtain
Optional: a hand mirror, small cups for dividers, ribbon loops, and picture labels
Cheap substitutions
Most of the list can come from things you would otherwise bin. A large paper grocery bag flattened out works as covering paper. Fabric offcuts, a pillowcase with a hole in it, or a thrifted shower curtain all beat new fabric. Contact paper from a hardware drawer handles the interior of the base if kids tend to spill paint on it.
Box size decides how much play space you get. A shoebox suits one child who will pull out three or four pieces at a time. A large box, the kind a stove or bike arrives in, works as a shared station for two siblings or a playdate, and it has room for hanging a rail across the back.
One rule before any cutting happens: an adult does the knife work, the stapling and anything involving a hot glue gun. Younger children join in at the gluing and decorating stage instead.
How to Make a Dress Up Box for Kids: Step-by-Step
Seven steps, in order. Expect 60 to 90 minutes of active work and an hour of drying scattered across it.
How to Make a Dress Up Box for Kids: Choose the Right Box
Pick a box that is deeper than it is wide, with clean, undamaged walls and a lid that still closes. Depth matters more than width because costumes get piled, not hung, and a shallow tray tips over the moment a child drops a hat in it.
Check the box before you commit. Push on each wall panel; if it bows or cracks, move up a size. Wipe the inside with a damp cloth and let it dry fully, and run a finger along the flap seams looking for exposed staples or nails. Cover any you find with a strip of tape before a child can find them.
For a shared play space, choose size by height instead. Anything around waist height on the tallest child keeps the contents visible without needing a step stool.
Remove the Box Lid and Create a Back Support
Cut away the lid with a craft knife on a cutting mat, working from a corner inward so you keep a single wide piece of cardboard rather than a pile of scraps. If the box has flaps instead of a lid, leave them in place for now.
The back panel is what stops the whole thing tipping over when a child leans in to dig out the bottom layer. Stand the box upright, then fasten the lid piece flat against the back wall with strong tape or staples on the outside where no child can reach.
Need more stability? Add a second cardboard strip across the bottom of the back, then a narrow shelf along that strip. That shelf holds hats and wands up high where they will not get crushed, and it stiffens the back at the same time. Test the result by pushing the top of the panel firmly with one hand; if it flexes or the box rocks on the floor, add another strip.
Cover and Decorate the Box
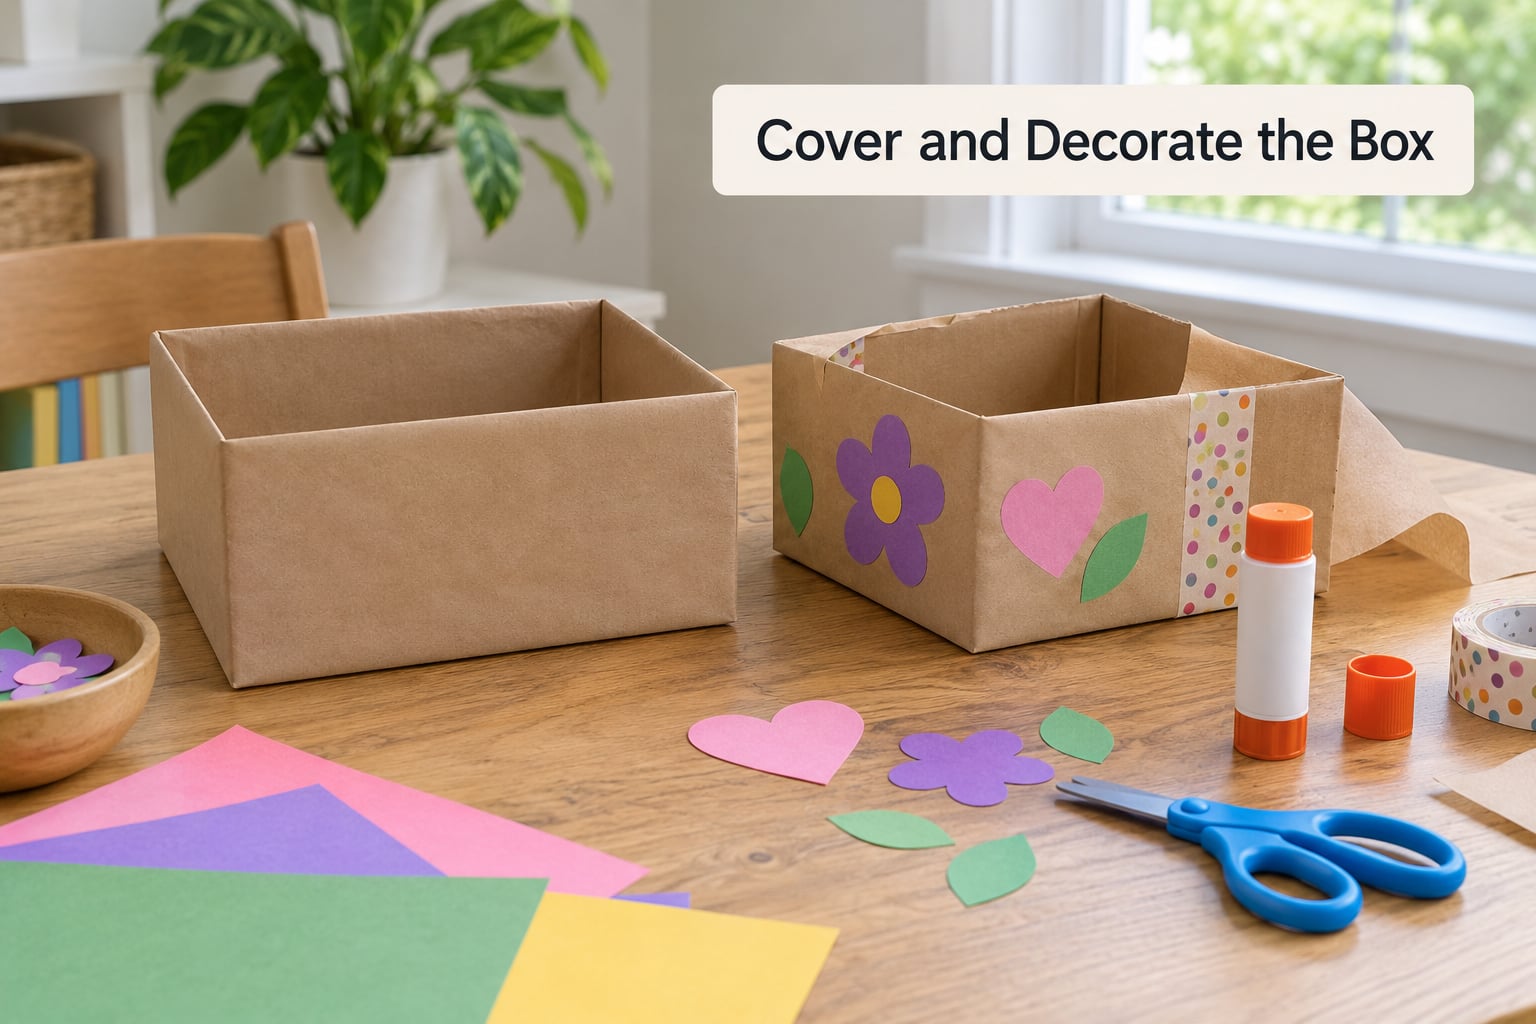
Cut kraft paper or wrapping paper one piece at a time, a little oversized, and glue it on one panel at a time. Working panel by panel means you can lay the box flat, press the paper down with your palm, and let it set before you handle the next side.
For smooth surfaces, glue the paper down first and trim the excess flush with the box edges once it dries. Cutting under the flaps first, so the paper tucks in rather than wrapping over them, keeps corners neat without special tools.
Add decoration on top of the dried base layer. A strip of colored paper along the top edge reads as a shelf. Yarn pom-poms glued to the front corner give small children something to grab. Stickers and washable markers let kids sign the front panel themselves, which is the step they will remember.
If you want a themed look, paint the outside a single color first and let it cure overnight. Chalking the front panel afterwards means you can wipe and redo the menu of pretend jobs whenever the mood changes.
Add Dressing-Up Accessories
You need far fewer pieces than a shop sells, and the handmade ones produce better play because kids recognise them.
Tissue cape: a rectangle of felt or stiff fabric with a strip of double-sided tape along the top edge; press it over the shoulders and it comes off clean at the end of play.
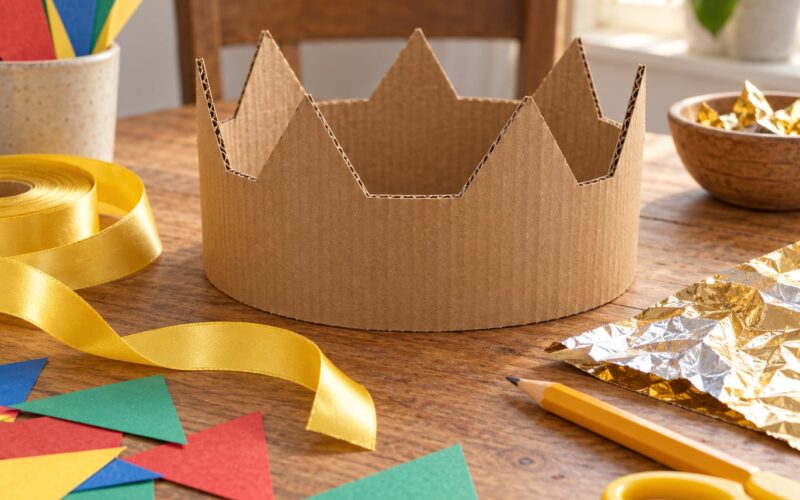
Cardboard crown: cut a strip to fit the head, notch the top into triangles, and decorate it with stickers. A glue-on letter lets you set the crown’s role.
Paper sash: a long strip of kraft paper with a stamped or drawn badge. It survives being scrunched in a bag.
Fabric-scrunch skirt: cut an 18-inch strip of stretchy jersey, leave a small opening in the seam, and pull the cut edges together so it gathers into a skirt.
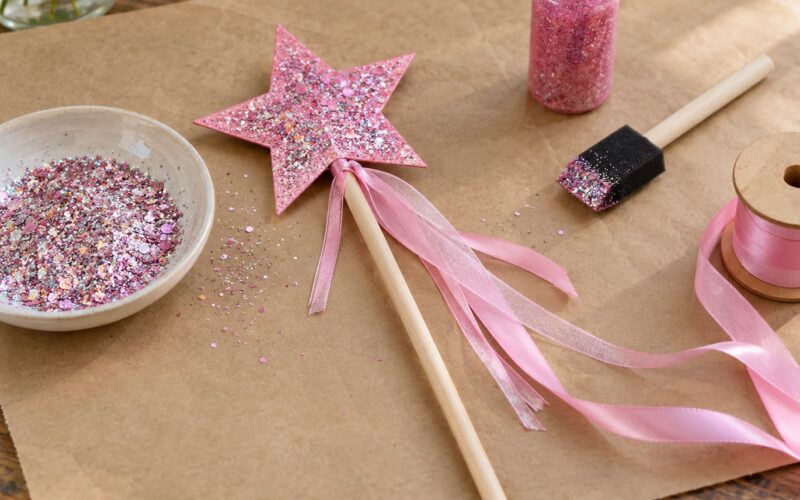
Sticker wand: a tongue depressor or a card-stock handle with a sheet of stickers on the end, for handing out badges during pretend play.
Hanging loops get the most use: cut a length of ribbon, fold it into a loop, and staple both ends inside the back panel near the top so hats and capes hang in one visible row.
Organize Accessories Inside the Box
Do not dump everything into one big pile. The complaint I hear most from parents is that everything ends up in a single bin and gets dug through, so a child asks for a cape and half the pieces are missing. Small containers fix that in one move.
Divide the base into four sections using cups turned upside down, cut-down cereal boxes, or folded cardboard walls. Give each one a job: hats, jewelry, fabric pieces, and wands or tools. Ribbon loops stapled to the divider walls give small items a home of their own instead of letting them disappear into the corners.
Label the sections with pictures rather than words if your child cannot read yet. A drawing of a hat on the front of a cup tells a pre-reader where the hat goes, which is how they learn to pack the box away on their own. Older kids can label it themselves in marker, and the labels double as a handwriting practice surface.
Line the base with a strip of fabric or a cut piece of sheet so folded costumes do not sit directly on cardboard and crease.
Add Play Props and Decorative Details
A mirror taped to the inside of the back panel turns the box into a proper station. Use an unbreakable mirror tile or a sheet of reflective craft foil rather than real glass, and check the tape edges with a fingernail so nothing lifts.
Cut a strip of cardstock for a paper floor and draw a room on it, or line the base with a leftover sheet of wallpaper to suggest a shop counter. Hang a backdrop from the top of the back panel and it becomes a stage, a surgery and a spaceship in one afternoon.
Three or four story prompts written on cards beat a shelf full of props. Little ones use the pictures; older ones read them. A stash of a doctor’s coat, a firefighter hat and a plain apron covers the role-play categories that come up most often, and a few empty jars and a plastic stethoscope are enough to start pretend doctor or shop.
Check Safety and Finish the Dress-Up Box
Run this last, after everything is dry. Feel along every cut edge with a fingertip and sand or tape anything sharp. Check that staples sit on surfaces facing the wall, not toward the child.
Now look at the contents. Anything small enough to fit through a toilet paper tube is a choking risk, so keep beads, small loose buttons and short craft pieces out of a box used by children under three. Remove any cord or ribbon long enough to loop around a neck, and skip long sashes entirely for toddlers. Check that the mirror and any glued decorations cannot be pried loose with a fingernail.
Nontoxic is the default for glue sticks, paint and markers, but read the label anyway, especially on anything a child might put in their mouth. Tape down loose ends, weight the base so the box cannot tip when a child leans on it, and stand it against a wall rather than in the middle of the floor where a child is running.
A finished box should open and close with one hand, keep every piece visible from the front, and let a child put items back in under a minute. Set it at their height, show them where each section lives, and leave it alone. Play does the rest.
Common Mistakes
Picking a box that is too weak
A single-wall box looks fine on day one and collapses by week three once a child leans on the back to reach the bottom. Test all four walls before you cover anything, and move up to double-wall if any panel flexes under a firm push.
Using too much glue
Heavy glue soaking through kraft paper makes it wrinkle and never fully sets. A thin spiral of glue stick on the back of the paper, or a few dots, holds far better on cardboard. Press it flat under a book while it dries.
Making the inside too dark
A deep box with a tall back panel hides whatever falls to the bottom, and the child gives up. Keep the back panel below the top edge of the sides, line the interior with pale paper instead of dark kraft, and cut a shallow viewing notch in the back if a full-height panel is essential.
Making accessories out of anything fragile
Thin cardboard crowns snap, glass accessories break, and anything with a staple point gets poked. Card stock or felt for structure, tape instead of staples on child-facing edges, and unbreakable reflective foil for the mirror solve most of it.
Overcrowding the sections
A box stuffed to the brim is impossible to sort and gets ignored within a week. Fill each section halfway, and keep overflow in a lidded bin nearby. An open box the child can actually use beats a complete one they dig through angrily.
Forgetting to secure the back
A free-standing box with a thin cardboard back tips the second time someone leans in. The lid strip and a cross brace at the base fix it in five minutes, and a weighted base helps further if the box sits on carpet.
Rushing the labels
Labels added before the paper dries lift and peel. Wait until the covering has cured, then stick labels along the front lip of each divider where a child’s hand will not rub across them.
Adapting by age
Under three, put fewer pieces in and make them bigger. Between three and five, add role-play items like a doctor’s coat or a tool belt. From six up, the fun shifts to stories and combinations, so swap the props for better lighting, a bigger mirror and prompt cards.
Adapting by budget and space
A large appliance box is the cheapest and most generous starting point, and a stack of smaller boxes costs nothing if you already have them. In a small playroom, build the box to the width of a single shelf bay so it tucks away instead of claiming floor space. Parents who convert an old dresser or entertainment unit instead often find it becomes the most-used toy in the house, because it holds more and takes less walking to reach.
Adapting the theme over time
When the play moves on, do not rebuild. Add a themed insert, restock the sections and change the prompts. A chalked front panel resets the whole thing in a minute. Outgrown costumes go into a donation bag once every six months so the box keeps matching the child rather than the child having to work around the box.
Frequently Asked Questions
What is the best box to use for a kids’ dress-up box?
A sturdy corrugated shoebox or a large appliance box works best. Pick one that is deeper than it is wide, with a lid or flap you can turn into a back panel, and check that all four walls stay rigid when you push them. Double-wall boxes last longer than single-wall ones. Avoid shallow trays, which tip over the moment a hat lands in them, and skip any box with exposed staples, cracked corners or a musty smell.
What materials work best when making a dress-up box with toddlers?
Keep it simple and nontoxic: glue sticks instead of solvent glue, paper instead of felt, and unbreakable reflective foil in place of a glass mirror. For toddlers, favor bigger accessories over many small ones, since anything that fits through a toilet paper tube is a choking risk. Skip long ribbons, cords and sashes, and use double-sided tape rather than staples anywhere a child’s hands can reach.
How can I keep costume accessories organized inside the box?
Divide the base into four or five sections using upside-down cups, cut-down cereal boxes or folded cardboard, and give each one a single job such as hats, jewelry, fabric or wands. Label the front of each section with a picture rather than a word if your child cannot read yet, so they can pack everything away independently. A layer of fabric or sheet on the base stops folded costumes from creasing against the cardboard.
How do I make the box safe for children under three?
Remove anything small enough to fit through a toilet paper tube, including beads, loose buttons and short craft pieces. Eliminate cords, ribbons and sashes long enough to loop around a neck, and cover any exposed staples with tape. Tape down lifted paper and glue edges, stand the box against a wall rather than mid-floor, and check that the mirror substitute and glued decorations cannot be pried loose with a fingernail.
How can I change the theme when children lose interest in the dress-up box?
Add a themed insert rather than rebuilding: restock one section with a new role, swap the prompt cards, and rewrite the chalked front panel to name the current pretend job. Swapping the backdrop fabric and adding a different prop category takes about twenty minutes. When costumes no longer fit, donate the outgrown pieces every six months so the box stays matched to the child using it.
Conclusion
Start by choosing a sturdy cardboard box and cleaning it properly, since everything else depends on that base staying solid. Cover it with paper, turn the lid into a back support, and divide the inside into a handful of labeled sections. Then add accessories gradually rather than trying to fill every gap at once.
The finished result should open with one hand, keep every piece visible from the front, and let a child put it all away in under a minute. Once that works, learning how to make a dress up box for kids is mostly finished. In 2026 the box will still be in the playroom, and most of what goes in it is whatever the household already owns: a sheet for capes, an old sash, a jar for the pretend shop counter.