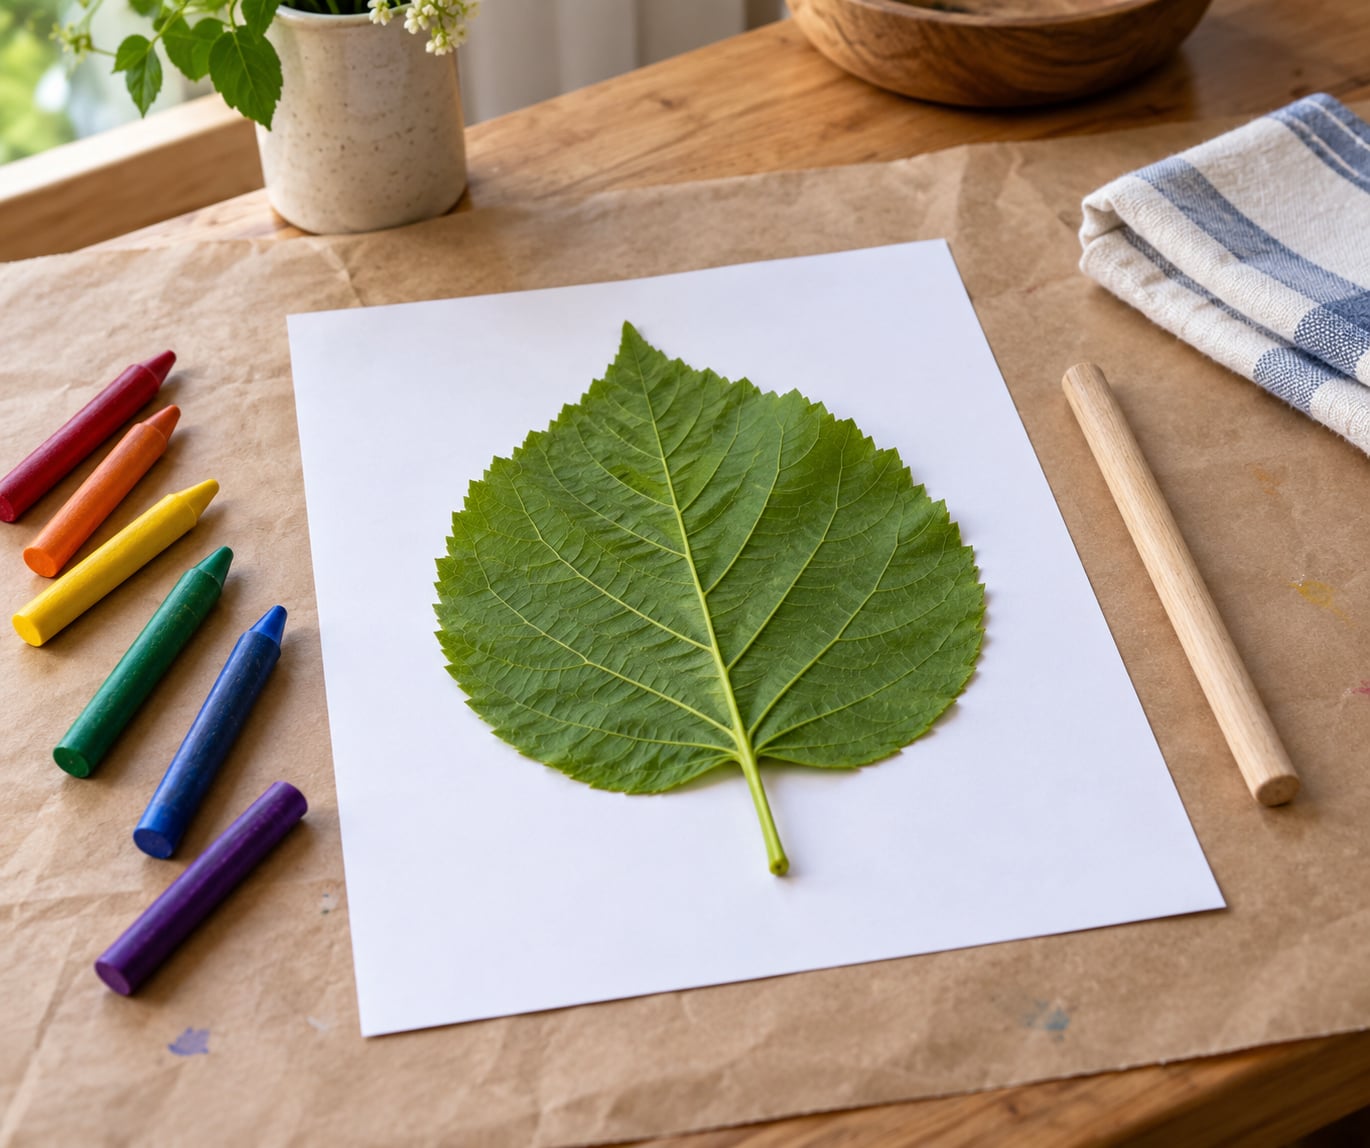
Place a leaf face down on a flat table, lay a sheet of thin paper over the top, and rub the broad side of a peeled crayon back and forth across it. The raised veins press colour into the sheet below, and in about two minutes you have a leaf rubbing — a rubbing, not a drawing, which is why almost nobody gets it wrong.
It suits children from about three years old and grown-ups looking for something quiet to do on a rainy afternoon, and the whole project needs paper, crayons and whatever the garden or the pavement hands you. The three details that decide whether the result reads as a crisp leaf or a grey smudge are thin paper, the leaf placed vein-side up, and the crayon held on its side.
Here is the whole process, step by step, plus the four things that go wrong most often and how to correct each one while the paper is still on the table.
Table of Contents
- 1What You Need
- 2Step-by-Step: How to Make Leaf Rubbings with Crayons
- 31. Choose a Flat Leaf with Clear Veins
- 42. Arrange the Leaf on the Paper
- 53. Hold the Crayon on Its Side
- 64. Rub Lightly from the Stem Toward the Tip
- 75. Fill Gaps and Adjust the Pressure
- 86. Remove the Leaf and Finish the Artwork
- 9Common Mistakes and Easy Fixes
- 10The rubbing is faint and the leaf shape barely shows
- 11The paper dents or tears a small hole
- 12The leaf slides and leaves a grey streak
- 13Wax smears when you lift the paper
- 14The edges look ragged and the outline breaks
- 15Frequently Asked Questions
- 16What crayons are best for leaf rubbings?
- 17Do wax crayons or oil crayons make the best leaf rubbing?
- 18What kind of leaves works best for crayon rubbings?
- 19Can I dry the leaves before making rubbings?
- 20How do I keep a leaf from sliding while I rub?
- 21How can I make a leaf rubbing darker without tearing the paper?
- 22Conclusion
What You Need
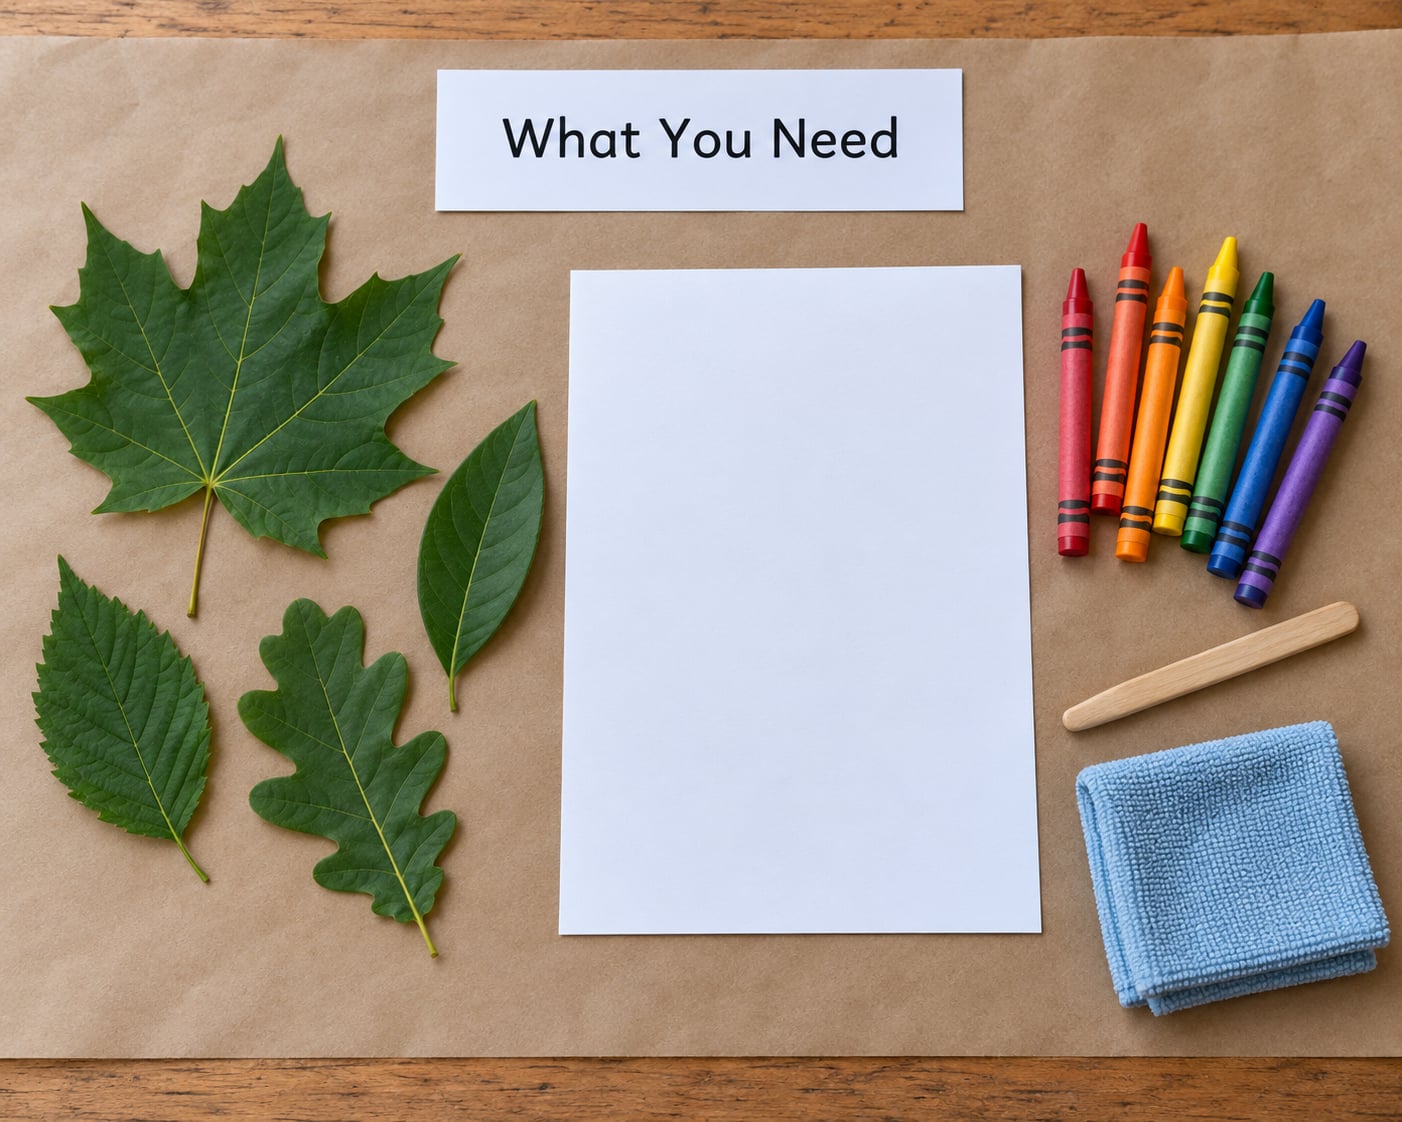
- Fresh, flexible leaves with bumpy veins on the back. Maple, oak, birch, beech and sycamore all work. Curled, brittle or soaking-wet leaves are past their moment.
- Thin paper. Standard printer or copy paper gives the sharpest vein detail. Drawing paper is a shade thicker and tougher for small hands.
- Crayons with the paper wrappers peeled off. Any colours you like. Oil pastels work in the same way and lay down darker colour.
- A blunt stick, a pen or the back of a spoon to hold the leaf in place while you rub.
- A clean cloth for wiping wax off fingers, table and any artwork you care about.
- A protective covering — newspaper, a plastic tablecloth or a baking tray lid — to catch stray wax and crumbs of leaf.
If the wrappers fight back, crayons left in warm water for 20 to 30 minutes peel with a thumbnail. That one soak solves the most common complaint from parents and teachers: a four-year-old working alone with a knife and a stub of crayon.
Skip construction paper for the first attempt. It is thick enough to flatten the fine vein pattern, which is the whole point of the exercise. It earns its place later, when you paint over a finished rubbing with watercolour and want a sheet that will not buckle.
One quick note on age: three and up is realistic if nothing small ends up in a mouth. Below four, expect the five-minute version where an adult sets the leaf down and does the pinning, and the child does the rubbing.
Step-by-Step: How to Make Leaf Rubbings with Crayons
Nothing here is hazardous. The only real precautions are practical: wash hands after collecting leaves, skip any that look sprayed or treated near a road or lawn, and let cooling wax wipe off a table rather than smear into it. Now the technique.
1. Choose a Flat Leaf with Clear Veins
Look for a leaf that lies flat without being held down. Flatness is the single biggest predictor of a good result, and a broad blade between about 5 and 15 cm across gives you enough surface to work with without crowding the paper.
Turn it over. You want the underside facing up, because that is where the raised vein network lives — the same structure that makes leaves look slightly bumpy or quilted when you run a finger across them. Collect three or four candidates and test them; thickness, size and vein height change the result more than anything else in the kit.
2. Arrange the Leaf on the Paper
Lay the leaf vein-side up, then place your paper over the top. Some guides do it the other way round, leaf face down on the table with paper on top, and both work — what you must not do is put the smooth top side against the paper, because smooth gives you an outline and nothing else.
Angle the stem slightly so the composition does not sit dead-centre and stiff. Before the first stroke, pin the stem with a fingertip or the blunt stick so you can free the other hand for the crayon.
3. Hold the Crayon on Its Side
Turn the crayon so the long broad side rests on the paper, at a shallow angle, almost horizontal. The tip gives you thin scratchy lines; the side gives you a wide, even deposit of wax across the whole leaf in a single pass. This is the mistake that produces the classic narrow, ghostly rubbing.
Keep your grip loose near the top of the crayon rather than choking down near the paper, so you can vary pressure with your wrist instead of your arm.
4. Rub Lightly from the Stem Toward the Tip
Start at the stem and work outward toward the point in overlapping strokes, moving a little sideways each time so the passes cover the blade. Rub the paper, not the leaf — the crayon should never scrape directly across the leaf surface.
Add pressure only when a vein refuses to show. The goal is a readable midrib with branching side veins, not a solid black shape, and the first hint of a vein is usually where you should stop.
5. Fill Gaps and Adjust the Pressure
Lift the paper corner and look at what you have. You are after an evenly coloured silhouette, a clear midrib, and visible branching veins. Patch bare patches with shorter, lighter strokes over the same area rather than heavy passes, and ease off almost completely as you approach a thin edge or a pointed tip, which tear first.
If the veins are reading but the field is too dark, rotate the crayon a fraction in your fingers so a narrower band of its side touches down. If nothing is showing, the answer is almost never more pressure — it is a thinner paper or a better leaf.
6. Remove the Leaf and Finish the Artwork
Peel the paper back slowly from one edge, at a low angle, keeping the sheet flat against the table as it lifts. Pulling straight up drags the leaf and smears the wax.
Label it only if you actually know what the leaf was. A wrong name on a nice piece of art outlasts an unlabelled one, so a simple location and date — backyard, October — is often the wiser record.
From there it is display, not craft. Mount a few on card, trim to a square with a border, tape them up with washi tape, or overlap several to build a single nature collage. If you want a bit of paint, watercolour over the dry rubbing behaves as a resist: the waxed lines stay clear while the bare paper drinks the colour.
Common Mistakes and Easy Fixes
Every one of these can be corrected on the spot, with the leaf still under the paper.
The rubbing is faint and the leaf shape barely shows
Almost always one of three things: the smooth side of the leaf is against the paper, the paper is too thick, or the leaf is too flat to have anything to press against it. Turn the leaf underside-up, drop to thinner paper, and add a second leaf of the same species underneath in the same spot so the rubbing has a second set of veins to catch. Two leaves stacked will give you a leaf twice the thickness and the detail to match.
The paper dents or tears a small hole
Pressure has gone past the point where wax transfers. Back off, lay a scrap of paper beneath the sheet to spread the load, and use a smaller section of the crayon barrel. If the child is doing the rubbing, hand them a stub of crayon — a short stick needs less force to control than a full-length one.
The leaf slides and leaves a grey streak
Fix the leaf before you rub, not during. Pin the stem under a fingertip, tape down the paper corners with masking tape, or rest a heavy book on the part of the paper that is not over the leaf. If it keeps moving, dab a small drop of white glue under the stem and wait a minute.
Wax smears when you lift the paper
The rubbing was still warm, or the pressure was heavy enough to push wax into the paper fibres. Let the page sit flat for a minute before lifting, keep the strokes light, and lift from a corner at a shallow angle rather than straight up. Fresh crayon flakes that lift off are easy to pick away; smeared ones are not, so patience is the whole fix.
The edges look ragged and the outline breaks
Thin leaf tips tear through first. Rub those last, with almost no pressure, using the narrow edge of the crayon rather than the flat of its side. For a cleaner silhouette overall, trim the finished piece with scissors along the leaf outline rather than trying to force the paper into a shape the leaf never had.
Two habits fix most of this before it starts. Rotate the leaf a few degrees as you work, so you rub each area from a different angle. And keep a second, duller crayon aside for the edges and fine side veins, saving the bright one for the body of the leaf.
Frequently Asked Questions
What crayons are best for leaf rubbings?
Standard wax crayons with the paper wrapper peeled off are the easiest choice, and the flat broad side of the barrel is the part you want. Dark colours such as brown, deep green and black show vein detail better than pale yellows and oranges. Oil pastels work in exactly the same way and lay down a richer, darker mark, though they need a lighter touch. Avoid crayons that are new and very hard, and skip markers and pens, which scratch the paper instead of transferring.
Do wax crayons or oil crayons make the best leaf rubbing?
Both work, and they differ more in strength than in usefulness. Wax crayons are softer, cheaper and easier for small hands, and they give you a light, even rubbing with very little pressure. Oil pastels are denser and produce a much darker, more textured impression, which some people prefer for vein detail, but they smear more readily once laid down. If you are making rubbings with a child, wax is the calmer option. For an adult wanting strong contrast on heavier paper, oil pastel is the better tool.
What kind of leaves works best for crayon rubbings?
Fresh, flexible leaves with bumpy veins on the back give the clearest result, and maple, oak, beech, birch and sycamore are all reliable. Look for a leaf that lies flat on the table with a light hand, roughly 5 to 15 cm across. Very deeply textured leaves such as pine needles and fern fronds do not work, and neither do waxy evergreen leaves. Curl is the other warning sign: once a leaf curls, it no longer sits flush against the paper and the rubbing breaks up along the curl.
Can I dry the leaves before making rubbings?
Yes, and for some leaves it is the only way. Small, thick leaves such as elm, beech and citrus can be pressed flat for a week between sheets of newspaper, ideally with a book on top to keep the pressure even. They will then rub much like a fresh leaf. Large, thin leaves are a poor candidate for drying because they curl and crumble as they stiffen, and any leaf that has already gone brown and brittle in the street will tear rather than press. Collect fresh, and dry only what will not fit your paper.
How do I keep a leaf from sliding while I rub?
Pin it before you start rubbing, not during. The simplest method is a fingertip held on the stem, with the crayon working outward from that anchored point in strokes that never travel back over the stem. For younger children, tape the four corners of the paper down with masking tape, which stops the paper shifting as well as the leaf. A blunt stick laid across the stem works well for adults, and a small drop of white glue under the stem handles leaves that curl away from the paper edge.
How can I make a leaf rubbing darker without tearing the paper?
Build the colour in passes rather than in one heavy one. Rub the same area three or four times with light pressure, letting each pass dry slightly before the next, instead of pressing hard once. Turning the crayon so a narrower band of its side touches the paper gives a darker line with less force. If a vein still will not show, sandwich a second leaf underneath the first, so there is a deeper edge for the wax to catch. And if the sheet is at risk, slip a second piece of paper beneath it to spread the load.
Conclusion
Start with one flat leaf, vein-side up, thin paper on top, and light overlapping strokes from the stem toward the tip. Add pressure only where a vein will not show, and stop before the leaf shape fills in solid.
Then go and collect a few more. Once you have five or six labelled rubbings, you have the beginning of a nature-art series that costs almost nothing, survives the winter, and teaches more about how leaves actually grow than any worksheet.