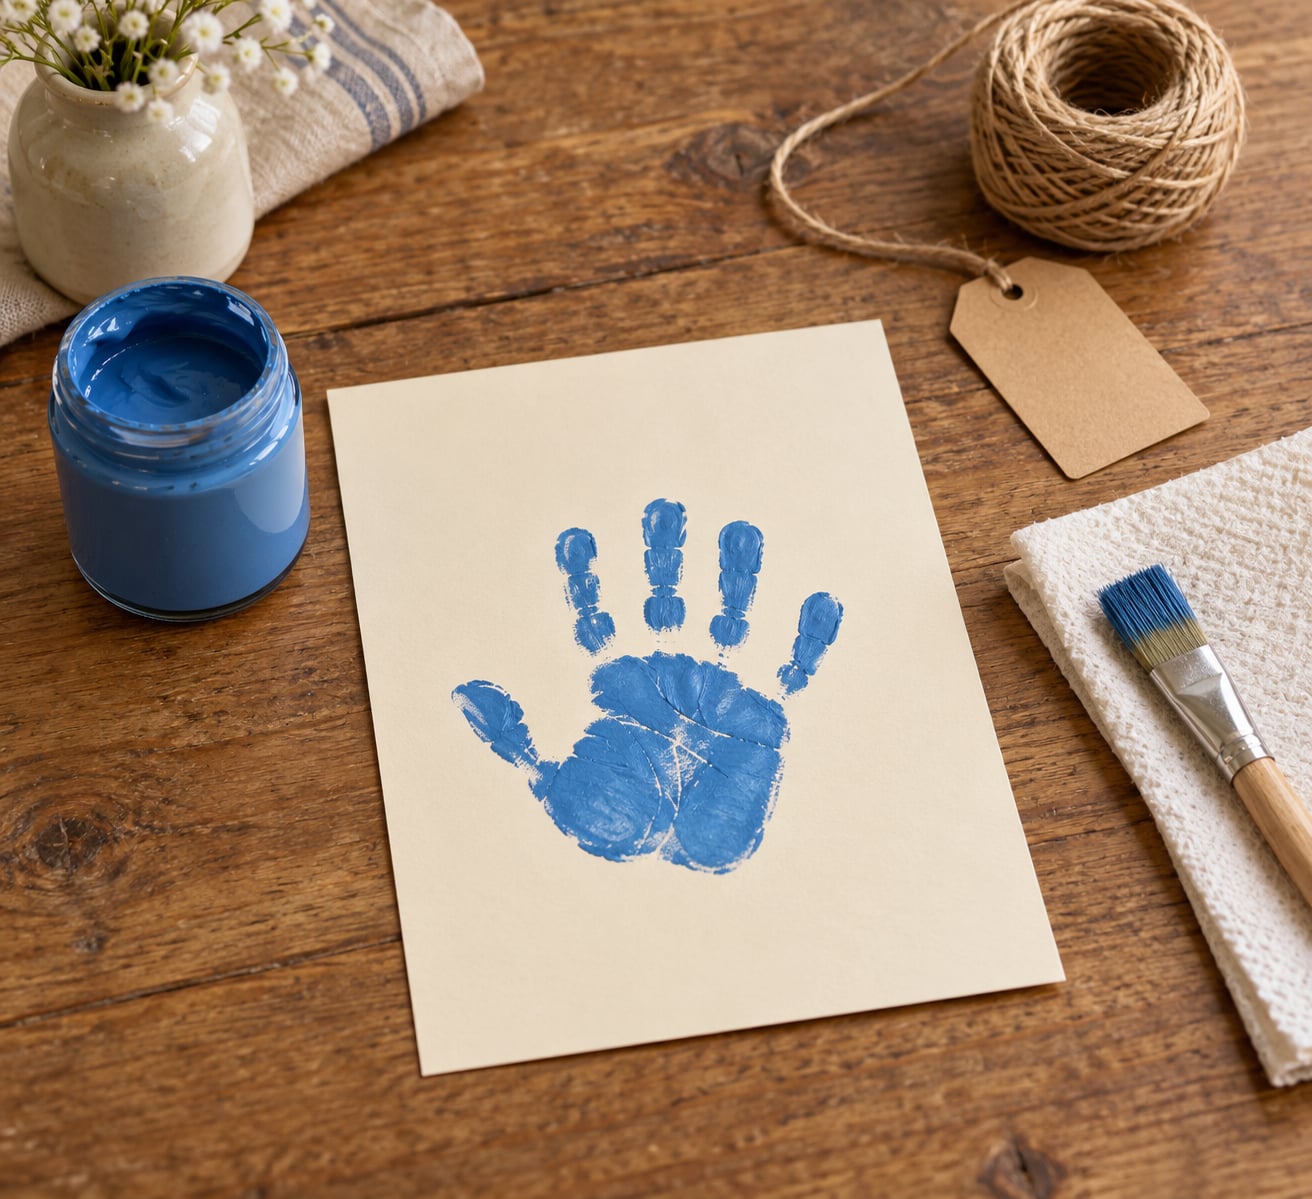
How to make a handprint keepsake craft takes about 30 minutes of active time and needs nothing more than washable paint, a sheet of sturdy paper and a paintbrush. You press a thin-coated hand onto the paper, let the print dry, then add a name, date or a clear protective finish. It is the easiest thing I make with my kids, and the finished sheet ends up on the fridge for years.
The reason people keep coming back to it is simple: a child’s hand changes size fast. A print made at two and a half is not the same shape as one made at five, so a single dated sheet quietly becomes a record of how quickly they grew. I do one every year around their birthday, and stacking them in a single box is now the thing my daughter asks to look at.
Below is the version of the method that has survived the most attempts in my house: thin paint, a relaxed hand, a clean lift, and full drying time before anything else touches the paper. It works for toddlers through to adults, and the same basic technique covers canvas, cardstock and mixed-colour prints.
Table of Contents
- 1What You Need
- 2Step-by-Step: How to Make a Handprint Keepsake Craft
- 31. Prepare the paper and the surface
- 42. Test the paint first
- 53. Spread a thin layer over the hand
- 64. Press the hand down
- 75. Lift straight up
- 86. Clean up the edges while it is still slightly damp
- 97. Dry the print flat and undisturbed
- 108. Add the finishing touches
- 11How to Get a Clean, Clear Print
- 12How to Add a Personal Message to a Handprint Keepsake Craft
- 13How to Display and Preserve the Keepsake
- 14Common Handprint Keepsake Mistakes and How to Fix Them
- 15Frequently Asked Questions
- 16What age is appropriate for making a handprint keepsake craft?
- 17Can I use regular washable paint for a handprint keepsake?
- 18How do I get a clear handprint without smudging?
- 19Can I make a handprint keepsake on canvas instead of paper?
- 20How should I preserve a handprint keepsake so it lasts?
- 21Conclusion
What You Need
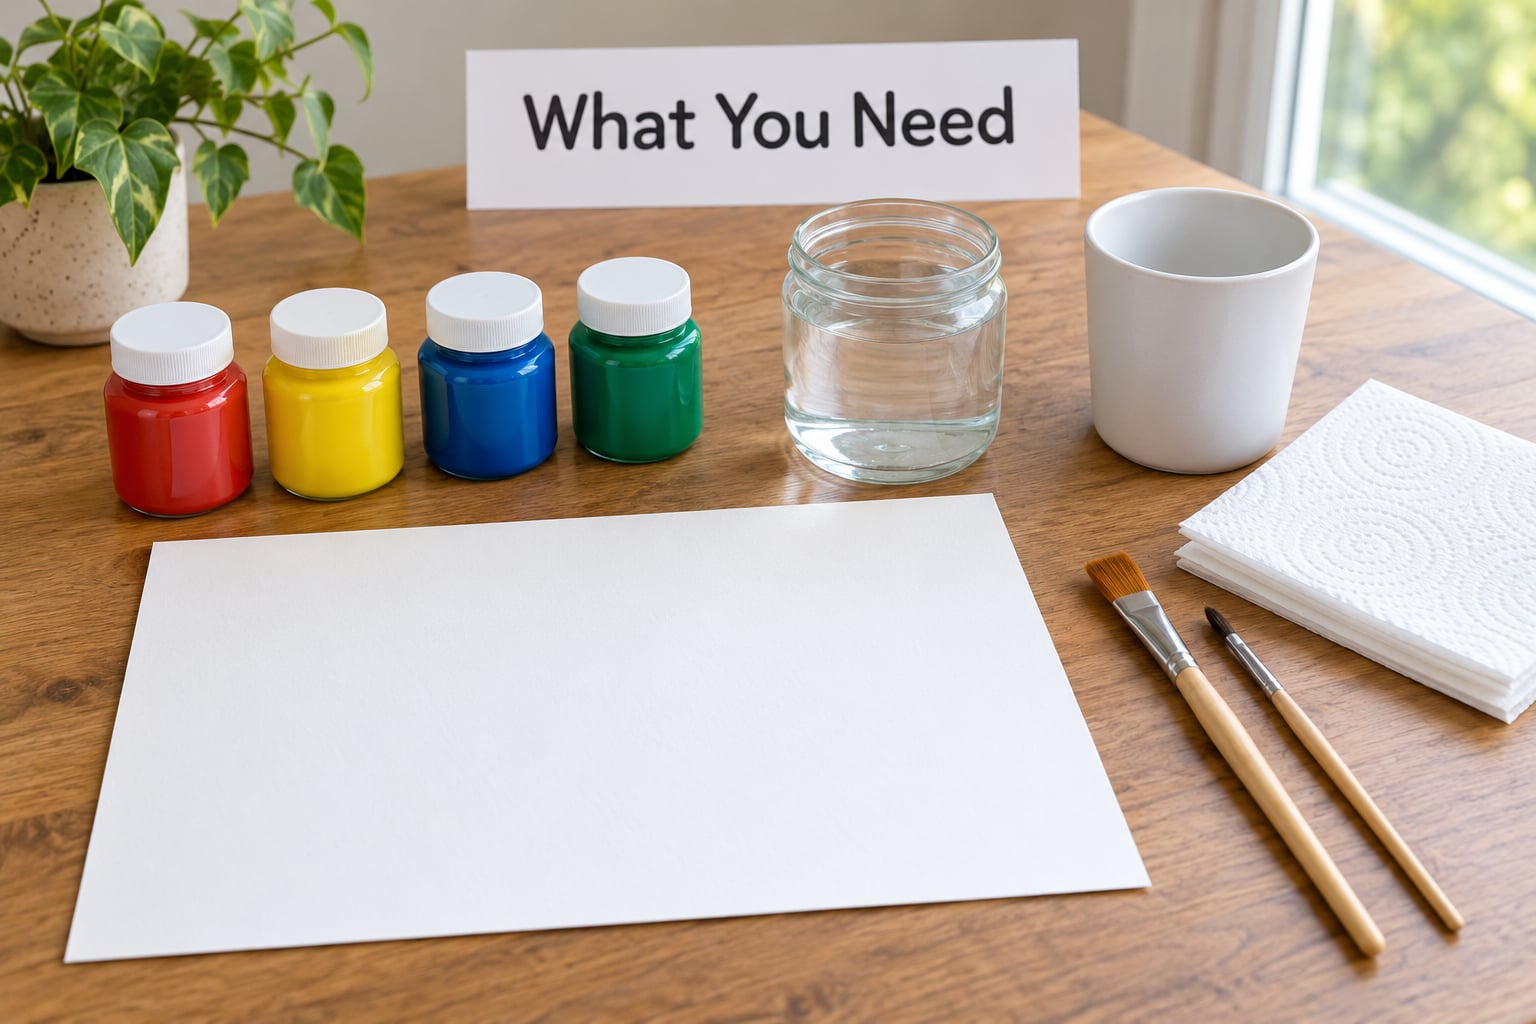
Start with water-based washable paint in two or three colours. Washable tempera or poster paint wipes out of clothes and skin with warm water and a cloth, which matters when the person making the print is three years old. Skip oil-based acrylics for kids, even though they are technically non-toxic once dry, because they do not come out of a sleeve.
For the surface, use paper heavier than printer stock. Cardstock around 160 to 200 gsm holds a press without buckling, and it is thin enough that the paint still dries within a few hours. Plain printer paper works for a traced or painted print, though expect a little ripple.
The rest is basic: a flat brush for coverage, a fine brush for edges and lettering, a cup of clean water, paper towels, and a sheet of newspaper or wax paper to protect the table underneath. Optional extras are a fine-tip marker, a glue stick, a hole punch or a drinking straw for making a hanging hole, twine or ribbon, and a laminating pouch if you want the finished sheet sealed.
Before a child’s hand goes anywhere near the paint, lay out newspaper, put the paper on top, and set the paint within easy reach so nobody has to walk through the project carrying a loaded brush. Wash hands first if the hands are oily or recently lotioned, and dry them thoroughly. Skin oil is the number one reason paint beads up instead of spreading.
Step-by-Step: How to Make a Handprint Keepsake Craft
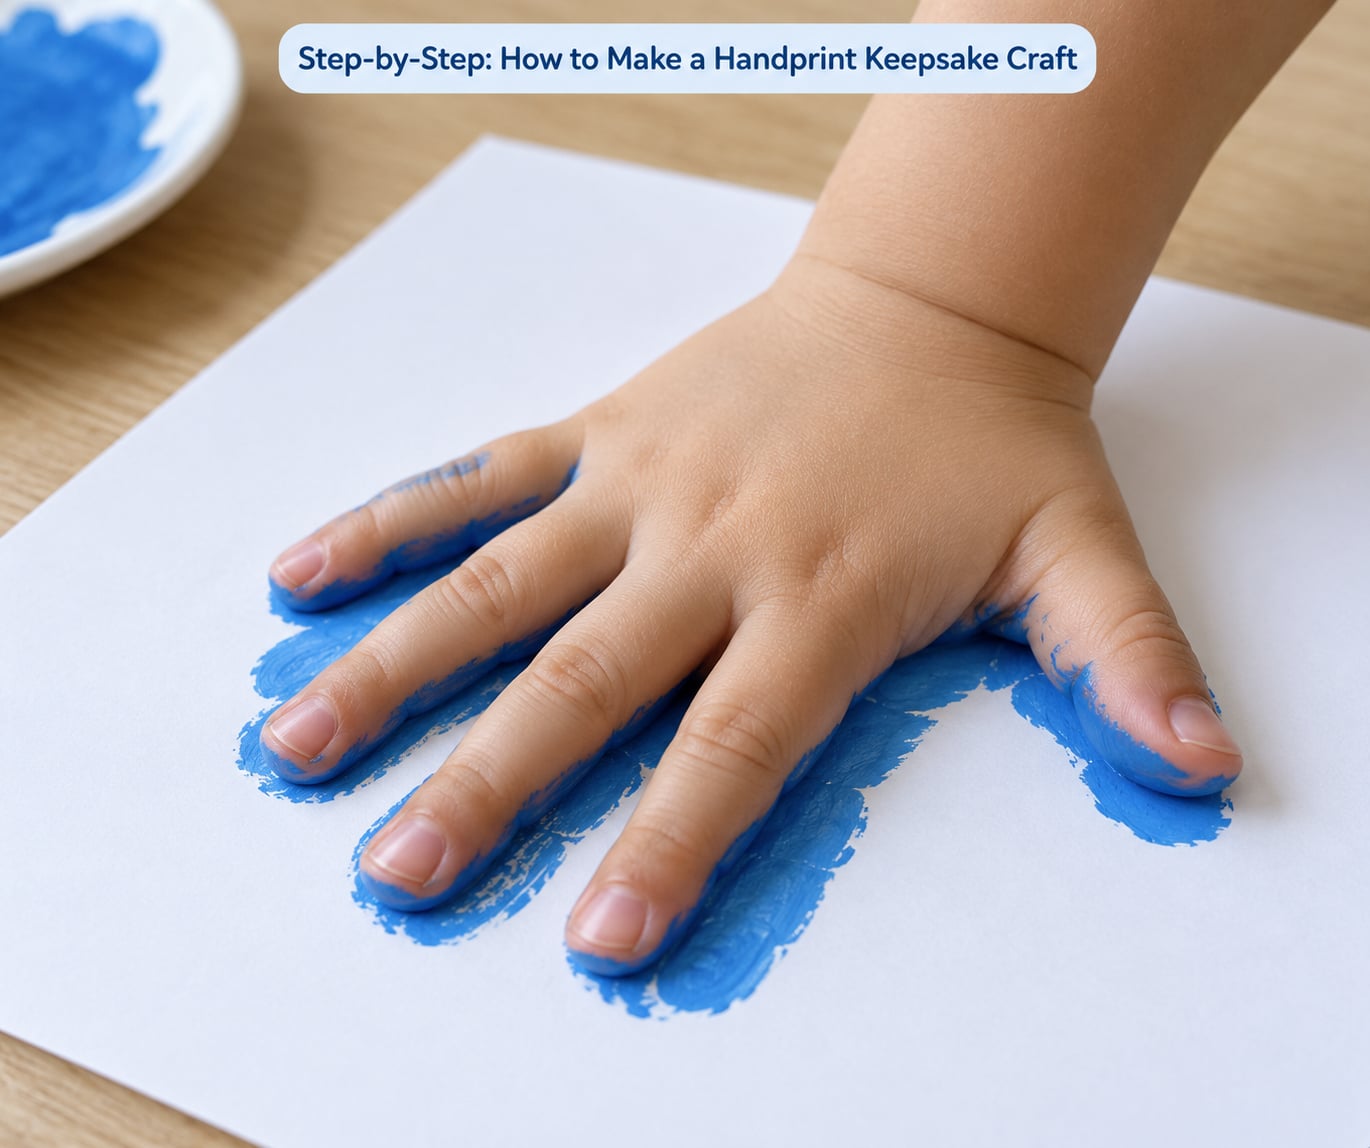
Follow these eight steps in order and you will have a clean print in one sitting. The whole method takes roughly 30 minutes of work plus drying time, and every step here is about how to make a handprint keepsake craft come out cleanly the first time.
1. Prepare the paper and the surface
Lay down newspaper or wax paper, then place your cardstock on top and smooth out any curl. Tape the corners down if the paper keeps lifting. A flat, stable sheet is what makes an even press possible.
2. Test the paint first
Squirt a small amount of paint onto scrap paper and swipe it with your finger. If it beads into droplets, stir in a splash of water until it spreads like thin cream. You want a spreadable coat, not a puddle. Let the test dry for two minutes to see how the colour reads on your paper.
3. Spread a thin layer over the hand
Paint the palm and fingers with the flat brush, working from the wrist outward. Thin is the whole trick. One even coat gives you crisp finger lines; two coats give you a blob with no detail. Keep a paper towel handy and wipe off any paint that creeps past the edge of the hand shape.
4. Press the hand down
Place the palm first, then lower the fingers one by one with fingers relaxed and spread slightly. Hold the whole hand down for about ten seconds with light, even pressure. You are looking for a clean palm-and-finger shape with no gaps. Deep pressure squeezes paint out from the sides and smears the outline.
5. Lift straight up
Lift the hand vertically in one smooth movement, no rocking or sliding sideways. A straight lift is the difference between a defined print and a grey blur. Rest the hand on a clean towel for a moment before touching anything with those fingers.
6. Clean up the edges while it is still slightly damp
Within a couple of minutes, dip the fine brush in clean water and trace around the outside of the print to lift paint that bled past the outline. Also pull paint out from between the fingers where the gaps filled in. Work quickly, because once the print is dry, water does nothing useful to it.
7. Dry the print flat and undisturbed
Leave the paper flat somewhere with no drafts, foot traffic or temptation to stack something on top. Water-based paint usually dries in one to four hours depending on how thick the coat was and how heavy the paper is. It is ready when the surface feels completely dry and cool, not tacky, and the edge of the painted area no longer transfers to a light touch.
8. Add the finishing touches
Once dry, write the name, age and date underneath in marker or paint, add glitter, or press a small paper shape onto the sheet. Seal with a thin coat of matte craft finish or glue-and-water mix if you want the sheet to survive sticky fingers and moving boxes. Every finishing step comes after drying, not before.
How to Get a Clean, Clear Print
A clear print comes from a thin coat, relaxed fingers and a straight lift. If the paint looks thick on the brush, wipe most of it off on the edge of the cup before touching the hand.
If fingers blur together, the hand was pressed too hard or the paint was too heavy, and there is no fix after drying, so the answer is a thinner second layer next time. If a gap opens between the thumb and palm, spread the thumb away from the hand before pressing. If paint creeps outside the outline, lift and blot the excess on paper towel before the press rather than after.
For very small hands, holding the wrist while the hand presses keeps the arm from wobbling. For a two-colour print, do one colour and let it dry fully before doing the second, otherwise the wet colours blend into mud.
How to Add a Personal Message to a Handprint Keepsake Craft
Any personalisation belongs on the dry print, in the margin or on the back. The simplest version is the child’s name and date underneath the hand in a fine marker, which takes about fifteen seconds.
Beyond that you can add the age, a short line like “first day of school”, a row of decorative dots in the corner, or a hand-drawn border around the whole sheet. Keep the message short and leave white space around the print so the hand stays the focus. Everything here is optional, and the print alone is already a finished keepsake.
How to Display and Preserve the Keepsake
There are four good ways to keep a painted handprint sheet safe, and all of them start with adult hands. Laminating seals the surface permanently, cutting and laminating should both be done by an adult, and young children should only handle the sheet while you are working on it.
Framing under glass or in a photo frame protects it from dust and handling, and it is the option that survives a move best. A memory box stores several years of prints together without flattening them. The most useful habit is a yearly ritual: make the same size print every birthday, write the year on each, and stack them in date order so the growth is visible at a glance.
If you want it hangable, poke a hole through the top margin with a straw or a hole punch after the print is fully dry, then thread twine or ribbon through it. Punch through the margin rather than across the painted hand, and reinforce with a small square of tape on the back if the paper tears at the edge.
Common Handprint Keepsake Mistakes and How to Fix Them
The paint is too thick. Thick paint floods the finger gaps and dries into a flat shape with no detail. Wipe the brush before the hand goes down, and thin the paint with a little water if it does not spread on scrap paper.
The hand shifts during the press. Once the palm slides, the print smears. Rest the forearm on the table and press the palm first, then add the fingers one at a time rather than dropping the whole hand at once.
Fingers come out blurred or merged. This is nearly always over-pressing or a heavy coat. Use light pressure for ten seconds and stop; you are not trying to squeeze the paint out.
Uneven pressure leaves a patchy palm. Press the heel of the hand, then the pads of the fingers separately, and check the sheet from the side before lifting. A quick flashlight check shows thin spots before they dry into gaps.
The paper buckles or ripples. Water-based paint on thin paper makes it cockle. Heavier cardstock solves most of it; if you must use printer paper, tape the edges down and expect a slight wave even after drying.
Smudging while adding details. Writing on a print that is not quite dry drags colour across the sheet. Wait until the surface is cool and completely non-tacky, then write lightly first and press the pen harder on a second pass.
A few habits cover most of these. Choose the heaviest paper you have, keep the paint spreadable rather than spoonable, and treat the drying window as untouchable. Set the workspace up once, with paint on one side and paper towels on the other, so nothing crosses the print.
Frequently Asked Questions
What age is appropriate for making a handprint keepsake craft?
Any age from about one year old upward works, because the method only needs a hand pressed onto paper. Toddlers need you to guide the wrist and hold the paper steady. From age four or five a child can usually do the press independently, which makes the print less posed and more their own. Newborns are better served by a footprint, since a newborn hand is too small to read clearly.
Can I use regular washable paint for a handprint keepsake?
Yes. Water-based washable tempera or poster paint is the usual choice, and it is the easiest to clean from skin, clothes and worktops. Apply only a thin coat, and expect one to four hours of drying depending on how heavy the coat is and how thick the paper is. Avoid oil-based acrylics for young children, since they stain fabric permanently.
How do I get a clear handprint without smudging?
Use a thin paint coat, relax and spread the fingers before pressing, and lift the hand straight up in one movement without sliding it sideways. Press lightly for about ten seconds rather than pushing hard, because heavy pressure pushes paint out from the edges and blurs the outline. Lay the print flat somewhere with no drafts and leave it untouched until it is fully dry.
Can I make a handprint keepsake on canvas instead of paper?
Yes. Stretch a small canvas over a frame, apply a thin coat of washable paint and press the hand on, using the same technique as on paper. Canvas texture hides very fine detail, so keep the coat thin. Canvas needs longer to dry than paper, usually overnight, and acrylic paint gives a more permanent finish if the keepsake needs to last for years.
How should I preserve a handprint keepsake so it lasts?
Let the print dry completely, then protect it. Lamination gives the best seal against handling and sticky fingers, framing under glass protects it from dust and moves well, and a memory box keeps several years stacked in order. Store sheets flat rather than folded, keep them away from direct sunlight, and let an adult handle cutting, hole punching and laminating.
Conclusion
Start by clearing a table, covering it with newspaper, and squeezing a small amount of washable paint onto a scrap of the same paper you plan to use. Test the consistency, choose the heaviest paper you have, and make one thin, careful press with a clean straight lift.
Then leave it alone until it is fully dry before adding a name, a date or any protective finish. That patience is the whole difference between a print that stays crisp for years and one that smears the first time someone touches it.