If you want to know how to keep a carved pumpkin from rotting, treat it in three phases: scrub and disinfect it, dry the cavity completely, then seal every cut surface. A diluted bleach rinse followed by petroleum jelly on the cut edges stretches a jack-o’-lantern from about a week to three weeks. The whole prep takes 20 minutes after carving.
None of it is complicated. What catches people out is that a carved pumpkin is already dying the moment the knife goes in, and the flesh it exposes is close to 90% water. Understanding that changes which tricks are worth your time.
Table of Contents
- 1What You Need
- 2Step-by-Step: How to Keep a Carved Pumpkin From Rotting
- 3Which preservation method actually lasts the longest?
- 4How to Keep a Carved Pumpkin from Rotting with Petroleum Jelly
- 5How to Keep a Carved Pumpkin from Rotting with Bleach
- 6How to Keep a Carved Pumpkin from Rotting for Longer Storage
- 7Common Mistakes
- 8Frequently Asked Questions
- 9How do you make carved pumpkins last longer?
- 10What do you spray on pumpkins to keep them from rotting?
- 11How long can a carved pumpkin last until it rots?
- 12Does Vaseline help preserve carved pumpkins?
- 13Should I put bleach on my carved pumpkin?
- 14Can you refrigerate a carved pumpkin?
- 15Conclusion
What You Need
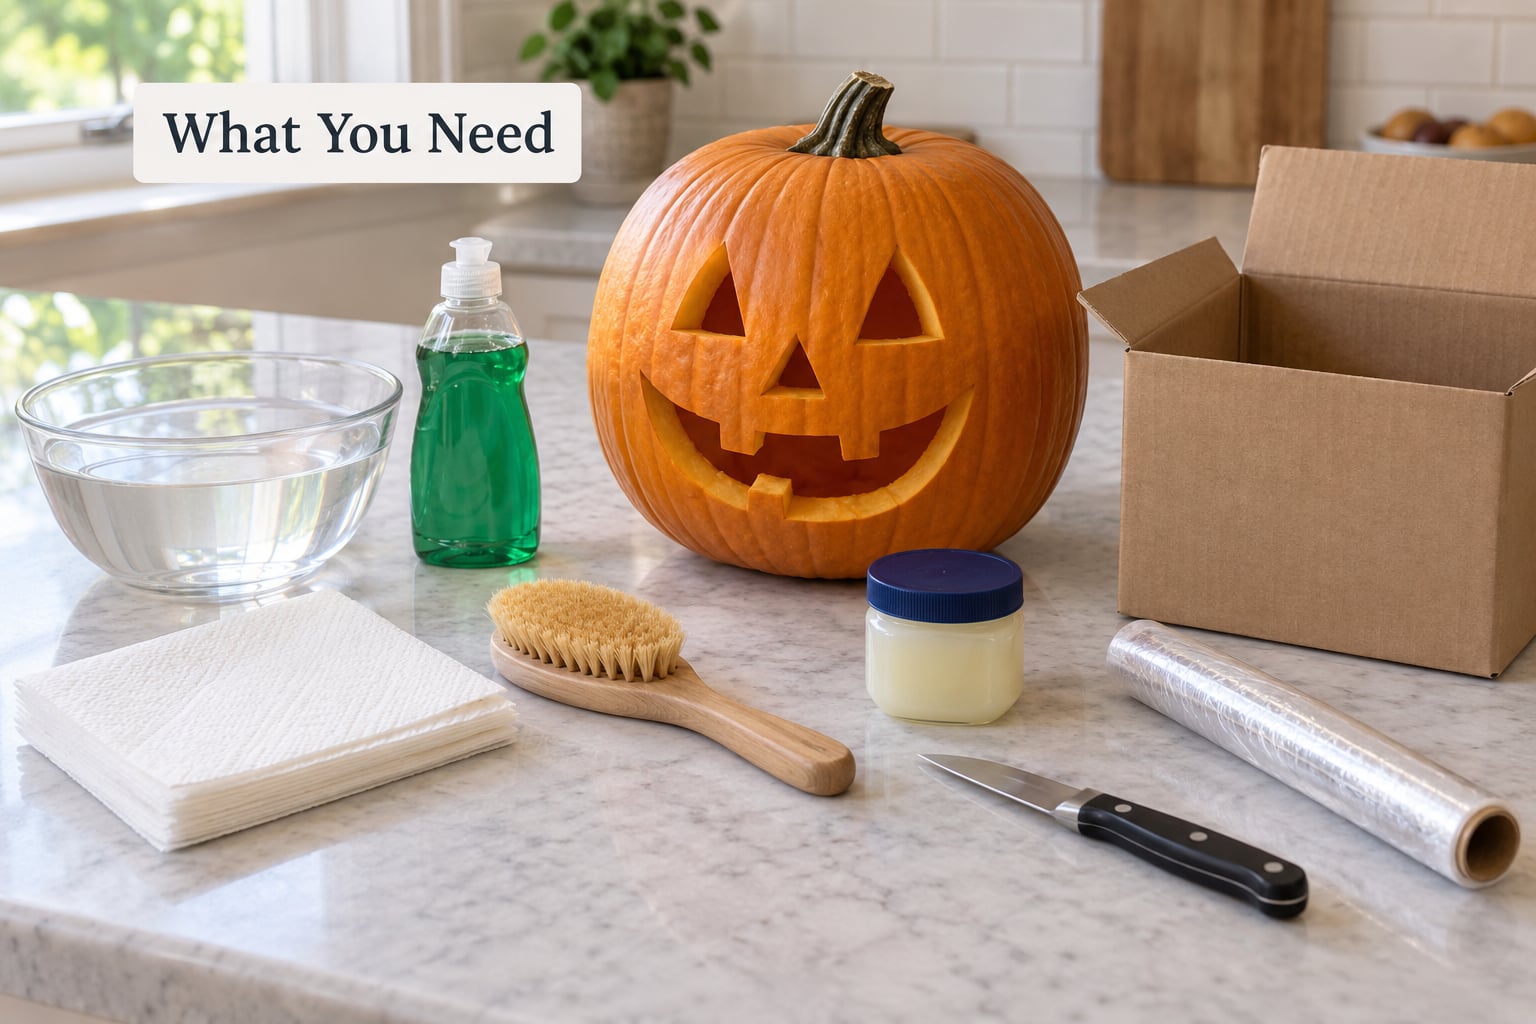
Gather everything before you start carving, because the treatment has to happen while the pumpkin is still freshly cut. Scrubbing a dried-out cavity takes twice as long as scrubbing a wet one.
- A soft brush or toothbrush for the rind and the cut faces. A stiff brush scratches the skin and opens a second route for bacteria.
- Mild dish soap and a bowl of water for a first wash of the outside skin.
- Household bleach for the disinfecting bath or spray. Diluted heavily, it is the cheapest and most reliable kill step.
- Paper towels or clean cloth for drying, plus a fan or a cool, breezy spot. Drying is not optional.
- Petroleum jelly (Vaseline) to seal cut edges. Coconut oil, olive oil or a clear rubberized sealant spray work too.
- A paring knife for scraping loose pulp out of the crevices your spoon missed.
- Plastic wrap and a box or bucket for the refrigeration method that buys the most extra days.
Substitutions are fine. Vinegar stands in for bleach if the smell bothers you, and a spray bottle of rubbing alcohol is gentler but still kills surface bacteria.
Step-by-Step: How to Keep a Carved Pumpkin From Rotting
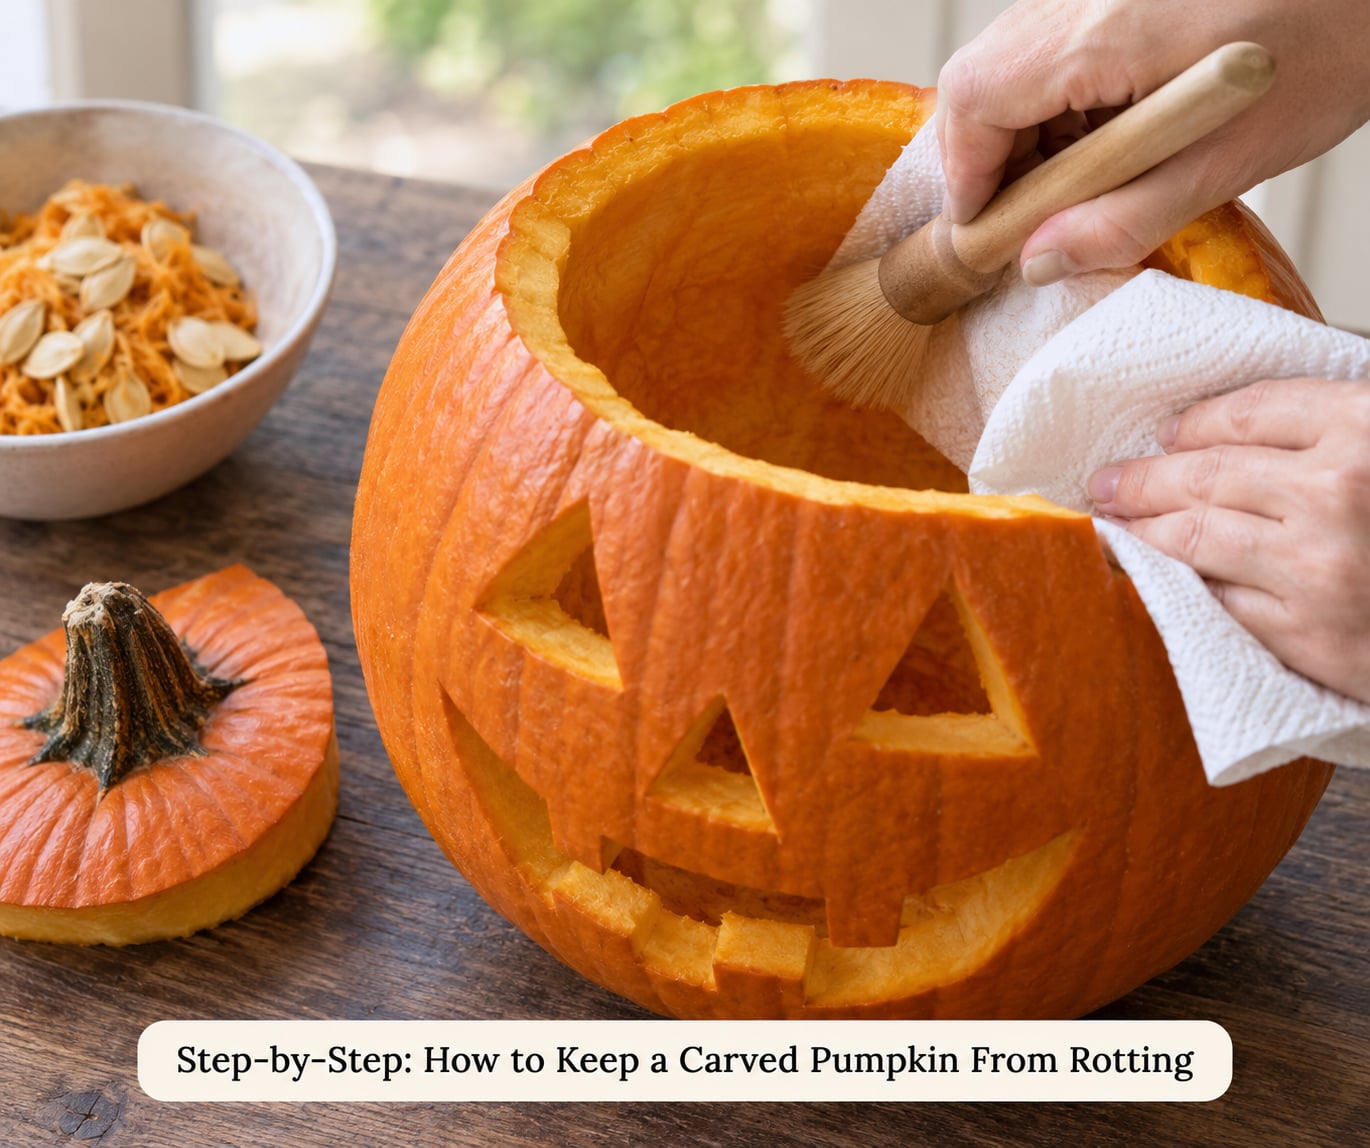
Run these steps in order. Skipping ahead to the sealing step with a wet cavity is the single most common reason treated pumpkins still mold.
- Pick a healthy pumpkin. Choose one with a firm rind, an unbroken stem and no soft spots or mold near the base. Bring it home in a box lined with a towel rather than carrying it by the stem.
- Wash the skin before you cut. Dirt on the outside migrates inside as you work. Scrub with warm water and a little dish soap, rinse, and dry.
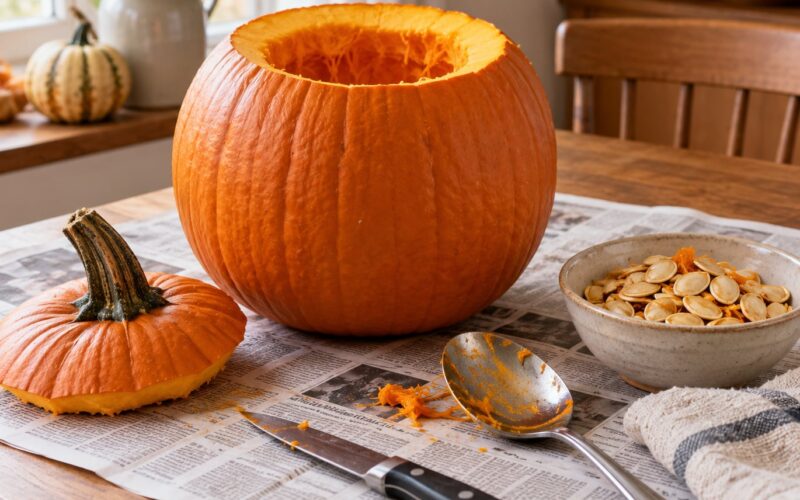
- Scoop out every trace of pulp and seed. Leaving stringy pulp in the cavity gives mold a free meal. Scrape the walls and the bottom with a spoon, then go over it again with a paring knife.
- Disinfect the inside and the cut edges. Dip a cloth in a solution of 1 tablespoon of household bleach per 1 litre (about 4 cups) of water and wipe every cut face and the cavity. For a fuller treatment, submerge the pumpkin for 20 to 30 minutes, then dry it completely.
- Dry the cavity until there is no cool damp patch left. Let it sit in a breezy room or in front of a fan for several hours, ideally overnight. Wipe the inside with paper towels first to speed this up.
- Seal the cut surfaces. Dab a thin layer of petroleum jelly onto every cut edge, the interior walls and the back of the lid. Let it set for an hour before moving the pumpkin.
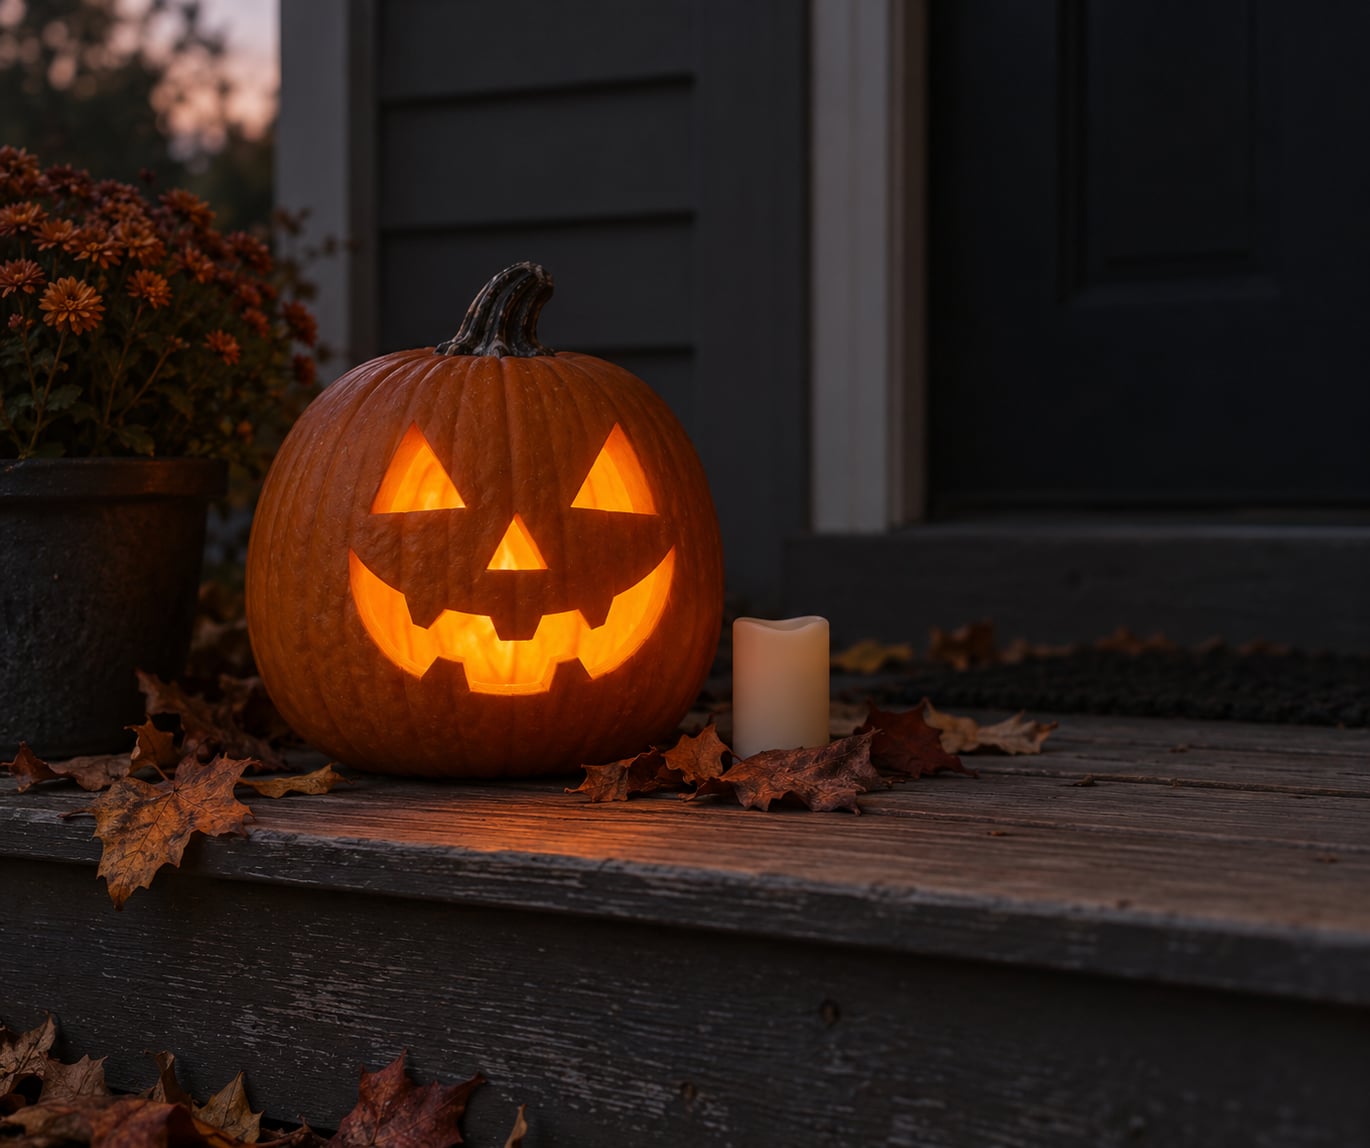
- Display it in the right spot. A covered porch or an indoor windowsill beats an exposed step. Keep it off the ground, out of rain and out of direct afternoon sun, and light it with a battery LED candle instead of a real flame.
Carve no earlier than about a week before Halloween if you can. Every extra week on the counter is a week of shelf life spent before the display even starts.
Which preservation method actually lasts the longest?
Here is the honest comparison. Extra life means days added to an untreated carved pumpkin, which averages about a week outdoors.
| Method | Prep | Extra life | Smell | Notes for families |
|---|---|---|---|---|
| Refrigerate plus plastic wrap | Wrap cut faces, chill at 36-40 F | 2-4 weeks | None | Best result, needs a fridge with room |
| Diluted bleach soak | 1 tbsp bleach per litre, 20-30 min | 5-10 days | Strong while wet | Wear gloves, keep away from food prep |
| Petroleum jelly on cut edges | Dab on, set for an hour | 5-10 days | Faint | Wash hands after; decorative only |
| Rubbing alcohol wipe | 70% solution on cut faces | 3-7 days | Sharp | Good around small children |
| Vinegar rinse | 1 part vinegar to 3 parts water | 3-6 days | Pungent | Smells better than bleach, weaker kill |
| Oil or butter rub | Thin coat on cut faces | 3-7 days | Pleasant | Traps warmth, avoid in heat |
| Clear sealant spray | Two light coats outdoors | 1-3 weeks | Strong | Spray away from kids and pets |
| Hairspray | Light coat on cut edges | 3-5 days | Strong | Flammable, never near a lit candle |
Members on hauntforum and halloweenforum tend to say the same thing in different words: pumpkins usually last about a week no matter what you do, and the refrigeration plus plastic wrap trick is the only one that reliably beats that.
How to Keep a Carved Pumpkin from Rotting with Petroleum Jelly
Petroleum jelly works as a moisture barrier. The flesh of a pumpkin loses water through its cut faces, and once the surface dries out the flesh underneath starts to shrivel and break down. A thin seal slows that.
Dab a light coat on the cut edges, the eye and mouth openings, the interior walls and the cut side of the lid. It does not need to be thick, only continuous. Cover the pumpkin and let it sit for at least an hour so the jelly sets rather than sliding off when you move it.
For indoor displays, finish the coating and then refrigerate the pumpkin with the cut faces wrapped in plastic wrap. That combination is the longest-lasting option, though a treated pumpkin is decorative only. Never carve or eat a pumpkin that has had petroleum jelly or bleach on it.
How to Keep a Carved Pumpkin from Rotting with Bleach
Diluted bleach kills the bacteria and mold spores sitting on the cut flesh, which is what actually starts the rot. The recipe is 1 tablespoon of household bleach per 1 litre (about 4 cups) of water, or roughly 1 part bleach to 10 parts water.
You have two options. Wipe the interior and every cut edge with a cloth dipped in the solution, which is quicker, or submerge the whole pumpkin for 20 to 30 minutes, which is more thorough. Then rinse or dry the pumpkin completely before you decorate or store it.
There is a catch worth knowing. A soak adds free moisture to the cavity, and mold spores do not need much water to take hold. That is why thorough drying afterwards matters more than people expect, and why some plant pathologists treat the soak as a way to buy days rather than to stop rot entirely.
Wear gloves, keep the solution away from children and pets, and never pour bleach into a sink you are using for food. Rinse the pumpkin under cool water and dry it before it goes anywhere near a counter where you prepare food.
How to Keep a Carved Pumpkin from Rotting for Longer Storage
Refrigeration is the answer when you want a pumpkin to survive past Halloween. A carved pumpkin held at 36-40 F, with the cut faces wrapped tightly in plastic wrap, slows the organisms that cause rot far more effectively than any surface treatment.
Wrap the pumpkin in two or three layers so no moist air sits against the flesh. Check it every few days for condensation and peel the wrap off to wipe the cavity dry before rewrapping it.
This method buys two to four weeks, which makes it the best option for school or office pumpkin contests and for anyone who wants fall decor that survives into November. The trade-off is floor space and the fact that the pumpkin will look noticeably dried out when you bring it back out.
How long should you expect? These are honest estimates for a porch pumpkin, not guarantees.
| Display conditions | Expected good condition | Notes |
|---|---|---|
| Untreated, exposed step | 3-7 days | Sun and rain speed it up |
| Untreated, indoors | 7-14 days | Room temperature, no sun |
| Bleach or petroleum jelly, covered porch | 2-3 weeks | Most common setup, works well |
| Sealant spray, indoors | 3-4 weeks | Keeps the flesh from drying out |
| Refrigerated and wrapped | 4-6 weeks | Longest option, needs fridge space |
Common Mistakes
These are the habits that undo good technique. Each one has a simple fix.
Leaving pulp in the cavity. Pulp and stringy seed fiber are food for mold. Scoop until the walls feel bare and dry to the touch, not just until the big chunks are gone.
Wetting the carved surfaces over and over. Repeated dampness feeds the mold you are trying to prevent. Treat once, dry once, and leave the pumpkin alone.
Sealing a damp pumpkin in a bag. Wrapping a wet pumpkin traps moisture and warmth, which makes mold worse rather than better. The pumpkin must be bone dry before plastic goes near it.
Displaying it in direct sun or open rain. Afternoon sun heats the flesh and bakes the surface. Rain pushes water straight into the cut openings. A covered porch or an indoor window lasts noticeably longer.
Lighting it with a real candle. Flame heat inside the cavity accelerates decay and is a fire risk with dry, coated pumpkin walls. A battery LED candle gives the same look with none of the damage.
Carving the walls down to paper thin. Very thin walls curl inward as the flesh loses moisture, and fangs and brows collapse by the second week. Leave roughly a quarter inch of wall, or carve a shape rather than a traditional face.
Carving too early. Every day on the counter is a day of shelf life you have already spent. If you can only carve a week ahead, do that.
Carrying the pumpkin by the stem. The stem is a handle for the fruit, not for you. Carry it from underneath or in a box, or the bruising becomes a mold entry point within days.
When it does go, do not put it in the trash. Compost it if you can, or set it in a corner of the yard for deer. People on r/ZeroWaste are largely motivated by exactly this, since a single rotten pumpkin on a porch draws flies and vine borers for weeks.
Frequently Asked Questions
How do you make carved pumpkins last longer?
Clean the rind before carving, scoop out all the pulp, disinfect the cavity and cut edges with 1 tablespoon of bleach per litre of water, dry it completely, then seal the cut surfaces with petroleum jelly or a clear sealant. Keep it off the ground and out of rain and direct sun, and light it with a battery candle. Doing all of that usually adds one to three weeks.
What do you spray on pumpkins to keep them from rotting?
A diluted bleach solution works best as a spray: 1 tablespoon of household bleach mixed with 1 litre, about 4 cups, of water. Spray or wipe it inside the cavity and across every cut edge, then dry the pumpkin thoroughly before you seal or decorate it. A clear rubberized sealant spray is the other good option, applied outdoors in two light coats.
How long can a carved pumpkin last until it rots?
An untreated carved pumpkin on an exposed porch usually holds up for three to seven days. Treated with bleach or petroleum jelly, expect two to three weeks. Sealed with a clear coating indoors, three to four weeks is realistic. Refrigerated at 36-40 F with the cut faces wrapped in plastic wrap, a carved pumpkin can hold together for four to six weeks.
Does Vaseline help preserve carved pumpkins?
Yes. Petroleum jelly forms a moisture barrier over the cut flesh, which slows the water loss and collapse that make a carving look sunken. Dab a thin, even coat on the cut edges, interior walls and lid after the pumpkin is fully dry, then let it set for an hour. A pumpkin treated this way is decorative only and must not be carved for pie.
Should I put bleach on my carved pumpkin?
Yes, in a heavily diluted bath or wipe, and no if you skip the drying afterwards. The solution kills bacteria and mold spores on the cut flesh, but it also adds moisture the cavity did not have, which can invite mold if the pumpkin stays wet. Soak for 20 to 30 minutes, rinse, then let it dry fully in a breezy spot before sealing.
Can you refrigerate a carved pumpkin?
You can, and it is the most effective storage method there is. Wrap the cut faces tightly in plastic wrap and keep it at 36-40 F, checking every few days for condensation. It slows decay far more than any surface treatment. The pumpkin dries out noticeably, so most people refrigerate for a contest or an indoor display, then move it back out a day or two before use.
Conclusion
Start with the cavity. Scrape out every bit of pulp, wipe the inside and the cut edges with 1 tablespoon of bleach per litre of water, and give it real drying time. That sequence alone is most of the battle, and sealing the edges afterwards locks in the gain.
Pick the method by how long you need it. A few days on the porch only calls for a bleach wipe and a coat of petroleum jelly. A contest or a display that has to survive into November is a refrigeration and plastic wrap job.
Check it every couple of days. Wipe out any soft spots you find, and get rid of it before it becomes a fly magnet for the rest of the block.