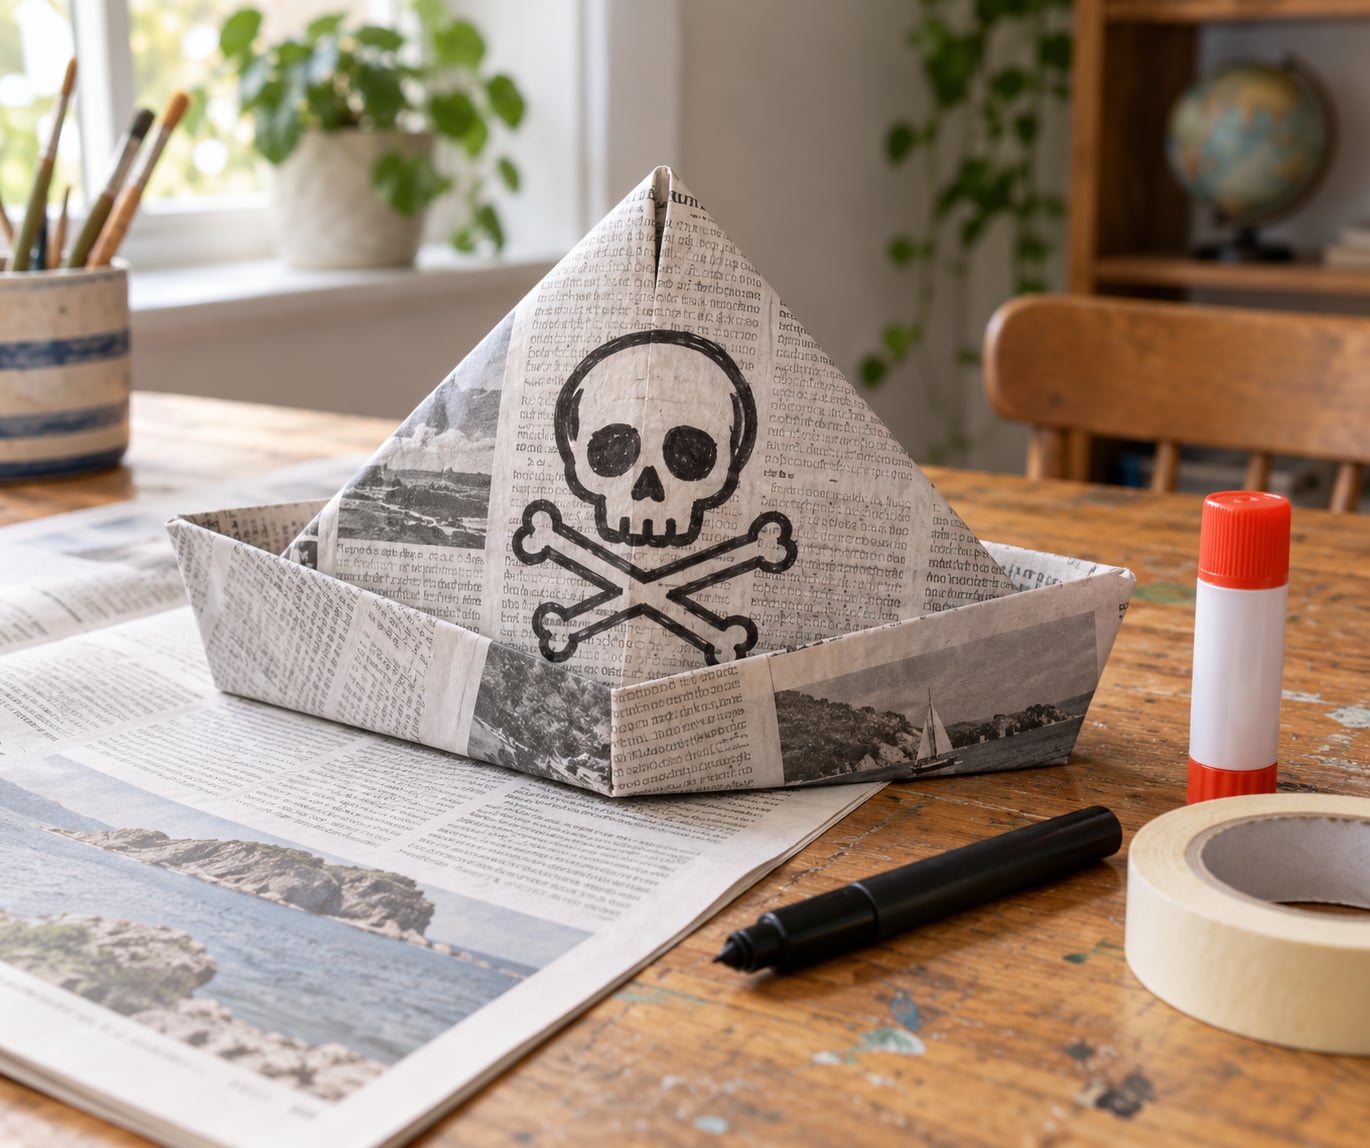
A pirate hat made from newspaper takes about ten minutes and costs nothing but a sheet of the recycling bin. Fold the page in half, bring the two top corners down to the middle so they form triangles, then fold the loose bottom flaps up to make a brim. Add a skull and crossbones with a marker and you have a wearable costume hat any child can run around in.
I make these with my kids every October and again for Talk Like a Pirate Day, usually with four or five children at the table at once. The version below is forgiving, because newspaper tears if you crease it too hard and springs open if you skip the fastening step. Fix both and the hat holds its shape through a whole party.
Older kids can shape a proper tri-corner with rounded corners and painted trim. Younger ones just need the fold and a bit of colour. Either way, it costs pennies and it goes in the recycling afterwards.
Table of Contents
- 1What You Need
- 2The essentials
- 3Optional extras that help
- 4Step-by-Step: How to Make a Pirate Hat from Newspaper
- 51. Choose the Newspaper Shape
- 62. Fold the Paper and Mark the Hat Bands
- 73. Cut the Newspaper Hat
- 84. Make It Sturdier and Add Colour
- 95. Add a Secure Fastener
- 10Common Mistakes and Easy Fixes
- 11The hat springs open the moment you let go
- 12The hat is too small for the head
- 13The brim slips down over the eyes
- 14The paper tears at the crease
- 15The marker bleeds through or the paint shows on the other side
- 16The print shows through and looks messy
- 17Decorations slide off
- 18Making the hat stronger, and a note on hat names
- 19Frequently Asked Questions
- 20How do I make a pirate hat from newspaper fit a child’s head?
- 21Can I make a newspaper pirate hat without glue?
- 22How do I keep the newspaper hat from falling apart?
- 23Should I paint or draw on the newspaper pirate hat?
- 24How long does it take to make a newspaper pirate hat?
- 25Conclusion
What You Need
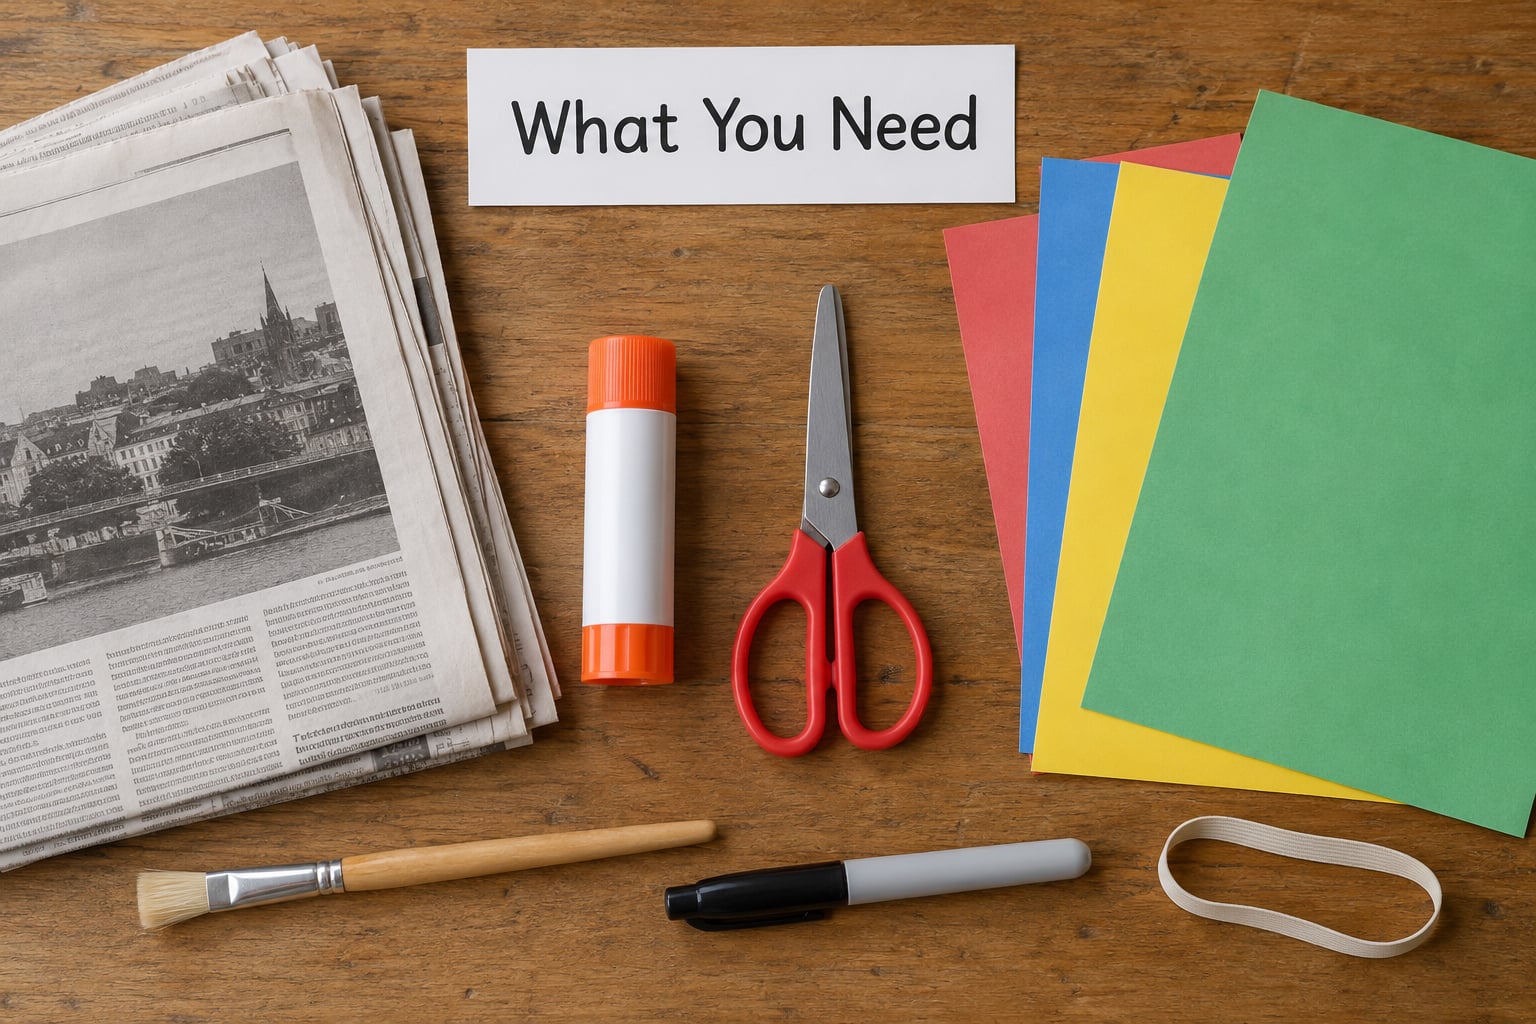
You need very little, and most of it is already in a kitchen drawer. The newspaper is the whole project. Everything else either makes the hat sturdier, makes it look like a pirate, or holds it on a head.
The essentials
- Newspaper — one broadsheet page for a child, or two overlapped pages for a bigger head or a sturdier hat.
- A glue stick — regular school PVA or glue stick both work. School glue dries clear and stays flexible; tacky craft glue makes the paper brittle.
- Scissors — blunt-tip safety scissors for anyone under about six years old, and an adult for the actual cutting.
- A black marker — a permanent or washable broad tip draws a skull and crossbones that reads from across a room.
Optional extras that help
- Masking tape — the fastest reinforcement for the crown seams, no drying time needed.
- A strip of elastic — about 1 cm wide, from a hair tie or a craft tin, for older children who need the hat to stay put while they run.
- Colored paper, torn — red or black tissue makes a band around the brim that hides the printed words underneath.
- Paint and a brush — for a solid black or brown hat instead of a printed one. Add a sheet of scrap paper underneath, because paint soaks straight through newsprint.
Before you cut anything, measure the head. Run a soft tape measure around the widest part, just above the ears and across the back of the head, roughly level with the eyebrows. Write that number down. A single broadsheet page makes a hat that fits about a 19 to 21 inch head, which covers most children aged five and up. Smaller heads need a half page; a tabloid page suits a larger adult head.
Step-by-Step: How to Make a Pirate Hat from Newspaper
Work on a flat table with the printed side facing down for the structural folds, so creases stay crisp. Lay a scrap sheet underneath once you start colouring.
1. Choose the Newspaper Shape
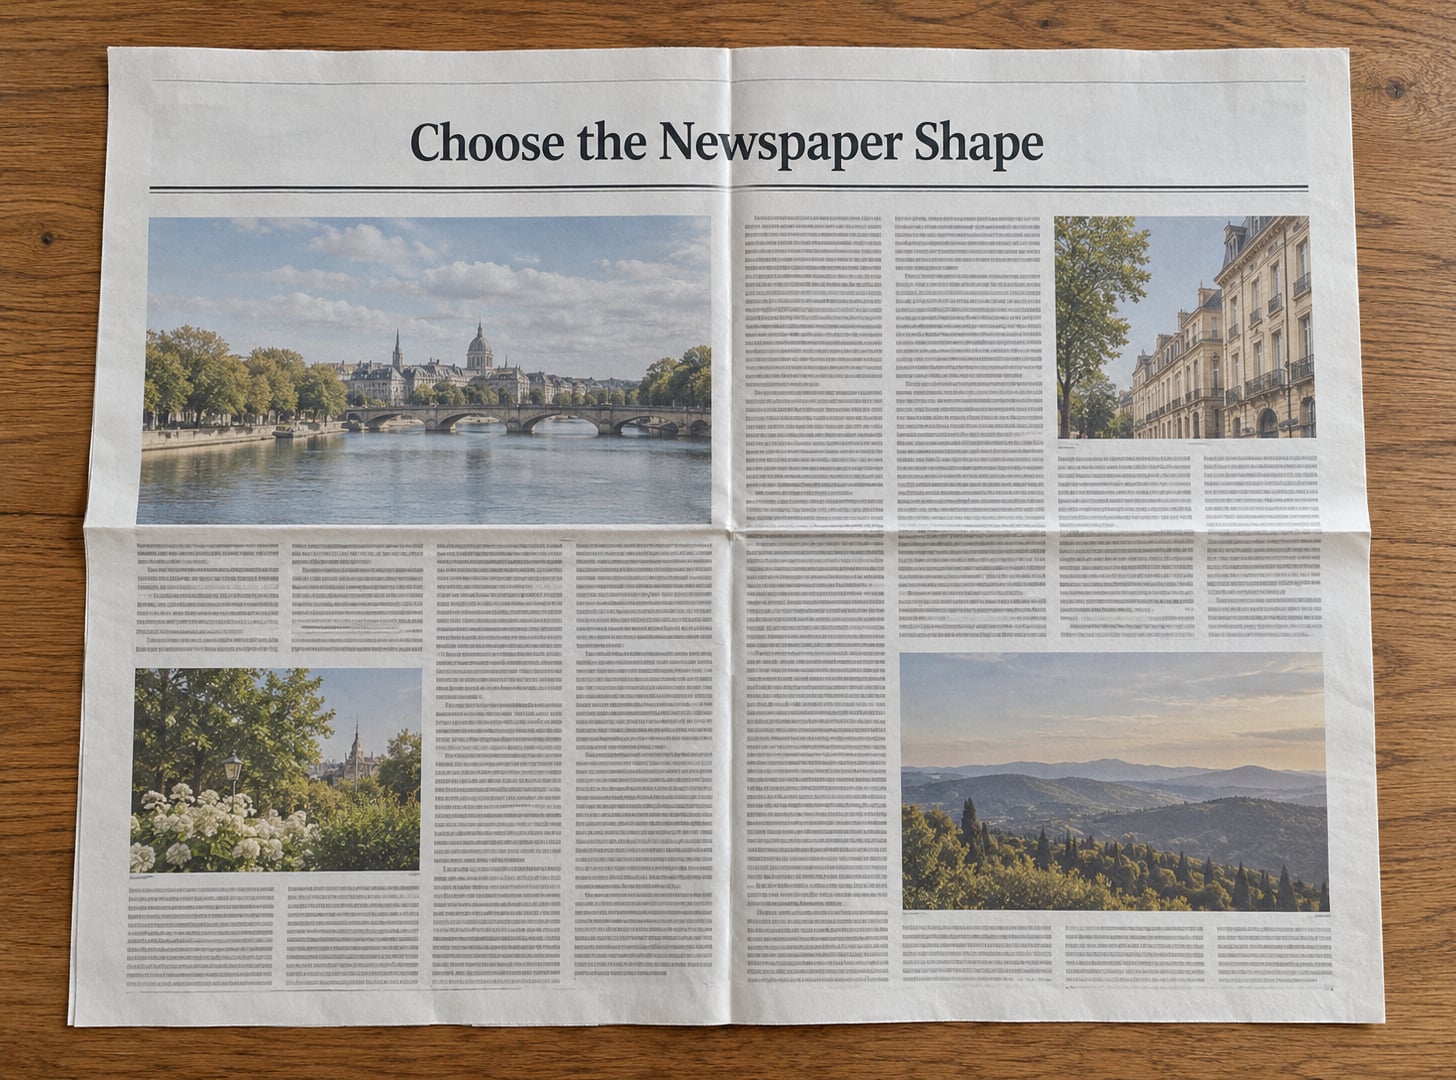
Open the paper to a full broadsheet page and smooth it out with your palms. Newspaper comes out of the box and the recycling pile with a memory of its own folds, and those old creases will fight you later. Press the page flat with the heel of your hand rather than a sharp crease.
Set the page on the table in landscape orientation with the long edges running left and right. You want the widest, squarest page you can find, ideally a full broadsheet rather than the narrow column pages. For a child under five, a single page works; overlap two or three pages with a thin line of glue if you want something tougher that will survive a full day of play.
Check which way the text runs. It does not matter for the finished hat, but printing running the wrong way can put a headline upside down on the brim, which annoys more than most children expect.
2. Fold the Paper and Mark the Hat Bands
Fold the page in half horizontally, bringing the top edge down to meet the bottom edge. Crease firmly with your thumbnail along the fold. This becomes the top of the crown, so a sharp crease here is what stops the hat unfolding in a child’s hand.
Unfold it. Take the top two corners and bring each one down to the centre line, the way you would fold a paper airplane. The top edge of the page now forms two triangles meeting in the middle, and those triangles are the front peak of the hat.
Next, fold the loose bottom flaps up. The bottom edge of the page comes up to just below where the triangles meet, and this fold creates your brim. You have two choices here: a narrow brim for a neat three-corner look, or a wide brim that shades the eyes and looks more like a classic tricorn. Try the wide version first and press it down harder than feels necessary.
Now put it on the child’s head before you cut anything. Mark the brim line with a light pencil scratch where it meets the eyebrows. If it sits over the eyes, the brim needs folding up a finger’s width further. This fitting check is the whole trick to a hat that actually gets worn.
3. Cut the Newspaper Hat
Fold the hat closed again, brim folded flat against the crown, so you are cutting through one or two neat layers instead of chasing loose paper. Snip the outer corners of the brim into a soft curve so the finished edge follows the head instead of digging in.
An adult should do every cut near a child’s head. Hand the scissors to the child only for the decorative snips, and use blunt-tip safety scissors for those. Cut on a scrap surface rather than across the lap, which is where cuts to hands and thighs tend to happen.
If you want a true tri-corner, cut the brim’s two side edges at a slant so the corners point forward. Rounded is easier and more forgiving for a first attempt, and rounded corners stay intact where sharp points tear out of newspaper fibres.
4. Make It Sturdier and Add Colour
Run a thin line of glue along the folded brim seam where it tucks against the crown, then press it down with your thumb. While that dries, turn the hat over and tape the inside of the crown seam with two short strips of masking tape. Tape needs no drying time and is the fastest way to stop the peak from springing open.
Now decorate. Draw a skull and crossbones across the front peak with a black broad-tip marker, keeping the lines thick so they read at a distance. Cut two small circles from black card for an eye patch, or draw one directly on the paper. A torn strip of red or gold tissue paper wrapped around the base of the brim covers the printed text and gives the hat a finished edge.
For a painted version, let the glue dry fully first, then paint the outside and leave the inside plain so sweat does not stick to the hair. Give it ten minutes away from the hairdryer. Paint on wet newsprint smears into grey-brown streaks, and no child wants that.
5. Add a Secure Fastener
The brim sits on the forehead and carries no weight, so most hats need no fastener at all. If the child is under three or running around, glue a small tab of brown paper to the inside front brim and add a matching tab at the back. Two inches of overlap is enough to hold the hat while they walk but easy for small hands to pull off.
For older children, punch two small holes at each side of the brim and thread a strip of elastic through them, or glue a ribbon on if the holes will tear out. Measure the elastic around the head first with about half an inch of slack, then tie it, keeping the knot on top where it will not rub against a temple.
An adult should check the fit before the hat goes on for the day. It should sit level with the eyebrows, not press on them, and there should be room for a finger between the brim and the head. A paper hat is only fun if nobody is squinting under it.
Common Mistakes and Easy Fixes
The hat springs open the moment you let go
This happens when the corner triangles are not creased hard enough or the brim fold sits below them instead of over them. Re-fold the brim higher, so it overlaps the bottom edge of the triangles, and press the whole seam with the flat of your hand. A strip of masking tape inside the crown solves a stubborn one.
The hat is too small for the head
You probably started with a column page instead of a broadsheet, or you overlapped sheets the wrong way. Start again with the widest page available. If you have no broadsheet, use two tabloid pages side by side, glued along the seam with a thin line of glue and left to dry flat under a book for ten minutes.
The brim slips down over the eyes
The brim fold needs to be higher, not narrower. Unfold it and fold the bottom edge up another finger’s width, then refit on the child’s head before gluing. A glued-on band of stiff card across the front edge also stops the slip, because the added thickness resists the fold.
The paper tears at the crease
Newspaper fibres split when you crease hard in one place, back and forth. Crease once, firmly, in one direction and stop. Where a tear has already started, run a strip of tape along the inside of the fold and the tear closes up almost invisibly.
The marker bleeds through or the paint shows on the other side
Wet markers and thin paint soak straight through newsprint. Draw on the printed side only, test a stroke on a scrap corner first, and let each section dry before folding over it. Glue a small piece of white card onto the front peak before drawing on it if you want a clean background for the skull and crossbones.
The print shows through and looks messy
Paint or glue the outside solid black or brown, then let it dry before adding detail. A single coat of school glue brushed over the surface and dried flat seals the print and gives you a surface that takes marker cleanly.
Decorations slide off
Glue feathers, torn paper and card cutouts to the hat rather than balancing them, and glue them to a glued-on band so there is something to hold on to. Keep embellishments light. A newspaper brim loaded with glued-on buttons collapses at the first deep dent.
Making the hat stronger, and a note on hat names
Newspaper is thin by design. To get more life out of a hat, double it: glue a second newspaper sheet, printed side in, to the inside of the crown before the final fold. The hat becomes twice as thick, the printing is hidden, and it holds a shape for a full party instead of one afternoon.
Brown craft paper is the other easy route. Cut the same shape from two sheets of brown kraft paper, glue them together, and decorate the outside. A hat made that way can be reused for every pirate party for years, and it is still free if you already have brown paper bags or wrapping paper in the house.
For a toddler, skip the elastic and cut the hat shallower so the brim does not cover the eyes. Children under three have a shorter attention span for dressing up anyway, and a shallow hat that stays on for ten minutes beats a detailed one that is pulled off in thirty seconds.
A word on what these hats are called, since it comes up often. The three-cornered hat with three turned-up points is the tri-corner or tricorn. The two-cornered hat with points front and back is the bicorn. The long hat that runs fore and aft, worn with one end turned up over the head, is the fore-and-aft hat. The simple newspaper fold described above lands somewhere between a tri-corner and a sailor cap, which is fine for costume purposes.
Frequently Asked Questions
How do I make a pirate hat from newspaper fit a child’s head?
Measure around the widest part of the head, just above the ears and level with the eyebrows, with a soft tape measure. A full broadsheet page fits roughly a 19 to 21 inch head, which suits most children from about five years old. Younger children need a half page or a tabloid sheet cut down. Always try the folded hat on the child before gluing, and fold the brim a little higher if it sits across the eyes.
Can I make a newspaper pirate hat without glue?
Yes, and it works well enough for an afternoon of play. Fold the brim tight and pinch the seam, then secure the hat with a strip of elastic or a paper band tied under the chin. Masking tape on the inside of the crown seam helps too, since it needs no drying time. Without glue or tape the peak will gradually spring open, so plan on a fresh one for each child.
How do I keep the newspaper hat from falling apart?
Double it up. Glue a second sheet of newspaper, printed side in, to the inside of the crown before the last fold, and tape the crown seam with two short strips of masking tape. Use school glue or a glue stick rather than tacky craft glue, which dries stiff and makes the paper brittle. Crease each fold once, firmly, in a single direction instead of back and forth, which is what splits the fibres.
Should I paint or draw on the newspaper pirate hat?
Draw for younger children and paint for a finished look. A broad-tip black marker gives a clear skull and crossbones with no drying time and no risk of soaking through. If you paint, seal the surface first with a thin coat of school glue, let it dry flat, then add one coat of black or brown and leave it away from heat before wearing.
How long does it take to make a newspaper pirate hat?
Allow about ten minutes per hat, plus five minutes to dry. The folding and cutting takes five minutes, the fastening another two, and decoration takes whatever time the child wants to spend on it. If you are reinforcing the hat with a glued second layer, add ten minutes of drying time under a book before the hat goes on a head.
Conclusion
Start with one broadsheet page laid printed side down, folded in half, corners brought to the centre, and the bottom flaps folded up into a brim. Fit it on the child’s head before you cut, glue the brim seam, and tape the crown inside. That is the whole job. Then hand over the marker and let the child add the skull and crossbones, the eye patch and whatever else ends up on the brim this year.