To learn how to paint with watercolors for beginners, you need four things: absorbent watercolor paper, a small set of paints, two round brushes, and clean water. Then you wet the paper, lay down one light wash, wait for it to dry, and add a slightly darker layer on top. The first project takes an hour, and most of that hour is drying time.
One idea explains almost everything else. Water flows from wet toward less wet, so paint creeps toward damp areas and dries lighter than it looks in the palette. Watercolor is also transparent, which means every layer you add darkens what sits underneath. That is why beginners who start dark stay stuck.
Table of Contents
- 1What You Need
- 2Step-by-Step: How to Paint with Watercolors for Beginners
- 31. Set Up Your Workspace and Protect the Paper
- 42. Practice Brush Control and Paint Consistency
- 53. Paint a Light Sky with a Wet-On-Wet Wash
- 64. Add Simple Shapes and Stronger Details
- 75. Finish, Review, and Label the Painting
- 8Common Mistakes and How to Fix Them
- 9Frequently Asked Questions
- 10What paper should I use for beginner watercolor painting?
- 11What brushes do I need to start painting with watercolors?
- 12Are watercolor paints safe for children to use?
- 13How long does watercolor take to dry?
- 14What is the right water to paint ratio for beginners?
- 15How do I keep practicing after my first painting?
What You Need
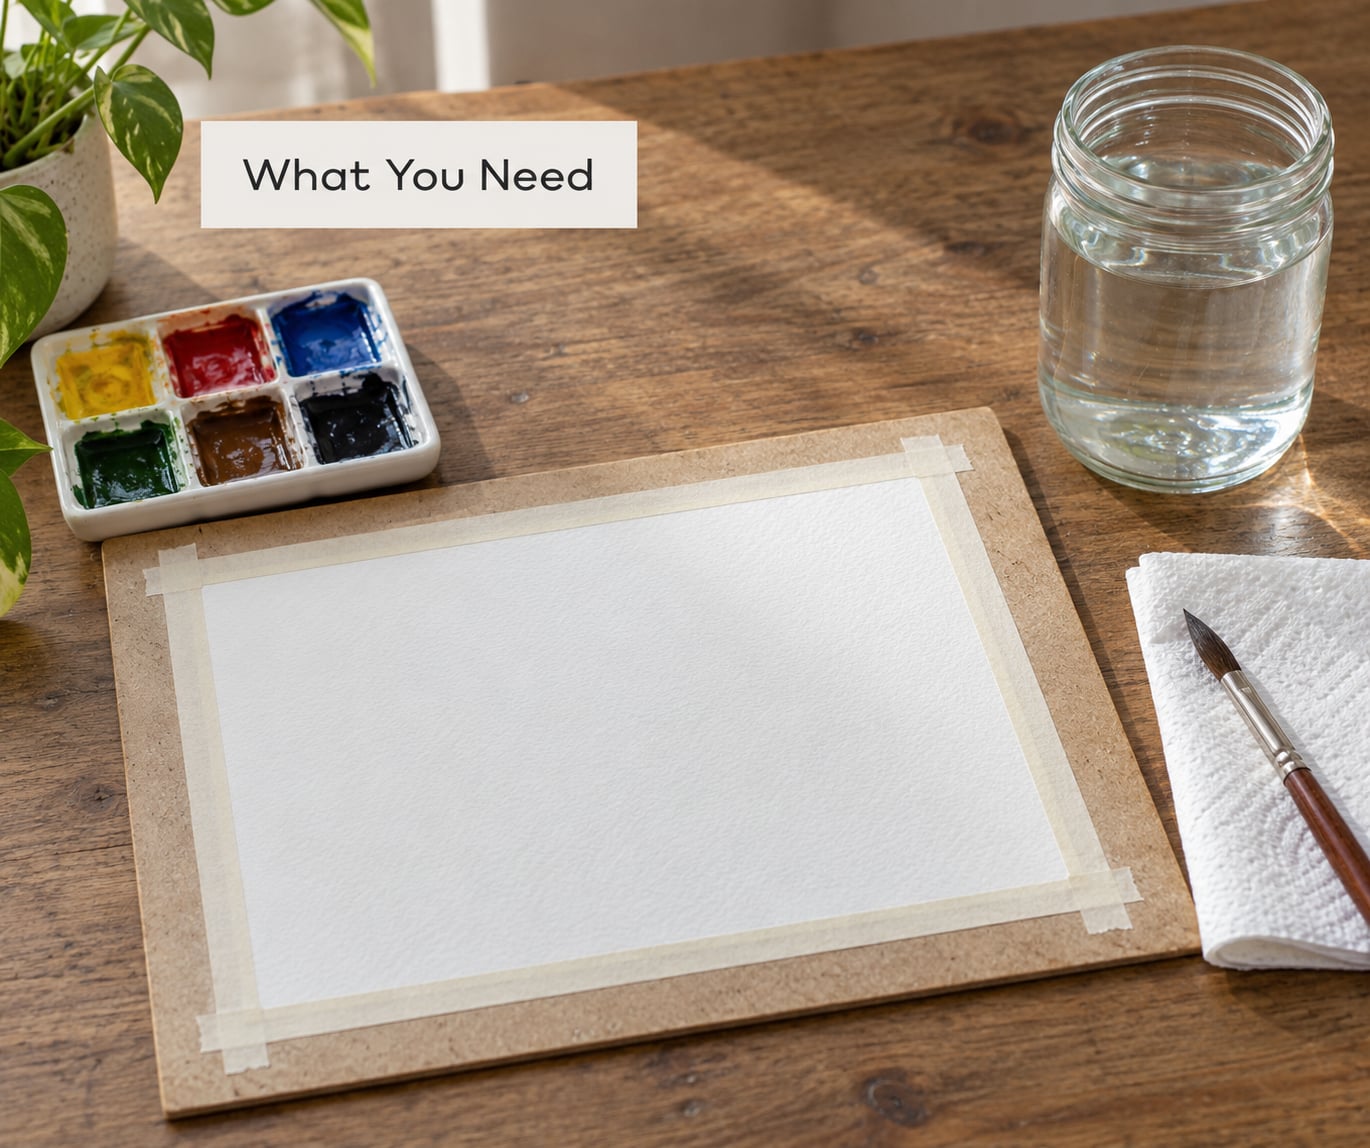
The list is short, and the one place worth spending extra on is the paper. Cheap printer paper drinks water instantly, so edges bleed and the sheet buckles under a brush. Watercolor paper is sized to hold water on the surface long enough for you to work with it.
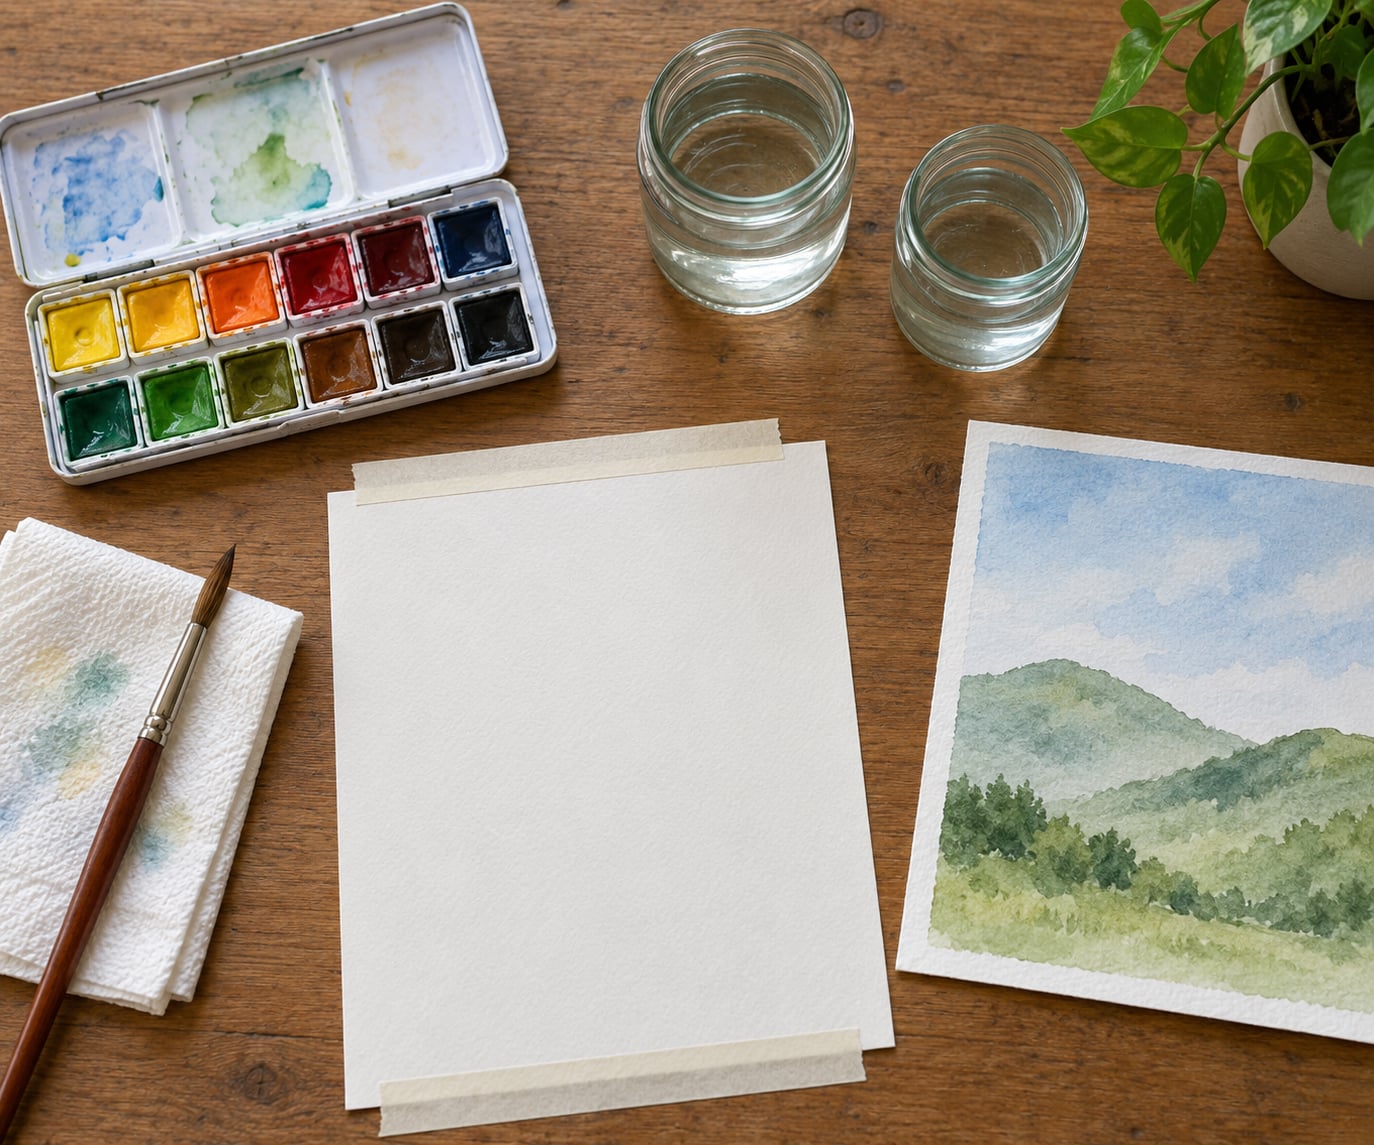
- Paper. Cold press, 140 lb / 300 gsm, at least 5 by 7 inches. Cold press has a slight tooth that grips the pigment and hides small mistakes. Hot press is smooth and shows every wobble, so save it for later.
- Paint. A student-grade set of six to twelve pans is plenty. Look for three primaries, and pick warm and cool versions of each so you can mix every colour you need from six pans.
- Brushes. Two round brushes: a number 6 or 8 for most work, and a number 2 for details. Skip flat brushes at the start. Round brushes hold water, and that is what washes need.
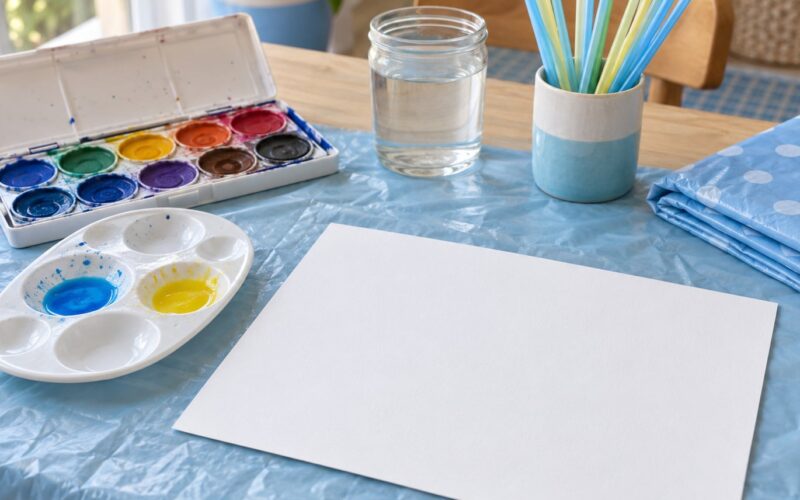
- Setup. Two water jars, one for rinsing and one for clean water. A white ceramic plate or a plastic palette for mixing. A paper towel or cloth for blotting the brush.
- Optional. Masking tape to secure the paper, and a spray bottle of water to restart a wash that dried too fast.
Tape the sheet to a board or a table edge before you paint. A flat, unmoving sheet is worth more to a beginner than any brush upgrade.
Step-by-Step: How to Paint with Watercolors for Beginners
1. Set Up Your Workspace and Protect the Paper
Tape your paper down along two edges, then lay out everything within arm’s reach. Put a cloth or paper towel under the sheet to catch drips, and fill both jars. Keep one jar for rinsing paint out of your brush and one for loading clean water, because dirty water is the quiet cause of most muddy colour.
2. Practice Brush Control and Paint Consistency
Before you paint anything real, run four or five parallel strokes of clear water across the page, then lay a single line of paint over each one. Watch how the line spreads, how the edge behaves, and how much the colour lightens as it dries. You are calibrating one thing here: the ratio of water to paint.
A useful starting ratio is about two parts water to one part paint. Too much water dilutes the pigment so far that two colours mix into grey. Too little and the paint drags the paper into a cauliflower texture as it dries.
3. Paint a Light Sky with a Wet-On-Wet Wash
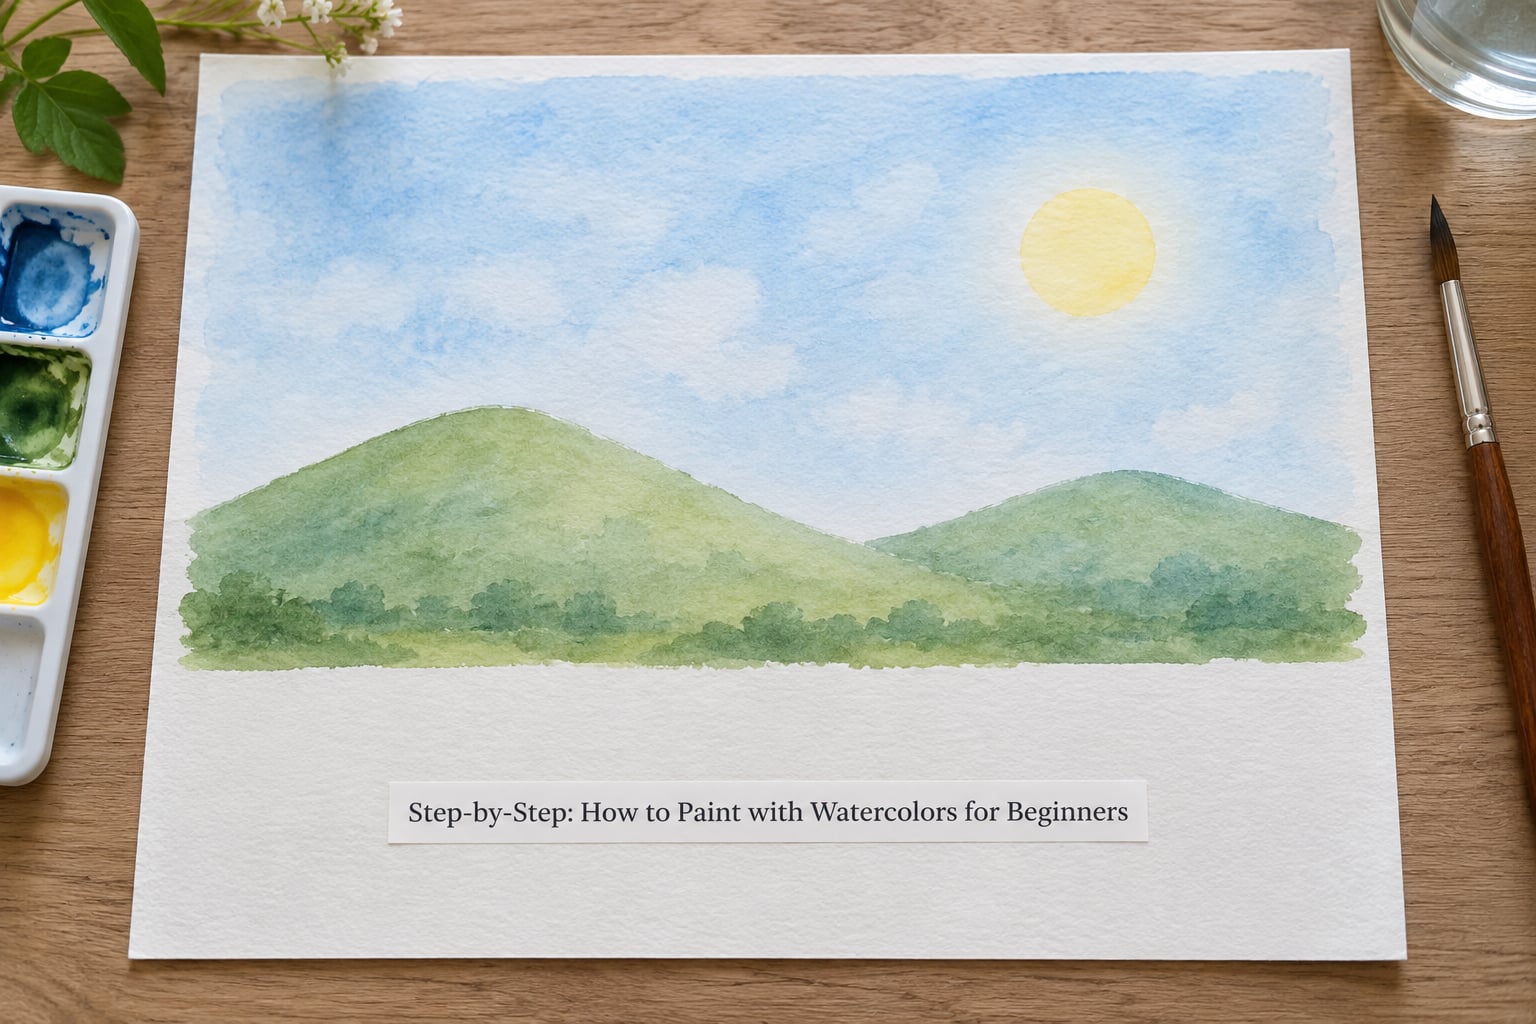
Wet a broad area with clean water first, then drop blue into it with a barely damp brush. Let the colour move on its own rather than pushing it around. This wet-on-wet method gives soft, blended edges with no effort, and it is the fastest way to paint anything that looks like a sky.
Stop while the paper is still damp and shiny. Saturated paper stops accepting new colour, and forcing it creates hard cauliflower edges as it dries.
4. Add Simple Shapes and Stronger Details
Wait until the sky is fully dry to the touch, then use wet-on-dry for the rest. Wet-on-dry means dampening only the brush, not the paper, so your mark keeps a defined edge. Add a sun, two hills, or a row of simple shapes, and let each area dry before you touch it again.
Leave the foreground white. The brightest part of most first landscapes is unpainted paper, not white paint.
5. Finish, Review, and Label the Painting
A wash usually dries in five to ten minutes in a dry room and longer in a humid one. When the sheet feels completely dry and no colour shifts, write the title, the date, and your paint names in pencil on the bottom margin. That label turns a lucky accident into information you can repeat.
Common Mistakes and How to Fix Them
Nearly every frustrating beginner painting comes from one of these, and all of them are fixable while you work.
- Too much water. Colours turn grey-brown and edges crawl. Fix: use less water, load the brush lighter, and blot it against the towel before every stroke.
- Working a wash that is already drying. The paint lifts and you get hard, lumpy edges. Fix: stop touching the area and let it dry on its own. There is no fixing this mid-stroke.
- Dropping clean water into a damp wash. Clear water pushes colour outward into a bloom. Fix: use a nearly dry brush and place darker pigment only where you want it.
- Starting with dark paint. Nothing left to build on, so the image turns to mud. Fix: save the paper white and add the darkest values last.
- Mixing more than two colours. Every third colour drifts toward mud. Fix: mix two at a time on a clean part of the palette, and rinse before the next mix.
- Painting on printer or sketch paper. The sheet buckles and every mark bleeds. Fix: switch to 140 lb / 300 gsm cold press before you judge your own ability.
- Rushing to finish the whole picture. A partly dry painting feels broken. Fix: re-wet the dry area with a clean damp brush and let it soften for a minute, or abandon the sheet and start fresh. Both are legitimate choices.
While a wash dries, use the time instead of hovering over it. Mix the next colour on the palette edge, blot the brush, or sketch the next shape in pencil on scrap paper. On a r/Watercolor thread I read recently, the advice that came back again and again was to paint something small every day rather than watch more tutorials; ten minutes of strokes beats two hours of videos.
Frequently Asked Questions
What paper should I use for beginner watercolor painting?
Use cold press watercolor paper at 140 lb or 300 gsm. Cold press has a slight tooth that grips pigment and forgives uneven washes. Avoid printer paper, sketchbook paper, and anything thinner than 140 lb, because they absorb water into the sheet instead of holding it on the surface, which makes edges bleed and the paper buckle. Tape your sheet flat before painting.
What brushes do I need to start painting with watercolors?
Two round brushes are enough: a number 6 or 8 for washes and shapes, and a number 2 for details and line work. Round brushes hold more water than flat ones, which is what wet techniques need. Synthetic hair is fine and cheaper. Keep them separate, rinse after use, and reshape the tip with your fingers before storing them flat.
Are watercolor paints safe for children to use?
Choose paints labelled non-toxic and certified to ASTM D-4236, and supervise children the whole time. The usual beginner cake sets meet this standard. Avoid art supplies sold for children under three, and keep paint off skin and out of eyes. Have a damp cloth nearby and wash hands at the end, since dried pigment does flake off the paper.
How long does watercolor take to dry?
A thin wash dries in about five to ten minutes in a dry room, and thicker or pooled areas can take twenty minutes or more. Humidity slows everything down. Test by touching the back of the sheet: if it feels cool or damp, wait. Painting into a wash that is nearly dry is the most common cause of lifted pigment and hard cauliflower edges.
What is the right water to paint ratio for beginners?
Start at roughly two parts clean water to one part paint, then adjust from there. Too much water dilutes pigment until two colours mix into grey. Too little paint makes the stroke drag and lift the paper’s texture as it dries. Change one variable at a time: if the colour is weak, add more paint rather than less water.
How do I keep practicing after my first painting?
Work from a fixed drill list rather than finished pictures: parallel strokes one day, a single-colour wash the next, then a two-colour mix, then a graded wash. Ten minutes daily beats an hour once a week because brush control comes from repeated loading, not from long sessions. Many beginners quit and return several times, and the sheet they come back to is always the last one they lost confidence on.
Start tomorrow with one sheet, one blue, and a wet brush. Do the stroke drills, then paint a sky and two hills, and let the white paper do the rest. Once that sheet dries, write down what you would change, and paint it again. Doing how to paint with watercolors for beginners properly is less about talent than repeating the same five steps on small sheets until your hand stops overthinking the water.