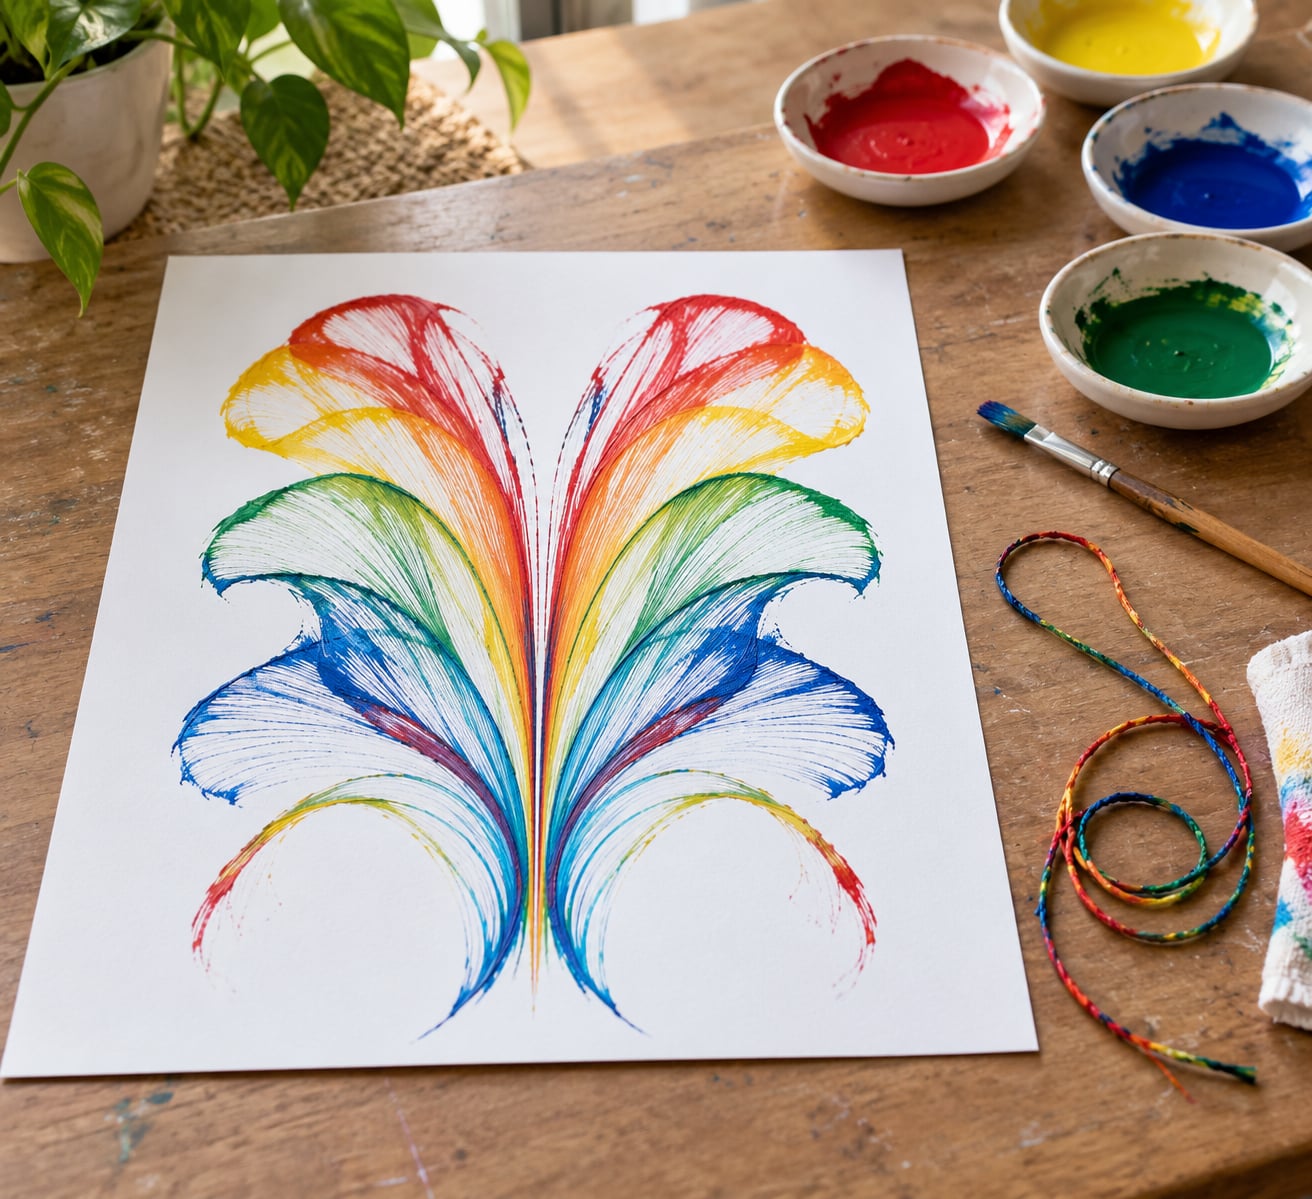
String pull painting is a paint project where a length of string carries paint through a folded sheet of paper, and when you pull the string out it leaves mirrored streaks of color behind. You lay the string in loops, sandwich it between two sheets, press down, and draw the string out in one slow motion. The whole thing takes about 20 minutes once the table is covered.
It works with toddlers as easily as it works with adults, and it needs no painting skill at all. This is process art, which just means the fun is in the pulling, not in whether the result looks like anything in particular.
One quick note before we start. This is not the nail-and-thread geometric string art you have probably seen pinned to boards, the kind made with a hammer and a nail outline. That is a different craft. What follows is paint pulled through paper, sometimes called pull string art or string paint art, and it is messier, faster and far more forgiving.
Table of Contents
- 1What You Need
- 2Step-by-Step
- 3Prepare the Workspace and Test Your String
- 4Fold the String Into Shapes
- 5Mix Pools of Washable Paint
- 6Apply Paint Along the String
- 7Pull the String Carefully
- 8Reapply Color for Stronger Patterns
- 9Lift the String and Reveal the Design
- 10Let the Painting Dry and Add Finishing Details
- 11Common Mistakes
- 12Frequently Asked Questions
- 13What age is suitable for string pull painting?
- 14What type of string works best for string pull painting?
- 15How much paint should I use for string pull painting?
- 16How do I get sharp lines when pulling the string?
- 17Can I use string pull painting with multiple colors?
- 18How long does string pull painting take to dry?
- 19Start with a Simple Two-Color Design
What You Need
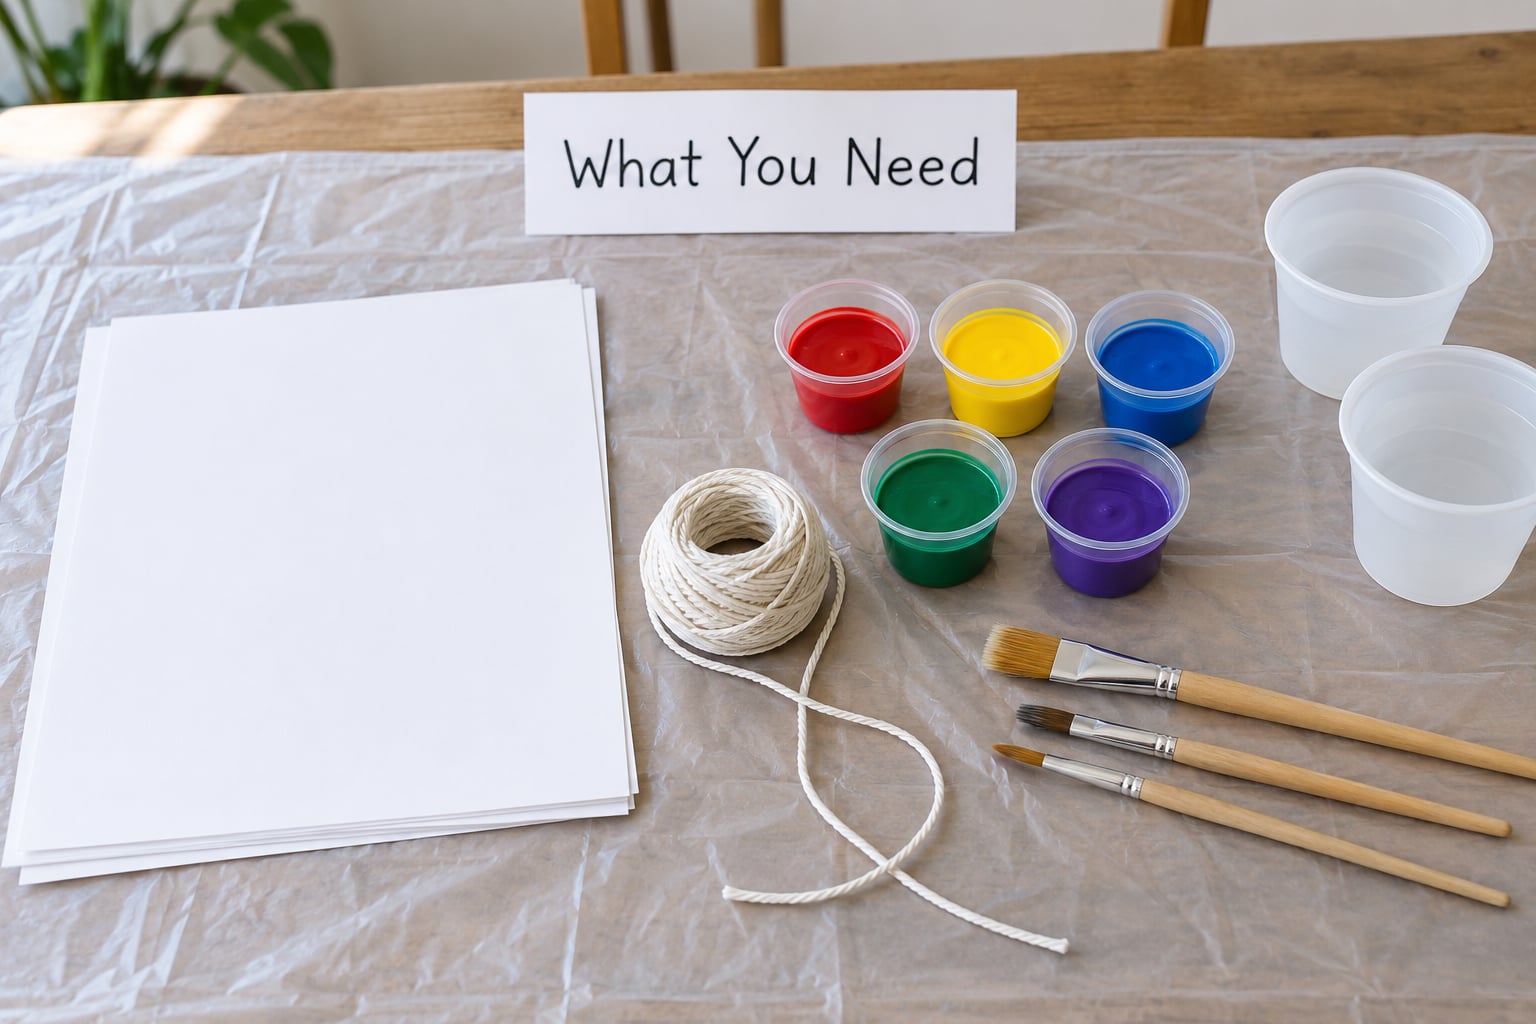
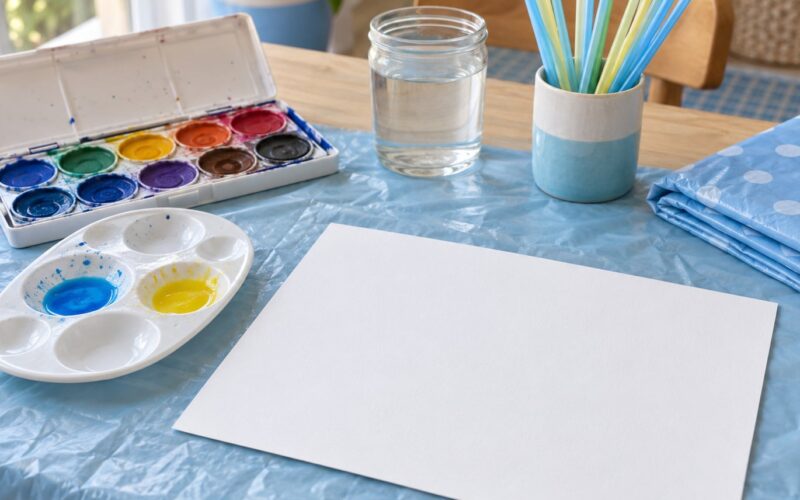
Gather everything onto a tray or into a plastic bag first, so cleanup is a single trip to the sink. For one sheet about 8 by 11 inches, you want two pieces of cardstock or heavy drawing paper, roughly 3 meters of cotton string or yarn, three or four colors of washable non-toxic paint, a shallow dish or paper plate for each color, a wide flat brush or a spoon, and a spoon-shaped tool or a second sheet to press the top paper down. Scissors and a smear of hand soap round out the kit.
The press matters more than people expect. A tissue box, a cracker box or a thick hardback book all work. Something flat, heavy and wide enough to hold steady pressure across the paper is what gives you clean lines.
For young children, swap in tempera or washable poster paint, cut the string down to about 60 centimeters so it is easier for small hands to control, and expect to do most of the pulling yourself. For older kids and adults, use acrylic paint, use a longer string, and let the loops get complicated.
Protect the table first. A sheet of newspaper, a cheap plastic tablecloth or a layer of paper bags taped down will save the surface. If the paint is washable, hands and sleeves come clean with warm water and soap, so gloves are optional rather than necessary.
Step-by-Step
The technique is short: lay the string, load it with paint, press, pull. Here is the whole method for how to do string pull painting, in the order that avoids the usual disappointments.
Prepare the Workspace and Test Your String
Cover the table, then cut a length of string and test it before it touches paint. If it kinks, frays or breaks when you pull it hard, swap it for something thicker. Fraying twine is the single most common complaint from beginners, and it always shows up as a broken line halfway through the pull.
Coat a short section in one color and pull it across a scrap sheet. You are checking two things: the string should stay in one piece, and the paint should travel along it as a line rather than sitting in goopy clumps. A clean test line is thin but continuous, roughly two millimeters wide.
Fold the String Into Shapes
Wrap the string around your fingers to keep it under control, then lay it down in loops, loose waves, spirals, zigzags and overlapping paths. Aim for at least one spot where the string crosses over itself, because overlaps are what turn an abstract print into something that reads as a flower.
Children can follow a pencil guideline you draw lightly on the top sheet, or skip the guide entirely and go freeform. Do not insist that every fold match across the two halves of the paper. Slight differences are the charm, and they are the reason nobody’s two pieces ever look identical.
Mix Pools of Washable Paint
Pour a small puddle of each color into its own dish or section of a paper plate. A puddle the size of a quarter works fine. More paint is not better, and a deep puddle is the fastest way to get a blurred, blobby print that soaks through the paper.
Thin paint is easier to pull than thick paint. Stir each color with a craft stick until it flows off the stick in a slow ribbon rather than sitting in a mound. The readiness test is visual: the paint should be fluid enough to travel along the string but not deep enough to soak through the sheet.
Apply Paint Along the String
Lay the folded string on a plate, spoon or spare sheet, and brush paint along its full length from one end to the other. Turn the string as you go so every side is coated, including the bends where loops turn back on themselves.
Keep the coat even. Thick clumps sit at the bends, and when the string is lifted a clump smears into a blob instead of a line. Wipe the brush on the edge of the dish between passes, and leave a short clean tail at one end so you have something dry to grip for the pull.
Pull the String Carefully
Set the second sheet of paper on top, hold the press down firmly, and grip the clean tail. Lift one end slowly while pressing the rest of the string down with the book or box. Then work around the design, moving a few centimeters at a time, until every section has been pulled.
Speed is what ruins prints. Pull too fast and the string drags, skipping instead of depositing paint. If the string resists, ease off the pressure rather than yanking harder. Expect flowing, feathery lines with soft color transitions, plus a mirror image on the second sheet, which most people consider the better half.
Reapply Color for Stronger Patterns
Repeat the dip and pull cycle with the same colors, or a different set. Lay the second string in a new path so it crosses the first at an angle, and you get layered color where the two prints overlap.
Two rules keep the colors readable. Let each pull dry before adding the next one, or the colors mix into mud where they meet. And keep new color away from sections you already like, because one pass of a saturated puddle is usually enough and a second pass is where muddy browns appear.
Lift the String and Reveal the Design
Remove the press, open the two sheets, and lay both flat, paint side up. Check for pale or empty runs, which mean the string travelled without enough paint on it. Those spots are easy to fix: run a loaded string straight over the gap.
Do not stack the sheets while they are still wet, and do not rub the surface to test it. Every piece looks a little different from the last, and thin areas are normal even on a good pull.
Let the Painting Dry and Add Finishing Details
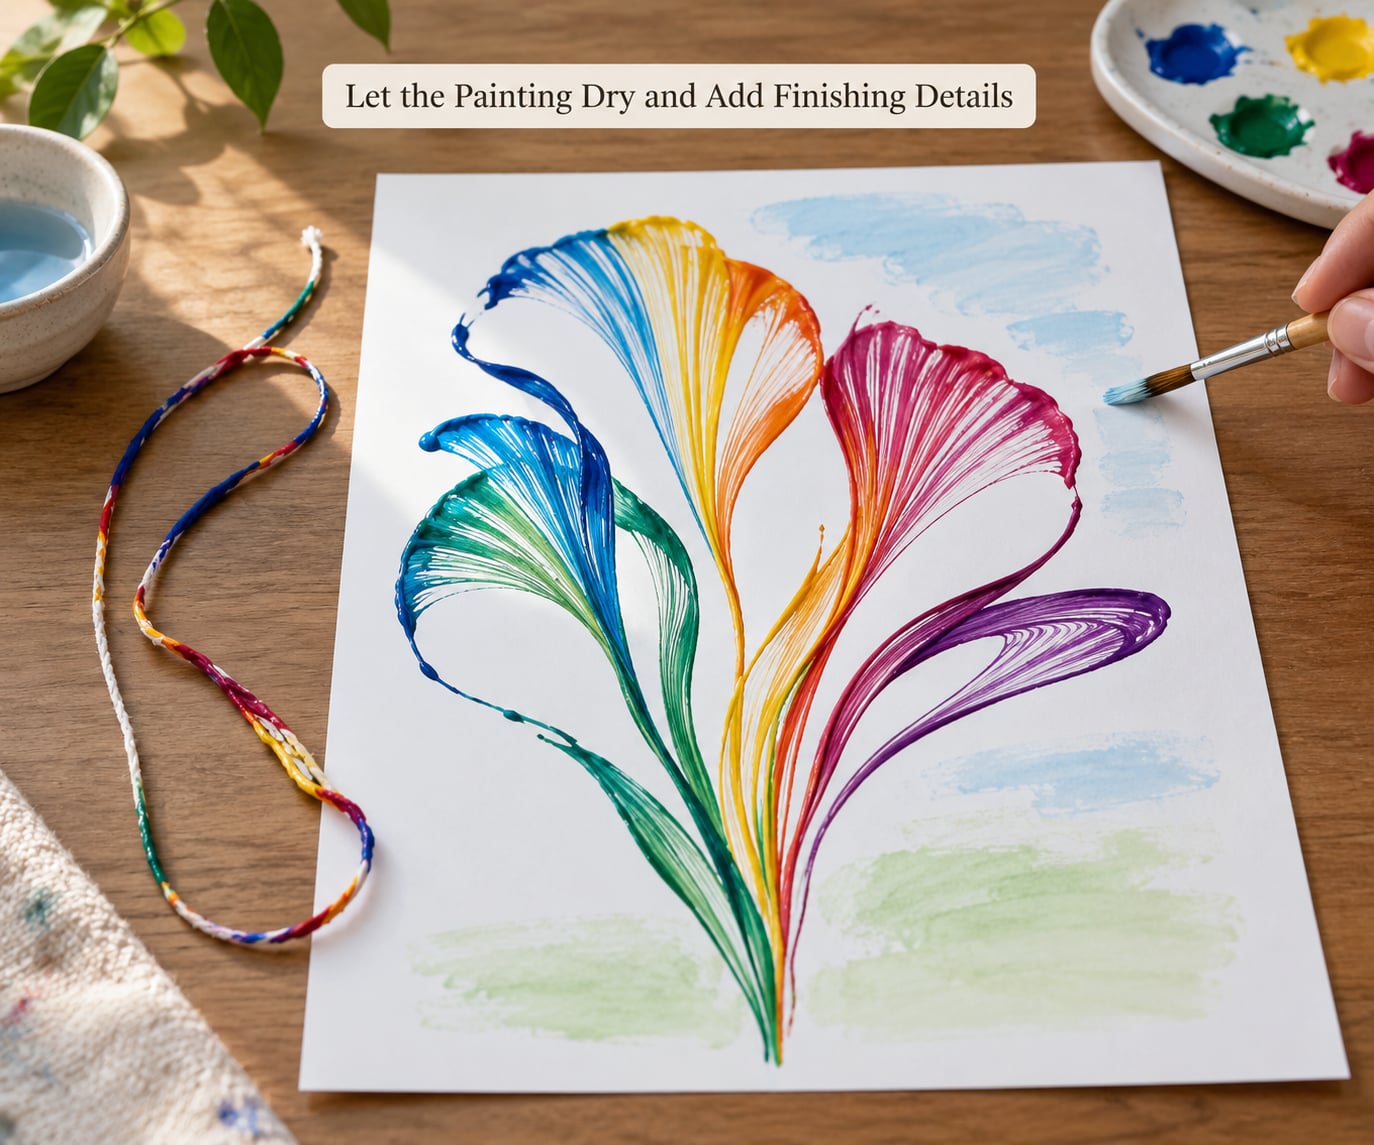
Washable paint on cardstock dries to the touch in a couple of hours and is fully handled by the next day. Acrylic on canvas takes longer, sometimes a full day. Leave the sheets flat and uncovered while they cure, and do not stack anything on top.
Once dry, the finishing options open up. Paint a simple background wash behind the print, write a name and a date in the corner, or tape a painted border around the edge. A sheet pulled to cardstock can be folded into a greeting card, and a canvas version can be sealed with a clear varnish and framed.
To vary it by age: preschoolers get two colors and one loop, with an adult running the pull. School-age children can try a planned calla lily or feather shape. A group classroom activity works well with one paper per child and a shared plate of colors, plus a stack of books pressing the sheets.
Common Mistakes
Blurred lines almost always mean too much paint or too much pressure. Paint a thinner coat and press more gently.
Thick paint blobs gather at the bends in the string. Brush the coating out thinner, and wipe the brush more often.
A string that breaks or unravels mid-pull is usually frayed twine or thread. Use yarn or a braided cord, and pull at a steady walking pace instead of a tug.
Paint that does not transfer at all means the string was coated too lightly, or the paper was too thin and thirsty. Double the paint and move to heavier cardstock.
A string that sticks to the paper and lifts the surface means the paint is too thin or the paper is too fragile. Use cardstock rather than thin drawing paper.
Designs running off the edge usually come from a string that is too long for the sheet. Leave a few centimeters of margin on every side and fold the corners in slightly to stop runs wandering outward.
One tip above all the others: load the string generously, keep a clean tail to grab, and pull slowly. Most failed prints trace back to one of those three.
Frequently Asked Questions
What age is suitable for string pull painting?
String pull painting works from about three years old upward, as long as an adult handles the paint. Children under five usually paint the puddles while an adult folds the string and does the pull. From about six, kids can manage the dip and press themselves with a short length of string. Teens and adults have full freedom with longer strings and more complex loops.
What type of string works best for string pull painting?
Cotton yarn or a braided cord pulls the cleanest lines, because the twisted fibers soak up paint evenly and rarely snap. Baker’s twine works but frays and can break mid-pull, and thin embroidery thread breaks faster still. Flat shoelaces and ribbon give wide bands, and fishing line gives a hairline result that is hard to see. Medium-weight yarn is the safest starting point.
How much paint should I use for string pull painting?
Use more than you think you need. A puddle about the size of a quarter in a shallow dish is enough to coat 60 centimeters of string several times. Paint that is too thin leaves faint, patchy lines, and paint that sits in thick clumps blurs the whole print. Stir the paint to a consistency that runs slowly off the stick before you start.
How do I get sharp lines when pulling the string?
Press firmly with a flat, heavy object such as a book or a tissue box, pull at a slow steady speed, and coat the string evenly without thick spots. The pressure forces paint onto the paper and the slow drag deposits it as a line instead of skipping. Curved, feathered edges come from less pressure, so trade pressure for line quality rather than for speed.
Can I use string pull painting with multiple colors?
Yes, and multi-color pulls are where the technique really opens up. Paint a full length of string in one color for clean separation, or lay the string across several puddles at once so it picks up segments of each color along its length. Let each pull dry before the next if you want the colors to stay distinct, since overlapping wet paint turns muddy fast.
How long does string pull painting take to dry?
Washable tempera on cardstock feels dry to the touch within two to three hours and is safe to handle overnight. Acrylic paint usually needs six to twelve hours, and acrylic on canvas can take a full day before it is worth sealing or framing. Keep the sheets flat and uncovered while they cure, because stacking wet paper smudges the lines permanently.
Start with a Simple Two-Color Design
Make one controlled pull with two colors and one loop before you try anything ambitious. Once that pull feels routine, change the string path, try three colors, and see how much of the result you can predict.
Rinse the string and the dishes in the sink as soon as the last pull is done. That single habit is what makes this a project you will actually repeat rather than one that ends in a sticky tray and a resentful cleanup.