Learning how to bind a book with staples takes about five minutes and one ordinary stapler. You fold your pages in half, nest them together, and drive a staple through the center fold. The result is a booklet that opens flat and feels solid in the hand. Kids can do the whole job with help from an adult.
The technique has a proper name: saddle stitch binding, because the staple sits on the spine like a rider in a saddle. It is the same method used for printed zines and school programs, done small enough to fit in one hand.
Table of Contents
- 1What You Need
- 2How to Bind a Book with Staples: Step-by-Step
- 3Fold and Align the Pages
- 4Place the Staple on the Center Fold
- 5Add a Cover and Check the Book
- 6Common Mistakes
- 7Frequently Asked Questions
- 8Where exactly should the staple go when binding a booklet?
- 9What kind of paper works best for a stapled book?
- 10Can I staple a thicker book with more than 20 sheets?
- 11What can I use for a cover on a stapled booklet?
- 12Is it safe for kids to use a stapler?
- 13Do staples rust and ruin pages over time?
- 14Conclusion
What You Need
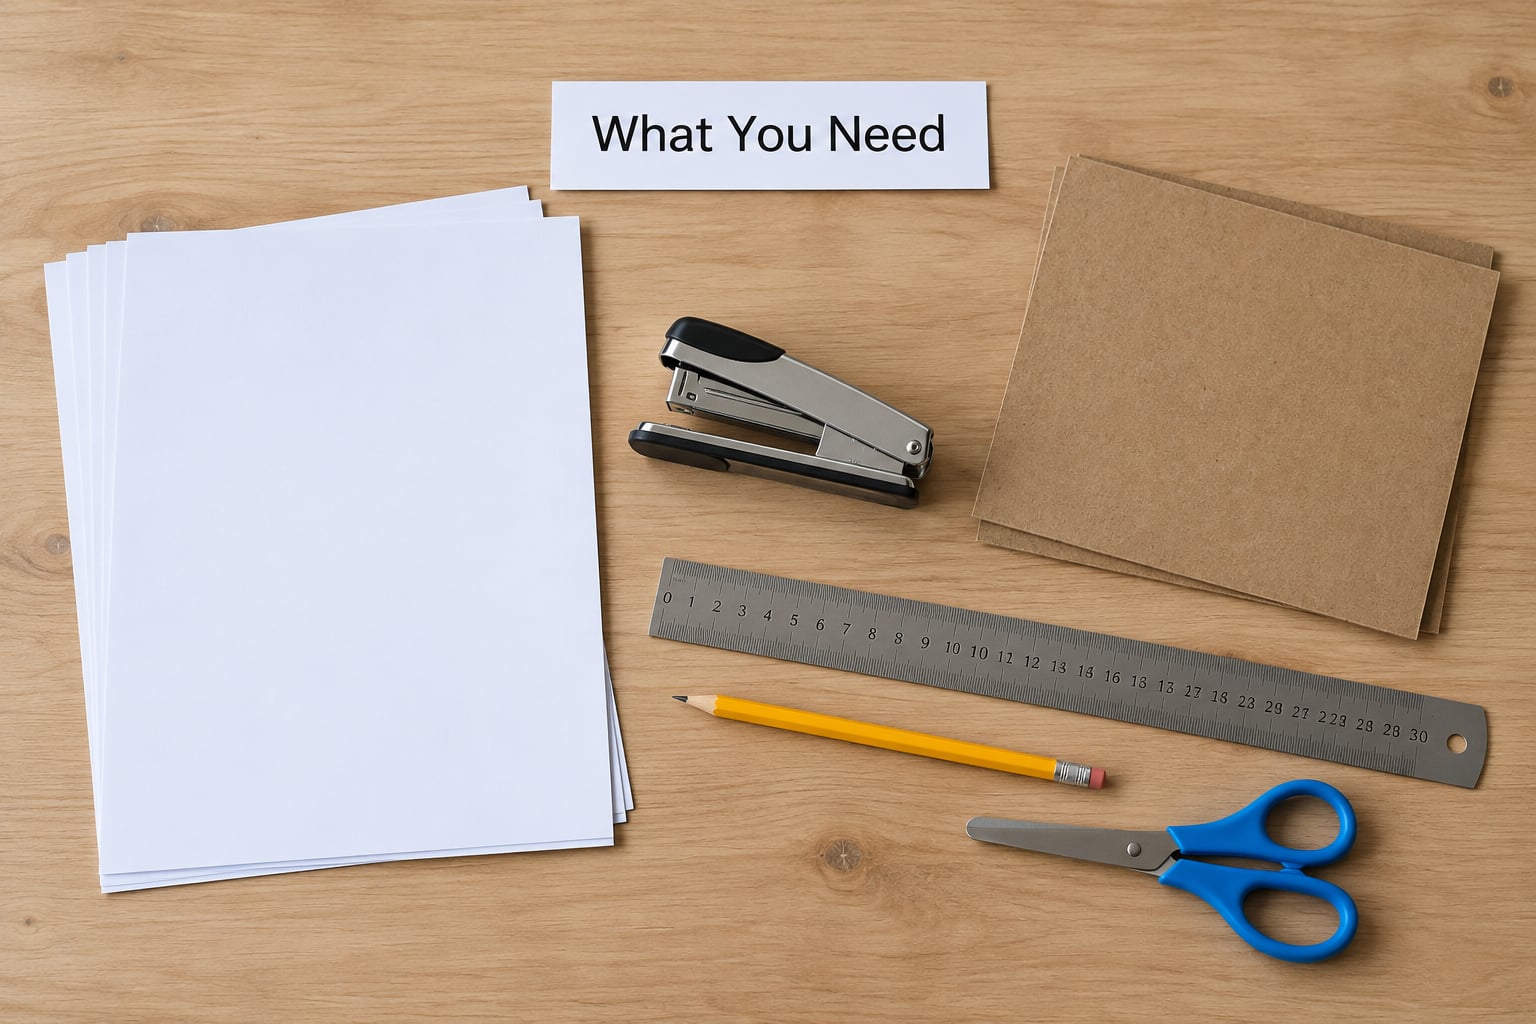
The supply list is short, and most of it you already own. Everything fits in a desk drawer or a craft caddy.
- Paper — eight to twenty sheets of regular printer paper or cardstock. Plain white works best for a first attempt.
- A stapler — a standard desktop stapler with a flat anvil. Nothing fancier is needed for a thin booklet.
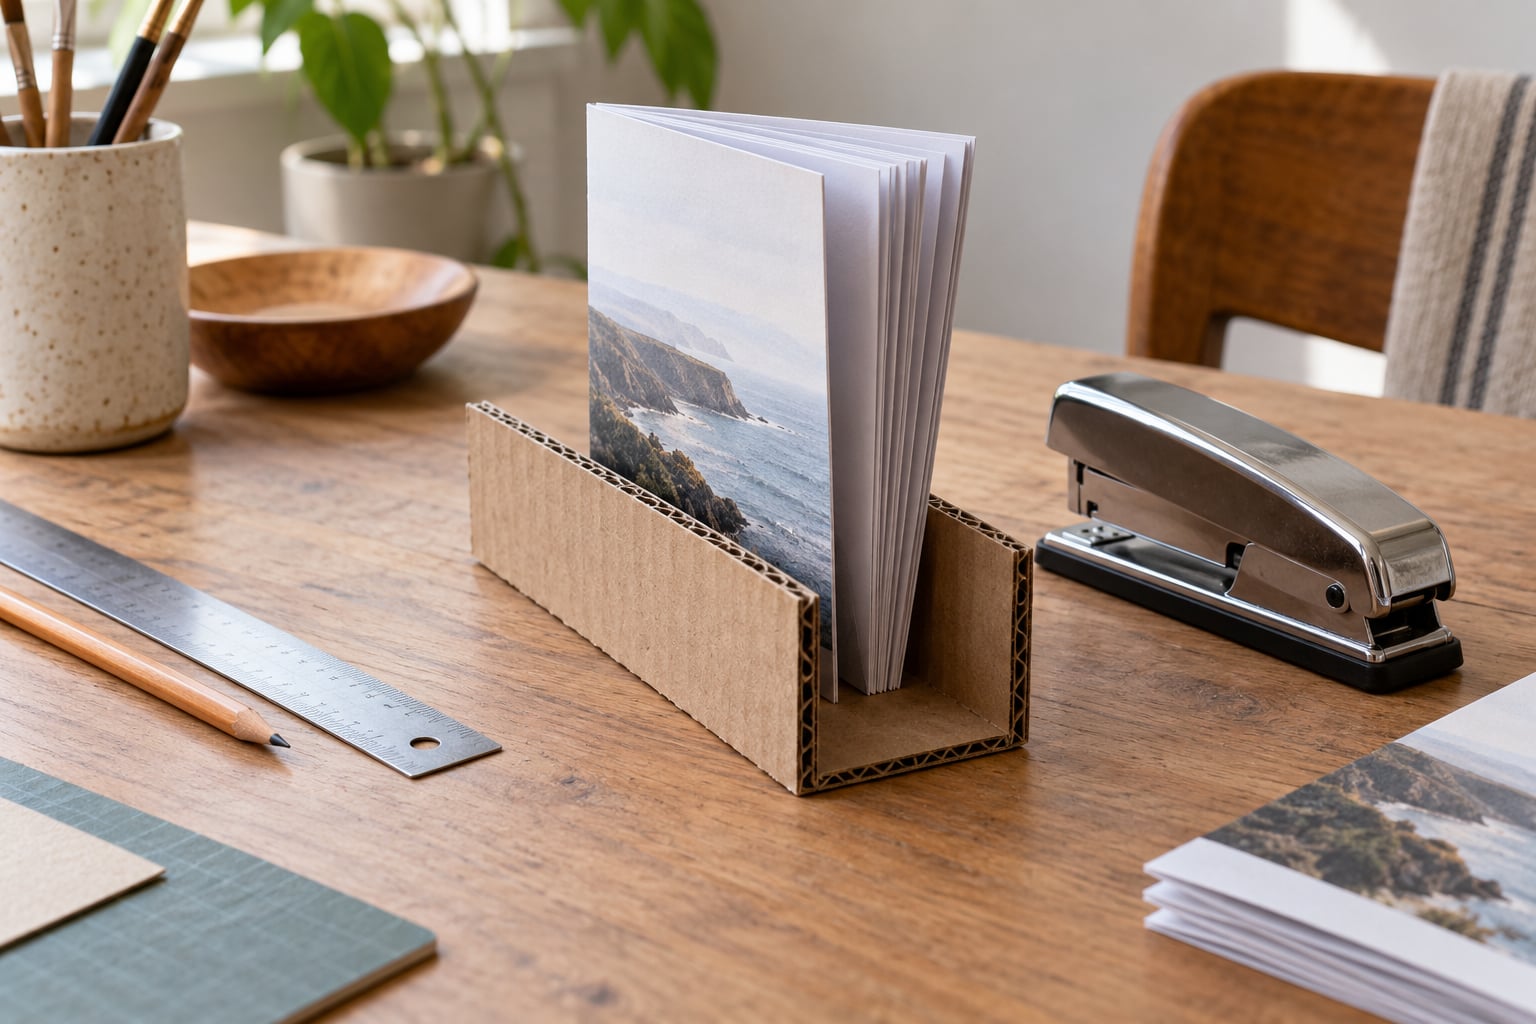
- Two pieces of corrugated cardboard — roughly the size of your folded page, used as a folding guide and a soft landing for the staple.
- A ruler — for lining up the stack and trimming edges if you want them even.
- A pencil — for marking the center of the fold before you staple.
- Safety scissors — for trimming corners or cutting decorative cover paper.
A dish towel folded into a thick pad works in place of cardboard, and a plastic tablecloth or a clean mouse pad gives the staple somewhere soft to land so it clinches properly.
If children are doing the stapling, an adult should handle the stapling step itself. A stapler can pinch a small finger, and the prong ends are sharp enough to mark skin. Everything else, folding, aligning and decorating, is safe and satisfying for kids to own.
How to Bind a Book with Staples: Step-by-Step
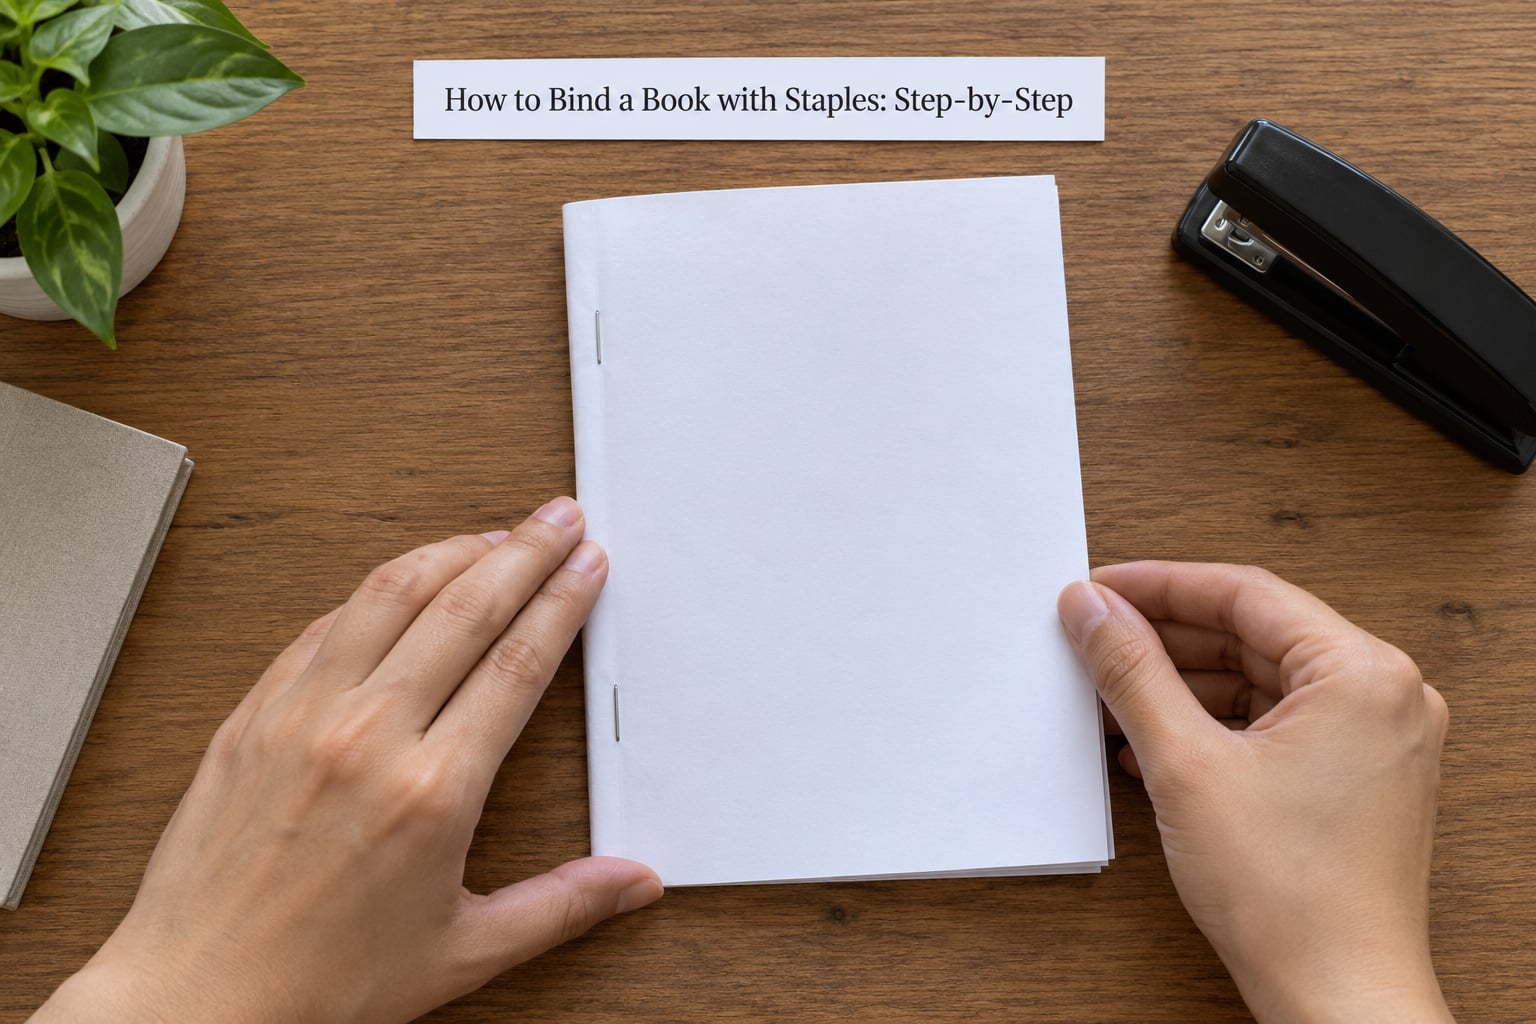
Set everything on a clear table and turn your sheets face down. Work through the steps once with scrap paper if you are nervous, since the method rewards patience but forgives small errors.
Fold and Align the Pages
Stack your sheets so the printed side faces the same direction on every one. Take the top sheet, hold it sideways, and fold it in half along the vertical center line. Press the crease flat with your thumb or run a bone folder along it.
Now fold the next sheet and lay it on top of the first, short edges aligned. Keep folding and stacking until every sheet is in the pile, then square the whole stack against the edge of the table.
Check the folded edge by eye and with a ruler. Every sheet should reach the same place and sit flush. If one sheet is offset by a few millimeters, pull it out and redo it. Once the stack is square, mark the center of the fold with a light pencil line.
Place the Staple on the Center Fold
Set your two cardboard pieces on the table with their narrow edges facing each other, leaving a channel between them. Rest the folded booklet in that channel with the fold hanging down into the gap, so the spine is suspended about half an inch above the table.
Line the pencil mark up with the front edge of the stapler and press once. The staple legs push through the fold and curl against the cardboard underneath, which is what makes them bend inward instead of spearing the tabletop.
For a thin booklet, one staple in the middle of the fold is enough. On anything past about twelve sheets, add a second staple a few inches down from the first. Always staple along the fold and never farther out, or the pages will not open flat.
Add a Cover and Check the Book
Lift the stack out of the channel and open it to the center so the two staples show. Press along the spine with your thumb to tighten the pages against each other, then close the book and check that the fold still looks straight from the side.
For a simple cover, cut cardstock one inch larger than your page on all three open sides and slip it inside the first sheet. A sturdier option is to wrap the whole booklet: lay it face down on the cover paper, fold the paper over the back, crease it, then glue or tape it to the inside of the back page.
Washi tape across the spine hides the staples and adds color, and a strip of clear packing tape over the same spot buys extra strength for a travel journal. Trim the edges flush with a ruler and a craft knife once everything is dry, then fan through the pages to confirm they turn smoothly.
Common Mistakes
Nearly every lumpy booklet comes down to one of four things. Each has a quick fix you can apply before you staple.
- Crooked or stepped stack. Sheets shifted a few millimeters during folding make the spine look jagged. Fix it by aligning the short edges against the table before folding, and re-crease any sheet that looks off.
- Staple too far from the fold. Stapling an inch out from the crease leaves pages that fold past the staple and bulge. Rest the fold in the cardboard channel so the stapler lands on it automatically.
- Too many sheets for one staple. A fat stack driven through with a single staple bows apart and the staple snags on the way through. Split the job into two smaller booklets, or add a second staple along the fold.
- Staple driven through uneven pages. Hitting a sheet that is out of position leaves one page sticking out. Push the staple sideways with a fingernail before driving it, so every sheet feeds in together.
Two habits prevent most of these problems. Crease every sheet before stacking, and always staple over the cardboard channel rather than on a bare desk.
There is a ceiling here worth knowing about. Staple binding works cleanly from about eight pages up to roughly sixty-four. Past that, the legs are too short and too thin for the stack, and a long-reach stapler built for spine work will serve you better. Two hardcover books with a gap between them work as a ready-made saddle in place of cardboard.
Frequently Asked Questions
Where exactly should the staple go when binding a booklet?
Right on the center fold, with the page edges hanging evenly on both sides of the staple. Rest the fold in a channel between two pieces of cardboard so the staple cannot land off-center. One staple in the middle holds a thin booklet; add a second a few inches away once you pass about twelve sheets.
What kind of paper works best for a stapled book?
Regular printer paper works for most booklets, and cardstock gives a stiffer, more durable spine. Keep every sheet the same weight, since mixed weights cause pages to hang unevenly at the edge. For drawing or writing, 80 to 100 gsm paper takes pen and pencil without bleeding through.
Can I staple a thicker book with more than 20 sheets?
You can, but a single staple will struggle. Add a second staple along the fold and expect the spine to bow slightly when opened. Past about sixty-four pages, a desktop stapler cannot drive the legs cleanly through the stack, and a long-reach stapler or a different binding method is the better choice.
What can I use for a cover on a stapled booklet?
Cardstock cut one inch larger than the page works as a simple slip-in cover. Wrapping paper, kraft paper, fabric or an old map makes a sturdier wrap-around cover glued to the back. Washi tape or clear packing tape over the spine hides the staples and holds everything together.
Is it safe for kids to use a stapler?
Children can fold, align, decorate and cover a booklet on their own. An adult should handle the stapling itself, since the moving head can pinch fingers and the prong ends are sharp. Rest the fold on cardboard so nothing points back at the child, and keep fingers clear of the paper stack while pressing.
Do staples rust and ruin pages over time?
Standard staples are coated steel and can dull or spot with rust after years in damp storage, especially on acidic paper. For a school project or a journal kept on a shelf this is rarely a problem. For something meant to last decades, use stainless staples, or glue and press the staple flat once it has clinched.
Conclusion
To bind a book with staples well, do two things and the rest takes care of itself. Line up every sheet so the short edges and the fold match exactly, then place the first staple right on the center fold while the booklet rests in the cardboard channel.
From there it is just cover and check. Add a second staple for thicker stacks, trim the edges, and the booklet is finished, ready for a story, a comic, a photo album or a school project.