A paper flower bouquet is a Mother’s Day gift you build yourself from coloured paper, wire and ribbon: you cut and shape the petals, glue them into flower heads, mount each head on a stem, then gather and tie the stems together. It never needs watering, it does not wilt in a warm room, and a child can make a recognizable version of it in one sitting. This guide covers how to make a paper flower bouquet for Mother’s Day from the first fold to the last knot, with a plain version for young kids and a fuller layered version for anyone who wants a proper arrangement.
Allow about 45 minutes for seven simple daisies. A mixed bouquet of twelve flowers with two petal layers and a wrapped finish takes closer to two hours, and most of that is glue drying rather than cutting. Both versions use the same four things: paper, glue, something to make a stem from, and something to tie it with.
Table of Contents
- 1What You Need
- 2Step-by-Step
- 3How to Fold and Cut the Paper Flowers
- 4How to Make the Stems and Arrange the Bouquet
- 5How to Wrap and Decorate the Bouquet
- 6Common Mistakes
- 7Frequently Asked Questions
- 8What paper is best for making a paper flower bouquet?
- 9Can children make this paper flower bouquet without using scissors?
- 10How many paper flowers should be in a homemade Mother’s Day bouquet?
- 11What can I use instead of wire or pipe cleaners for the stems?
- 12How do I keep a paper flower bouquet from looking flat?
- 13How can I personalize the bouquet as a Mother’s Day gift?
- 14Conclusion
What You Need
Everything below comes from a craft supply box or a stationery cupboard. Buy nothing special, and swap freely where the list says you can.
| Supply | What it does | Amount for one bouquet |
|---|---|---|
| Crepe paper | Flower heads and petals | 6 to 10 sheets, about 8 by 10 inch |
| Green paper or cardstock | Leaves and greenery | 2 sheets |
| Scissors | Cutting shapes and paper strips | 1 pair, plus small detail scissors if you have them |
| Craft glue | Petals to centres, flowers to stems | 1 bottle, PVA or clear drying glue |
| Floral wire | Stems, wrapped later in tape | 8 to 12 pieces, 12 to 14 inch |
| Green pipe cleaners | Stem alternative for kids | 8 to 12 |
| Floral tape | Hides wire and joins stems | 1 small roll |
| Wire cutters | Trims wire to length | 1 pair |
| Pencil or balling tool | Shaping and curling petals | 1 pencil is enough |
| Kraft or tissue paper | The bouquet wrap | 2 large sheets |
| Ribbon | Ties the wrap closed | 1 metre |
Substitutions are easy here. Printer paper or a greeting card works in place of crepe paper for the leaves. A drinking straw, a rolled magazine page, or a strip of folded green paper all make a serviceable stem, and a strip of masking tape with a little glue handles the job of floral tape. If you have no ribbon, twist two lengths of tissue paper together for a soft tie. Plain craft glue replaces hot glue entirely, and it is the safer choice when a child is doing the work.
If anyone making this is under about seven years old, an adult should handle every cut. Give the child the strips to crumple, the petals to curl around a pencil, and the job of holding the pieces in place while the glue sets. The craft glue only route keeps a hot glue gun out of the room completely, which is also the safer choice if you are making this at a kitchen table with other children around.
Step-by-Step
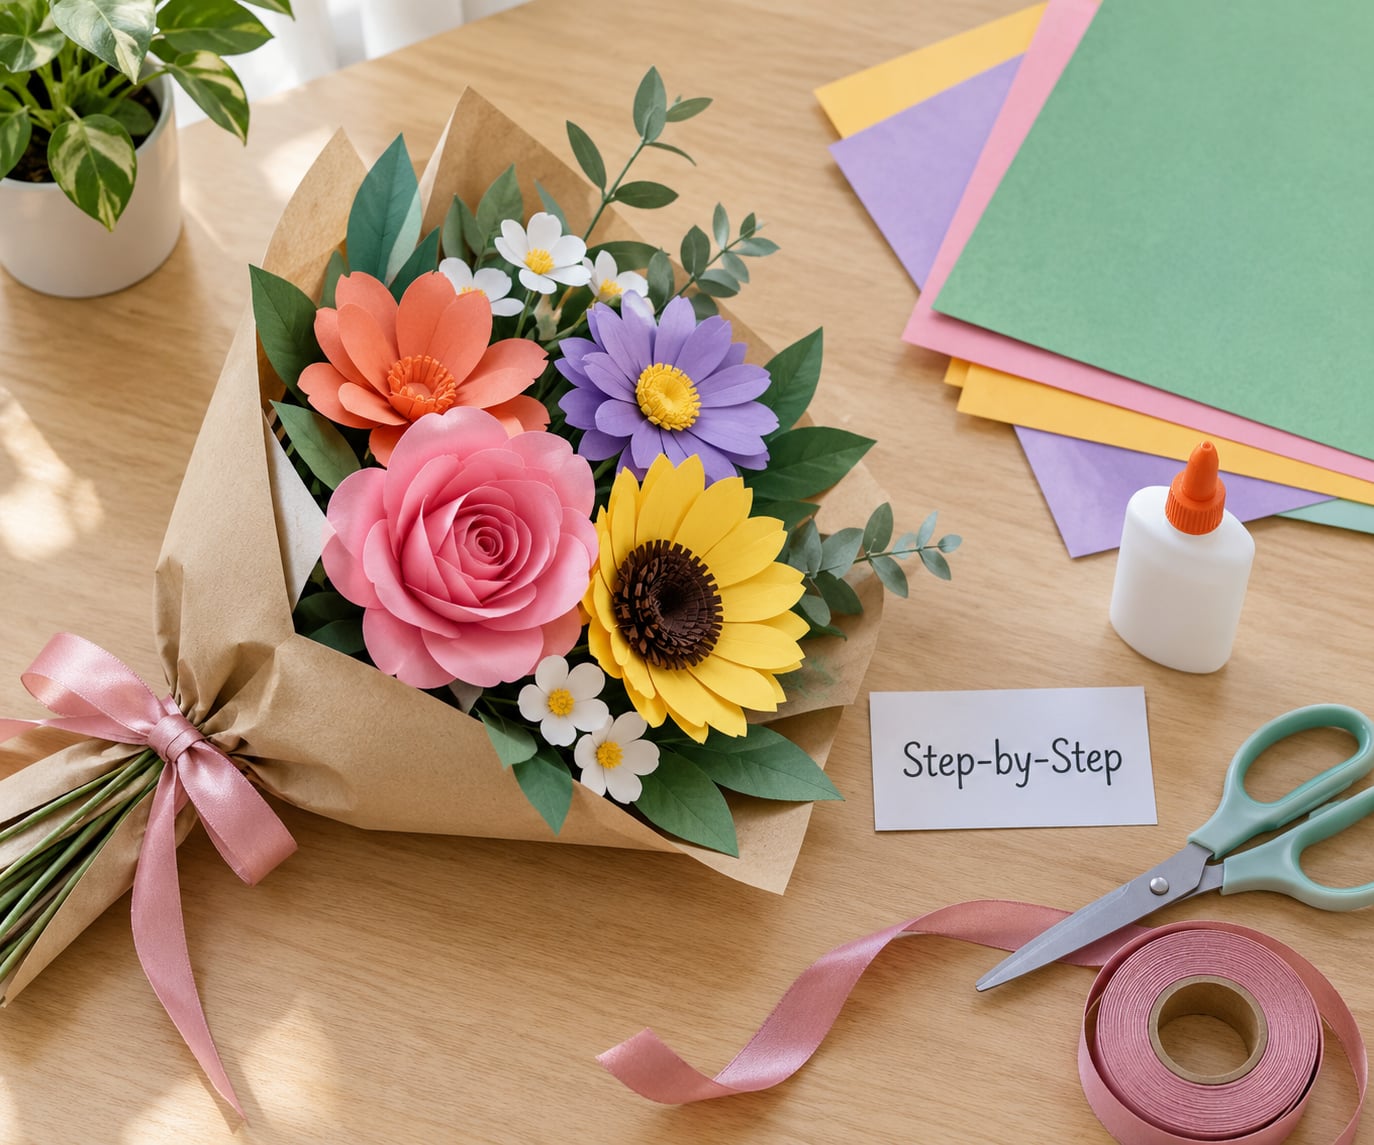
How to make a paper flower bouquet for Mother’s Day comes down to eight repeatable steps. Make the flower heads first, because they are the part that takes patience, then build stems and assemble. Read the whole sequence once before you cut anything, then work through it in order.
- Cut your paper into squares. Use 4 inch squares for a small bouquet that fits a bud vase, or 6 inch squares for a generous one. Stack four or five sheets and cut them together to keep the sizes identical.
- Fold each square in half, then in half again, then open it out completely. Those two fold lines give you the centre guide and the quadrant lines you need next.
- Cut one petal shape at a time from the folded stack. Round the top, taper the base, and keep every petal the same size so the flower head looks even once it opens.
- Curl each petal around a pencil or balling tool. Press the roll firmly between your thumb and finger for a few seconds, then let it sit.
- Layer two or three rings of petals, smallest ring first, gluing each ring into the centre. Alternate the spacing so petals sit between each other rather than on top of each other.
- Add a small rolled paper cone or a half circle of paper as the flower centre, then pinch the base of the head firmly until the glue grabs.
- Mount each head on a stem. Push the wire into the base, wrap floral tape down the top of the wire to hide the join, and add a dab of glue.
- Gather, stagger and wrap. Trim the stems to length, stagger the heights, add greenery, wrap the bundle in kraft or tissue paper, and tie it with ribbon.
How to Fold and Cut the Paper Flowers
Fold a square of crepe paper in half to make a rectangle, then fold it in half again to make a smaller square. Open it out and you can see the creases clearly, which matters more than it sounds: the centre crease becomes the line the petals are built around, so a crisp fold keeps the head symmetrical.
Fold the square in half along one crease, then cut a long curve from the folded edge to the opposite corner. Unfold it and the single cut gives you two matched petals. That is the whole trick behind an even flower: cutting on a fold doubles your shape and guarantees both halves match, so stop the mismatched-petal problem before it starts.
Repeat the fold-and-cut across four or five stacked squares so you get eight to ten petals from the same cut. Shape each one by rolling it around a pencil, then unrolling slightly so the petal has a soft curve rather than a tube. Pinch the curl between finger and thumb for three or four seconds and it holds its position even after you let go.
Glue the first ring of petals into a tight centre, then work outward. A dab in the middle of each petal back rather than a line along the edge keeps the glue out of sight once the layers overlap. Add a second and third ring, rotating each one by half a petal’s width, and the flower starts to look round from the side. The finished head should hold its shape in your hand without a stem.
For a younger child or a faster version, cut five or six circles from a single sheet, crumple the middle of each one gently, and glue them edge to edge in a ring. Five minutes, one shape, no folding skill needed, and it still reads clearly as a flower once it is on a stem.
How to Make the Stems and Arrange the Bouquet
Three stem options cover almost every situation. A single length of floral wire is the strongest and looks the most professional once it is taped. A green pipe cleaner is softer, needs no cutters, and is the version to hand to a child. A narrow paper strip rolled tightly around a pencil and glued is the no-wire option, and it works well for flowers you intend to keep flat in a frame rather than stand in a vase.
To attach a head, push the wire up into the glued base of the flower until roughly half an inch is buried, then wrap floral tape from the base of the head down over the first inch of wire. That wrap is what stops the head spinning or drooping, and it is worth doing properly rather than in a hurry. Leave the tape slightly tacky, wrap it while it is still pliable, and press it down as you go.
Trim the stems to length with wire cutters or scissors, working from the back of the bunch so you cut the shortest one first. Stagger the heights before you tie anything: leave the middle flowers at full length, pull the outer ones down slightly, and add one or two noticeably taller stems in the middle for height. A bouquet where every stem ends at the same length reads as flat, and this staggering is the single change that fixes that.
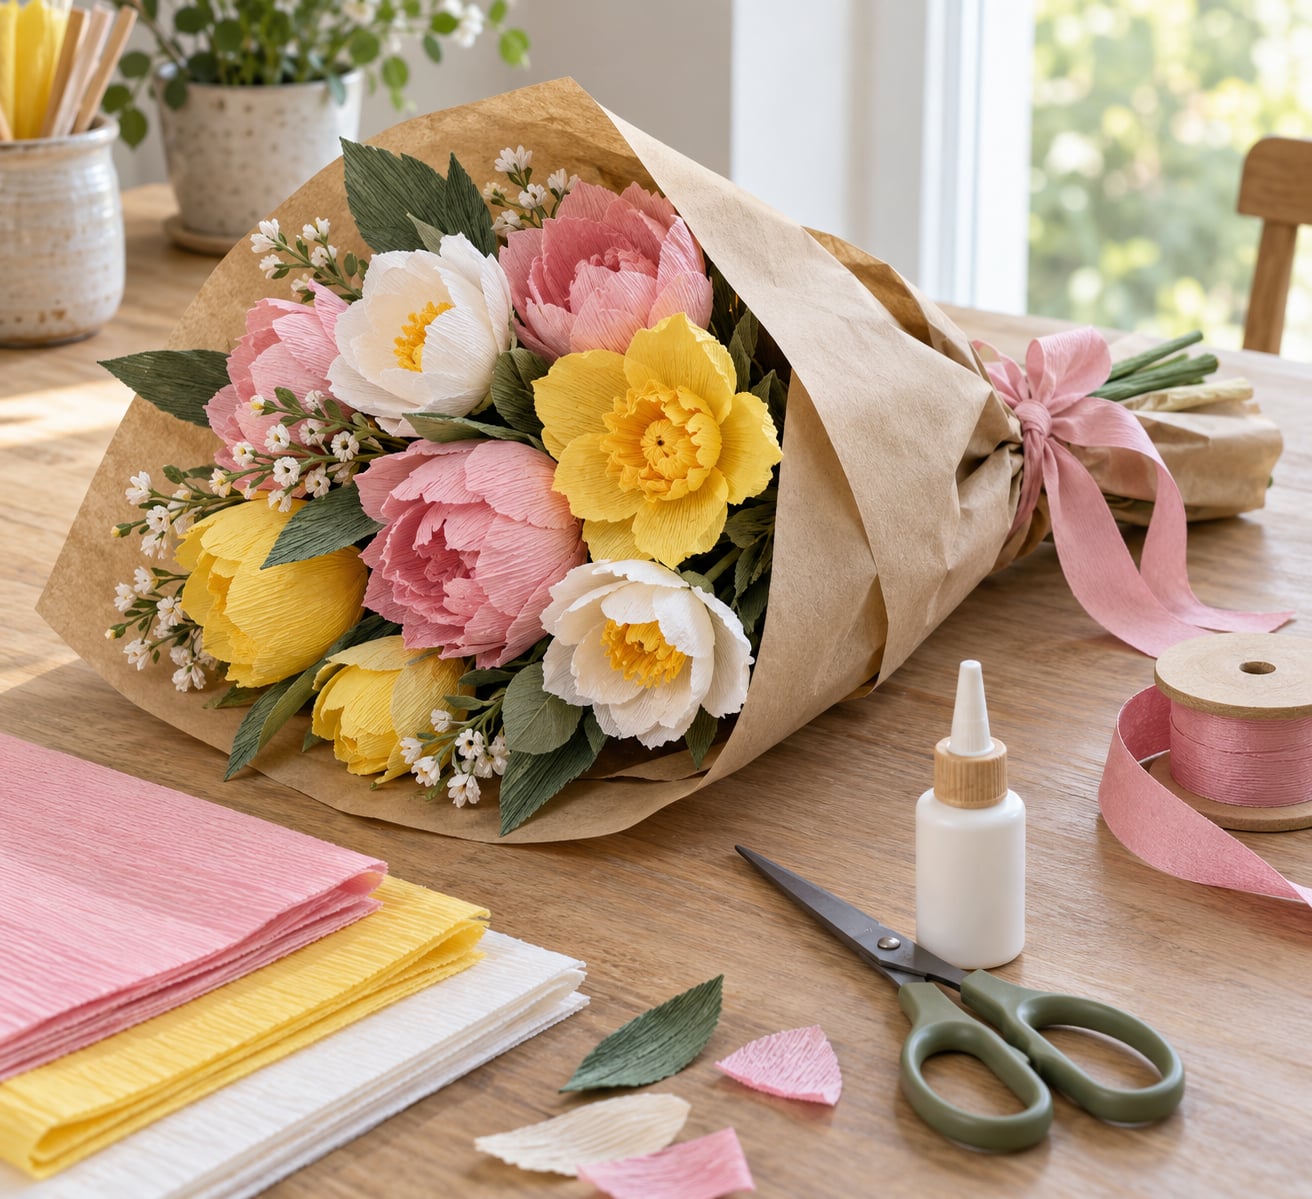
How many flowers to make is a matter of proportion as much as taste. Odd numbers almost always look better than even ones, and the widely used florist guideline of roughly three large, five medium and eight small blooms is a good target for a mixed bouquet. For a beginner, seven to nine flowers in one colour plus one contrasting shade is plenty, and it gives enough mass to look full without the assembly time doubling. Tuck green paper leaves between the heads at intervals, and the gaps read as foliage rather than holes.
How to Wrap and Decorate the Bouquet
Lay the stems together on the table, longest at the back, and wrap floral tape or a wide strip of paper around the bundle about two inches below the lowest head. Pull the tape taut as you wind it. This gathering point is what you will hold, so keep it low and tight.
Bring a large sheet of kraft paper up over the backs of the flowers, fold the sides in toward the middle, and roll the lower edge inward once or twice. Do the same with a second sheet of tissue paper so the inner layer shows above the kraft. Tie the wrap closed with ribbon about an inch below the heads, and finish with a bow or a simple knot if you are short on patience.
For decoration, add a kraft-paper tag on a short piece of string with the date and a short message written on it. Paper leaves cut from green cardstock and slotted into the wrap give the front of the bouquet something green without needing real foliage. If a child is making this, have them write the message instead of signing it, and keep the card off the bow where it will not slide.
Let the whole bundle sit flat on a table for an hour before it is moved, so the glue finishes setting under its own weight. Stand it in a vase afterwards with a little tissue paper at the bottom to keep the stems upright, and keep it out of direct sunlight and away from radiators, which is what makes crepe petals relax and droop over time.
Common Mistakes
Most disappointing paper bouquets come down to five or six fixable problems, and every one of them shows up at a specific stage. When you are working through how to make a paper flower bouquet for Mother’s Day for the first time, expect the first two on this list to turn up.
- Petals of different sizes. Cutting freehand gives you a lopsided head. Cut several stacked sheets on a single fold so every petal matches, and check the stack against a square of paper before you cut.
- Petals tearing as they are shaped. Tissue paper is too thin for a hard curl and splits along the grain. Use crepe paper, stretch each petal gently before you roll it, and curve rather than crease.
- Flowers that go flat. Curls relax in warm, dry air. Shape each petal, then glue it while it is still warm from your hands and keep the finished bouquet away from radiators and sunny windowsills.
- Stems that are too short. Fix the length before you build anything, cutting every stem to the same measurement rather than trimming one at a time. Long stems can always be shortened later, and short ones cannot be extended.
- Stiff petals with visible glue. Thick lines of dried glue turn crepe into cardboard and show on the front of the flower. Use a thin line on the back of each petal and wipe away any squeeze-out before it sets.
- A bouquet that looks unbalanced. Equal-length stems give you a flat front edge. Vary the heights, add greenery in the gaps, and turn the bunch a quarter turn before tying so the fullest side faces out.
A few habits prevent most of that in the first place. Choose crepe over tissue if you want flowers that keep their shape, and cardstock only for leaves and structural pieces. Keep glue bottles open no longer than the job needs, since dried nozzles are the most common cause of a rushed, glued-everywhere finish. Work in batches: make all the flowers, then all the stems, then assemble. And when children are helping, pre-cut the strips for them so the craft stays about shaping and gluing rather than about straight lines.
Frequently Asked Questions
What paper is best for making a paper flower bouquet?
Crepe paper is the easiest choice because it stretches without splitting and holds a curl once shaped. Tissue paper is thinner and works for layered pom-pom style flowers, but it creases easily when carried. Cardstock is too stiff for petals and best reserved for leaves and the wrap.
Can children make this paper flower bouquet without using scissors?
Not completely, since the shapes have to be cut, but an adult can pre-cut squares and strips first so the child only handles folding, curling and gluing. Tear rather than cut if you want a fully scissor-free version, use craft glue instead of a hot glue gun, and skip the wire in favour of pipe cleaner stems.
How many paper flowers should be in a homemade Mother’s Day bouquet?
Seven to nine is the sweet spot for a first bouquet, and odd numbers look more natural than even ones. The classic florist guideline of about three large, five medium and eight small blooms is a good target for a mixed arrangement. For a bud vase, three well-made flowers beat twelve rushed ones.
What can I use instead of wire or pipe cleaners for the stems?
A narrow strip of green paper rolled tightly around a pencil and glued at the seam makes a light stem that suits a flat display. A drinking straw, a rolled magazine page, or a strip of doubled kraft paper all work. Skip them only if you want the bouquet to stand unsupported in a vase, since paper stems buckle under weight.
How do I keep a paper flower bouquet from looking flat?
Shape each petal while the glue is still warm and press the curl between your fingers for a few seconds so it sets. Give the bouquet somewhere out of direct sun and away from radiators, because heat relaxes crepe and the heads droop over time. Vary the stem lengths so the heads sit at different heights rather than in one flat line.
How can I personalize the bouquet as a Mother’s Day gift?
Tie on a kraft-paper tag with the date and a short message, and let the person making it write it in their own handwriting. Match the colour scheme to something she already wears, add paper leaves cut from green cardstock, or use scraps of wrapping paper from a birthday gift as the outer wrap so the bouquet carries a memory of its own.
Conclusion
Start by cutting your paper squares and making the flower heads, since that part of how to make a paper flower bouquet for Mother’s Day takes the longest and decides whether the result looks handmade in a good way. Once the heads are done, stems, greenery, wrapping and a ribbon are quick work.
Let whoever is making it with you choose the colours and write the tag, then hand the finished bouquet over on Mother’s Day knowing it will still look the same next spring. If you want to see the fold-and-cut technique at full size before starting, a short video walkthrough is worth more than any diagram for this particular craft.