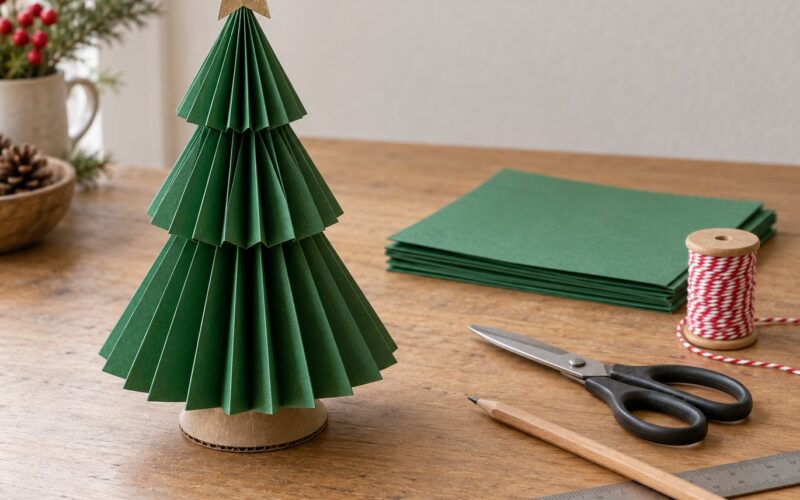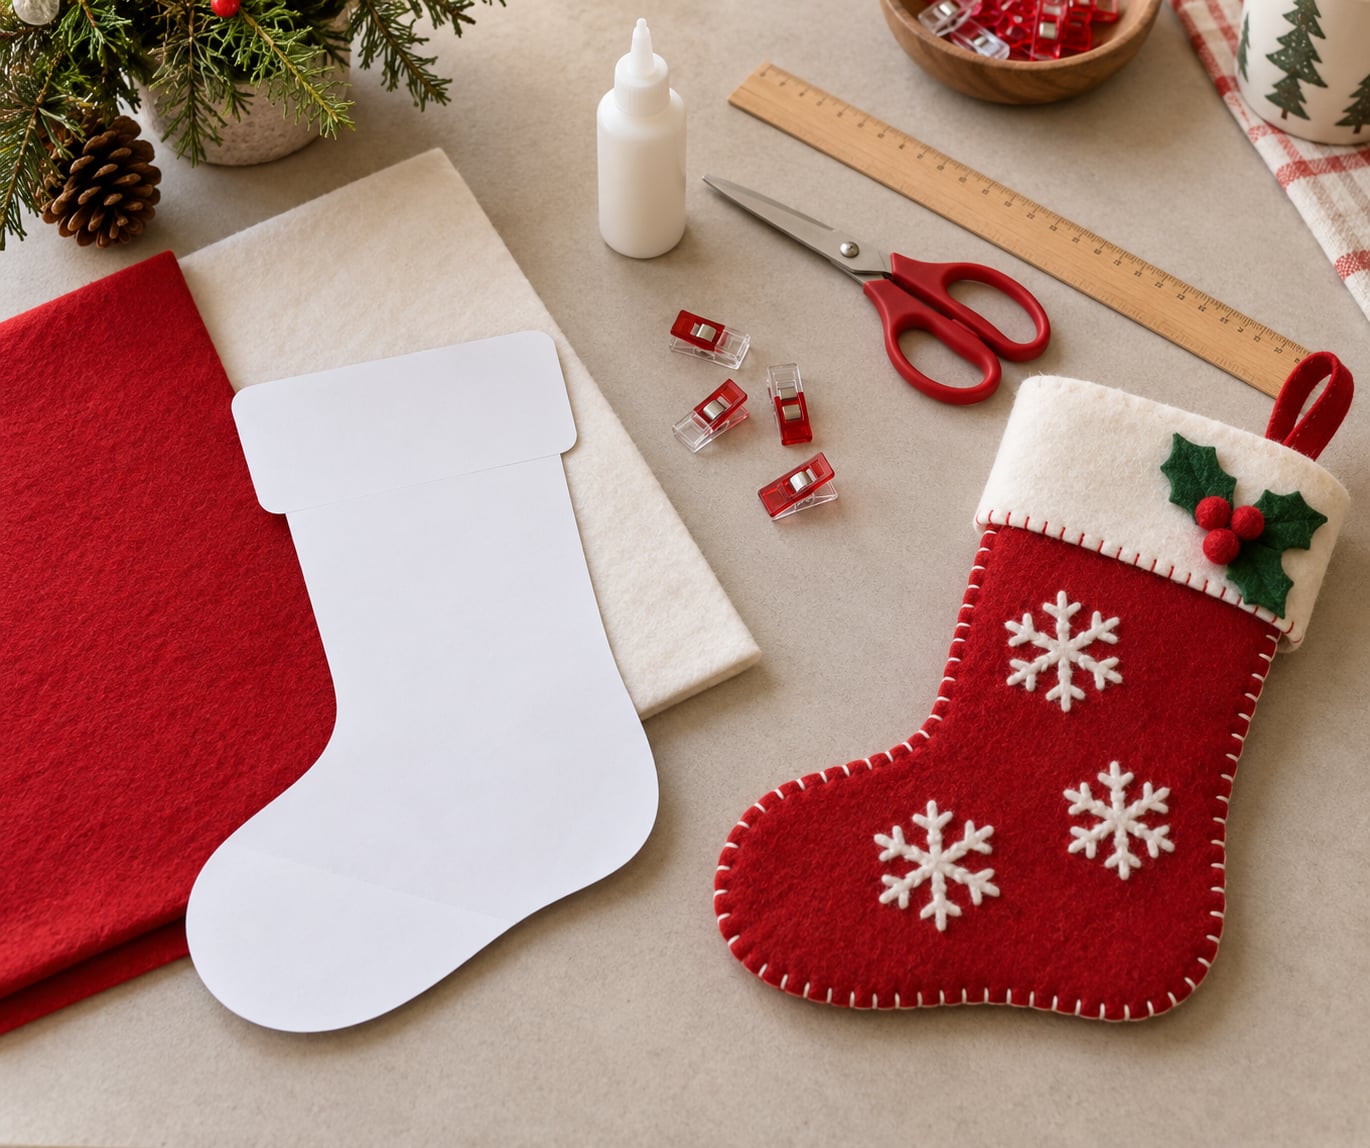
You can make a Christmas stocking without a sewing machine by cutting two identical shapes from fleece or felt and bonding them together with fabric glue. The whole project takes about 30 to 45 minutes plus drying time, needs no iron, and works fine for a child to help with.
The trick is that the stocking stays flat, like a piece of wall decor rather than a soft sewn shape. That flat profile is exactly why glue holds so well here: you are bonding two flat layers edge to edge, with no seams under tension.
Below is the method I use, the exact materials that work best, the seven steps, and what to do when the glue fights you.
Table of Contents
- 1What You Need
- 2Which adhesive to reach for
- 3Preparing your fleece
- 4Step-by-Step: The No-Sew Method
- 5How to Make a Christmas Stocking Without a Sewing Machine
- 61. Choose the Size and Make a Paper Pattern
- 72. Cut the Outer and Inner Pieces
- 83. Mark and Fold the Cuff
- 94. Glue the Layers Together
- 105. Shape the Stocking
- 116. Add a Hanging Loop
- 127. Decorate and Let It Dry
- 13Common Mistakes
- 14Hand-Sewing Alternative
- 15Tips for a Durable Handmade Stocking
- 16Frequently Asked Questions
- 17Can I make a Christmas stocking with no sewing at all?
- 18What is the best material for a no-sew Christmas stocking?
- 19How do I choose the right size for a Christmas stocking?
- 20What is the strongest way to attach a hanging loop?
- 21Is a no-sew stocking strong enough to hold presents?
- 22Conclusion
What You Need
The core supply list is short, and every item on it is cheap and easy to find at a craft store or online.
- Two contrasting fleece sheets, roughly 12 by 18 inch each, or two pieces of felt
- Fabric glue rated for fabric and felt (a no-iron liquid adhesive, sold as liquid thread or fabric glue)
- Scissors
- Plain paper, a pencil and a marker
- Measuring tape and a ruler
- Small sewing clips or bulldog clips, about 6 to 10 of them
- Optional: straight pins for pinning the paper pattern while you cut
For decorations you can add felt appliqué shapes, sequin string, ribbon, buttons, pom poms, iron-on letters or a strip of burlap for the cuff.
Which adhesive to reach for
Fabric glue that dries clear and stays flexible is the safest pick for fleece. It soaks into the fibers instead of sitting on top of them, so the bond survives a bend at the toe.
A hot glue gun works and dries faster, but it needs an adult, it scorches thin fleece, and it gets brittle where the stocking folds. A craft iron with fusible web is the third option and gives the strongest bond, though it is still not sewing-machine strength.
Preparing your fleece
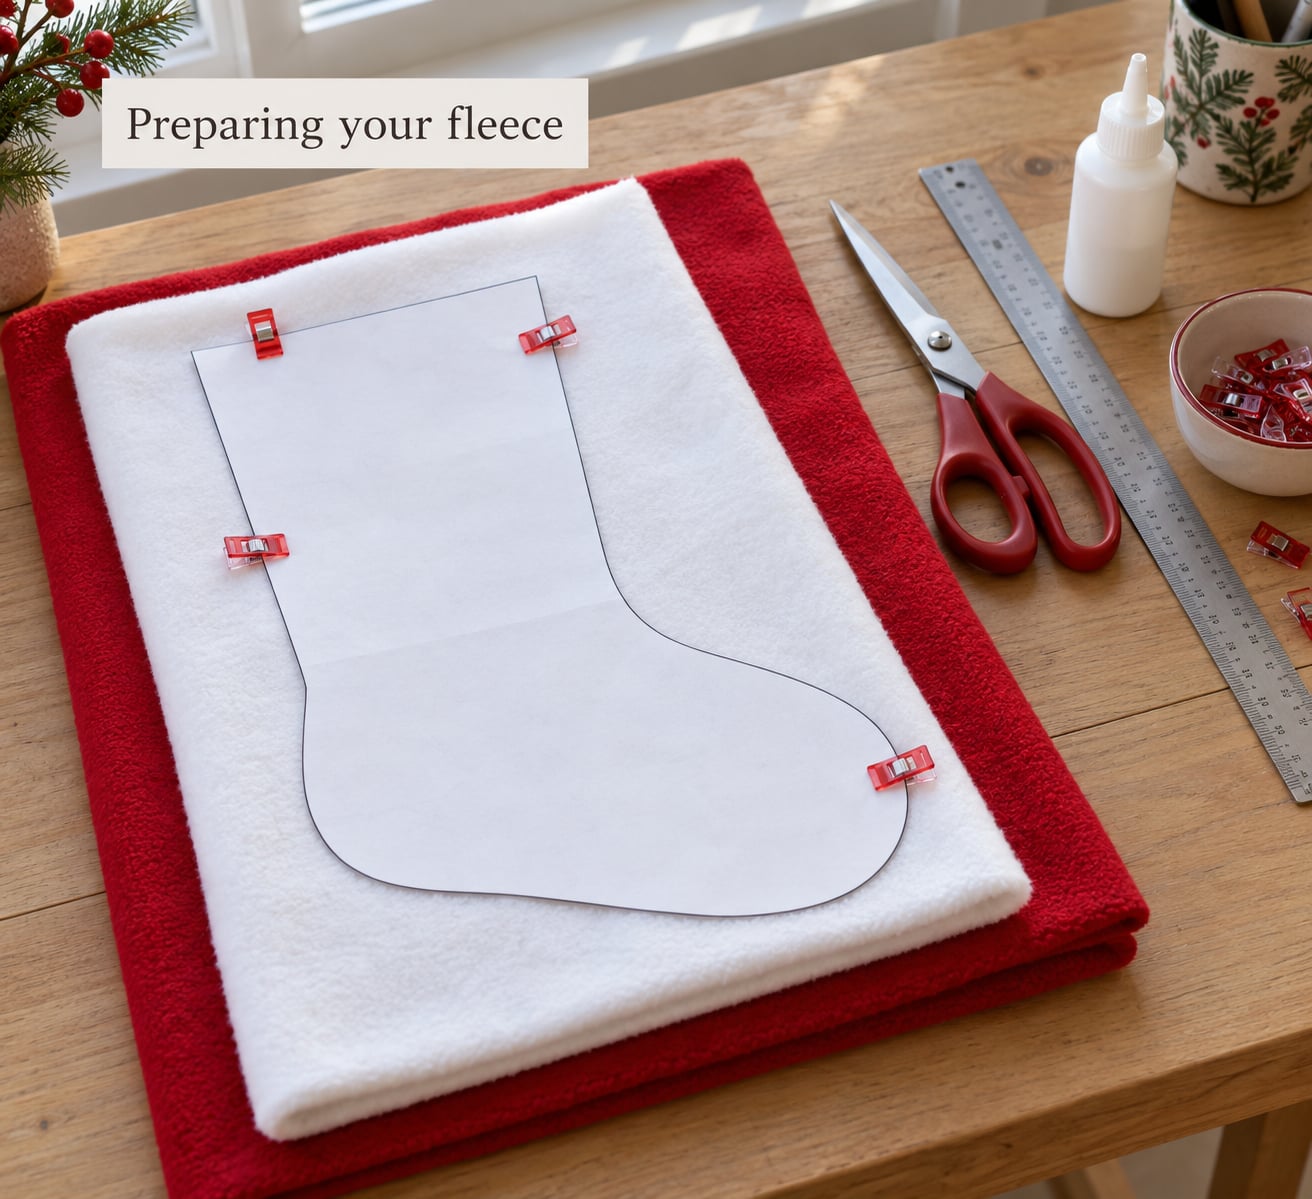
Lay your fleece flat on the table for a few minutes before you cut it. Fleece that has been rolled up in a bag relaxes and grows slightly, and cutting too soon gives you two pieces that no longer match.
Step-by-Step: The No-Sew Method
How to Make a Christmas Stocking Without a Sewing Machine
The whole build comes down to one idea: glue the raw edges of two flat layers together. Do it with a thin, even bead held about a quarter inch back from the cut edge, and the two layers join cleanly with no gaps and no squeeze-out showing on the front.
Work on a sheet of parchment or a clean tablecloth so any glue that seeps through can be peeled away later. Press each glued section with your fingertips or the flat of a spoon, then clip it and move on.
1. Choose the Size and Make a Paper Pattern
A stocking made this way is sized for where it hangs, not for a child’s foot. Measure the mantel, door frame or wall space first, then make the paper pattern about half that height.
Draw the pattern with a foot, a leg and a cuff. Most beginners do well with a foot around 5 inches long, a leg 4 inches tall, and a cuff 3 inches deep.
Fold the paper in half lengthways, draw only half the outline against the fold, and cut on the fold line. That single fold is what gives you a symmetrical pattern without measuring every curve twice.
2. Cut the Outer and Inner Pieces
Pin your paper pattern to the fleece, then cut two identical shapes. If you are using a lighter lining fabric or a second fleece color, cut two of those as well.
Cut slowly through the curves at the heel and toe. A small snip at the curve apex keeps the fabric from bunching, and it stops the toe from coming out narrow.
Mark the back of each piece lightly with a pencil. Later, when you are shaping the stocking, you want both layers facing the same direction.
3. Mark and Fold the Cuff
Measure down from the top edge of both pieces by the cuff depth and draw a straight line across. This is your cuff line.
Lay the inner piece face down and bring the top edge down along that line, pressing the fold flat. Clip every 2 inches so the fold cannot spring open while you work.
Check the fold now rather than later. Hold the stocking up by the cuff and look at it straight on: if the fold tilts or the two edges of the cuff do not meet evenly, unclip and re-press it.
4. Glue the Layers Together
Turn the cuffed piece face down. Run a thin bead of fabric glue around the entire raw edge, from the cuff edge down one side of the leg, around the heel and toe, and up the other side. Keep the bead about a quarter inch in from the cut edge.
Lower the second layer on top with the marked backs facing the same way. Press from the cuff down toward the toe, working in short sections so the layers do not slide.
Wipe any glue that squeezes out with a damp cloth while it is still wet. Then give the heel, toe and cuff corners an extra dab, since those are the spots that get the most pulling.
5. Shape the Stocking
Open the cuff and let it stand up, then flatten the body of the stocking so the foot drops below the leg the way you want it to hang. Smooth the toe and heel with your palm.
Put a book or a sheet of cardstock on top of the body and leave it there while the glue sets. Fleece springs back, and the weight is what stops the edges curling.
6. Add a Hanging Loop
Cut a strip of fleece or ribbon about 1 inch wide and 8 inches long, fold it into a loop, and place it between the layers at the top edge of the cuff, with the ends tucked inside the seam.
Add a line of glue over the strip where it meets the stocking, clip it, and leave it clamped with the rest of the piece. The strip needs glue on both the stocking and the cuff fold to feel solid.
Once it is dry, hang the stocking briefly with two or three tins in it. If the loop starts to lift at the top edge, add a small felt patch inside the cuff to spread the load.
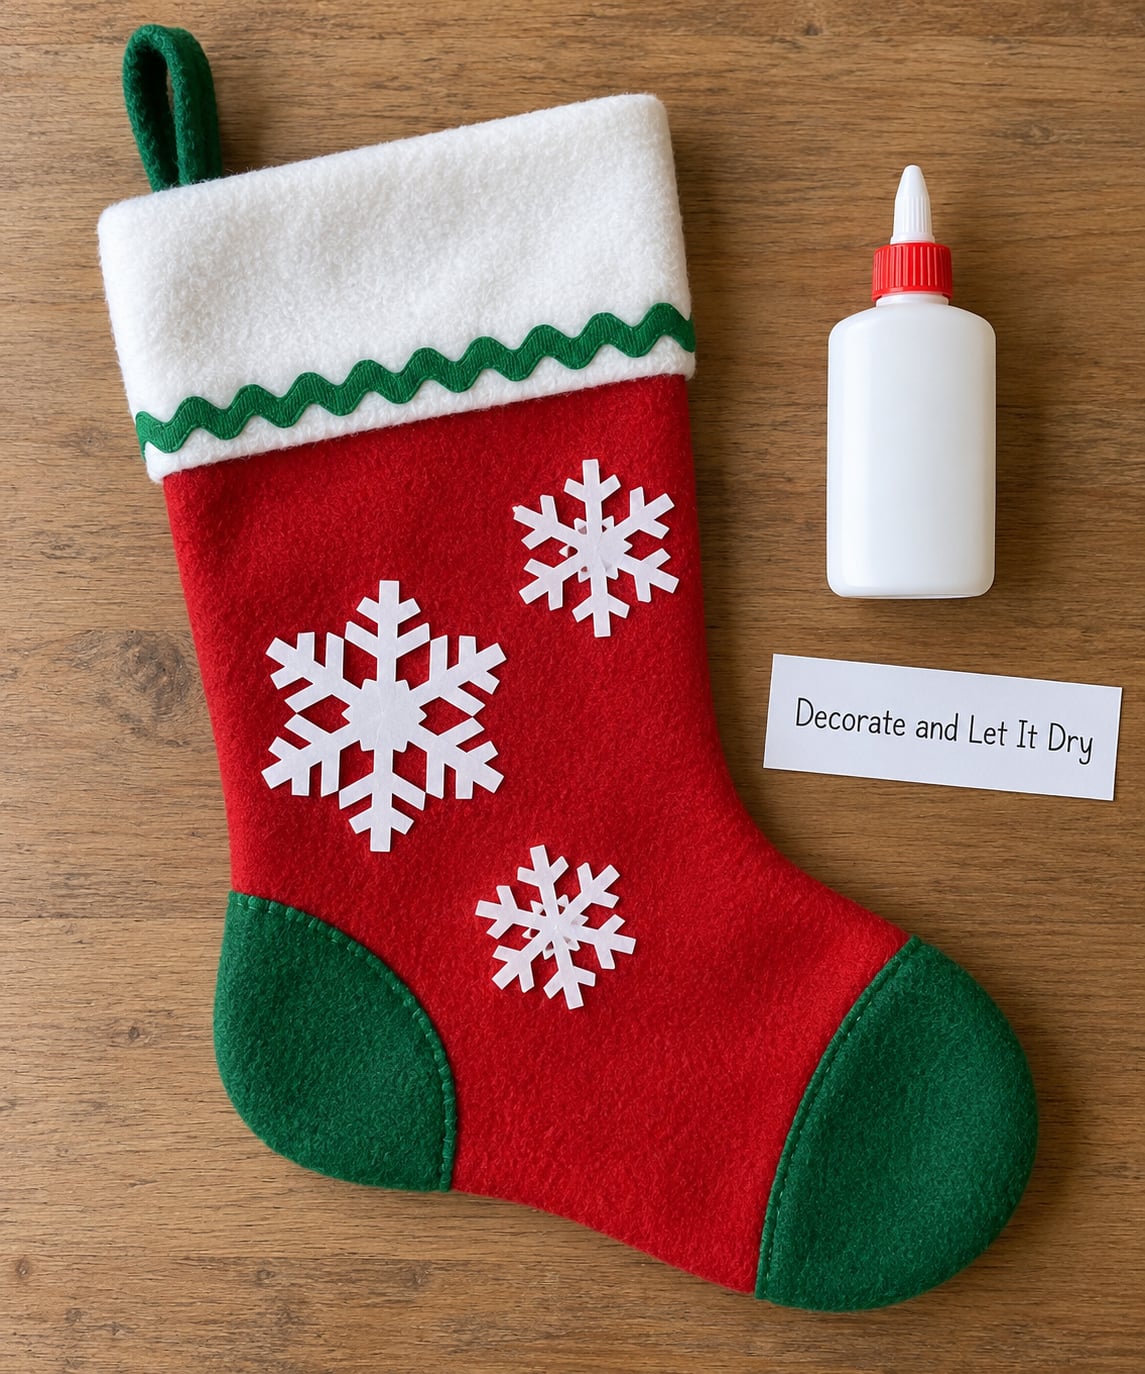
7. Decorate and Let It Dry
The stocking is usable after about 2 hours, but treat that as handleable rather than finished. Most fabric glues want 24 hours to reach full strength, and 48 hours if the glue bead was thick.
Use light decorations. Pom poms, buttons, felt letters and paper snowflakes all sit near the loop, and that is where the weight will pull hardest.
Common Mistakes
Your two pieces are different sizes. A rolled bolt of fleece relaxes as it sits, so measure both pieces against each other before gluing. If they differ by more than a few millimeters, trim the larger one down rather than gluing around a gap.
The heel faces a different direction on each layer. Hold both pieces up side by side and check that the curve of the heel lines up. A reversed heel is the single most common fault and is nearly impossible to fix afterwards.
Glue bleeds through to the front. You used too much glue, or pressed too hard. Wipe the surface immediately with a damp cloth and blot, not rub. On thin fleece, a thin bead set back from the edge avoids this completely.
The layers shift while you work. Glue one short section at a time and clip it before starting the next. Working around the whole perimeter at once gives you a few seconds for the fleece to slide.
The edges curl as it dries. That means the glue bead was pushed right to the cut edge and the weight was uneven. Lay a flat board over the piece for the first few hours of curing.
You decorate before it has set. Glue on a moving surface picks up fuzz and sequins unevenly. Wait the full 24 hours, or the lettering will smear and the appliqué will slide.
The loop tears out at the top. It was placed right at the raw edge with not enough overlap. Both ends need to sit well inside the cuff seam, and a felt patch inside the cuff adds insurance for a stocking that carries a full load each year.
Hand-Sewing Alternative
Hand sewing is worth choosing over glue in two cases: the stocking needs to hold heavier presents year after year, or you want it to survive the washing machine. Glue bonds are permanent, which makes them awkward to launder.
Cut the same two pattern pieces and add a quarter inch seam allowance on all sides before you cut. That allowance is what you fold under and stitch through.
Pin the pieces right sides together and sew a running stitch: a short even stitch through the fabric, then a small gap, repeated. Set the thread about half an inch longer than the edge and start with backstitches at the cuff and at the toe so the stress points hold.
Trim the seam allowance to a quarter inch, clip the curves around the heel, and turn the stocking right side out. Push out the toe with a blunt pencil so it rounds instead of creasing.
For the hanging loop, sew it into the cuff seam before you close the top edge. Finish every thread by knotting it twice in the same spot, then snip close, so nothing pulls loose under the weight of a stocking full of small toys.
Tips for a Durable Handmade Stocking
Load-bearing spots. The cuff, heel and toe take the load, not the sides of the leg. Add a second bead of glue along those three areas and let them cure longer than the rest.
Test the loop before December. Hang it loaded for a day in October. A loop that survives three tins in November will not survive a year’s worth of candy in December.
Care for a glue-bonded stocking. Spot clean with a barely damp cloth and a little mild soap. Do not wash a fabric-glue stocking in a machine, and keep it away from the radiator, because heat softens the bond. If you want a washable stocking, build it with fusible web and hand stitching instead.
Keep embellishments light. A name in felt letters and a row of pom poms adds very little weight. Fur trim, heavy trim, beads and a row of wooden beads add a surprising amount at the top of the stocking.
Let children take real parts. Tracing the pattern, tearing paper snowflakes and pressing pieces with the clips are all age-appropriate. Adults handle the scissors, the glue bottle and the iron.
Cut from both ends of the sheet. Fleece sheets are sold in large pieces, and four stockings come out of one sheet if you flip the pattern over between cuts.
Frequently Asked Questions
Can I make a Christmas stocking with no sewing at all?
Yes. This method uses a no-sew fabric adhesive instead of stitching, which suits beginners and children. Work on a protected surface, apply only a thin bead of glue around the edges, press the layers together, and clip while it sets. Keep every embellishment light so the hanging loop holds.
What is the best material for a no-sew Christmas stocking?
Medium or thick fleece works well because it is warm, soft, inexpensive and forgiving around curved edges. Choose two colors that contrast clearly so the shape reads from across the room. Avoid slippery, very thin or loosely woven fabrics, which let glue soak through and let the edges curl.
How do I choose the right size for a Christmas stocking?
Choose a length that looks proportionate to the fireplace, door or display area rather than sizing the project to a child’s foot. Measure the intended hanging space and divide it in half for the stocking height, then add a cuff deep enough to hide the hanging loop. A 12 inch tall stocking works on most mantels.
What is the strongest way to attach a hanging loop?
Use a sturdy strip of felt, fabric ribbon or folded fleece, placing both ends well inside the cuff seam. Reinforce the attachment with fabric glue and a small patch if needed. Test the loop with a few tins before December. A loop placed right at the raw edge is the one that fails.
Is a no-sew stocking strong enough to hold presents?
A glue-bonded fleece stocking holds candy, small toys and a folded pair of socks comfortably. Double the glue along the cuff, heel and toe, and reinforce the loop with a felt patch if you plan to fill it every year. For heavier gifts, hand stitching the load-bearing seams is the more durable option.
Conclusion
Start with the paper pattern. Fold the sheet, draw half a stocking against the fold, cut two identical shapes from two contrasting fleece sheets, and the rest is a thin bead of glue, a handful of clips and a night of drying. Once it is decorated and cured, hang it low, test it with a few tins, and it will carry the same weight as any stocking you have made before.