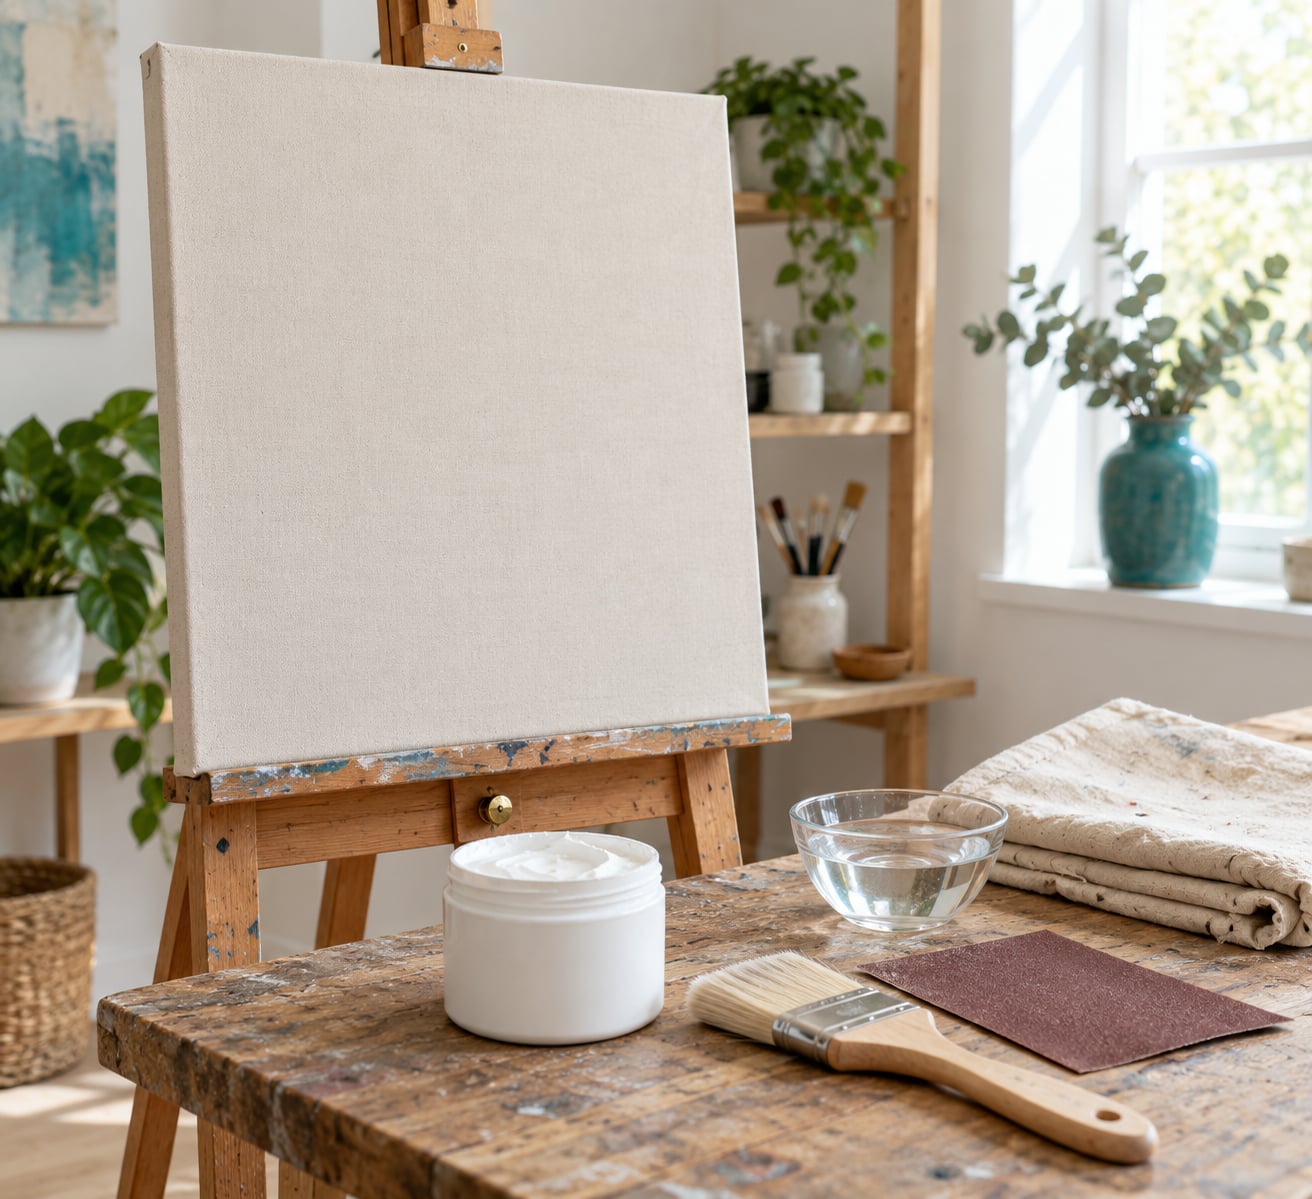
To prime a canvas for acrylic paint, apply two or three thin coats of acrylic gesso with a wide flat brush, letting each coat dry fully before the next and sanding lightly between them. The whole job takes about an hour of active work plus drying time, and even beginners can get a smooth, even surface on the first try.
The point of priming is simple. Raw canvas is thirsty — it drinks the binder out of your paint and leaves you with dull, patchy colour and a surface that peels when you scratch it. Gesso seals the weave, gives the brush something consistent to move across, and lets acrylic sit on top instead of sinking in.
If you have already bought a good pre-primed stretched canvas, you can often start painting. Everything below is for raw canvas, thin boards, or anyone who wants a smoother ground than the factory gave them.
Table of Contents
- 1What You Need
- 2Step-by-Step
- 3Step 1: Choose the Right Primer
- 4Step 2: Check and Prepare the Canvas
- 5Step 3: Apply the First Primer Coat
- 6Step 4: Let the Primer Dry Completely
- 7Step 5: Sand and Apply a Final Coat
- 8Step 6: Check the Surface Before Painting
- 9Common Mistakes
- 10Tips for a Smooth Priming Process
- 11Frequently Asked Questions
- 12Do I need to prime canvas before using acrylic paint?
- 13Is gesso better than acrylic primer for canvas?
- 14How long should canvas primer dry before painting?
- 15Should I sand primer before applying acrylic paint?
- 16Can I use acrylic paint on an unprimed canvas?
- 17How do I know when the canvas is ready for acrylic paint?
What You Need
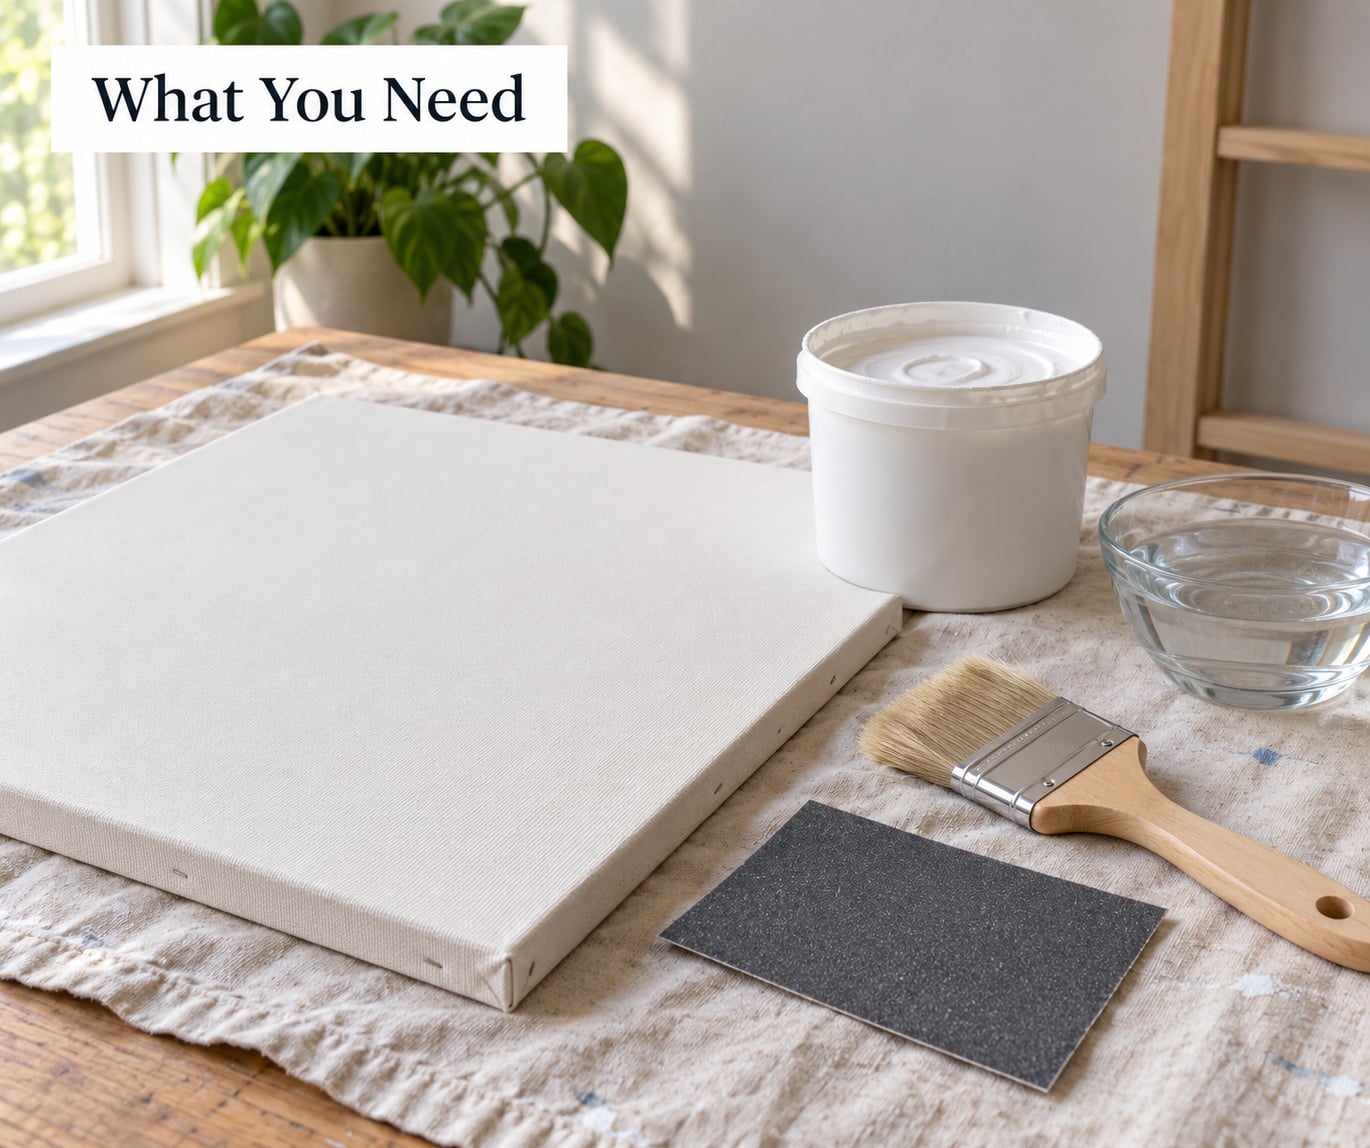
Gather everything before you start, because stopping halfway through a coat to hunt for sandpaper is how ridges end up in the finish.
- Raw canvas — cotton duck or linen, stretched or on a board. Cotton duck is the easy beginner option; linen is tougher and has a visible weave.
- Acrylic gesso — white for most work, clear if you want the natural fabric colour to show, or a tinted ground if you like.
- Wide flat brush — 2 to 4 inches wide, with stiff short bristles. A decorators brush works well and costs far less than a painting brush.
- Fine sandpaper — 220 to 320 grit for a smooth finish, 400 grit if you are going for detail work.
- Clean water and a second brush or a palette for thinning.
- Drop cloth or newspaper, plus a clean cup for rinse water.
- Optional: a small roller for large canvases, a tack cloth or clean cloth for dust, a hairdryer on cool for impatient drying.
How much gesso you need is easy to work out. A rough rule of thumb is about 100 ml per square metre of canvas, so buy a little more than you think and return the tin for a later project.
Not every primer suits every surface, so here is the short version:
| Primer | Look | Best for | Watch out for |
|---|---|---|---|
| White acrylic gesso | Opaque white | Everyday acrylic painting, beginners, bright colour | Nothing much; the standard choice |
| Clear gesso | Transparent, matte | Keeping the beige of the canvas visible | Less bright, and thin patches show |
| Tinted or coloured gesso | Any colour, including black | Coloured grounds, toned backgrounds, calming a blank white surface | The colour mixes with your first layer |
| Spray primer | Even mist coating | Large canvases, mesh or unusual surfaces | Overspray, thin coverage, more cost per canvas |
| Oil primer | Warm white or grey | Oils only | Never under acrylic — it can hold the film weakly and cause lifting |
For acrylic painting, acrylic gesso and acrylic primer are the same product in practice: a white primer made with an acrylic polymer binder. Both seal the fabric and cut the absorbency, and neither needs a separate size.
Step-by-Step
Step 1: Choose the Right Primer
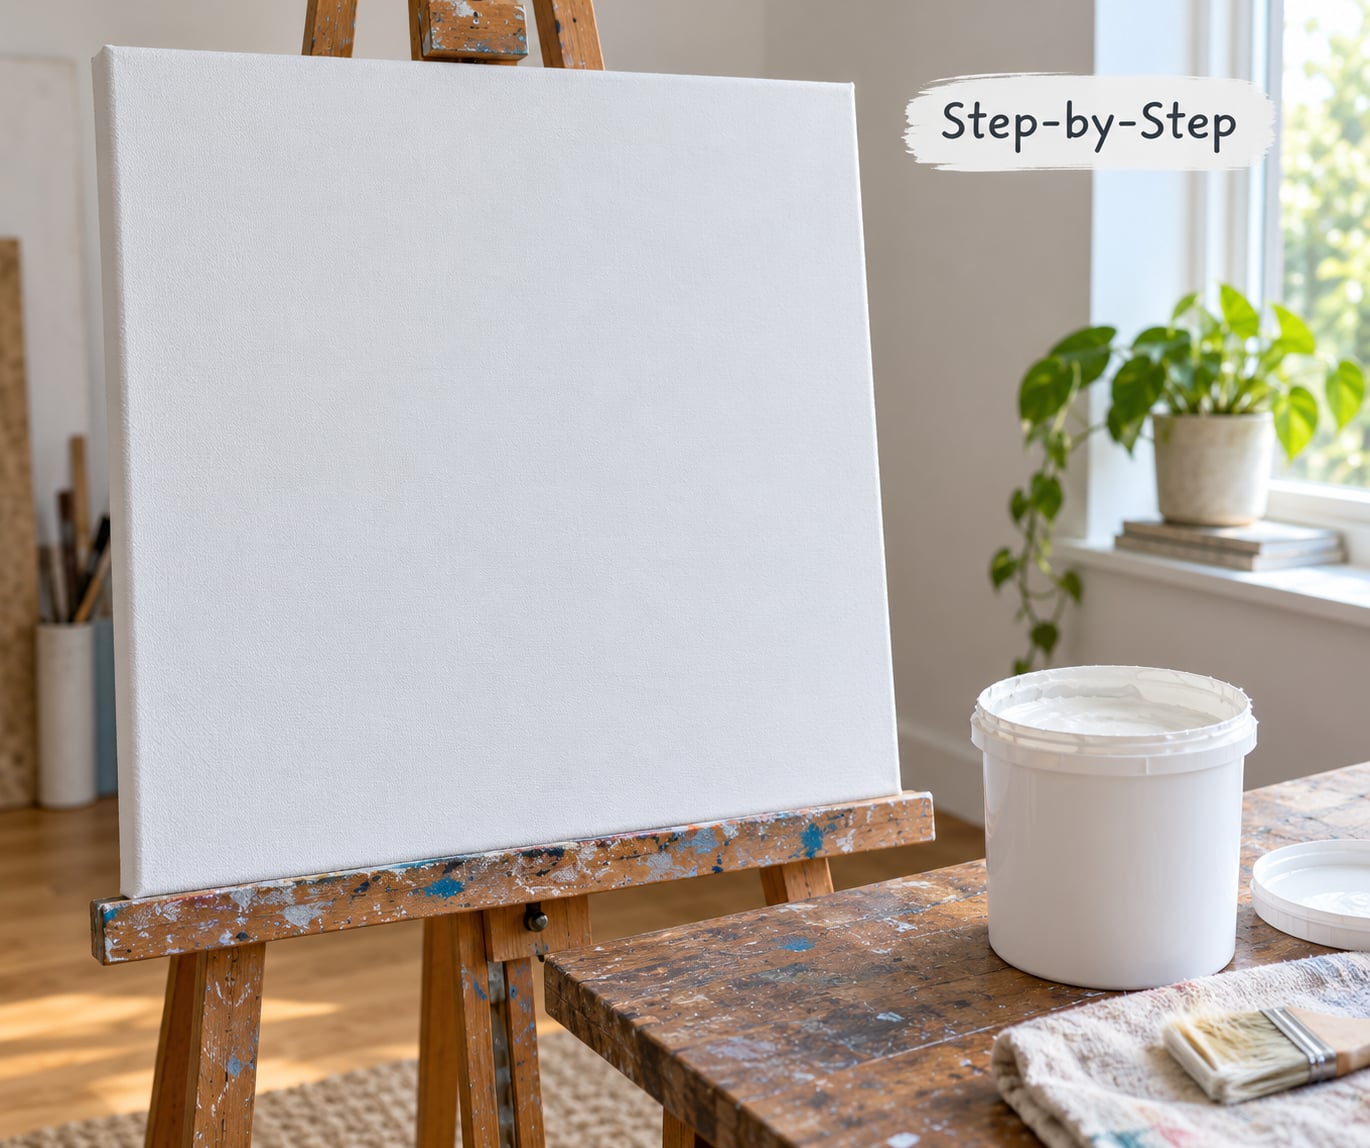
Start with acrylic gesso, because it is designed for water-based paint. White gesso is the most forgiving choice, clear gesso keeps the natural weave colour, and tinted grounds are genuinely useful for beginners because a mid-tone surface takes the sting out of a blank canvas.
Spray primers work on big canvases and odd shapes, but they cost more per surface and rarely give the same tooth. Acrylic gesso from an art-supply brand such as Golden, Winsor & Newton, Liquitex or FolkArt is all you need; if a hard, sandable gesso is what you want for detail work, that is the one to look for.
Step 2: Check and Prepare the Canvas
Press the surface with your fingertips. If the weave moves or you can see daylight through slubs, tighten it before priming — the fabric will tighten further as the gesso dries, and slack areas are where cracks start.
Then work out what you already have. A pre-primed canvas feels smooth and even, is usually white or off-white, and has a uniform matte surface; raw canvas is beige, you can see the weave clearly, and it feels slightly fuzzy. If a light pass with a wet finger leaves a mark that beads rather than soaking in, there is already a seal on there.
Brush off dust and use a cloth over the stretcher bars. Any oil, skin oil or tape residue will block adhesion, and you cannot sand that out later. Wipe the face with a clean damp cloth and let it dry before priming.
Step 3: Apply the First Primer Coat
Stir the gesso thoroughly, then thin it with water until it flows like single cream. The first coat soaks down into the fabric more than the ones after it, so a slightly thinner mix here saves you from a chalky, ridged surface.
Load the brush lightly and start in the middle of the canvas, working outward in long strokes across the weave. Cross the direction with each pass so the bristles fill the gaps instead of combing the same lines. Keep the edges wet and touch them last, because that rim dries first and is where the dry-brush streaks show up.
Resist the urge to build thickness. A thin coat that looks patchy while wet often evens out as it dries. If a bristle hair sticks in the wet gesso, leave it — pulling it out takes the surface with it.
Turn the canvas a quarter turn before you move on. Changing direction each coat is the simplest way to catch areas your eye has already learned to ignore.
Step 4: Let the Primer Dry Completely
Read the label. Most acrylic gessos are touch dry in around 30 minutes and need a full day before you paint on them; in warm, dry, airy conditions people report touch dry in as little as 10 minutes.
Humidity is the opposite problem. In a damp room a coat can sit tacky for hours, and putting a second coat over it traps moisture and leads to peeling later. Airflow matters more than heat, so put a fan nearby rather than blasting the surface with a hairdryer.
How do you know it is ready? The colour goes from slightly damp-looking to evenly matte, the cool damp patch in the middle disappears, and a light touch leaves no dent. If you press a fingernail and it marks the surface, it needs longer.
Step 5: Sand and Apply a Final Coat
Sand the dry coat with 220 grit, using light circular motions, until the ridges are gone and the surface feels uniformly smooth. A little dust coming off is normal; bare canvas showing through is not.
Wipe the dust away with a dry cloth or a damp cloth squeezed nearly dry, then let the surface dry again. Add a second coat the same way as the first, thin and even, and let it dry fully. Two coats suit most acrylic painting; a third is worth it for smooth detail work, a close brushmark style, or a rough weave that still shows through.
A light scumble of the third coat with a stiff brush pulls the tooth back after sanding, which helps paint grip instead of sitting on a slick surface.
Step 6: Check the Surface Before Painting
Do a final check in good light. The ground should look even, with no glossy patches, no bare fabric showing, no brush hairs and no cracking in the weave. A slightly textured matte finish is what you want — perfectly glassy means you over-sanded.
Now lean into it and rub a finger across the surface. If it feels consistent rather than patchy, your acrylic will behave the same way, and it is time to paint.
Common Mistakes
Most priming problems come from a handful of habits, and each one has an easy fix:
- Thick, streaky coats. One heavy coat dries patchy and cracks in the weave. Fix: two or three thin coats, brush well loaded and wiped on the rim.
- Priming over dust. The dust sits between layers and stops the paint bonding. Fix: wipe or tack the surface before every coat, not just the first.
- Wrong primer. Oil primer and exterior house paint under acrylic can leave a weak film that lifts. Fix: acrylic gesso for acrylic paint, every time.
- Second coat over a wet first coat. It lifts the first layer and leaves a peelable sheet. Fix: full dry time, finger-nail test first.
- Sanding too hard. Heavy sanding takes the ground back to nothing and exposes the fabric. Fix: light circular passes, and stop when the ridges are gone.
- Painting over a surface you already prepared. Sealing a pre-primed board with a glossy coat is the classic one — that shiny seal repels water-based paint and makes colours bead. Fix: scuff it lightly with 220 grit and wipe before painting.
- Acrylic over old oil paint. This one cannot be primed out. The oil film stays weak and the acrylic peels off in sheets. Fix: paint on a fresh surface.
Tips for a Smooth Priming Process
A few habits keep the job tidy. Reload the brush the same way each time rather than guessing, and wipe one side of the bristles on the rim to control how much gesso you carry.
Work in a ventilated room and lay down a drop cloth, because primer travels further than you expect when you are working fast. Keep a separate rinse cup so you are not carrying grit back into the tin.
For classroom or kids projects where speed matters, an extra thin coat is cheaper than fixing a dozen canvases that show brush marks. For large canvases, a small roller in a tray saves a lot of arm work, and it is still worth following with a light brush coat to catch the weave at the edges.
Prime before stretching only if the fabric is floppy enough to be awkward in your hands; otherwise stretch first, since the tight, even surface is much easier to coat and to sand.
Frequently Asked Questions
Do I need to prime canvas before using acrylic paint?
Raw canvas is highly absorbent, so it pulls the binder out of your paint and leaves colour dull and patchy, with layers prone to lifting. Priming seals the weave and gives acrylic a consistent surface to sit on. If you buy a good pre-primed canvas, you can usually paint straight onto it. Raw canvas, thin boards and anything you want extra smooth are worth priming.
Is gesso better than acrylic primer for canvas?
For acrylic painting they are the same product in practice. Acrylic gesso is a white primer built with an acrylic polymer binder plus chalk and titanium white, and it is what most brands label acrylic primer. The one that differs is oil primer, which is made for oils and should not go under acrylic. Choose acrylic gesso or acrylic primer and you are on the right track.
How long should canvas primer dry before painting?
Most acrylic gesso is touch dry in about 30 minutes and wants a full 24 hours before you paint on it. Warm, dry, well-ventilated rooms can get there in around 10 minutes for touch, while humid rooms take much longer. Test with a fingernail: if it marks the surface, wait. Full drying matters more than the label time, because a trapped second coat peels later.
Should I sand primer before applying acrylic paint?
Yes, a light pass helps. After each coat dries, sand with 220 grit using light circular motions until the ridges disappear and the surface feels even, then wipe off the dust with a cloth. For very smooth detail work go up to 320 or 400 grit, but stay gentle — sand too hard and you expose the fabric underneath. A final scumble of the last coat brings back some tooth.
Can I use acrylic paint on an unprimed canvas?
You can, but expect patchy colour and a surface that drinks the binder out of the paint. Acrylic will soak into raw fabric rather than sitting on it, so colours look dull and thin layers lift easily. Some painters deliberately paint on raw canvas for a staining effect, where the paint is allowed to soak into the fibres. For ordinary painting, prime first and save yourself the frustration.
How do I know when the canvas is ready for acrylic paint?
The surface should look evenly matte with no glossy patches, no bare fabric, no brush hairs and no cracks in the weave. Run a finger across it: the texture should feel consistent from edge to edge rather than patchy. If a fingernail marks it, it is not dry. Once it passes those checks, you can paint straight away.
Start with a raw canvas, a tub of white acrylic gesso and a 2 to 4 inch stiff flat brush. Thin the first coat to the consistency of single cream, spread it from the centre outwards, then give it a full dry before you sand and add the second. That is the whole method, and it is why a properly primed canvas makes every painting after it easier.