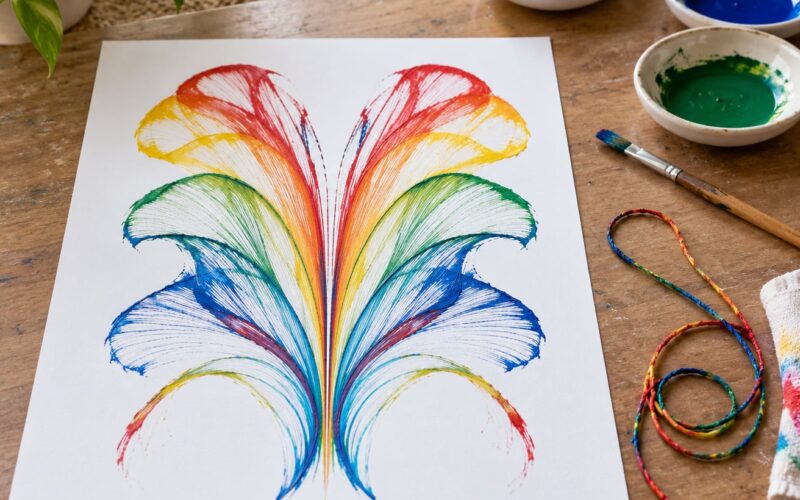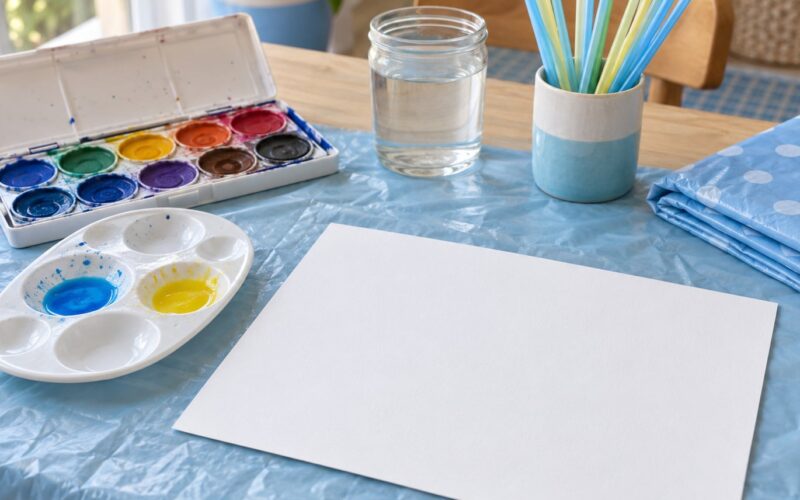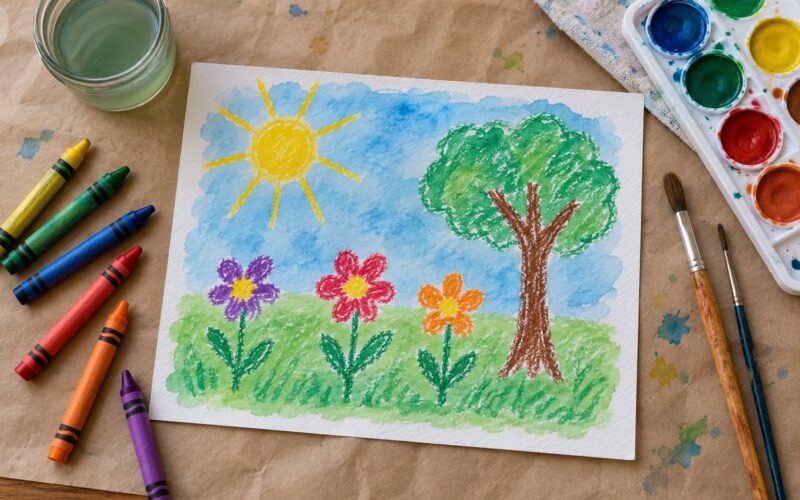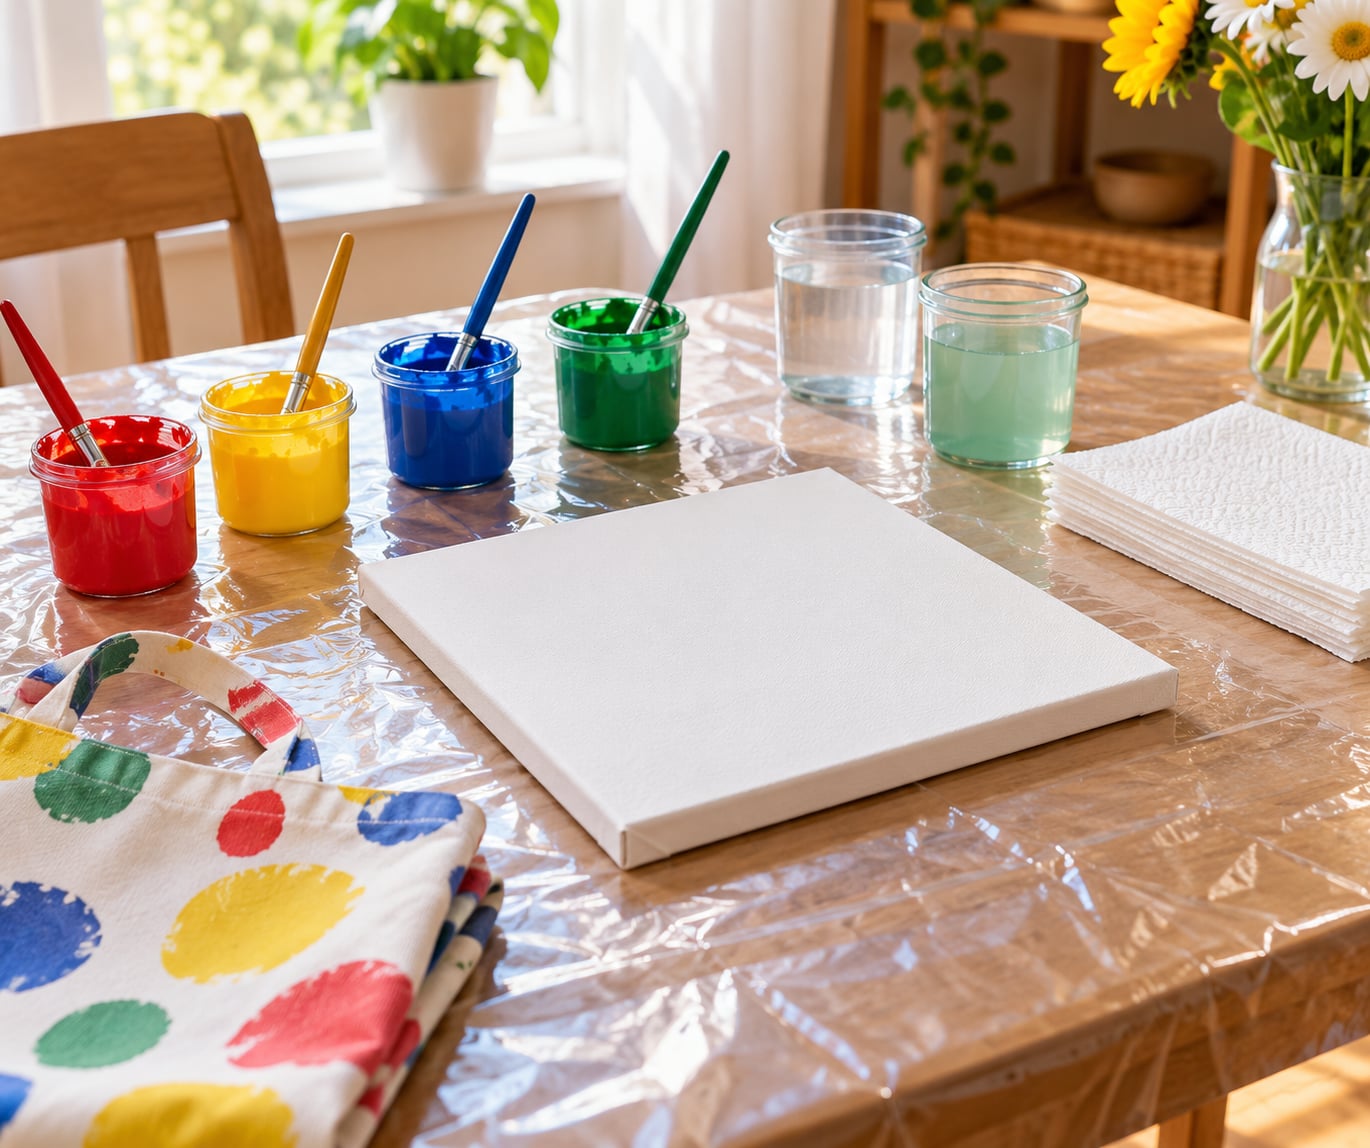
Painting on canvas with kids is simple once the workspace is protected and the palette is small: lay down a plastic sheet, put out three or four colours with one brush in each, and let your child work from the background forward in thin layers. Give the paint about 20 to 30 minutes to dry between coats, then seal the finished canvas so the colours stay put. The whole session takes 45 to 90 minutes, and the mess stays on the sheet.
The reason to use canvas instead of paper is durability. Paper curls, tears and soaks through; canvas stays flat, feels like a real artwork to a child, and can hang on a wall for years once it is dry. This guide covers the supplies, the method, the paint choice for each age, and what to do with the painting afterwards.
Table of Contents
- 1What You Need
- 2How to Paint on Canvas with Kids: Step-by-Step
- 3How to Paint on Canvas with Kids: Set Up the Workspace
- 4How to Paint on Canvas with Kids: Choose a Simple Design
- 5How to Paint on Canvas with Kids: Paint the Background
- 6How to Paint on Canvas with Kids: Add the Main Details
- 7How to Paint on Canvas with Kids: Finish and Display the Painting
- 8How to Dry, Seal and Display a Finished Canvas
- 9Acrylic vs Tempera vs Finger Paint: Which to Use
- 10Common Mistakes
- 11Frequently Asked Questions
- 12Can a toddler paint on canvas?
- 13How do you work with acrylic paint on canvas with children?
- 14Can you finger paint with tempera paint?
- 15What are the disadvantages of tempera paint?
- 16Do you need to prime canvas before painting with kids?
- 17What if my child only paints in one corner?
- 18Conclusion
What You Need
You need surprisingly little. For a first session, gather a canvas, three or four washable paints, one brush per colour, a plastic sheet for the table, a rinse cup per child, and a rag or wipes. Everything else is optional.
- Canvas: one 8×8 inch or 11×14 inch stretched canvas per child, or a single larger canvas for a shared project.
- Paint: washable tempera for under-fours, washable acrylic for ages four and up.
- Brushes: one per colour, plus one wide flat brush for backgrounds.
- Surface protection: a plastic tablecloth or a bin liner. Both cling and wipe clean; newspaper shifts and tears.
- Clothes: a smock or an old shirt with the sleeves cut off. Hair tied back.
- Cleanup: warm soapy water in a shallow tray, a bin bag, and a folded towel.
Canvas size matters more than most parents expect. Small hands need something they can cover in one sitting.
| Canvas size | Best for | Typical session |
|---|---|---|
| 8×8 inch | Toddlers, ages 18 months to 3 | 20 to 30 minutes |
| 11×14 inch | Preschool and early school age, 4 to 7 | 45 to 60 minutes |
| 16×20 inch | Tweens and shared work | 60 to 90 minutes |
For toddlers, canvas board works better than stretched canvas. It is heavier, so it does not slide across the table when a small arm pushes across it.
How to Paint on Canvas with Kids: Step-by-Step
Learning how to paint on canvas with kids comes down to five stages: set up the workspace, choose a simple design, paint the background, add the main details, then dry and finish. Each stage takes a few minutes of setup and a few minutes of actual painting. Do not skip the first one, because that is the stage that decides whether you have a good afternoon or a ruined one.
How to Paint on Canvas with Kids: Set Up the Workspace
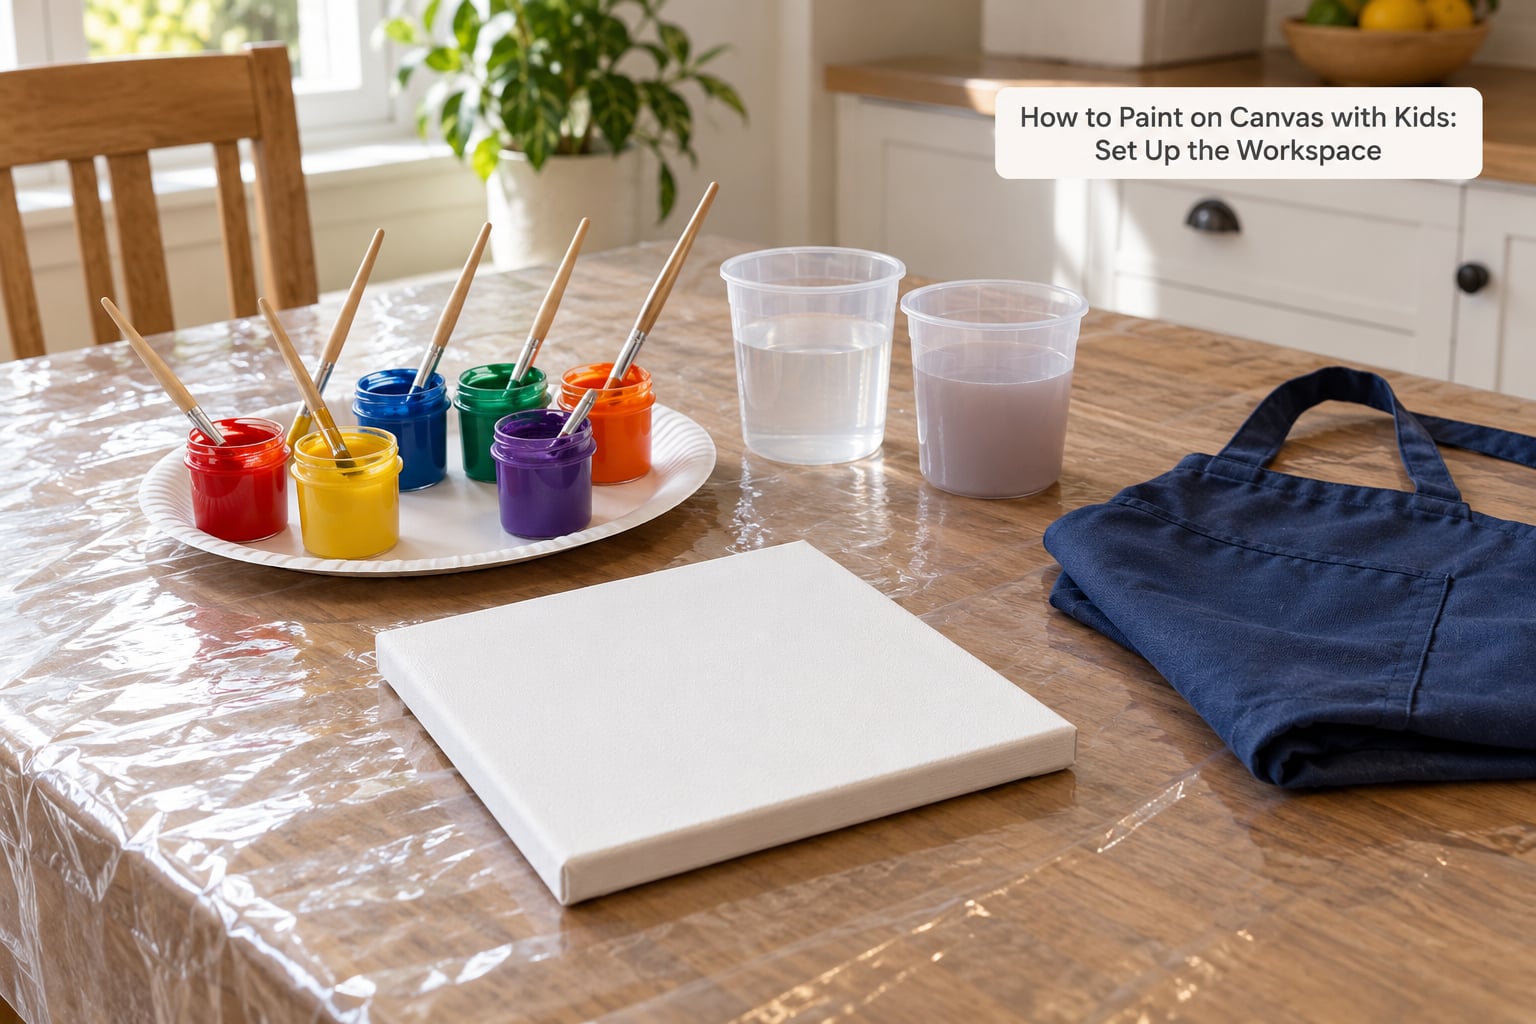
Cover the table first, then set out the paints. The order matters, because a child who starts before the sheet is down will find the bare table immediately.
Put each colour in its own small pot with its own brush stuck in it. This single habit prevents the most common painting frustration, muddy brown water, because nobody ever rinses a colour brush back into the palette. Give each child a separate rinse cup too. Two children sharing one cup will turn the water grey within five minutes.
One community trick worth stealing: add a small squirt of washing-up liquid to each paint pot. It keeps the paint flowing and makes it wash out of sleeves and soft furnishings far more easily afterwards.
How to Paint on Canvas with Kids: Choose a Simple Design
Pick something with three or four large shapes. A sun over a hill, a rainbow with a cloud, an underwater scene with fish. Small detailed drawings frustrate young children because they cannot fill the space, and a half-finished picture feels like a failure to them.
Sketch it in pencil very lightly first, or tape simple shapes with masking tape for a crisp edge. Young children work better if you divide the canvas into sections and let them finish one before moving on.
Keep the goal process art: the value is in mixing, sweeping and experimenting, not in a result that matches your idea. Kids who are told to paint a tree and produce a brown blob tend to give up. Kids given three colours and no instructions usually keep going for the full hour.
How to Paint on Canvas with Kids: Paint the Background
Start at an edge, not the middle. Hold the wide brush flat and pull long strokes from one side to the other, working in rows until the whole surface is covered. Corners and edges catch less paint than the centre, so check them last.
Keep the layer thin. If the brush leaves a thick ridge, the paint will crack as it dries. Let each coat dry for 20 to 30 minutes before adding the next, and fan it with a book or a piece of card if you are in a hurry.
Some children paint only a small corner and stop. That is not a failure, it is the task being too big. Cut a 16×20 canvas down to two pieces and let the second one start fresh.
How to Paint on Canvas with Kids: Add the Main Details
Once the background is dry to the touch, add the shapes you sketched. Let your child choose the colours. Offering three options and letting them pick keeps them involved without stalling the session.
Say out loud that paint is forgiving. When a shape looks wrong, they can paint straight over it. Children who are told their mistake ruined the picture stop experimenting within about two minutes.
Stay loose about the result. If it does not look like a sun, it might be a better sun than yours would have been.
How to Paint on Canvas with Kids: Finish and Display the Painting
Sign it and write the date on the back while the paint is still slightly damp, or with a fine marker once it is dry. Dated artwork is worth far more in five years than an anonymous one.
Leave the canvas flat and undisturbed for a few hours, or overnight. Do not stack wet canvases together; they will stick and lift each other’s paint. Then seal it following the method below before it goes near a wall.
How to Dry, Seal and Display a Finished Canvas
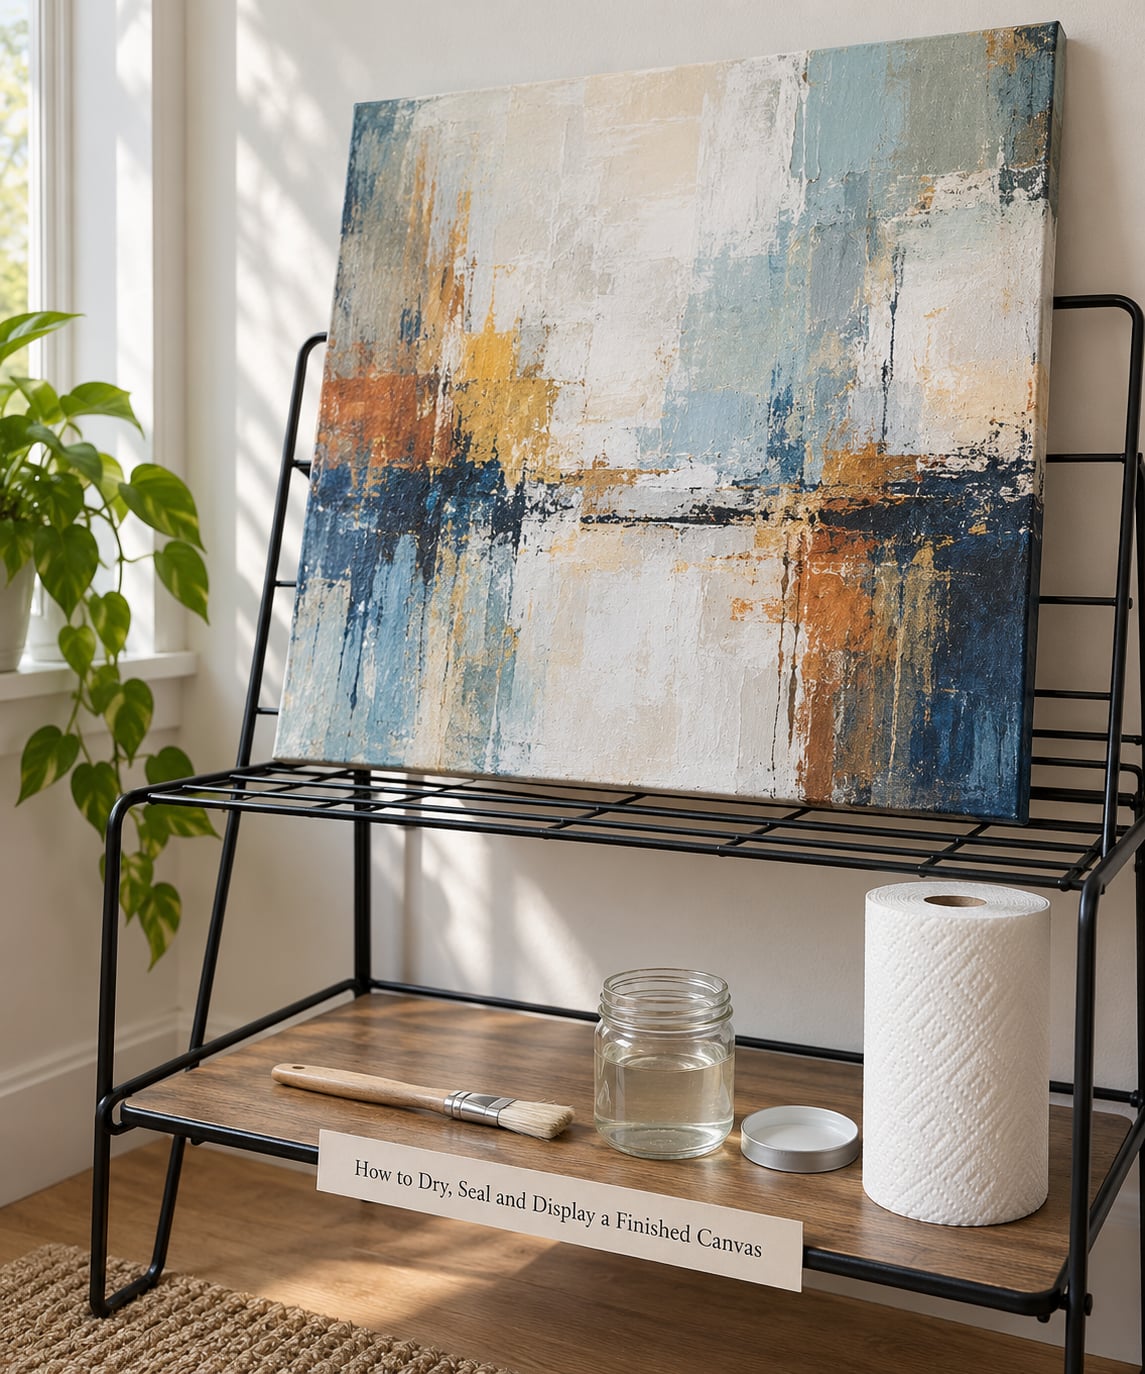
Acrylic paint is touch-dry in 20 to 30 minutes and fully cured in about a week. Tempera dries faster but scuffs easily, so handle it gently for a day. Wait until the whole surface feels room-temperature and completely matte before you seal anything.
Sealing does two jobs. It stops a hand rubbing across a sleeping child’s face from taking the paint with it, and it stops dust and hair sticking to the surface. A water-based acrylic varnish or a clear acrylic medium, applied in two thin coats with a clean brush, works well. A spray fixative is quicker but thinner and gives less protection.
Wait until sealing is fully dry before you frame or hang. For display, a wooden stretcher with a simple frame looks better than an ornate one, and most canvas sizes fit standard ready-made frames, so measure the outside edge rather than the canvas itself.
For children who lose interest at home, a clothesline or drying rack in the garage or loft works well. Out of direct sun and away from radiators is enough.
Acrylic vs Tempera vs Finger Paint: Which to Use
Use tempera under four, washable acrylic from four upwards, and finger paint for the youngest hands or for anyone who will not hold a brush. Each has real trade-offs.
| Paint type | Best age | Washability | Drying time | Texture | Safety |
|---|---|---|---|---|---|
| Tempera | 2 to 5 | Very washable | 10 to 20 minutes | Flat and thin | Usually AP-certified non-toxic |
| Acrylic | 4 and up | Washable while wet, permanent once dry | 20 to 30 minutes | Thick, textured strokes | Check the label for non-toxic |
| Finger paint | 18 months to 4 | Very washable | 10 to 20 minutes | Smooth, smearable | Usually AP-certified non-toxic |
Tempera has real drawbacks. It is not waterproof, it scuffs and rubs off once dry, and it is genuinely hard to remove from fabric once it has soaked in. Its thin consistency also means children cannot build up the thick, textured strokes they might enjoy with acrylic. It also dries slightly chalky and dusty to the touch.
Acrylic dries permanent, which cuts both ways. Mistakes cannot be washed out of a shirt, so aprons matter. In exchange it holds texture, layers well and looks like real paint. Choose a student-grade bottle acrylic from the art aisle rather than the thin craft paint in the seasonal aisle; check the label says non-toxic, and avoid anything not designed for children around a young child.
Painting outdoors removes the whole mess problem. A patio, a balcony or a fence gives you a surface that does not need protecting, and water-based paint rinses off a path with a hose afterwards.
Common Mistakes
Watery paint that will not cover. Thick paint is better than thin. If the brush keeps skidding, add a little more colour rather than more water.
Cracking and flaking as it dries. The layer was too thick. Scrape back with a card while it is still wet, let it dry, and apply a thinner second coat.
Smudged colours. Layers went on before the previous one dried. Twenty minutes and a fan will fix this more reliably than anything else.
White edges showing through. The background coat missed the sides and corners. Paint the edges last with a flat brush, running the paint off the edge slightly.
Paint on clothes and carpet. The washing-up liquid trick, an apron, and a floor sheet laid under the table sheet all reduce this. For dried paint on fabric, wash it cold first and never put it in the dryer.
A muddy brown palette. Kids stir every colour into one pot. Put out fewer colours and refill pots rather than topping up what is there.
Frequently Asked Questions
Can a toddler paint on canvas?
Yes. From around 18 months, use a small 8×8 inch canvas or canvas board with washable tempera or finger paint. A two or three minute dry run on paper first helps, and a full sheet of canvas is often too much to finish. Expect the session to last 20 to 30 minutes rather than an hour, and supervise the whole time.
How do you work with acrylic paint on canvas with children?
Thin the acrylic slightly with water, work in thin layers rather than one thick coat, and let each layer dry fully before adding the next. Keep one water cup per colour so brushes never carry old paint into a new colour. Start at an edge with long, even strokes, and check corners and edges last because they take less paint than the centre.
Can you finger paint with tempera paint?
Yes, and tempera is the standard choice for under-fours. It is thin enough to spread with fingers, non-toxic, and washes out of skin and most surfaces. If you want the finger-painted look to stay intact, seal the canvas once the paint is dry, since tempera scuffs where acrylic would not.
What are the disadvantages of tempera paint?
Tempera is not waterproof, so it scuffs and rubs off once dry. It is also hard to remove from fabric after soaking in, and its thin consistency stops children building the thick, textured strokes acrylic allows. It dries slightly chalky, and colours can look flatter than the same colours in acrylic.
Do you need to prime canvas before painting with kids?
Usually no. Most stretched canvas and canvas boards sold for children come pre-primed with gesso, which gives paint something to grip. Unprimed or raw canvas does need sealing first, or the paint will soak into the weave. Check the label before you start rather than assuming either way.
What if my child only paints in one corner?
The canvas is probably too big. Cut a larger canvas into two or three pieces and let the next attempt start on a fresh section, rather than telling them to fill it. If they stop early, celebrate the section they did finish and leave the rest white as background for another colour.
Conclusion
How to paint on canvas with kids is mostly preparation: a protected surface and a canvas small enough to finish. Lay down the plastic sheet, put out three or four washable colours with one brush in each, sketch something simple, and paint the background in thin layers that dry between coats.
Then let your child make the decisions. Which colour, which shape, what to paint over. That is the part that keeps them going long after you have stopped caring what the picture looks like. Once it is dry and sealed, date it on the back and put it on a wall.